It’s sweltering. Like everyone else, my computer is really taking a beating. The internal ventilation is practically nonexistent, and when I put my hand on the metal case, it’s downright hot.
No budget. So I do what I always do: I rummage through the workshop and find what I need to cobble something together.
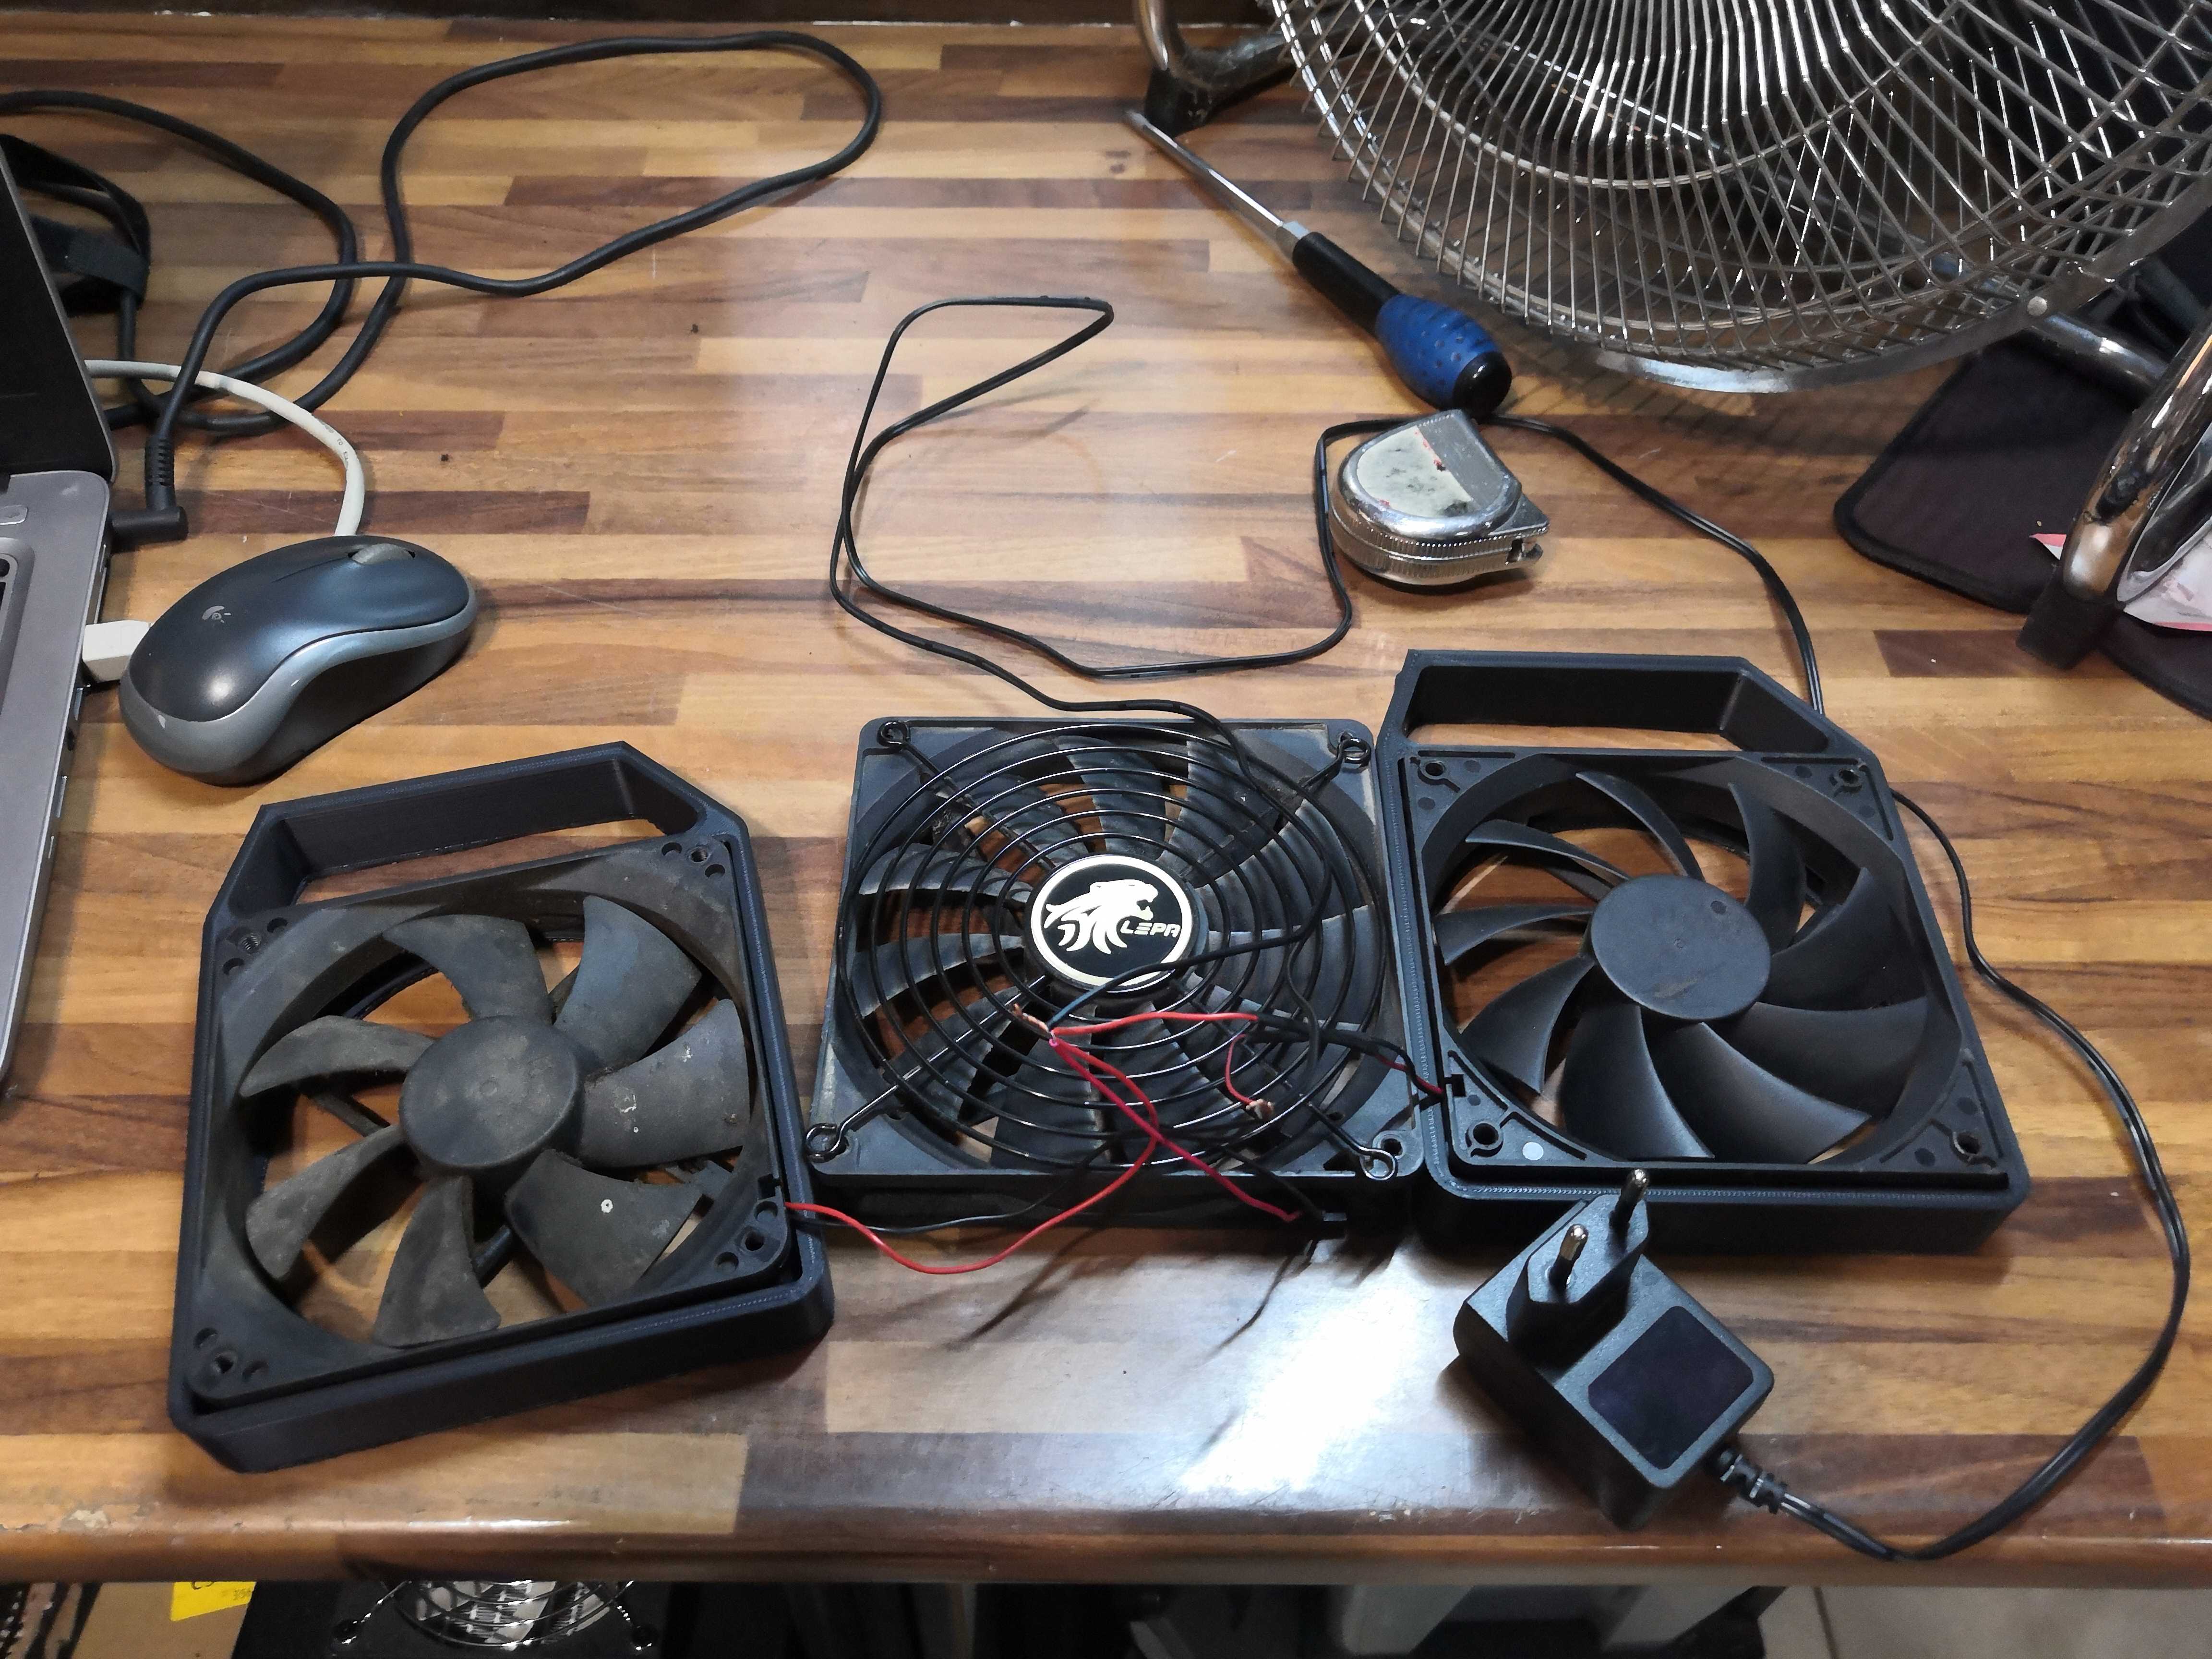
The haul: three salvaged fans—two 120 mm and one 140 mm—and a small power supply. All the fans are 12 V models; we’ll come back to that.
The idea: 3D-printed PCI brackets + 45° air nozzles
The idea is simple: make brackets to hold these fans and redirect their airflow where I need it. Rather than designing everything from scratch, I’m using three models from the community (credits and licenses at the end of the article):
- Gustavo’s 120 mm and 140 mm PCI mounts, originally designed to clip a fan onto a PCI slot and blow air onto expansion cards;
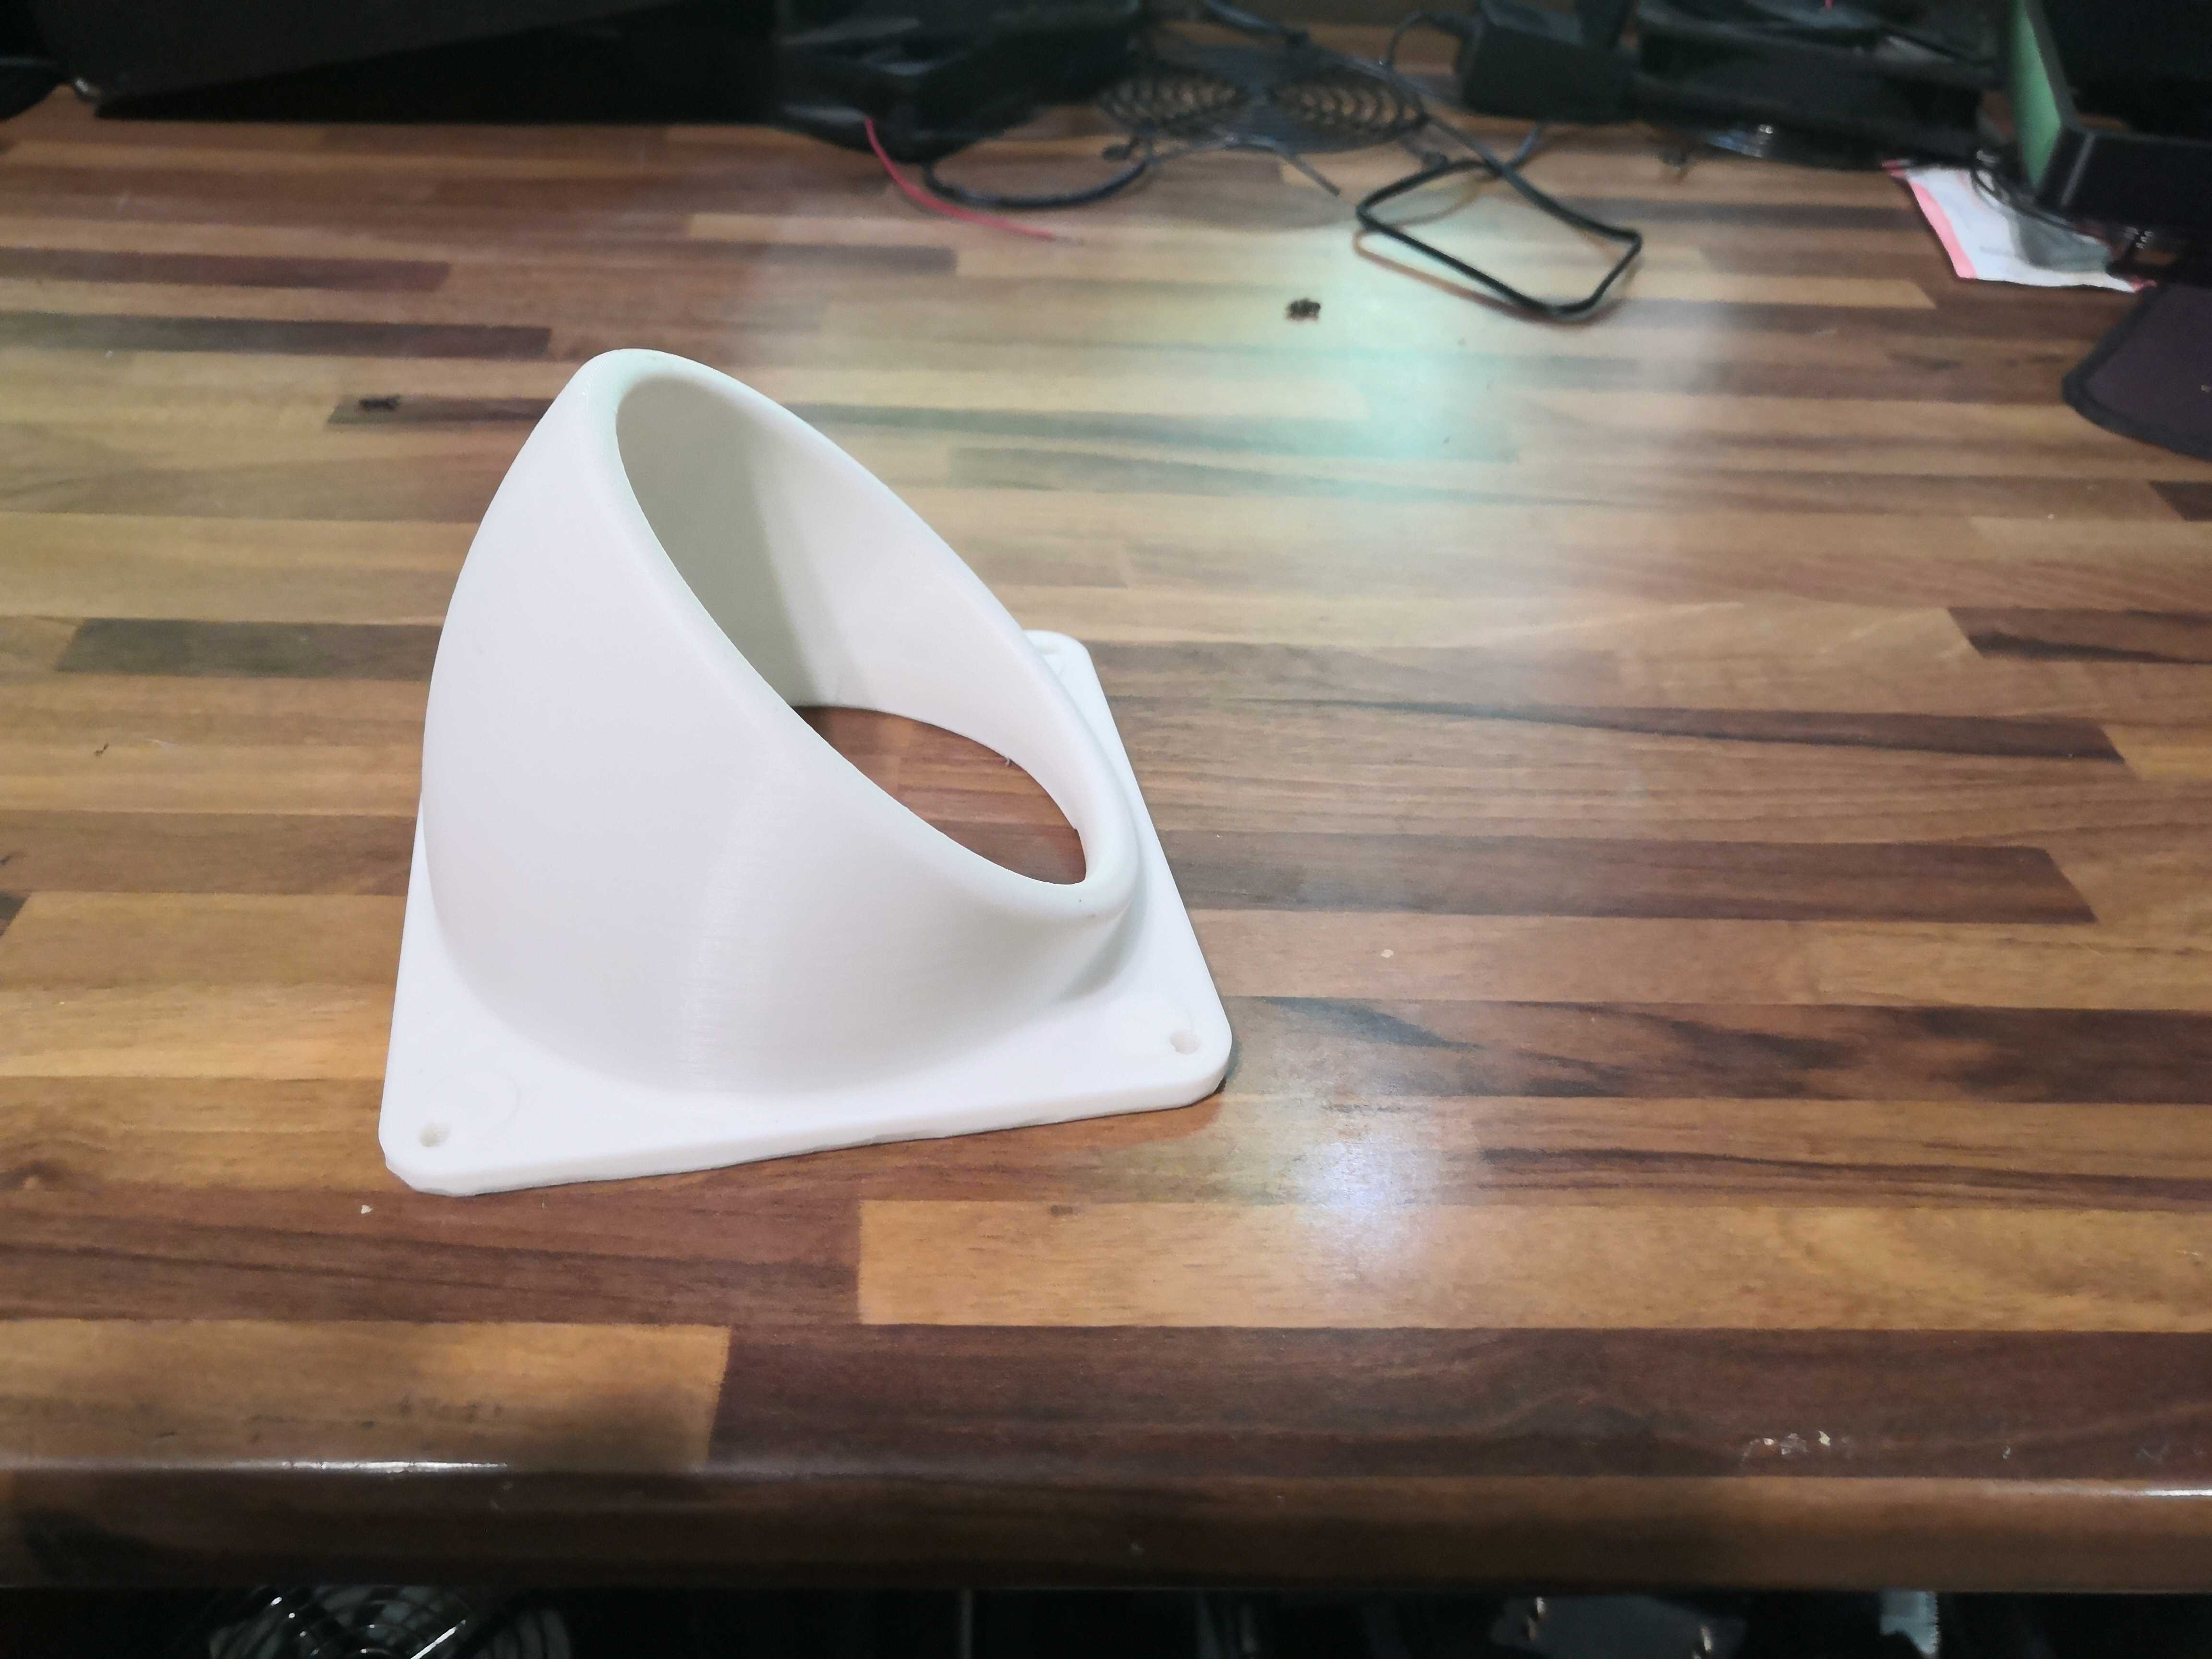
- Tunanika’s 45° air nozzle, originally a shroud for a 40 mm fan, which I resized for my 120 and 140 mm fans.
A quick technical aside on resizing, because this is the kind of pitfall that can lead to a failed print: you can’t simply scale a fan part using homothety. A 40 mm fan has a center-to-center distance of 32 mm; a 120 mm fan has a center-to-center distance of 105 mm; a 140 mm fan has 124.5 mm. A simple ×3 scale factor for the 40 mm fan would result in 96 mm instead of 105—an error of 9 mm. So you have to keep the nozzle profile but redesign the mounting plate to the correct dimensions. (I’ve detailed this process in another post.)
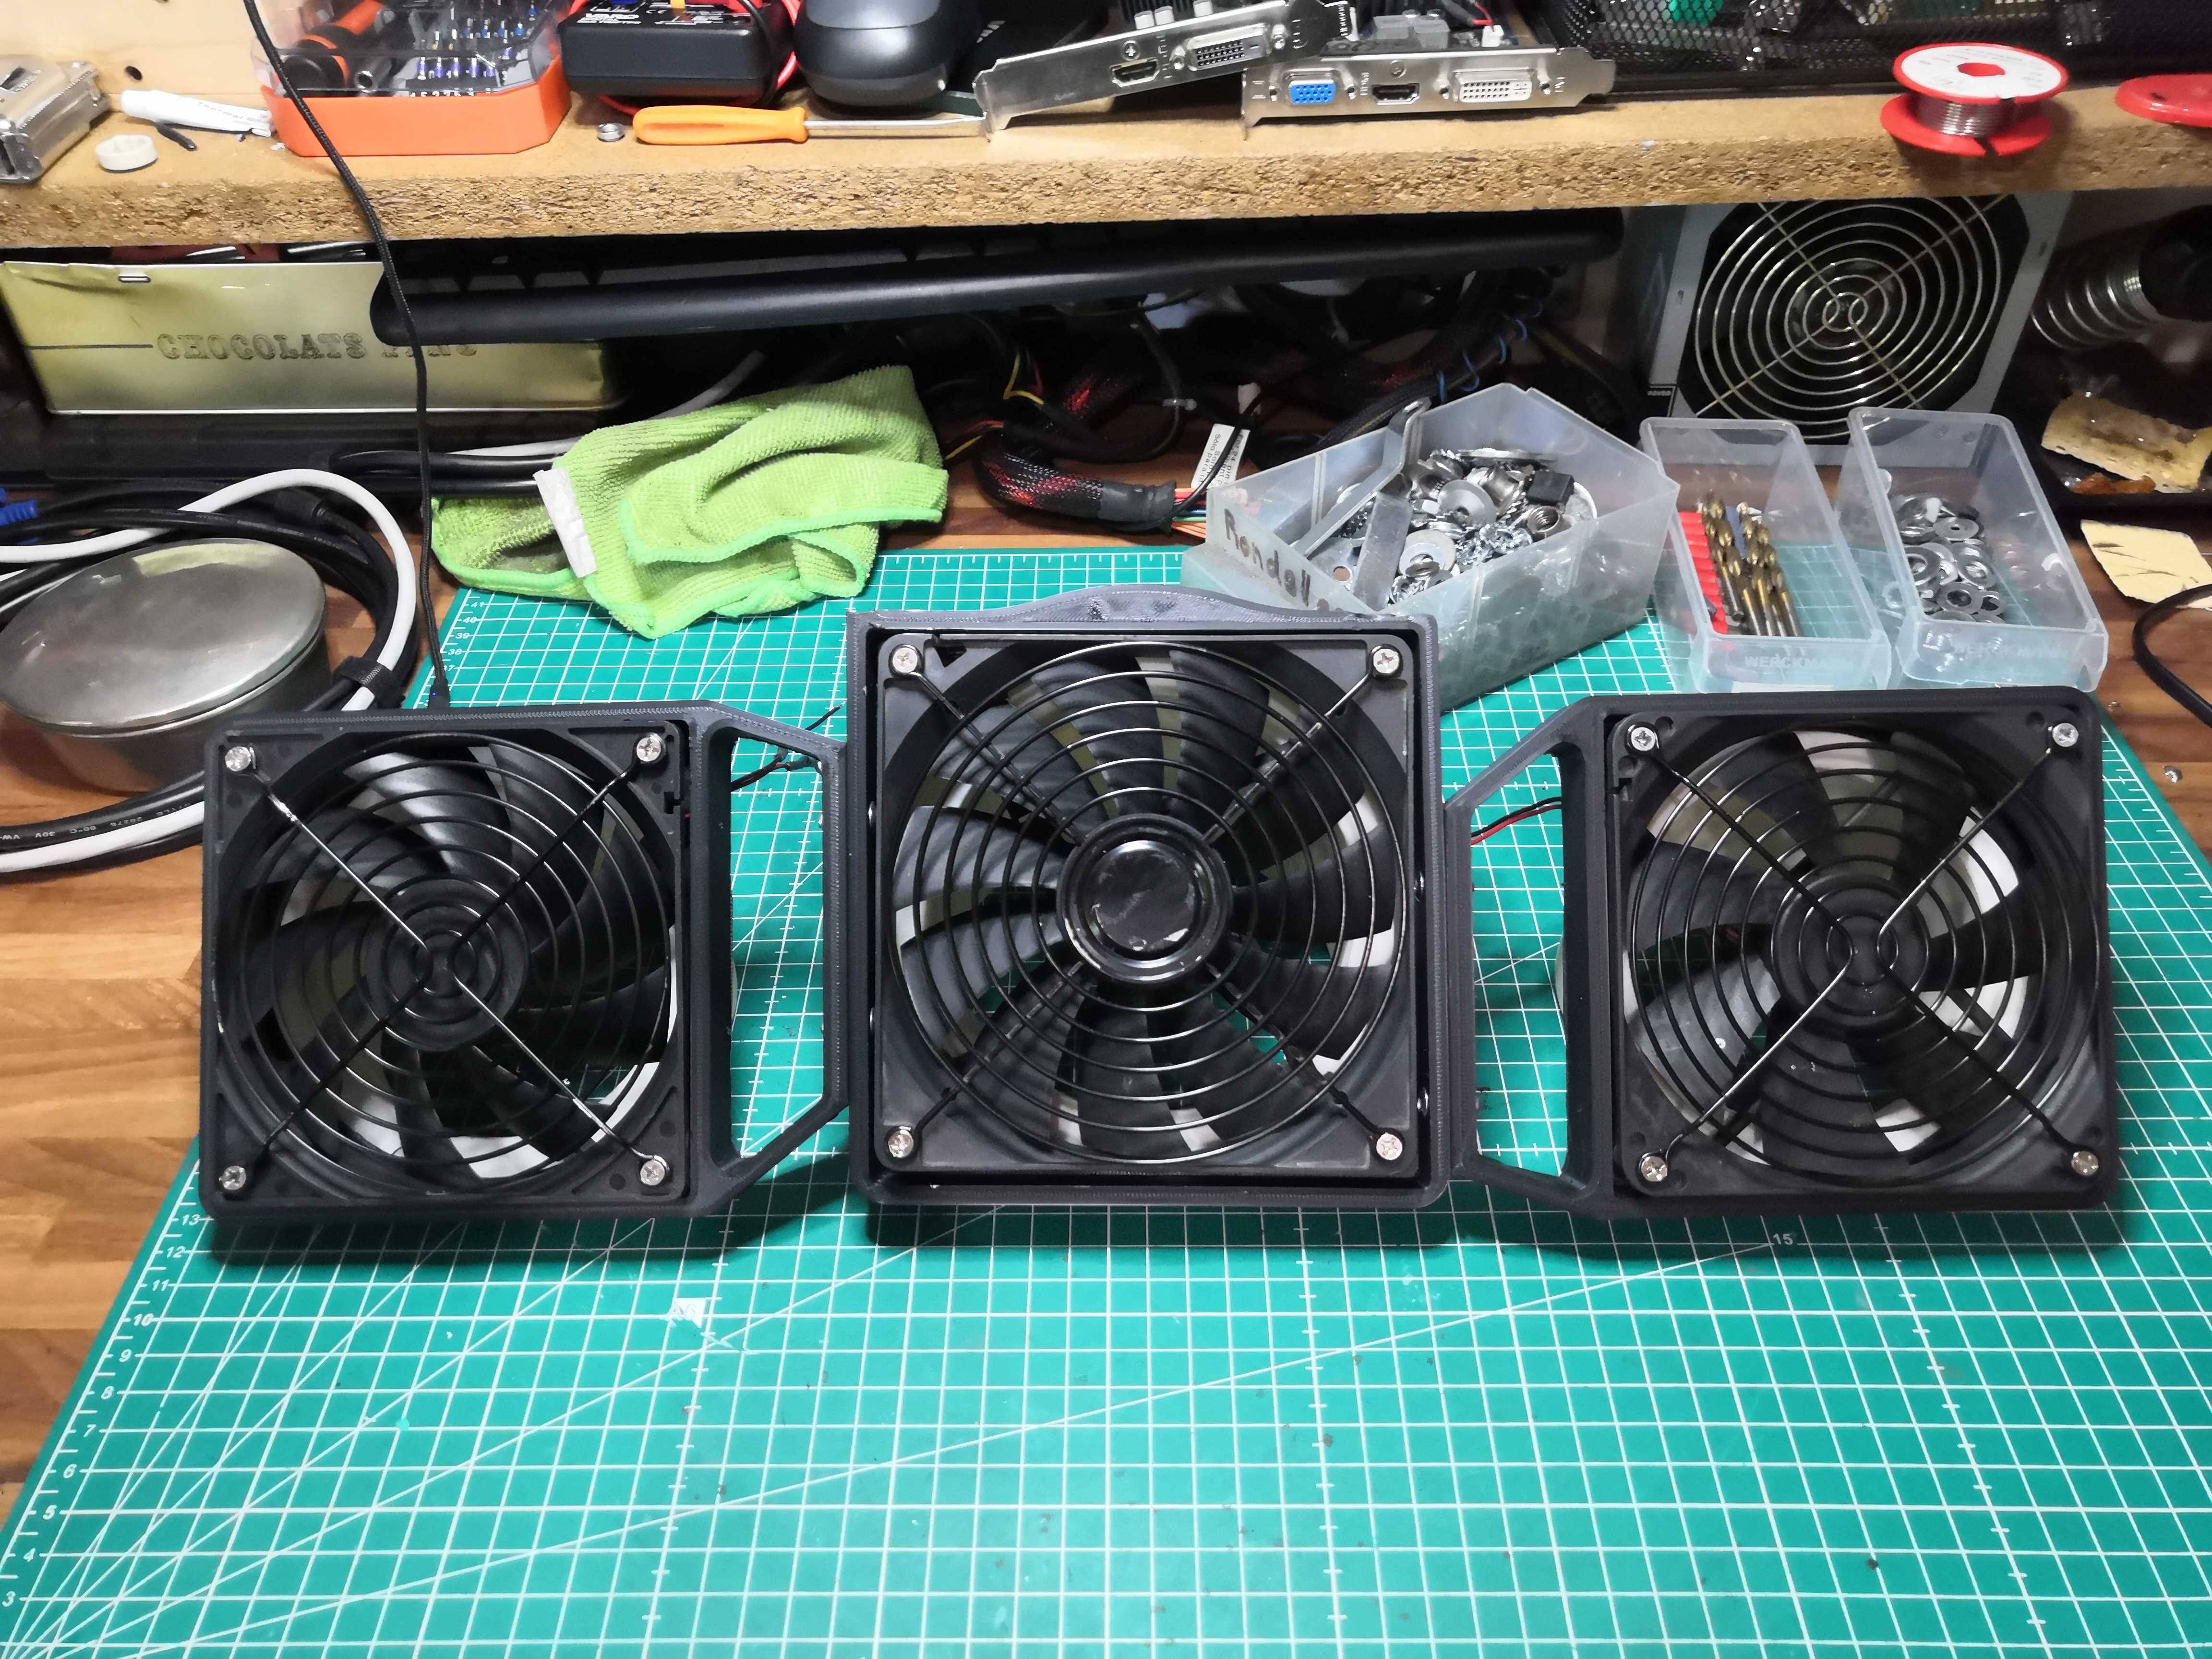
We start by removing the brackets from the printer.
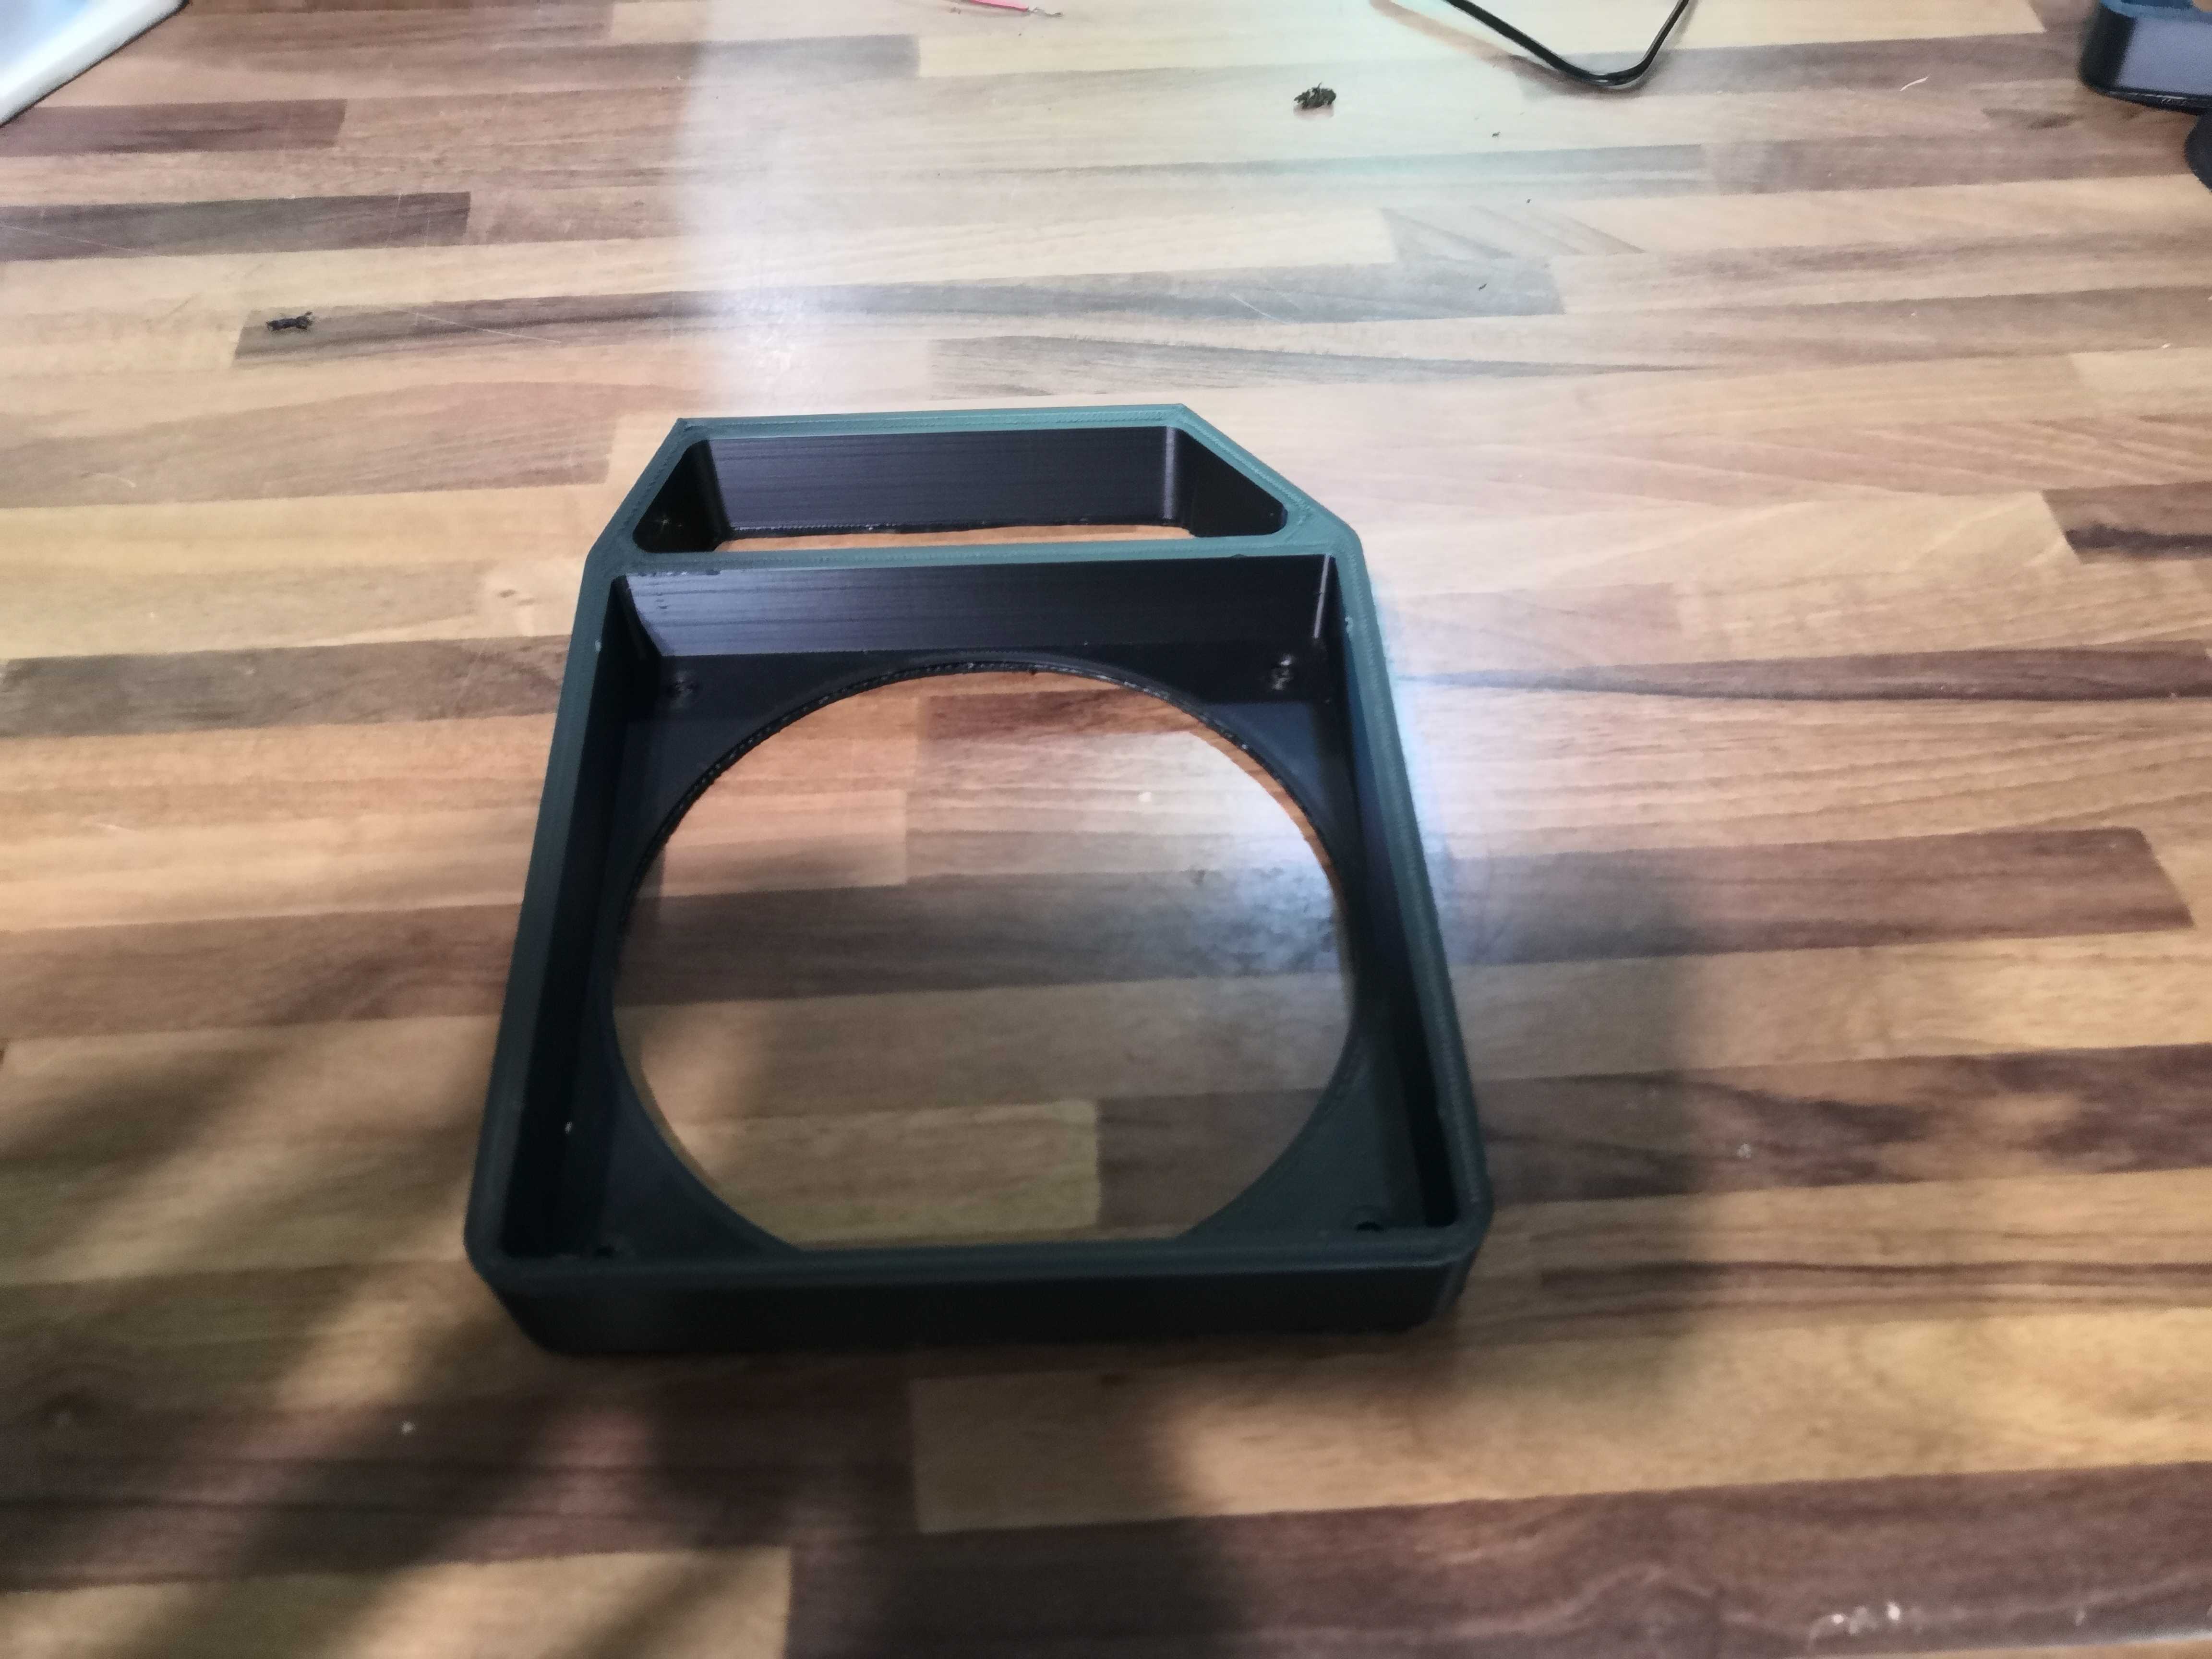
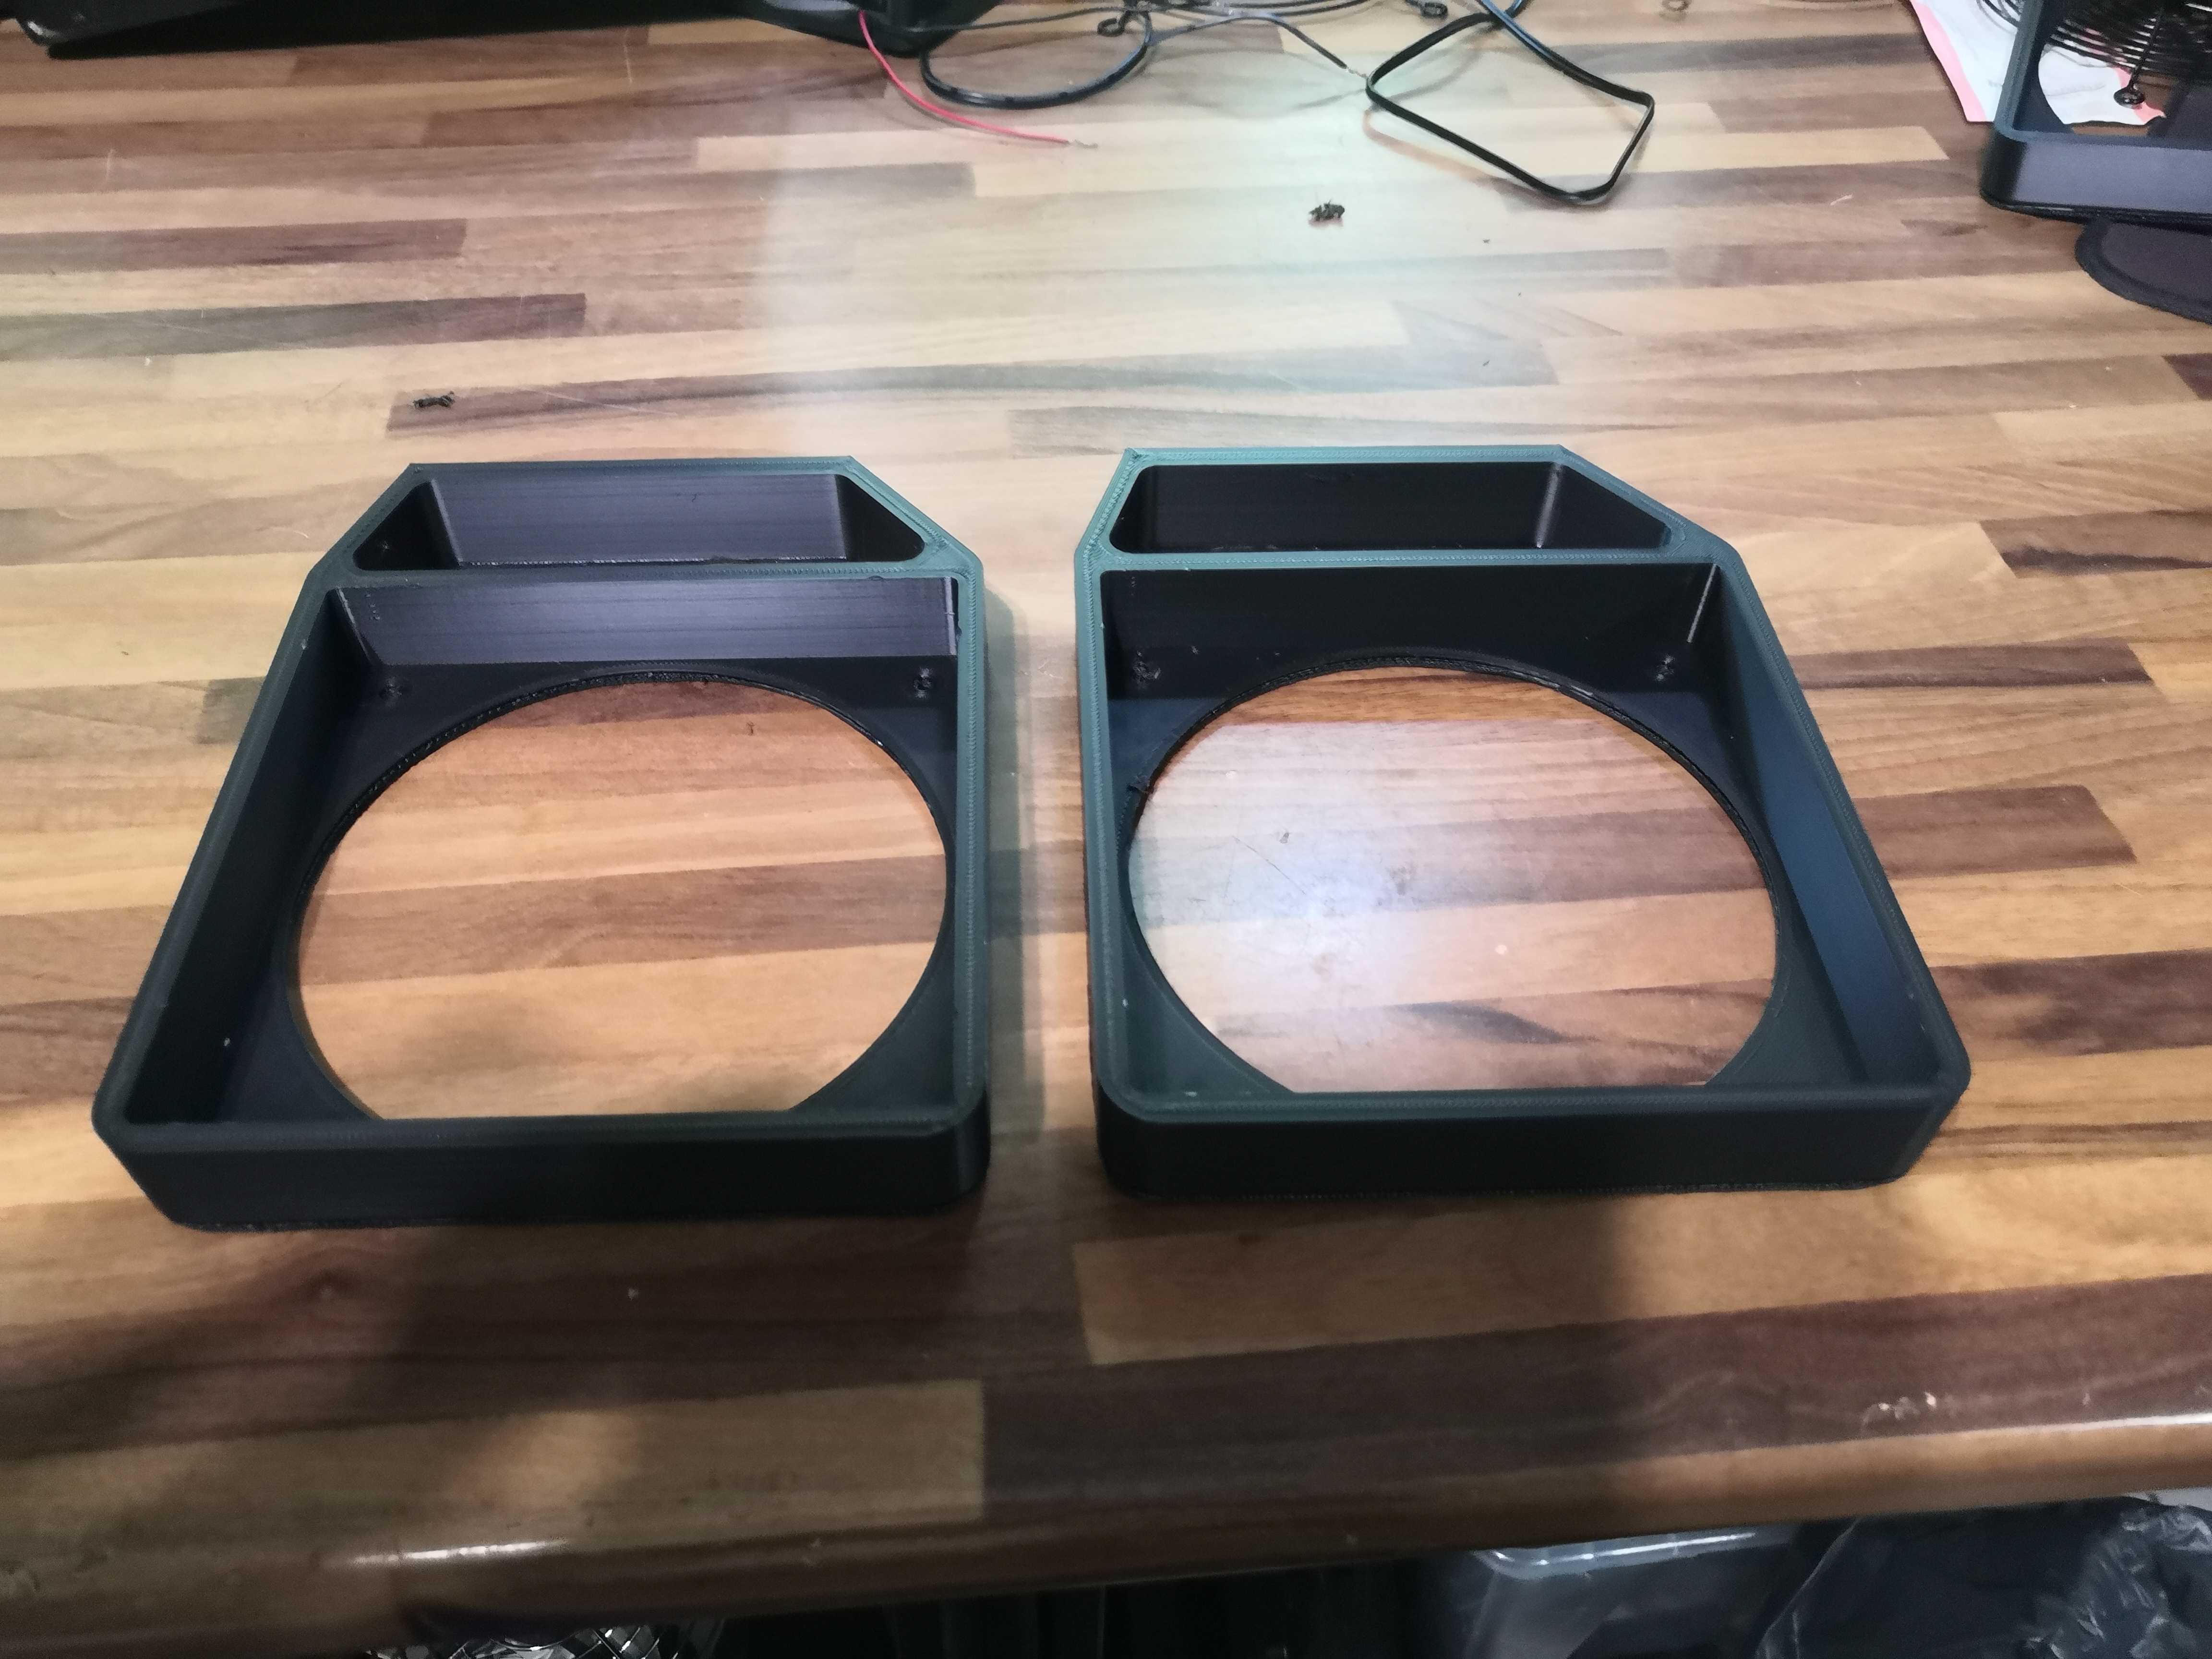
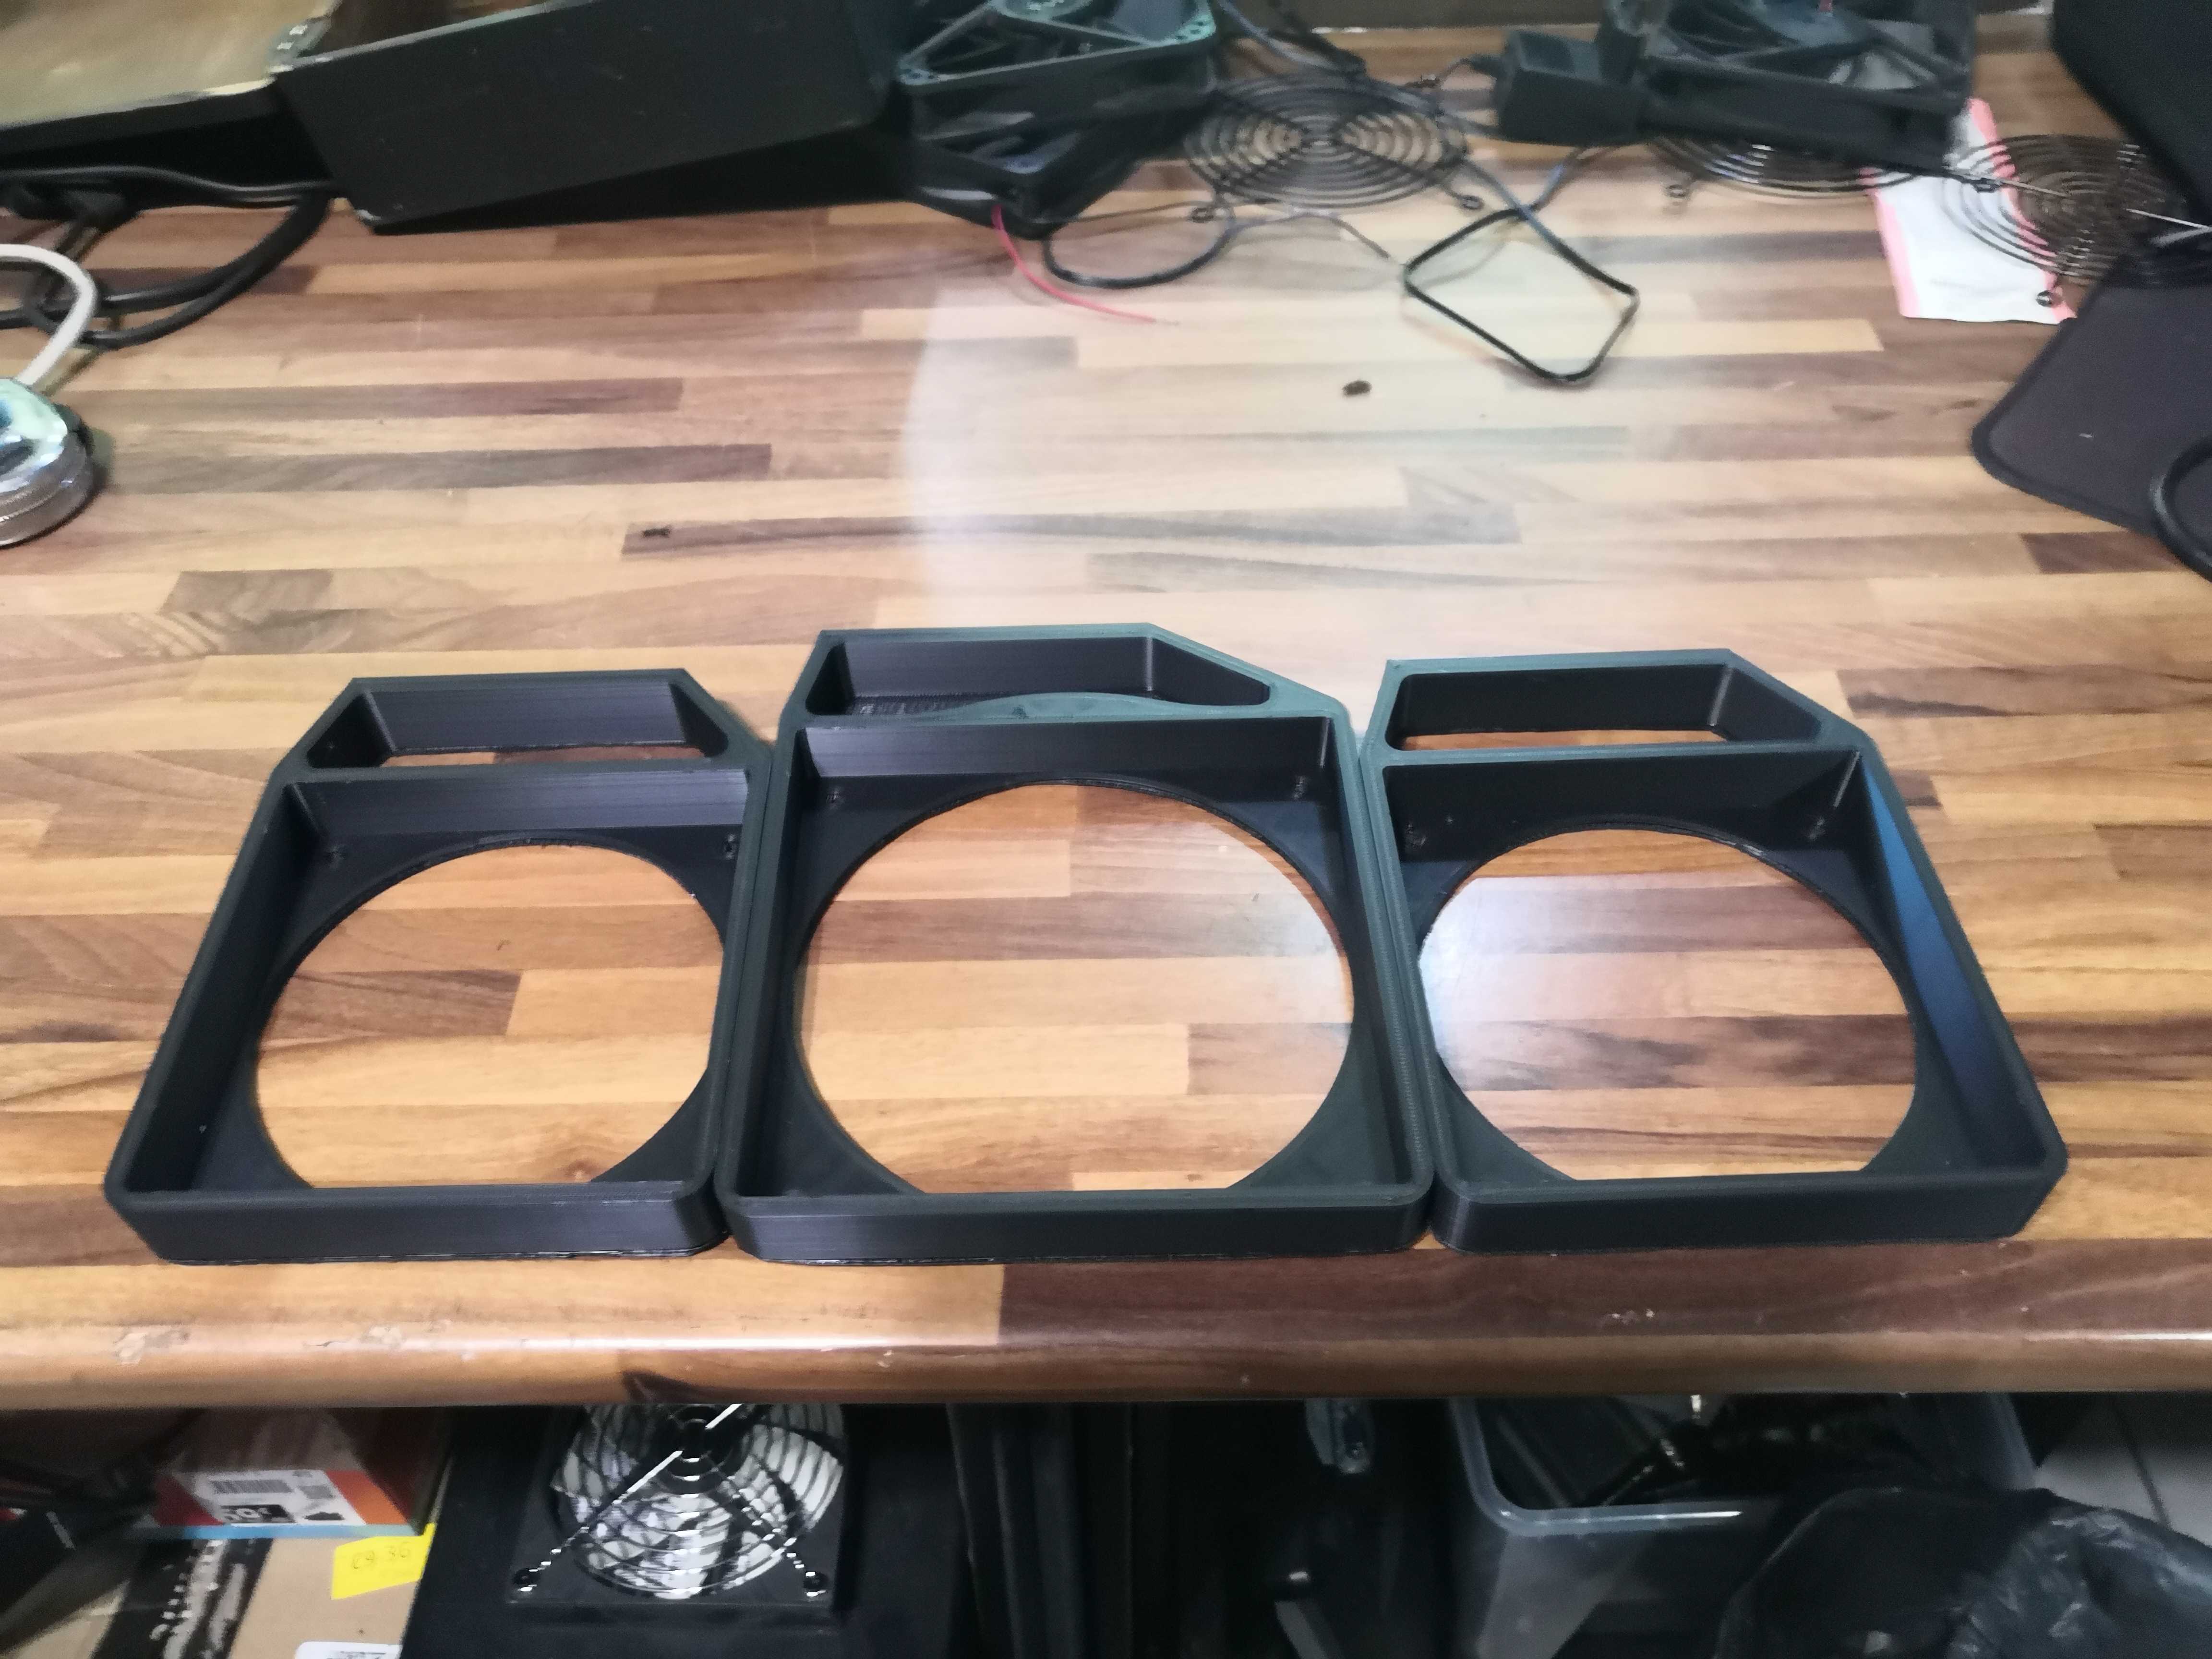
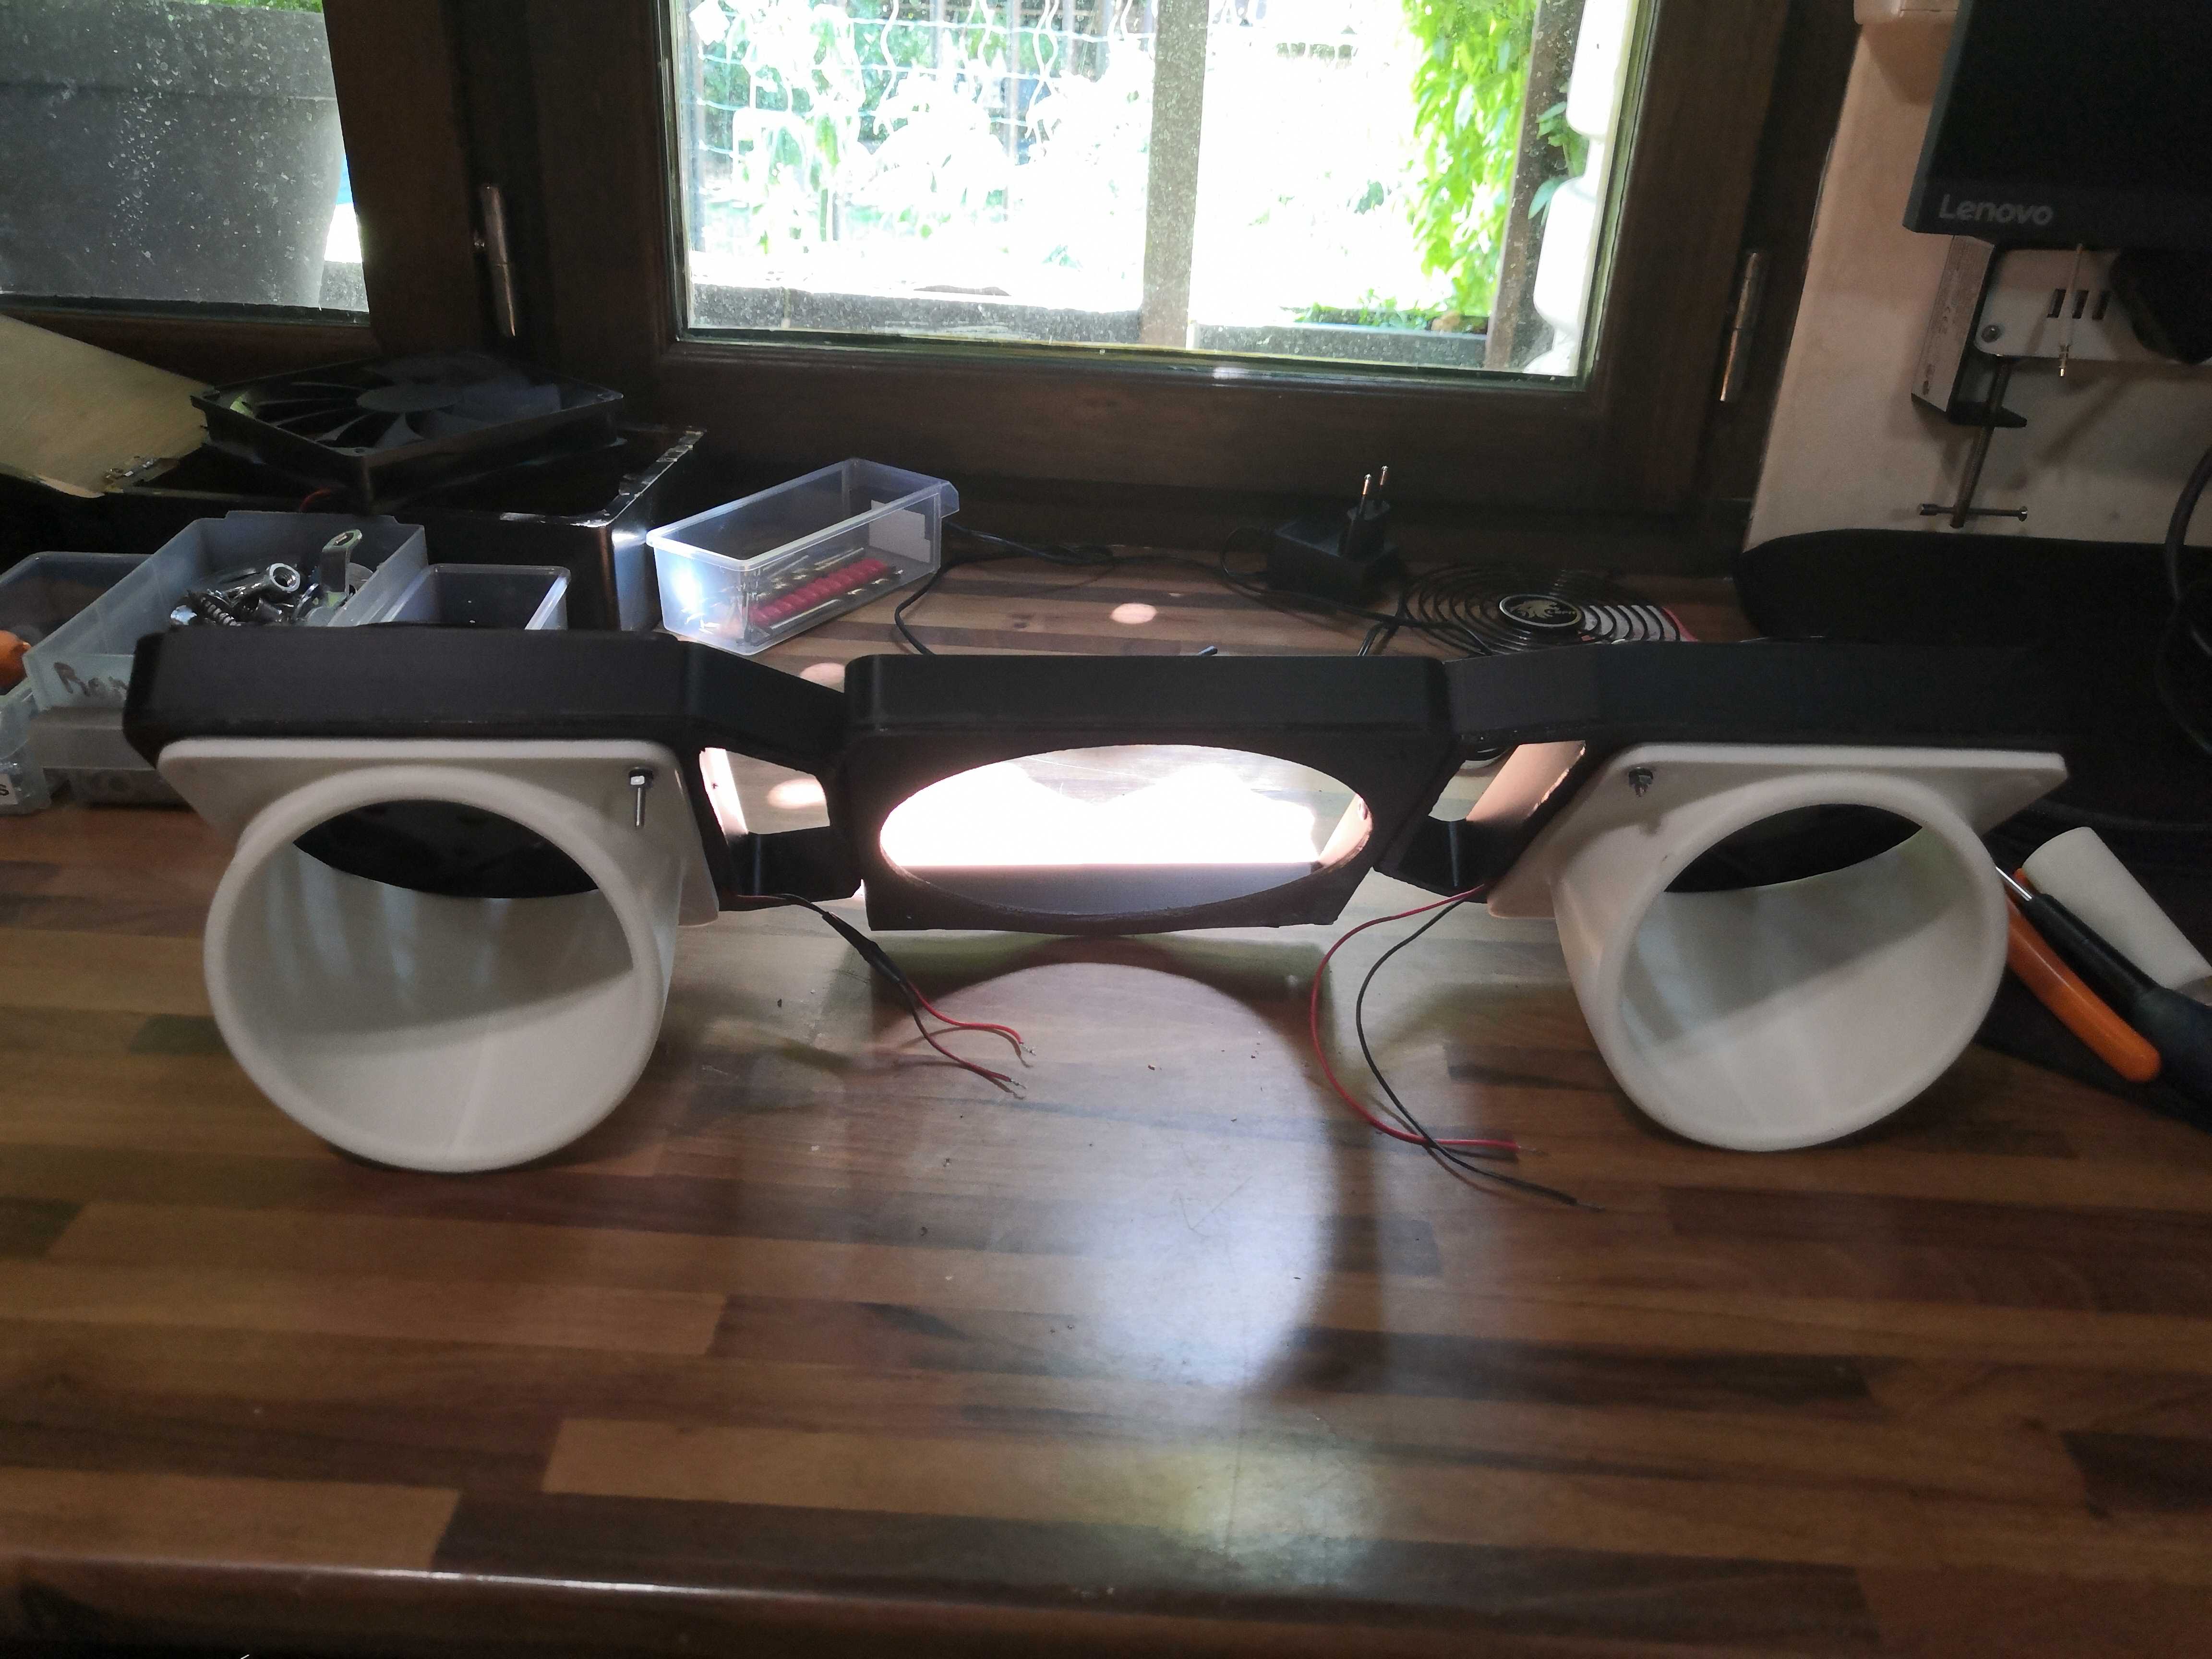
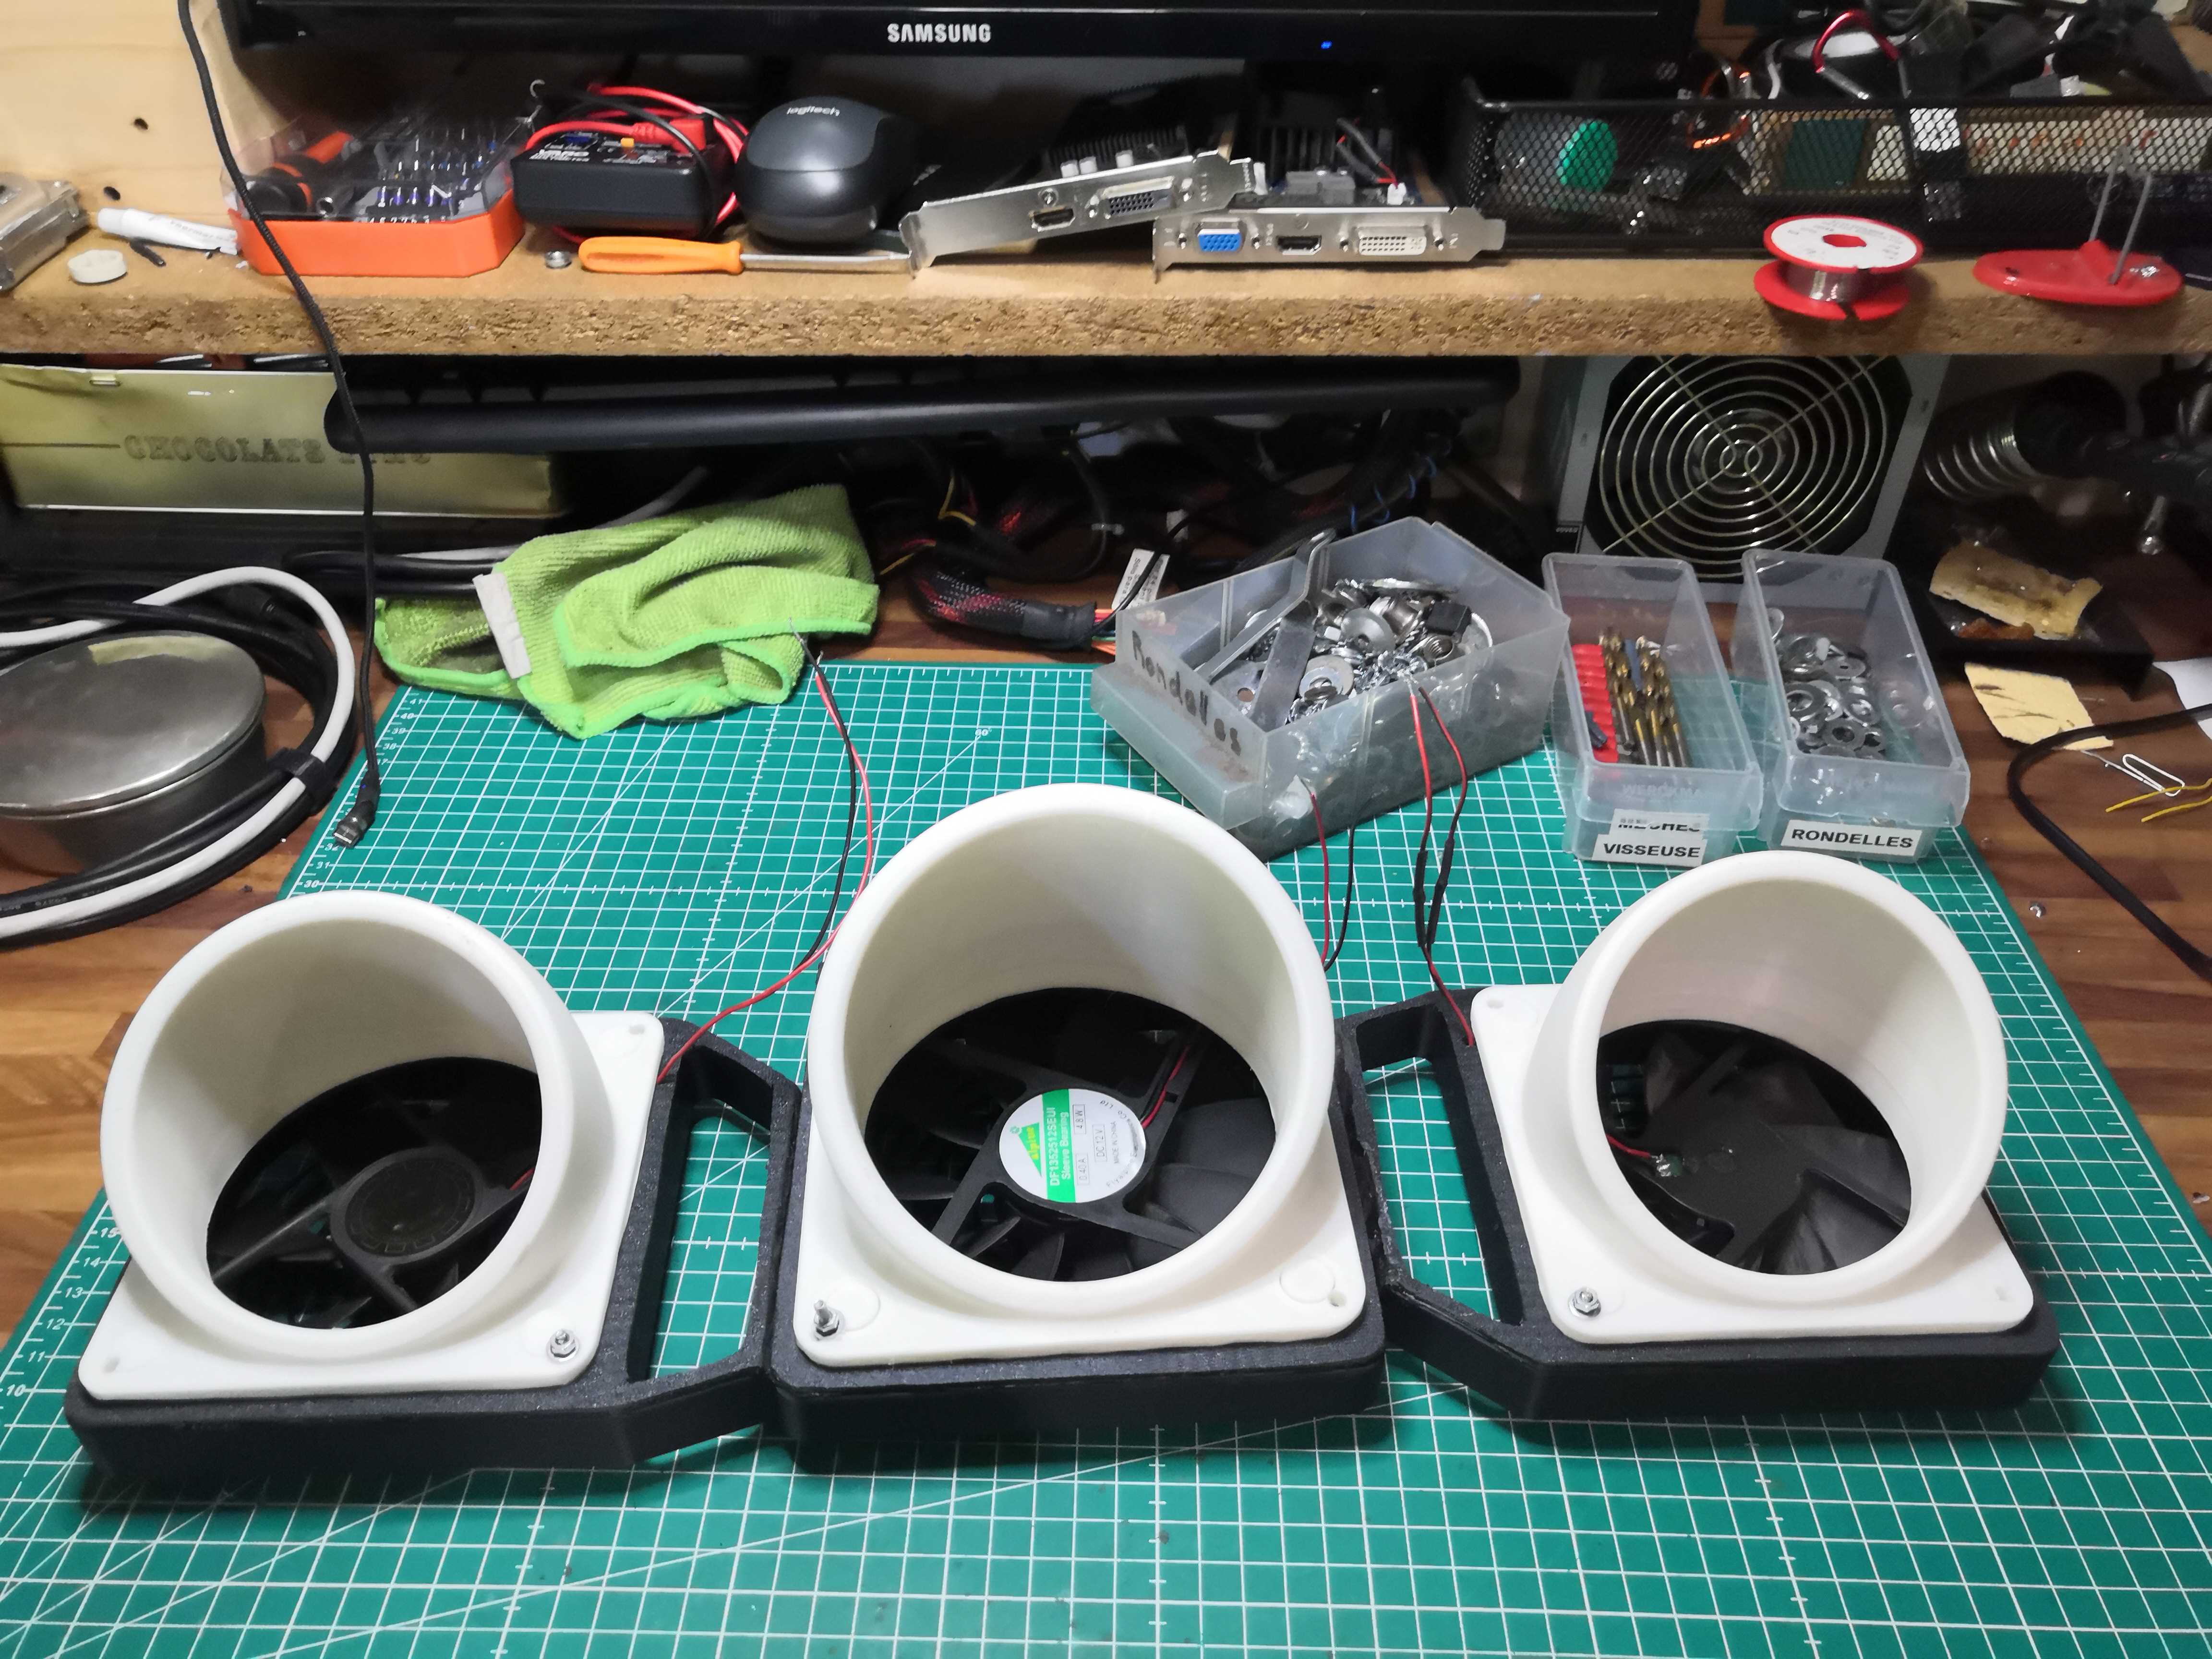
Then the resized 45° air nozzle, shown here in white:
Assembly
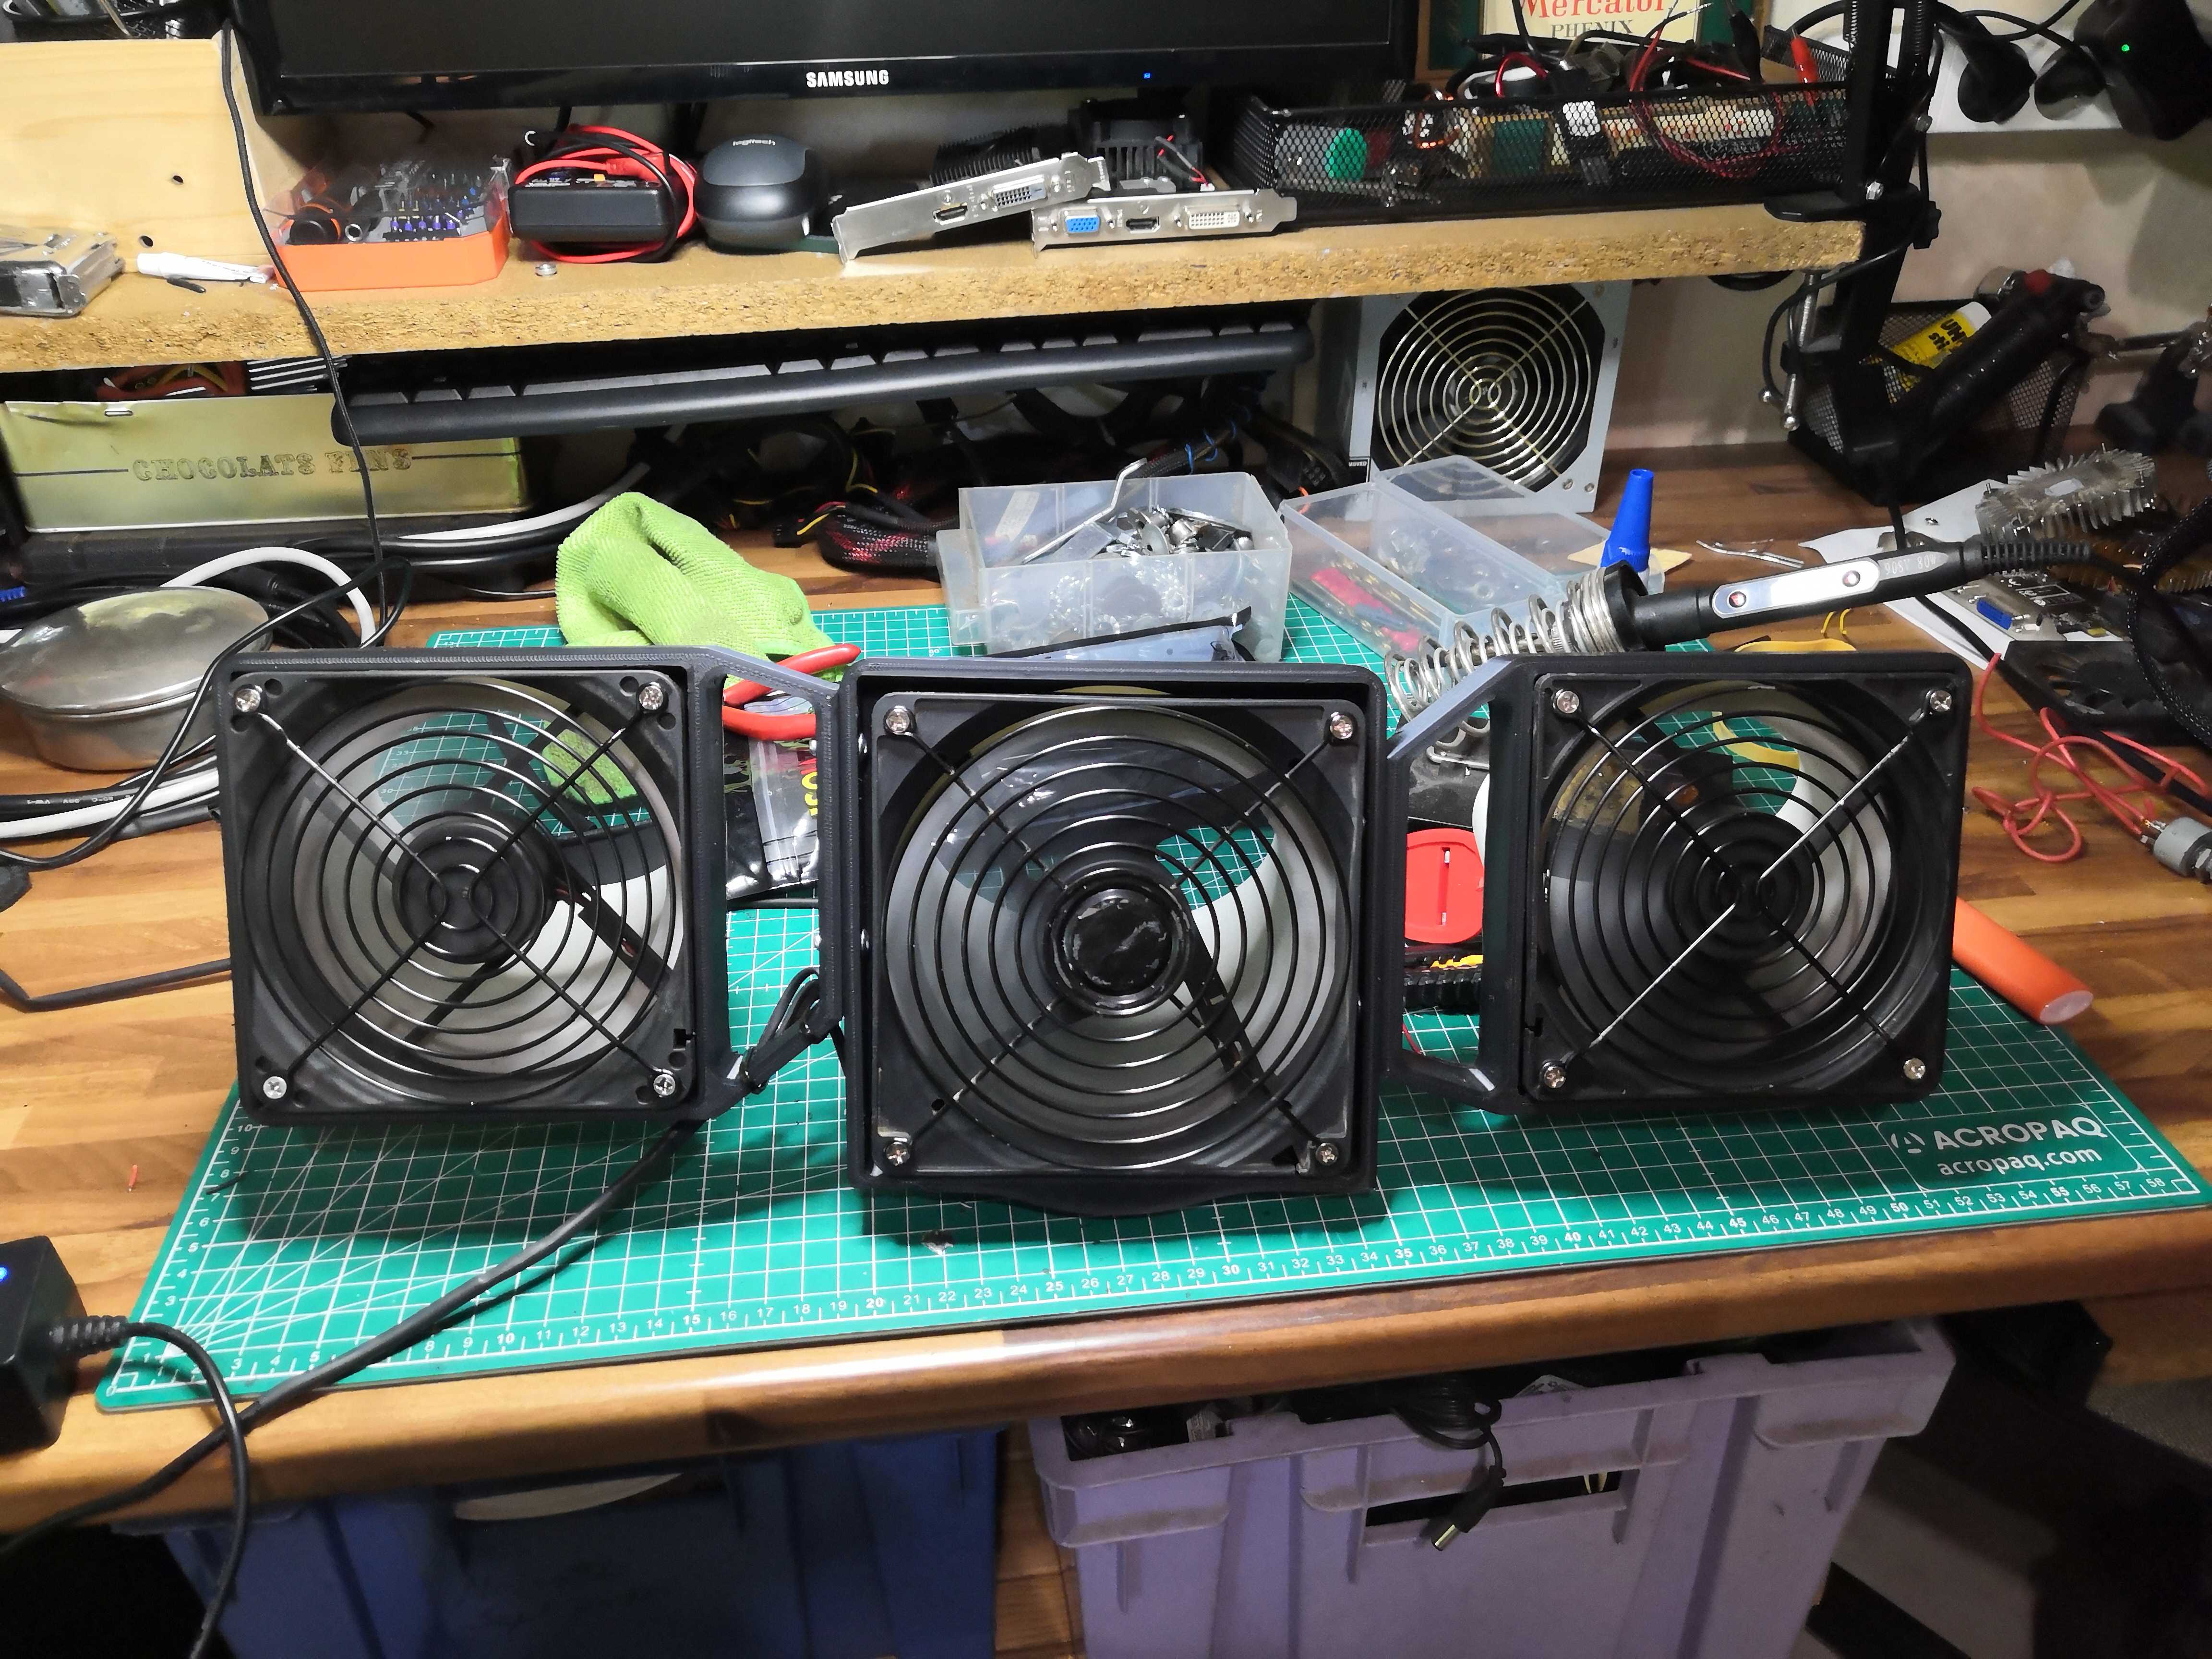
From there, it’s like Meccano: a bracket, a fan, a nozzle, and some screws. The work surface fills up quickly.
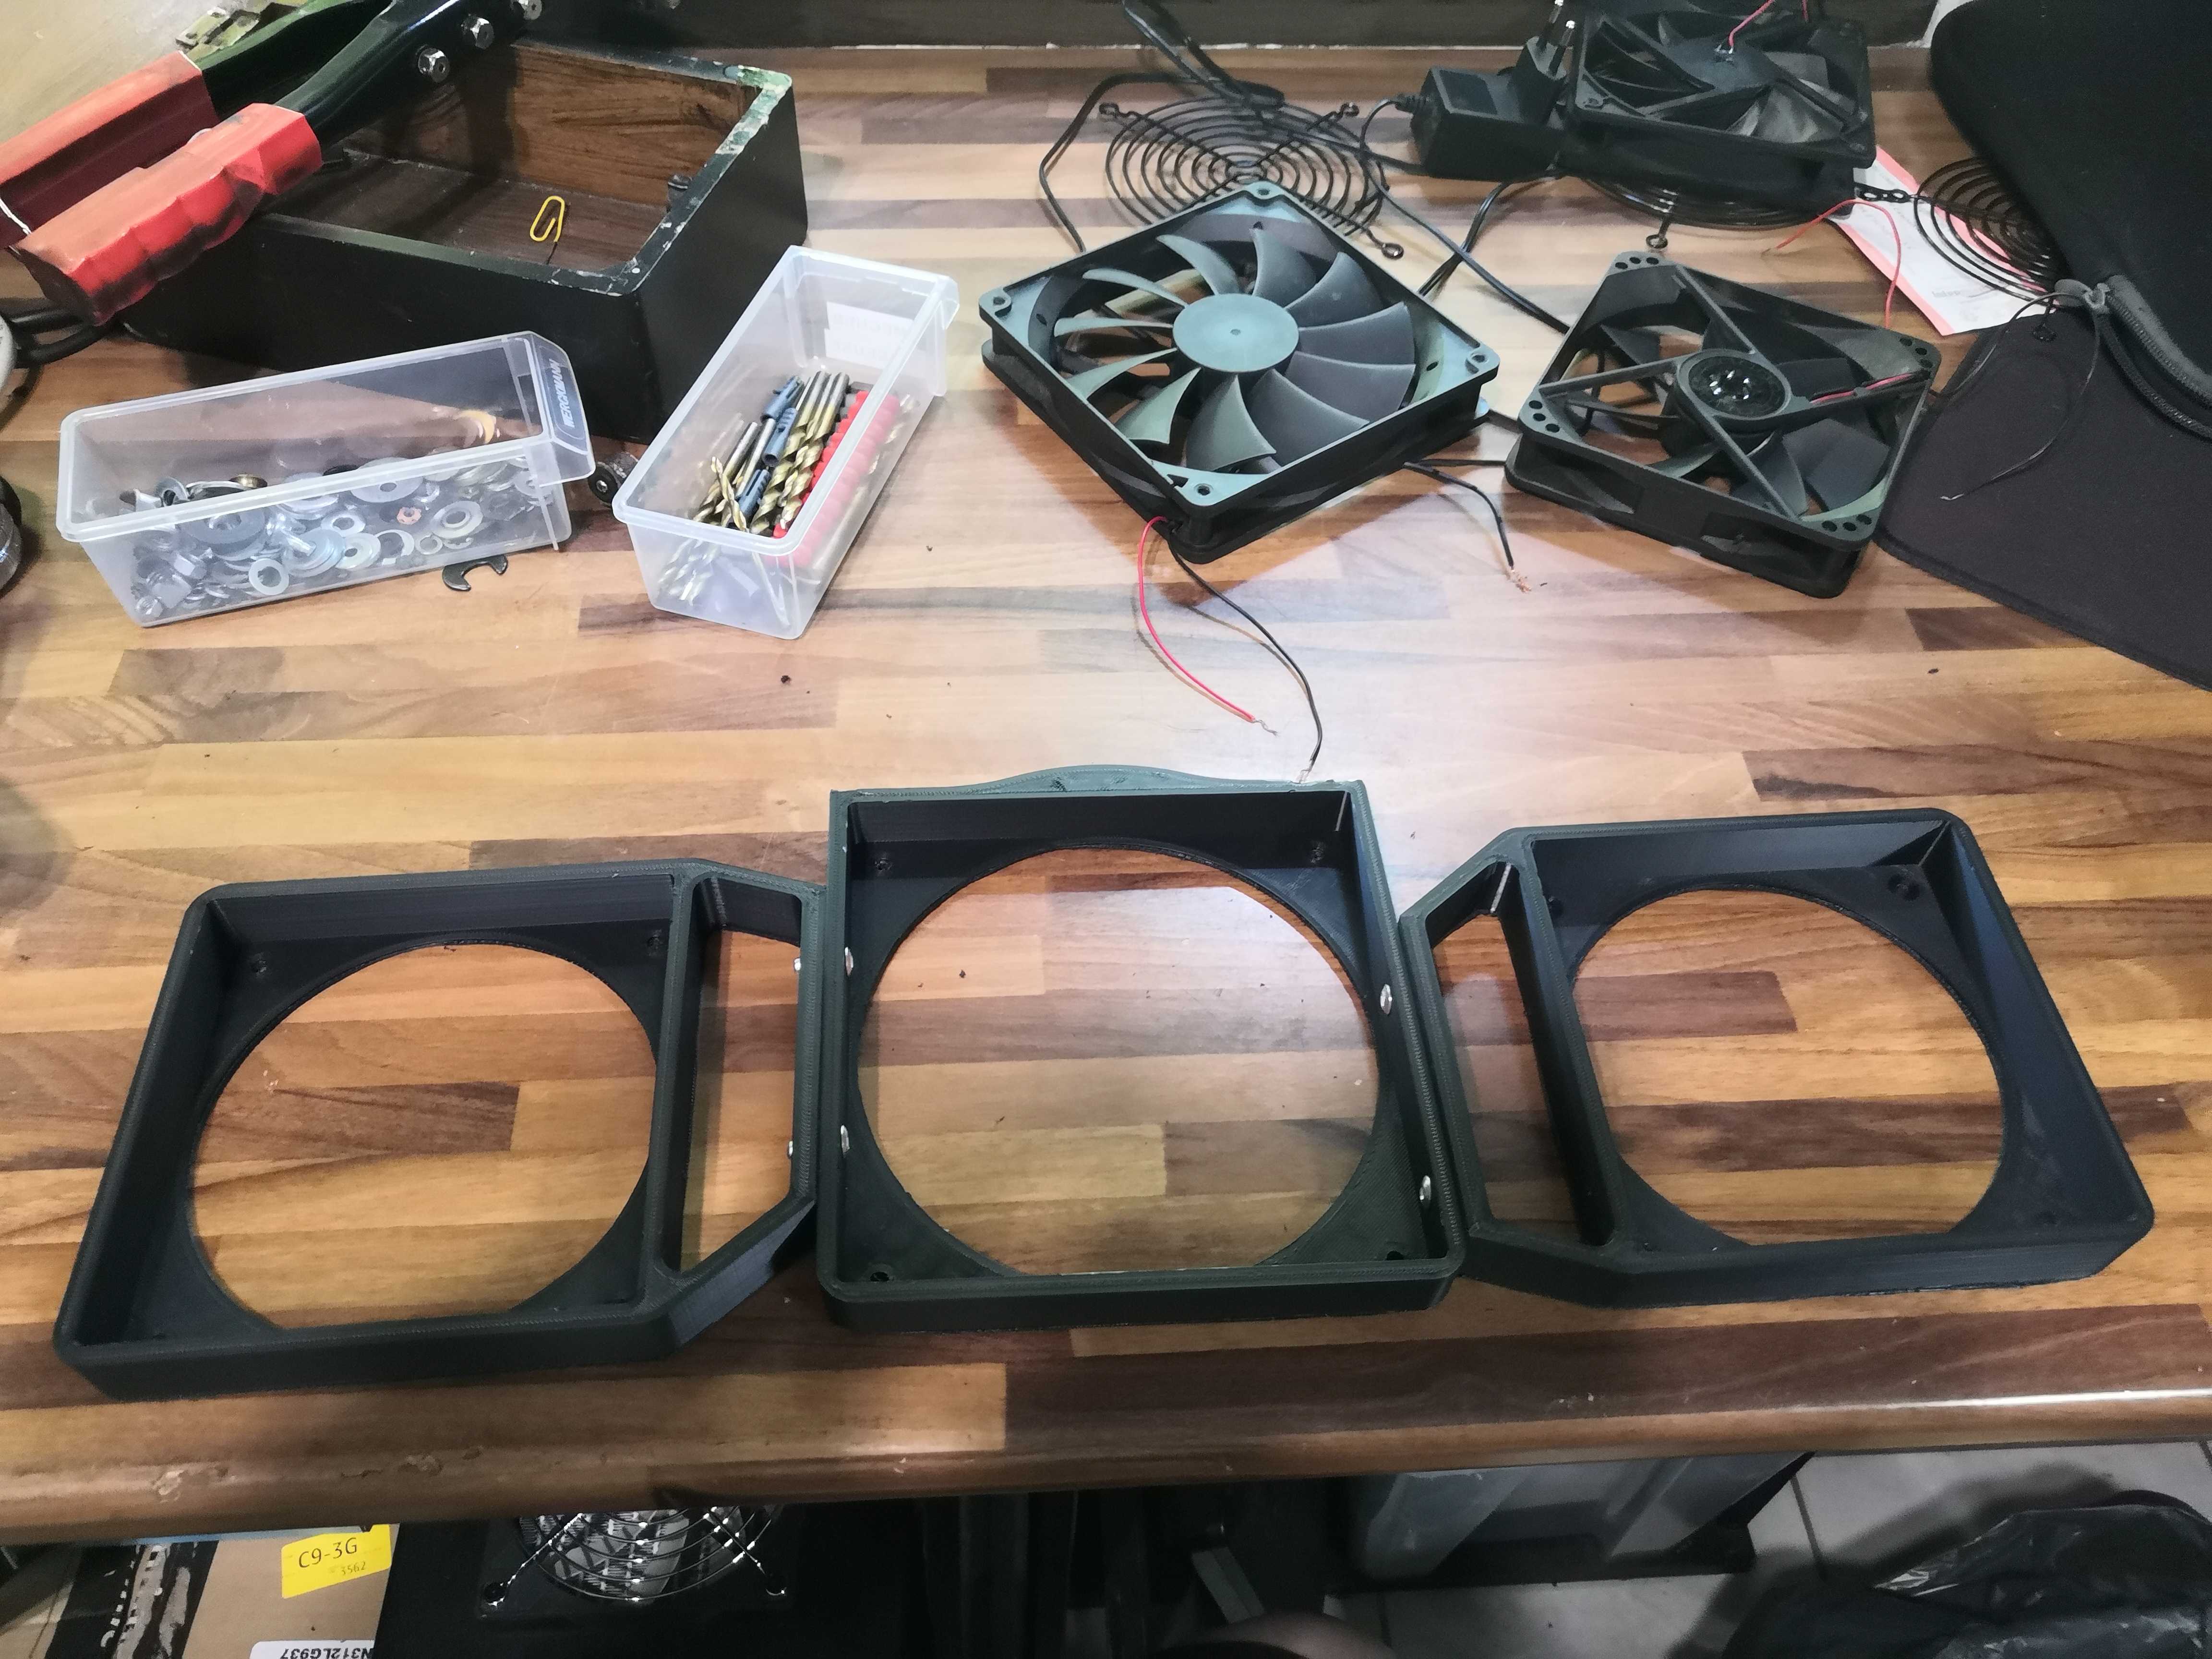
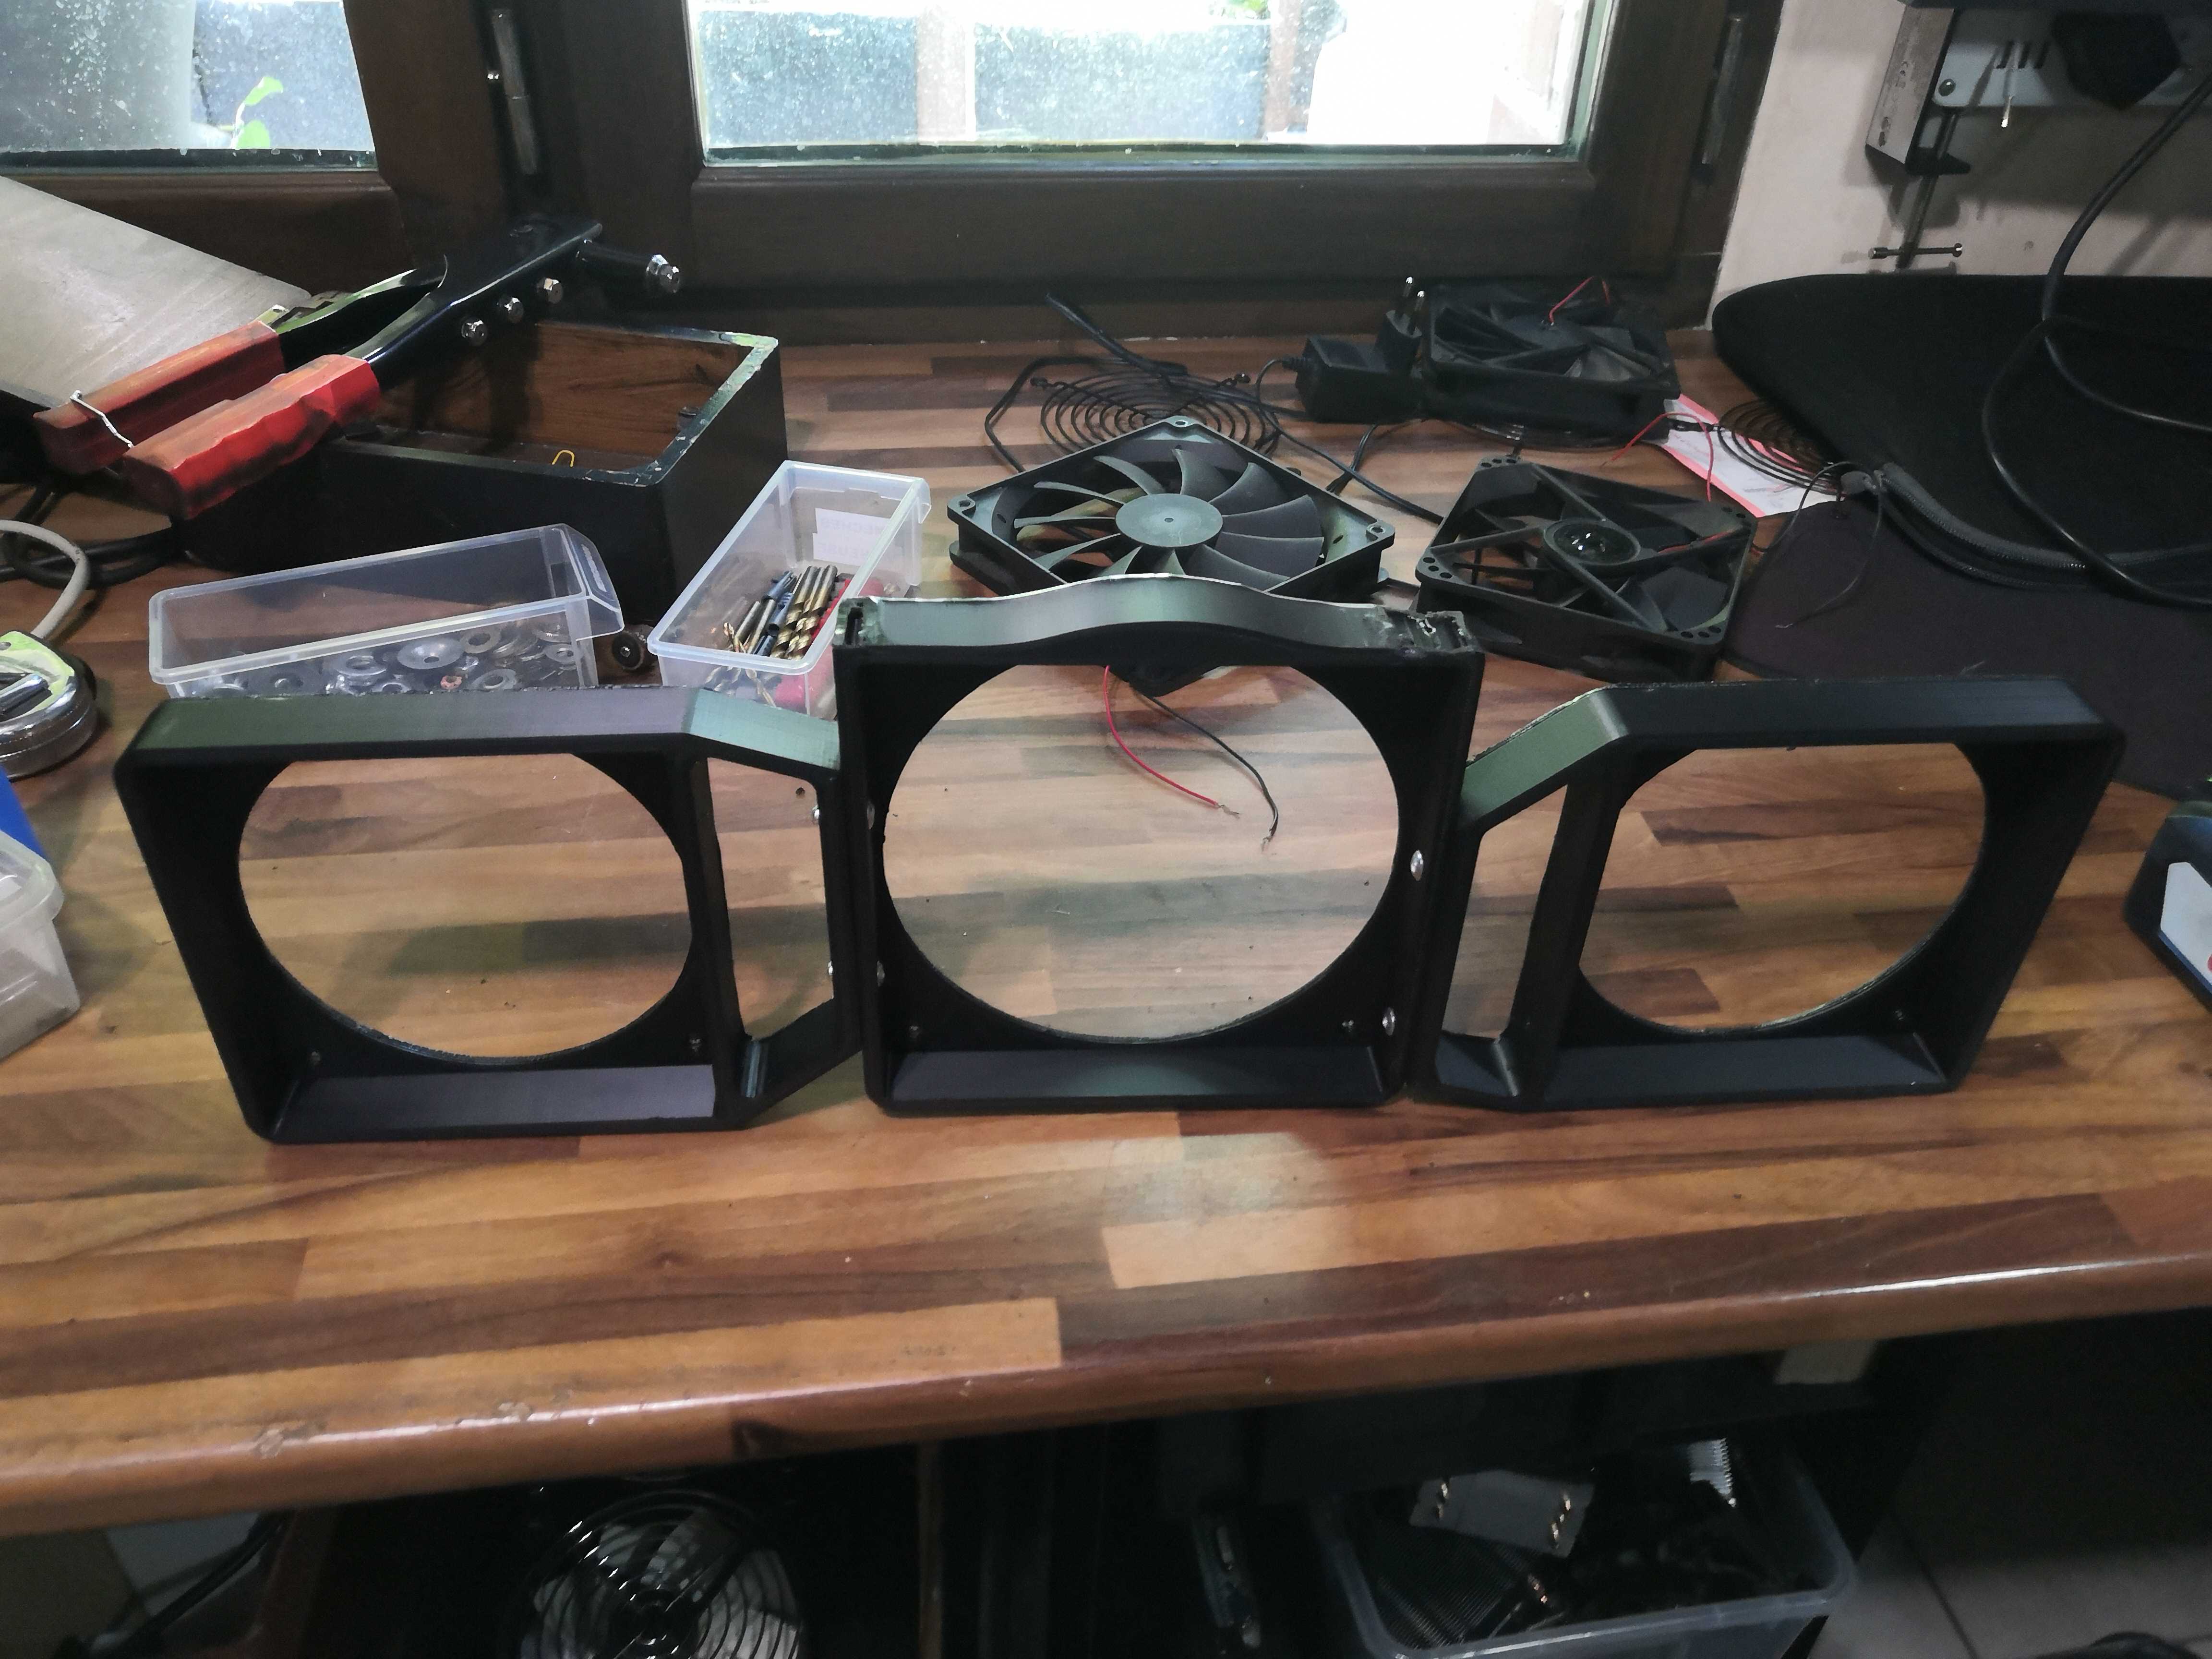
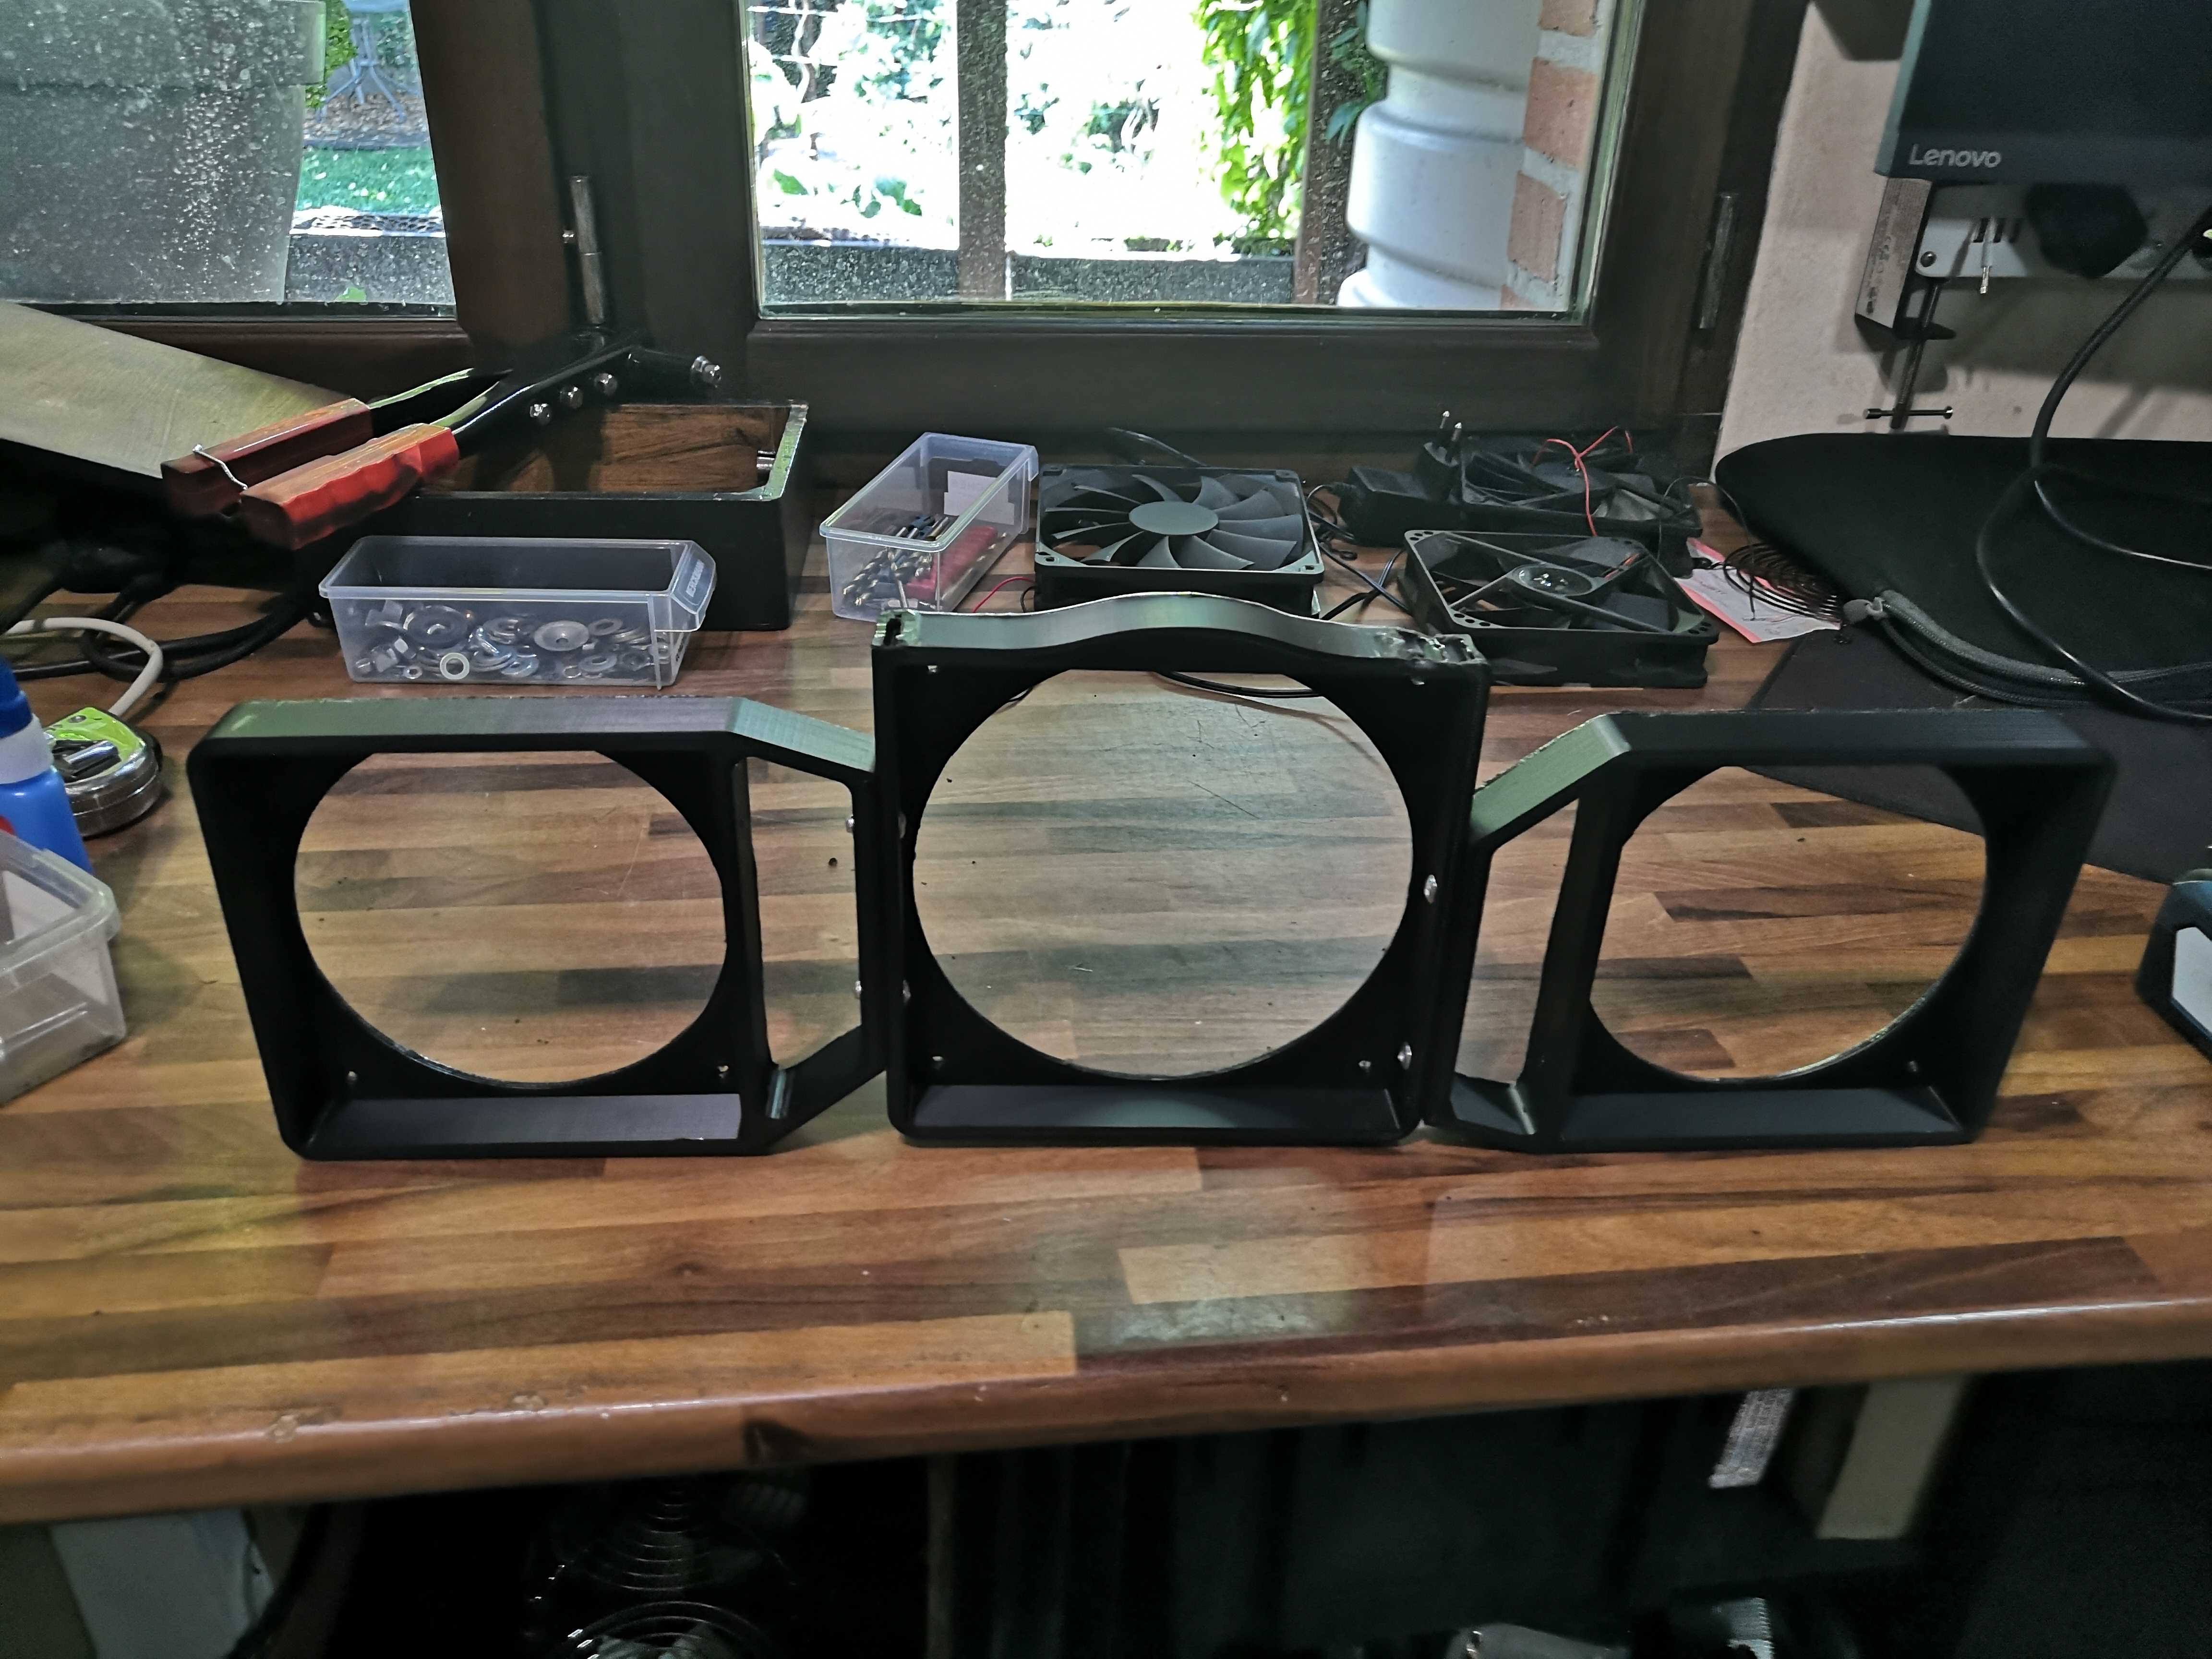
Mounting the fans in the brackets:
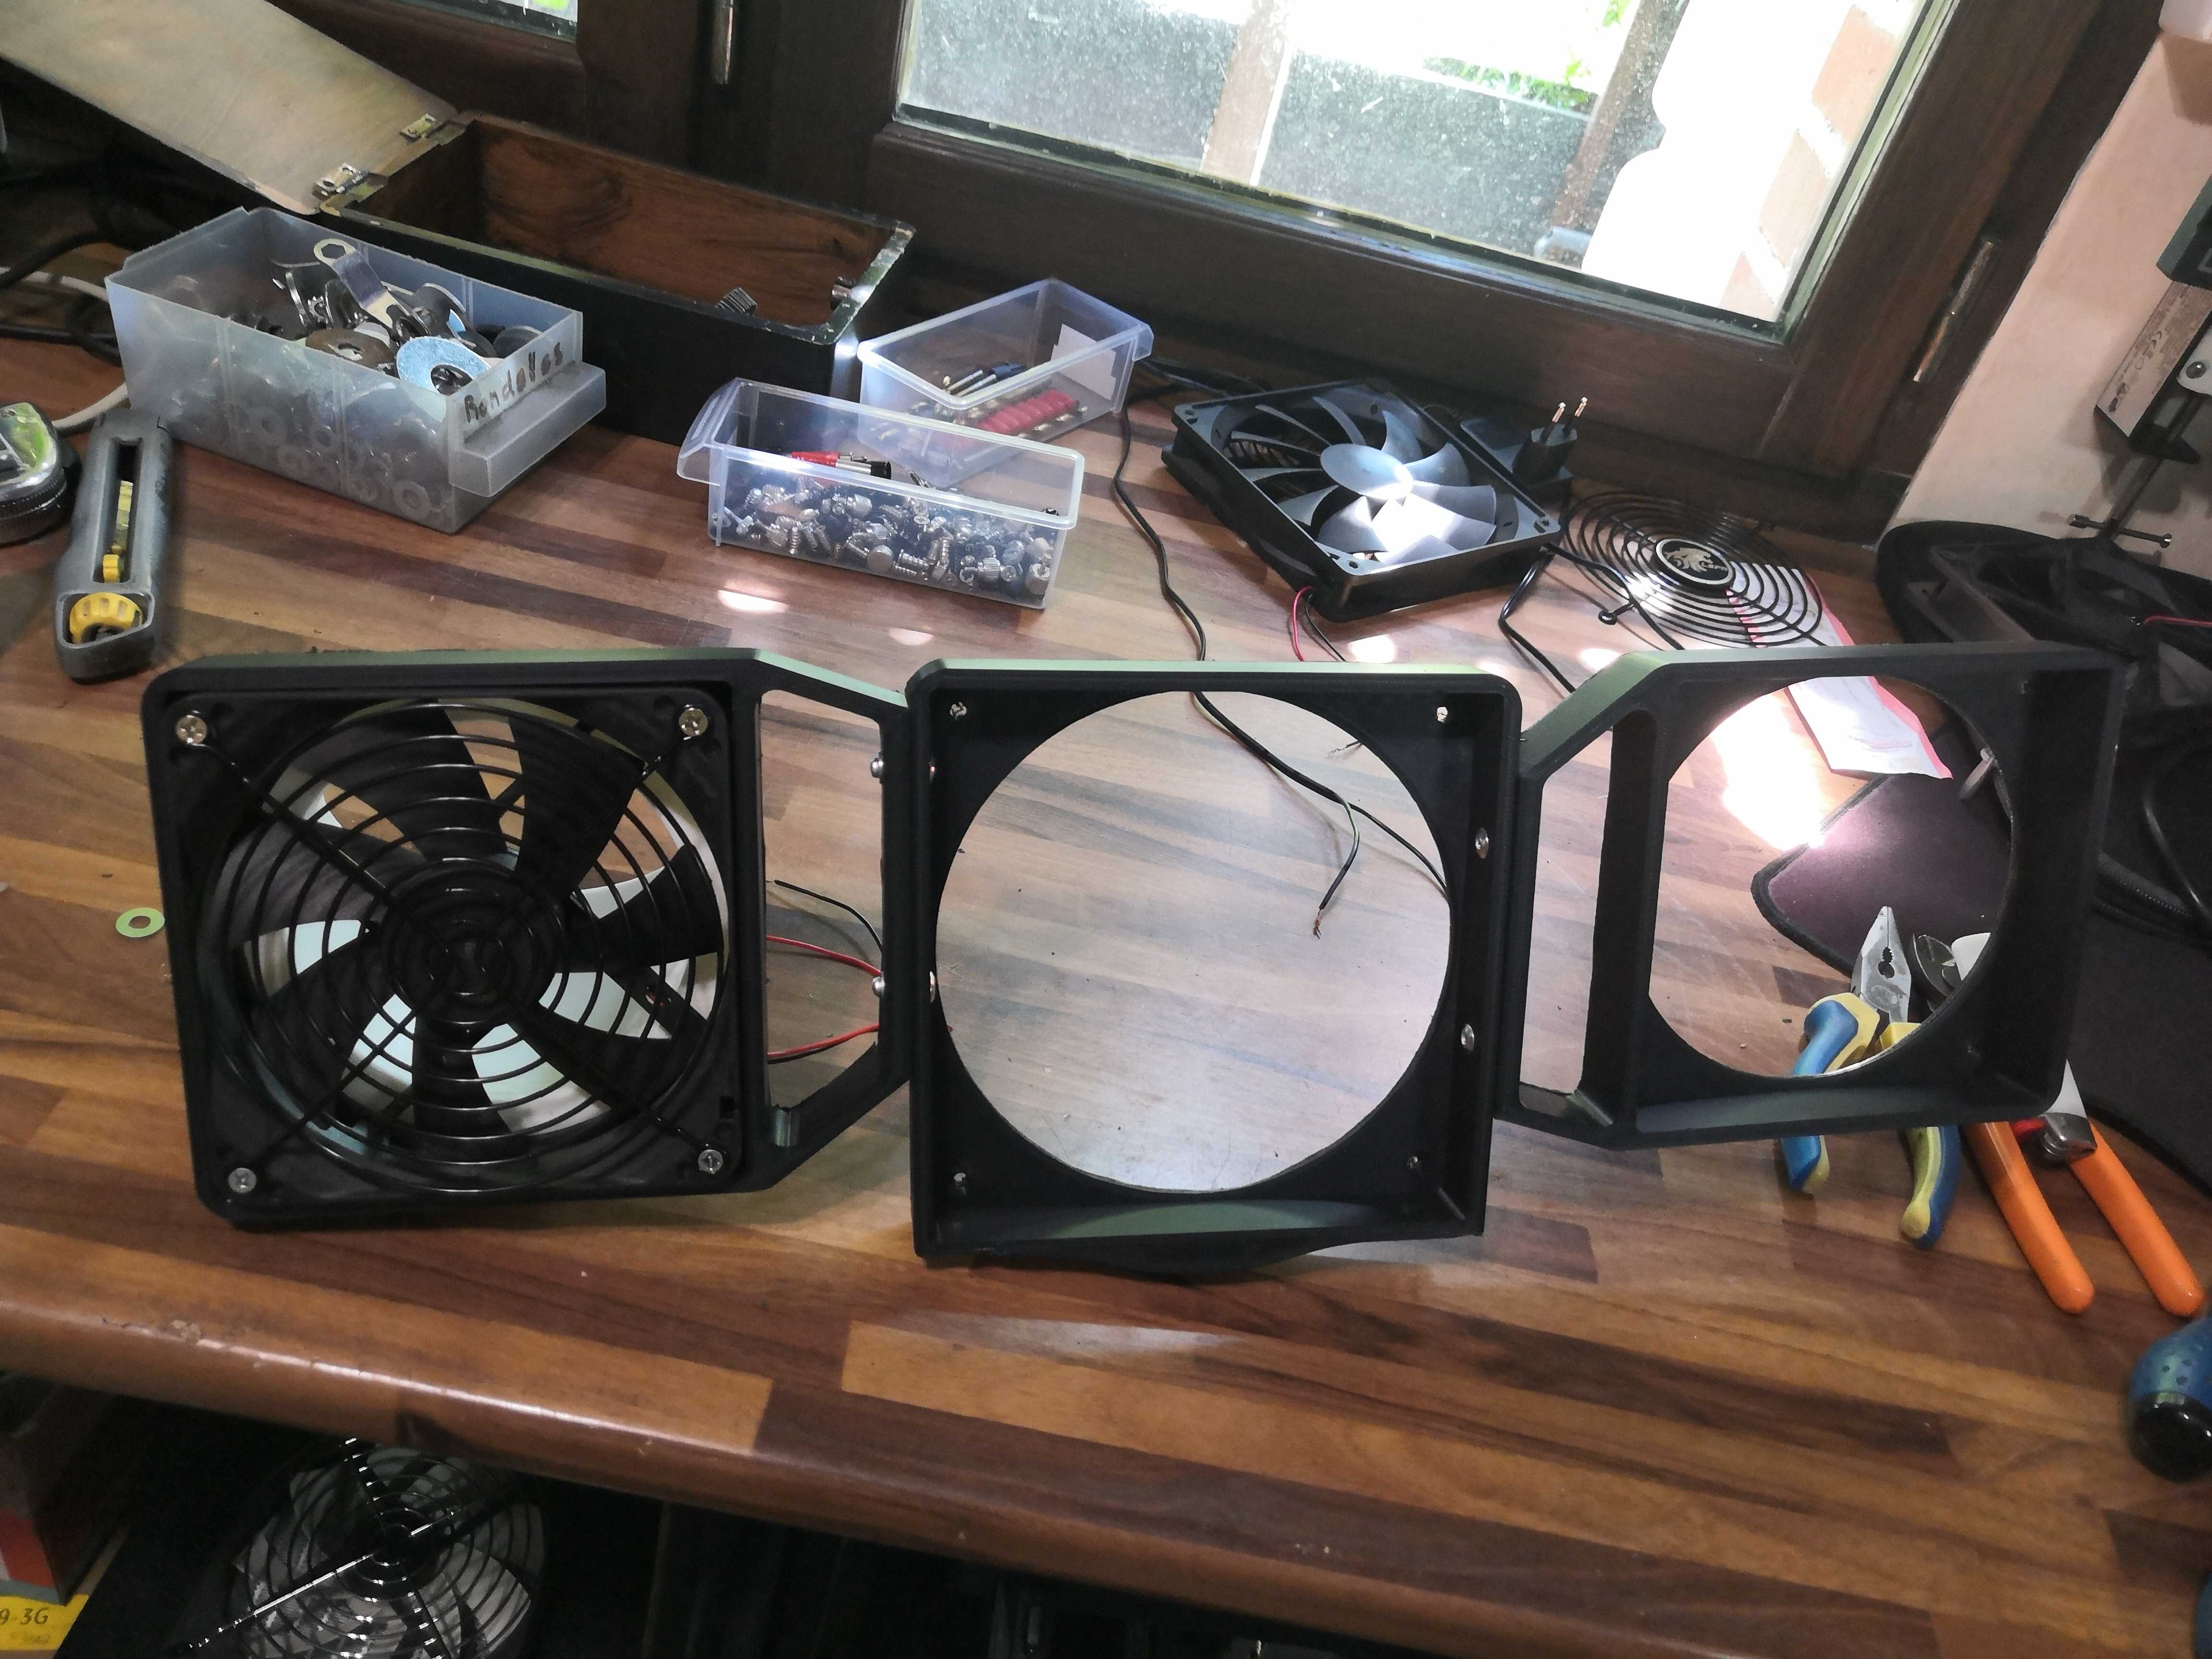
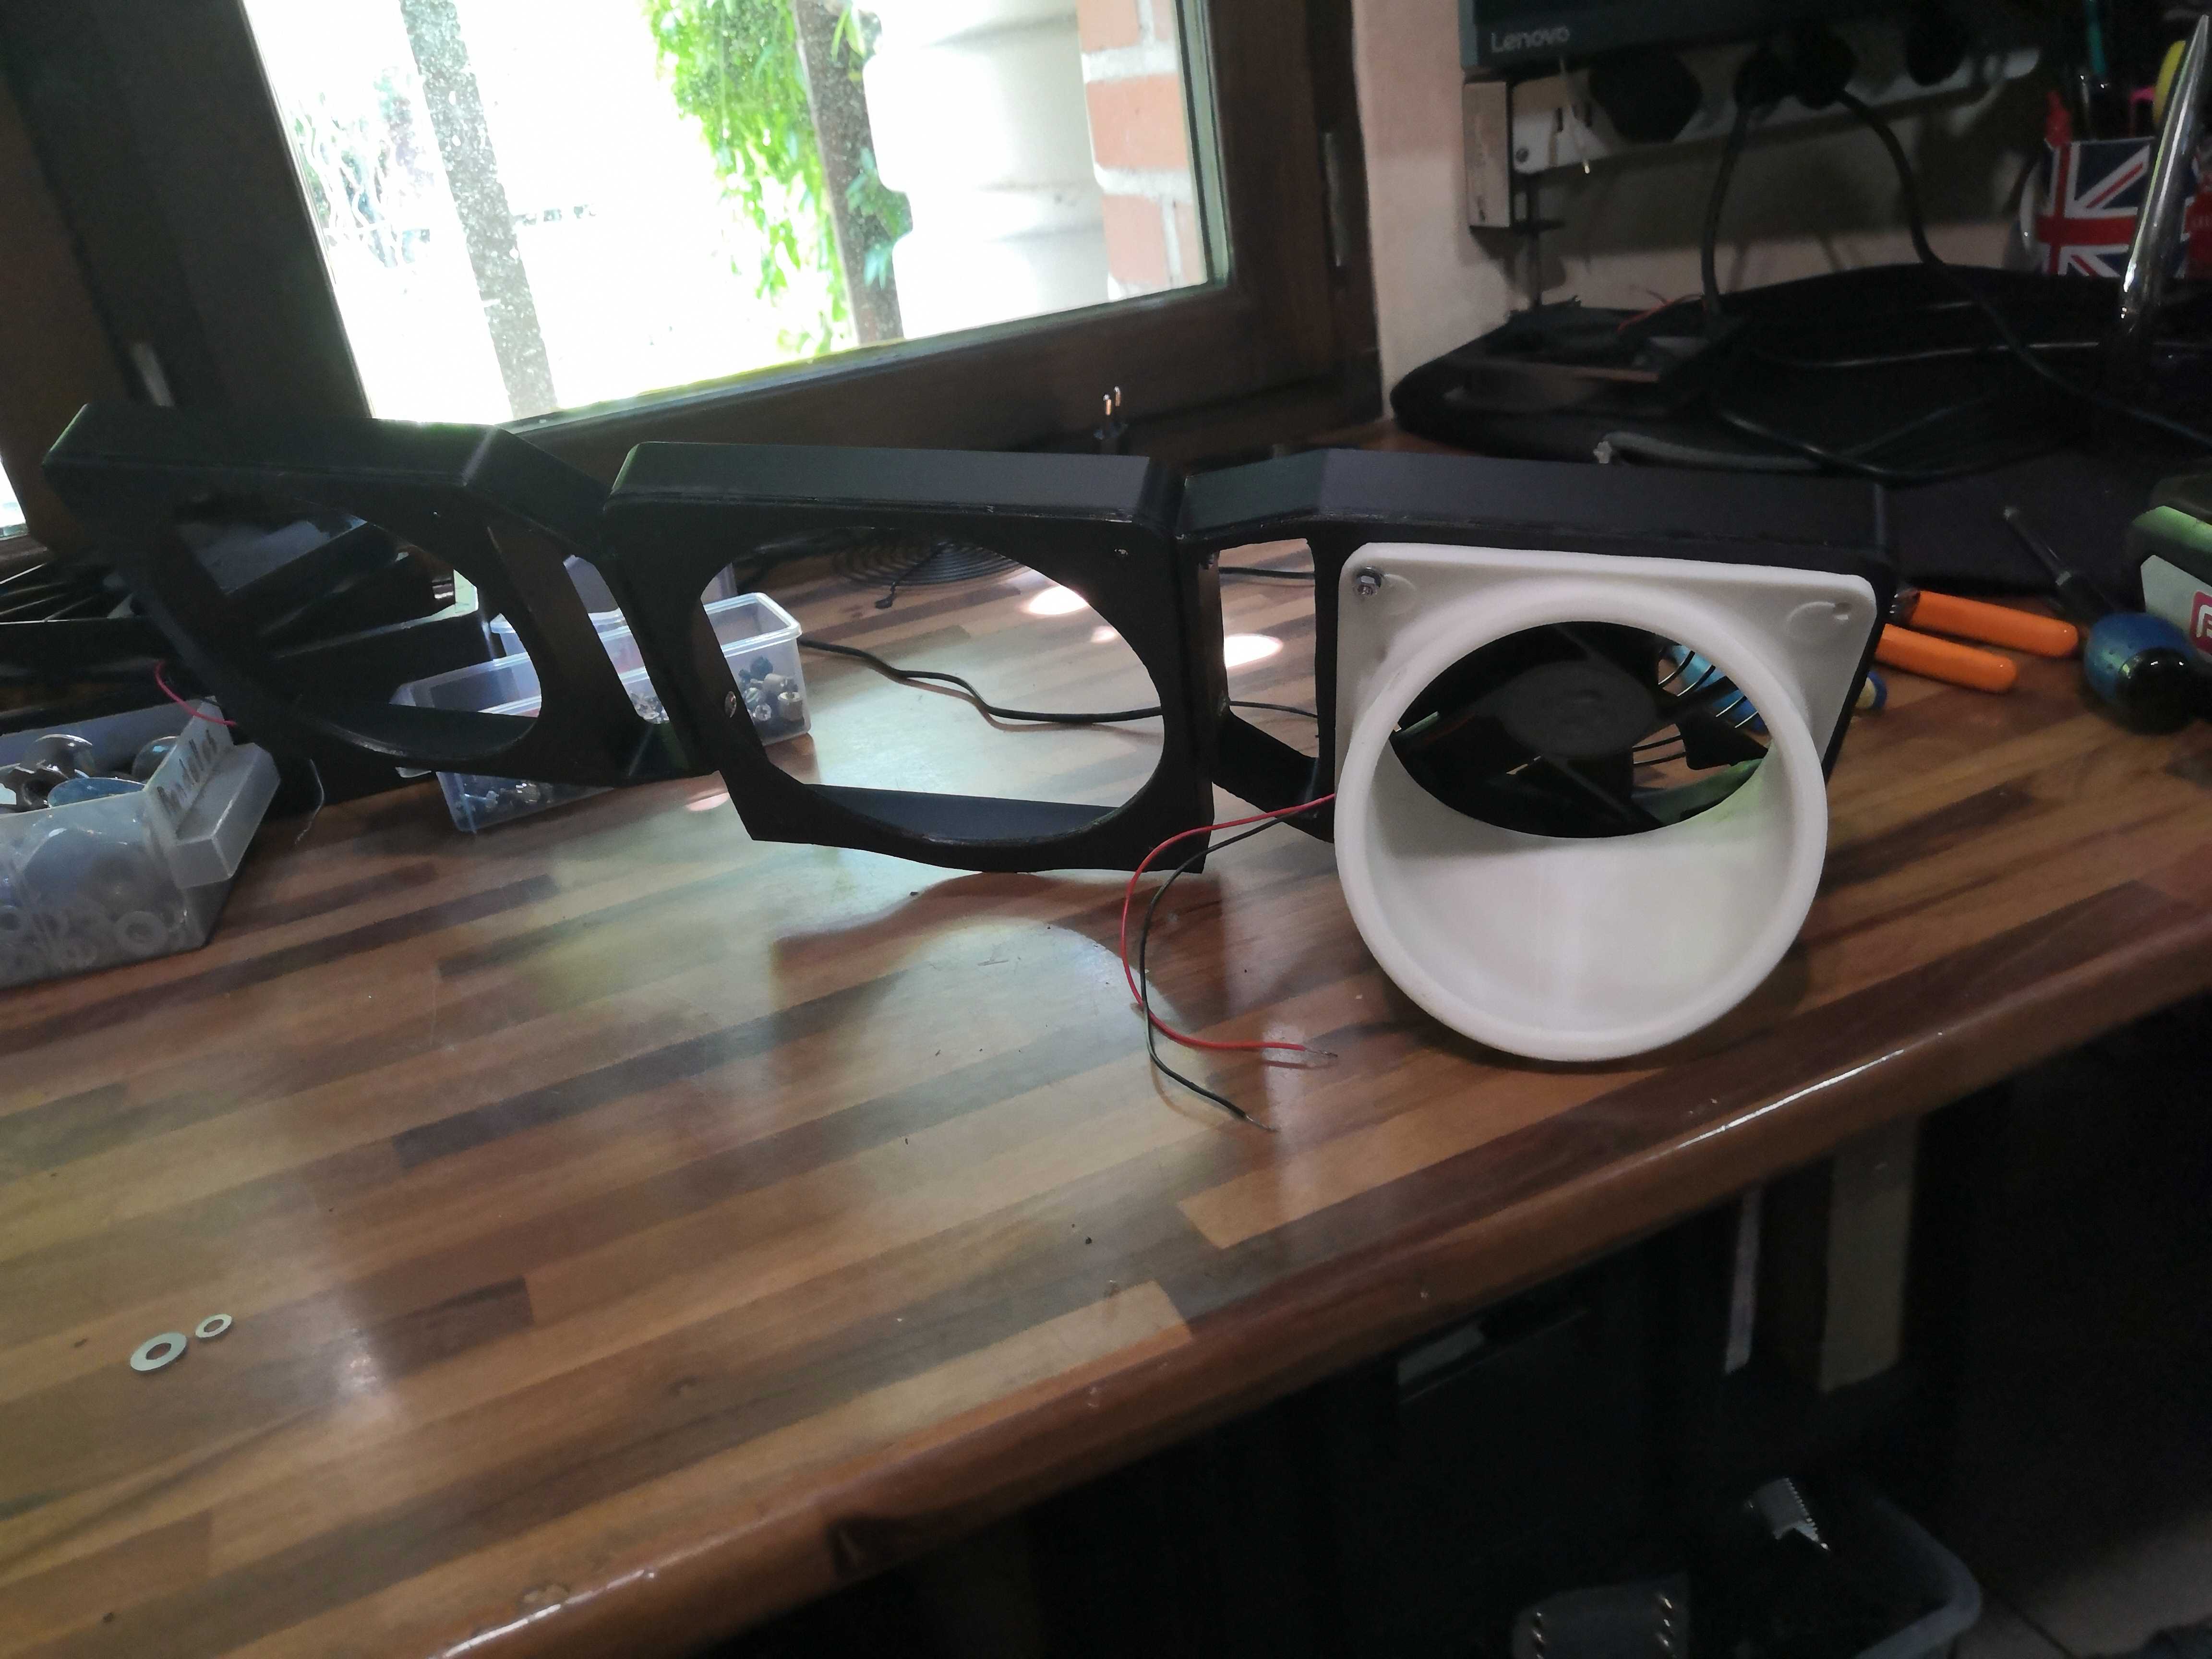
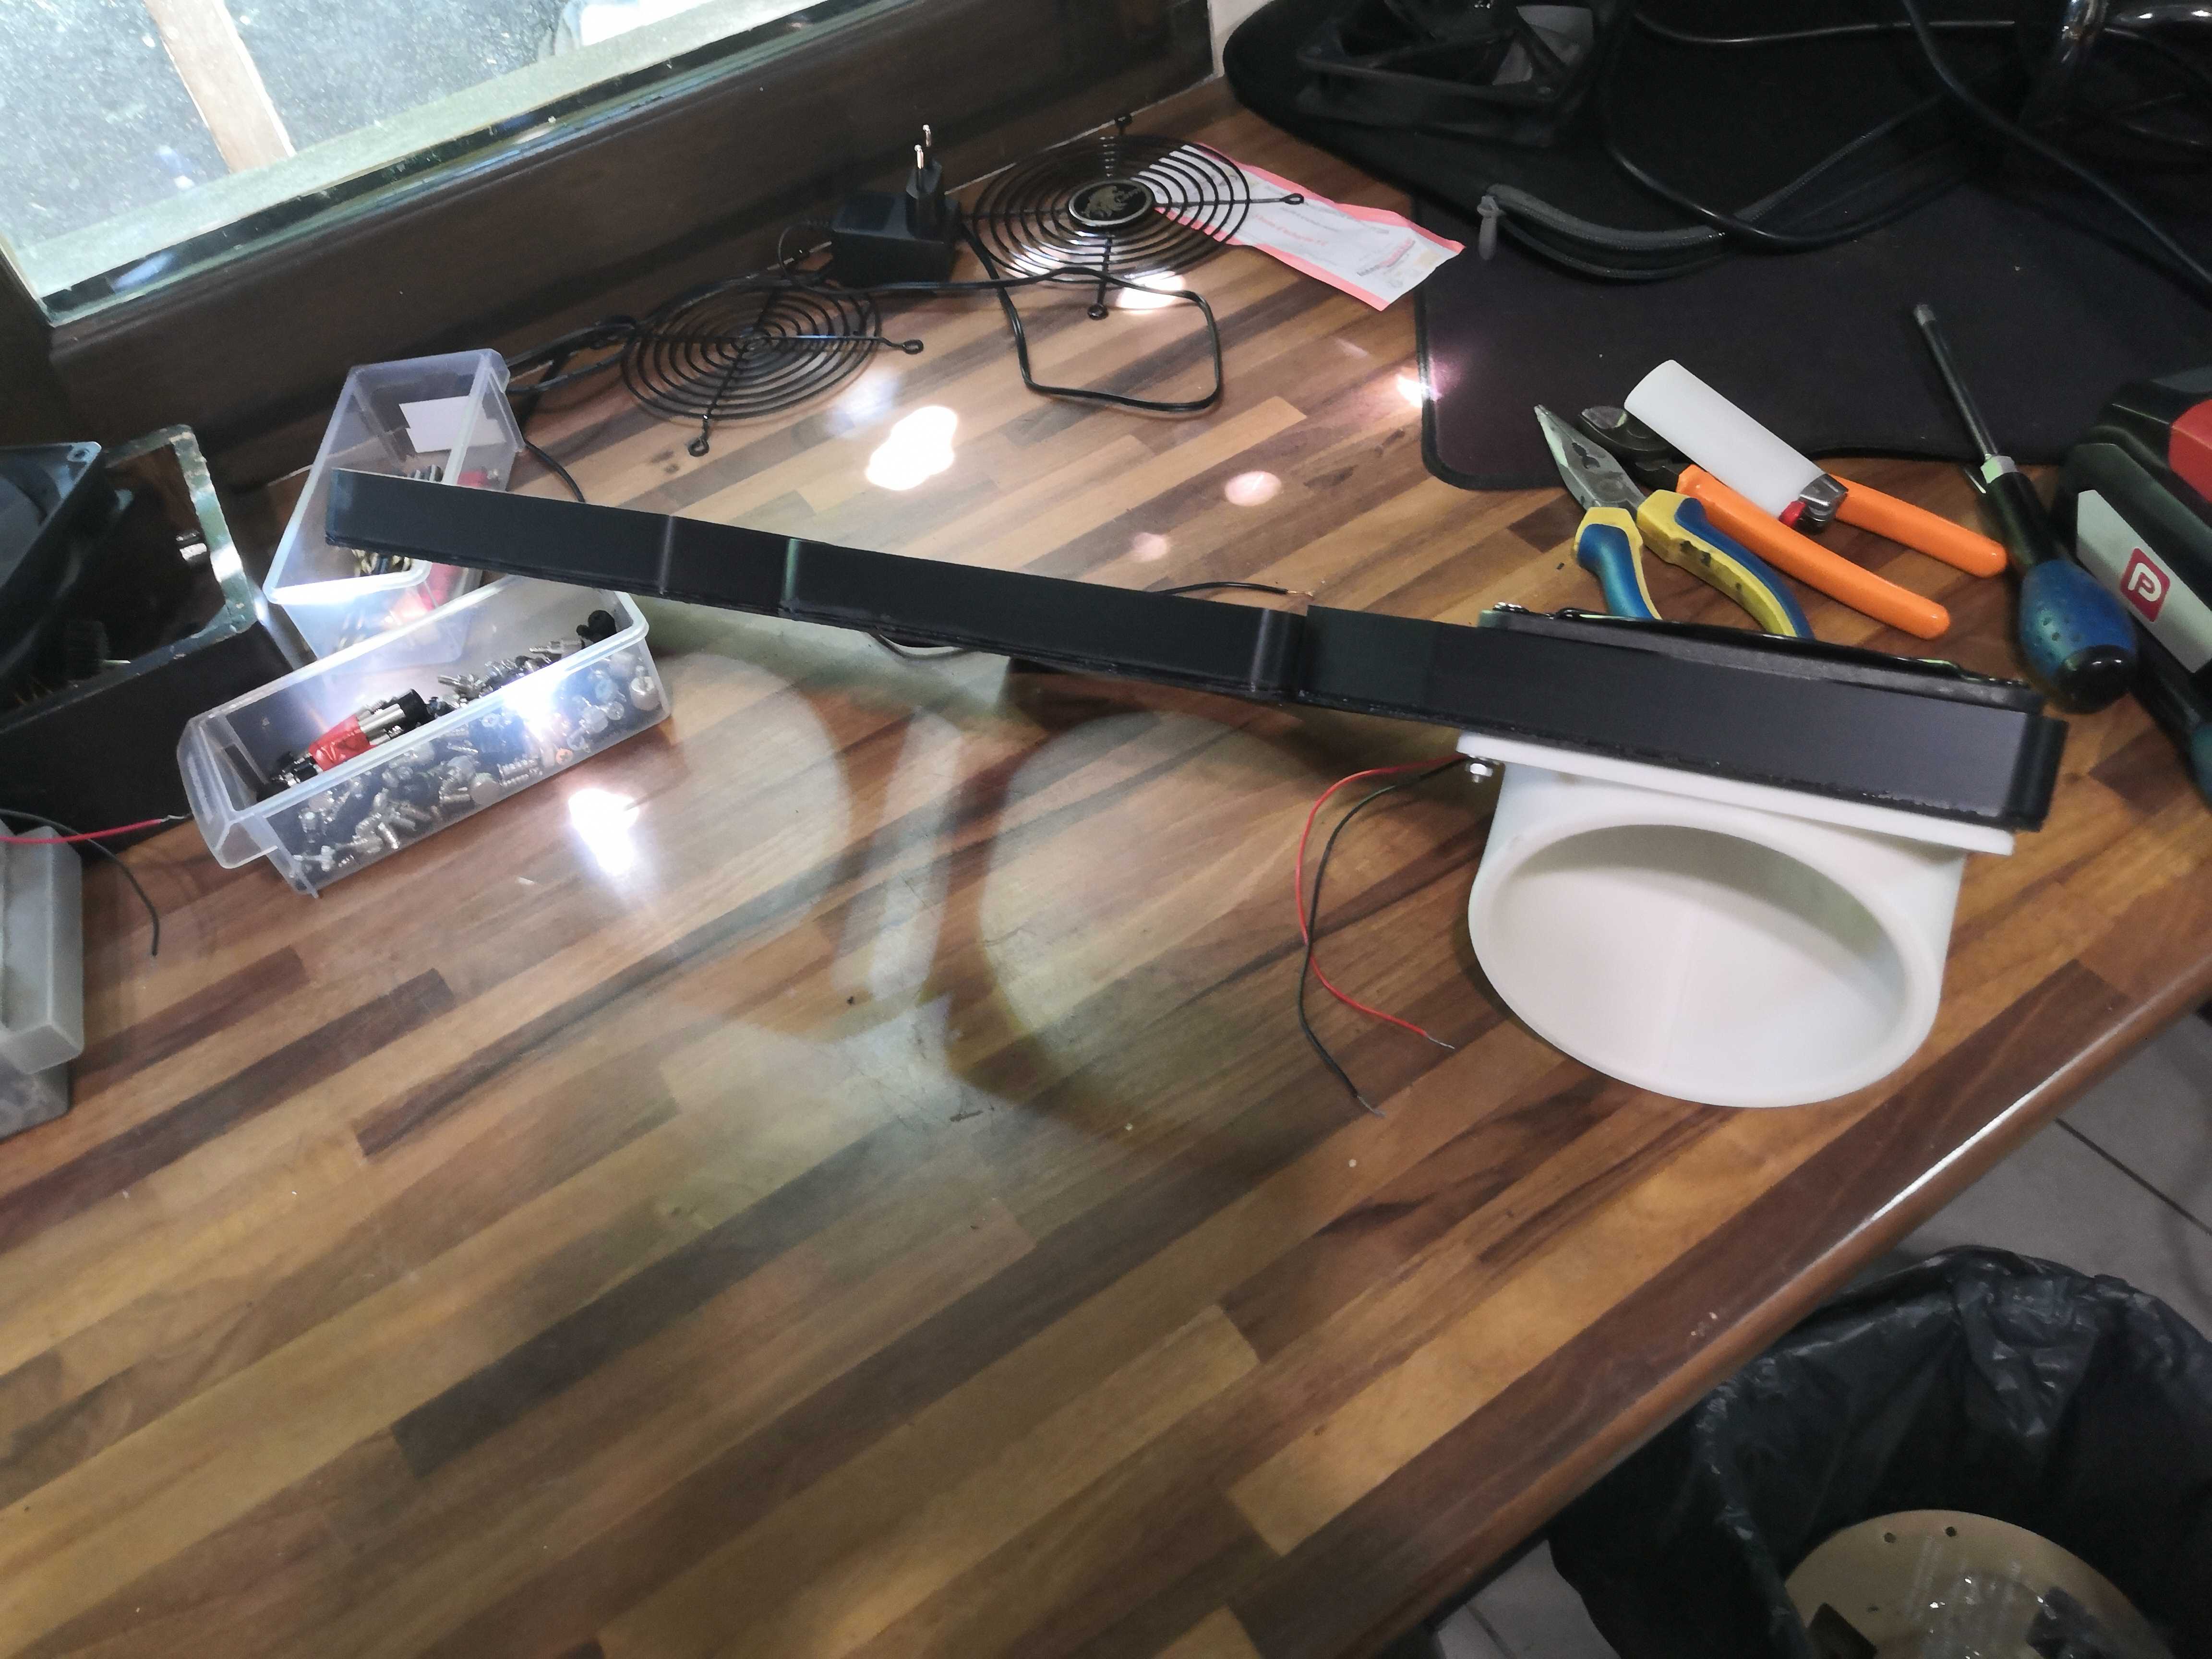
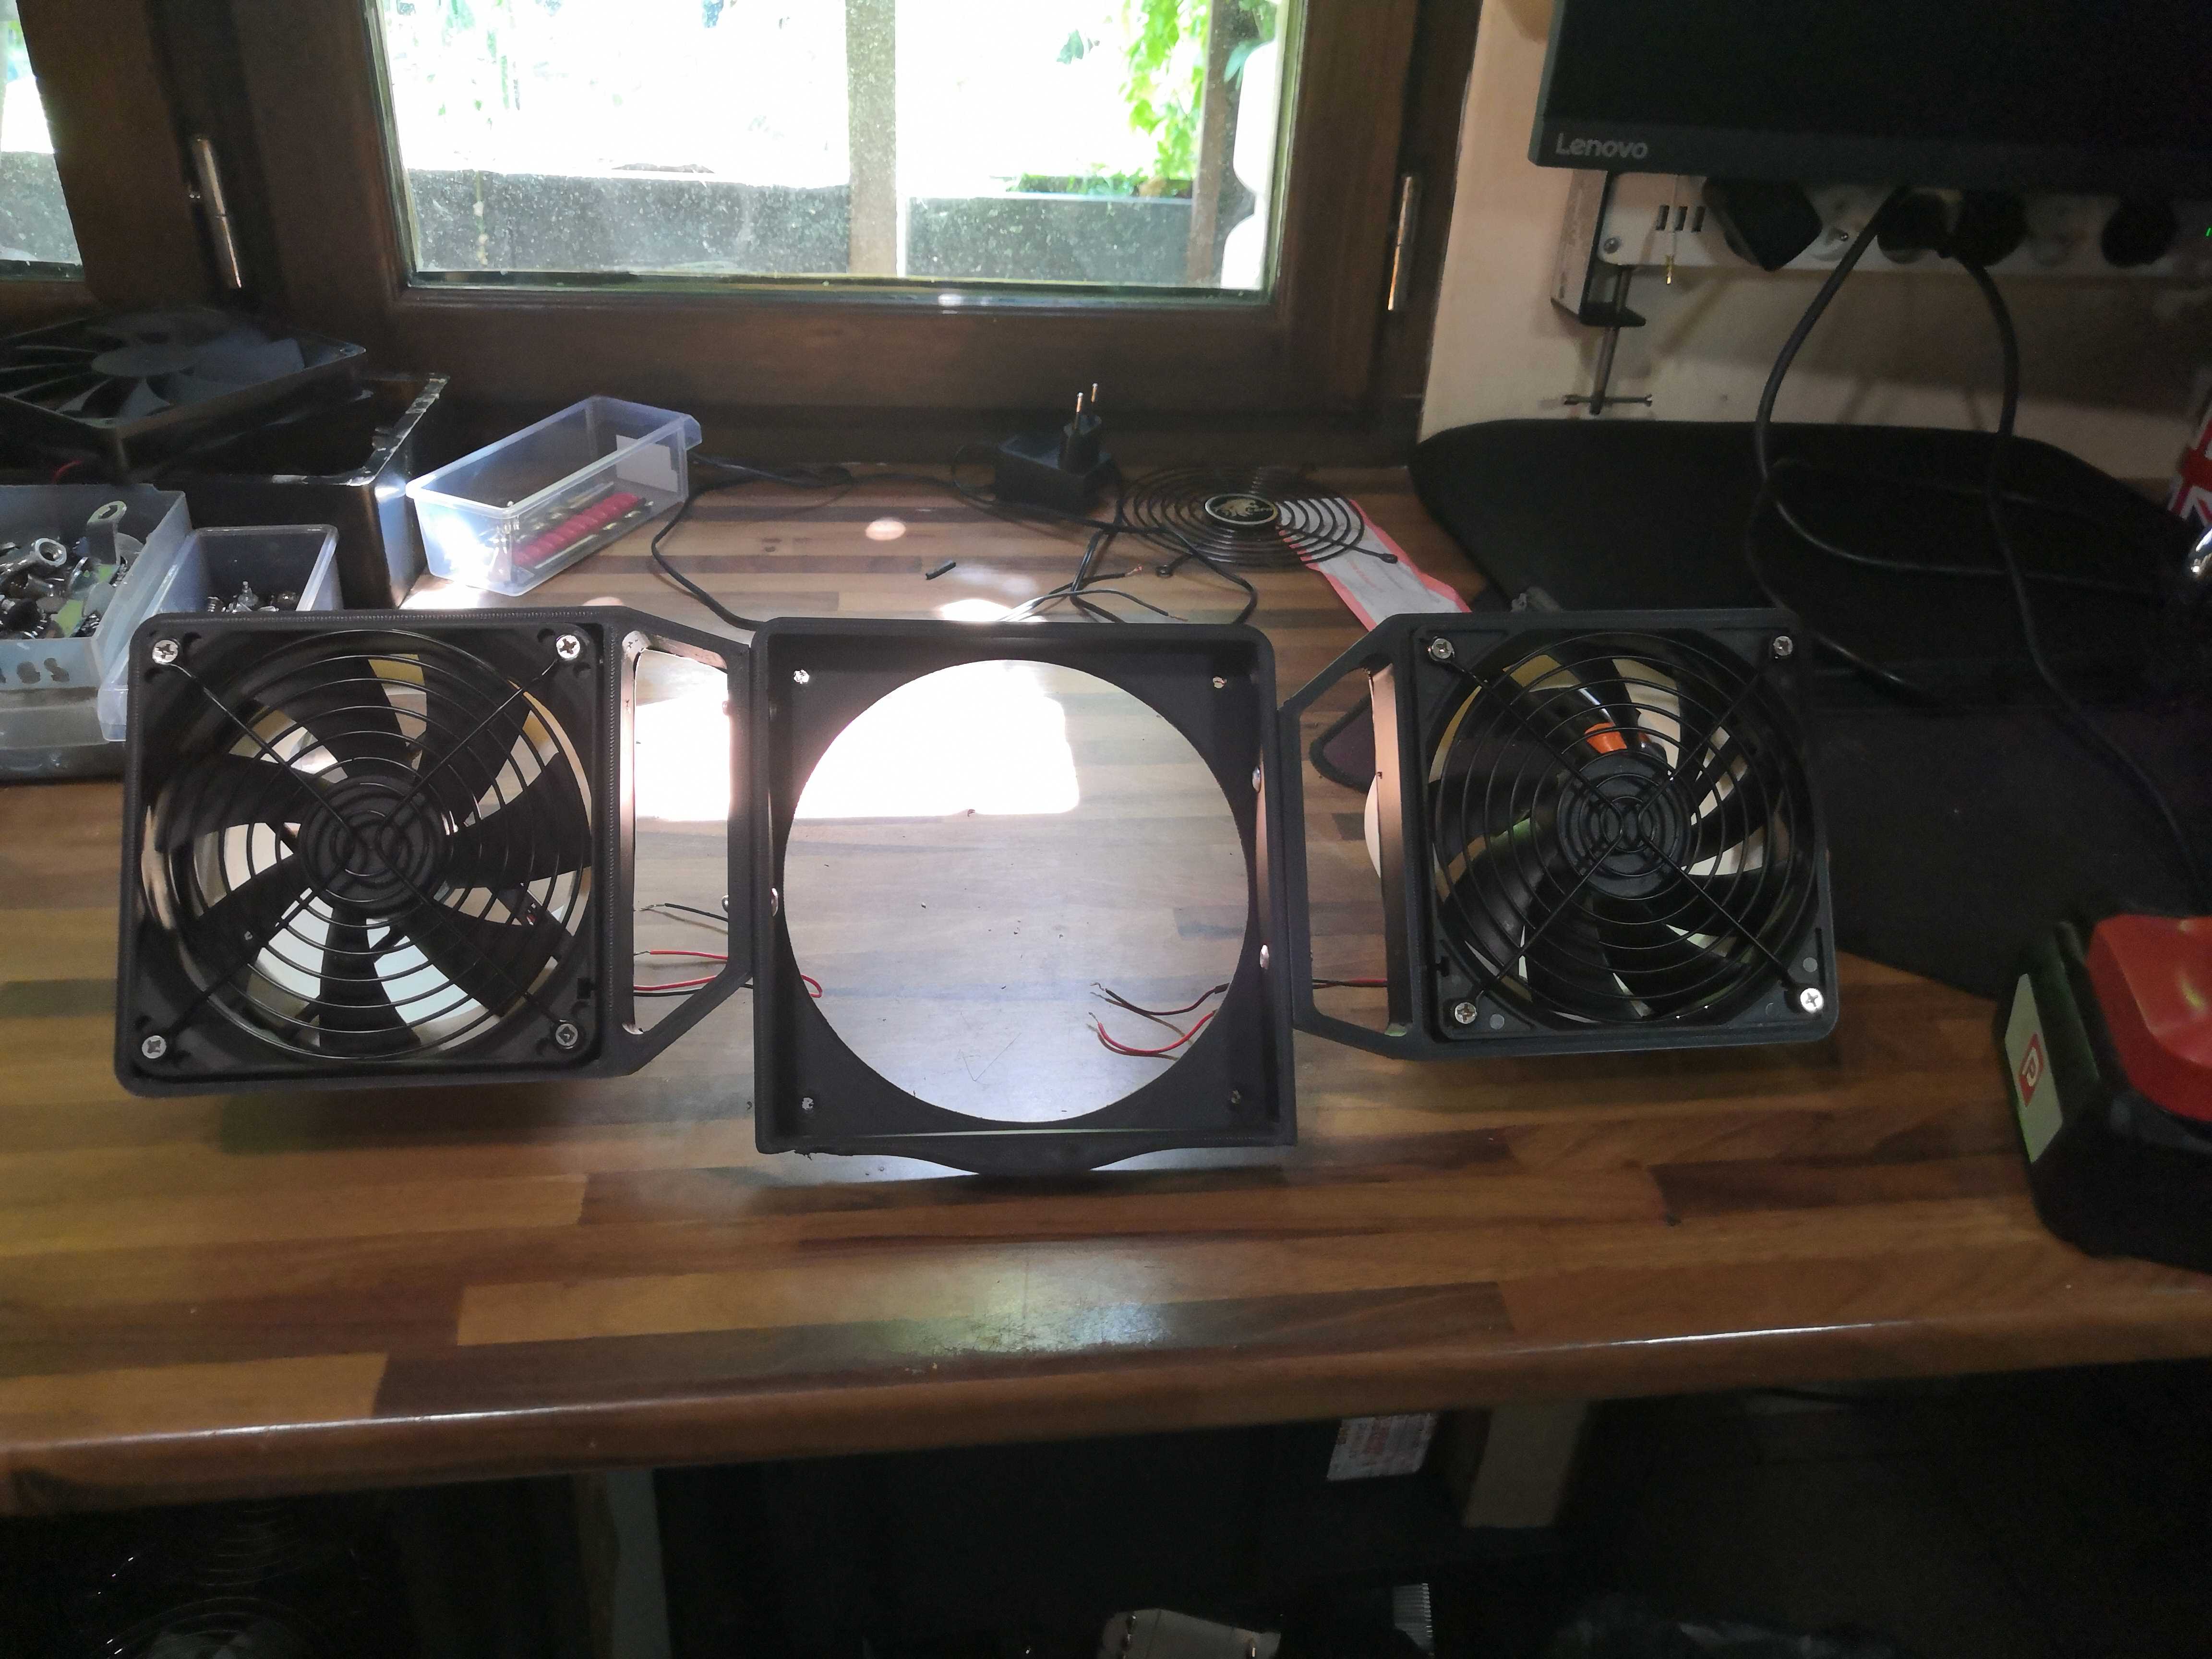
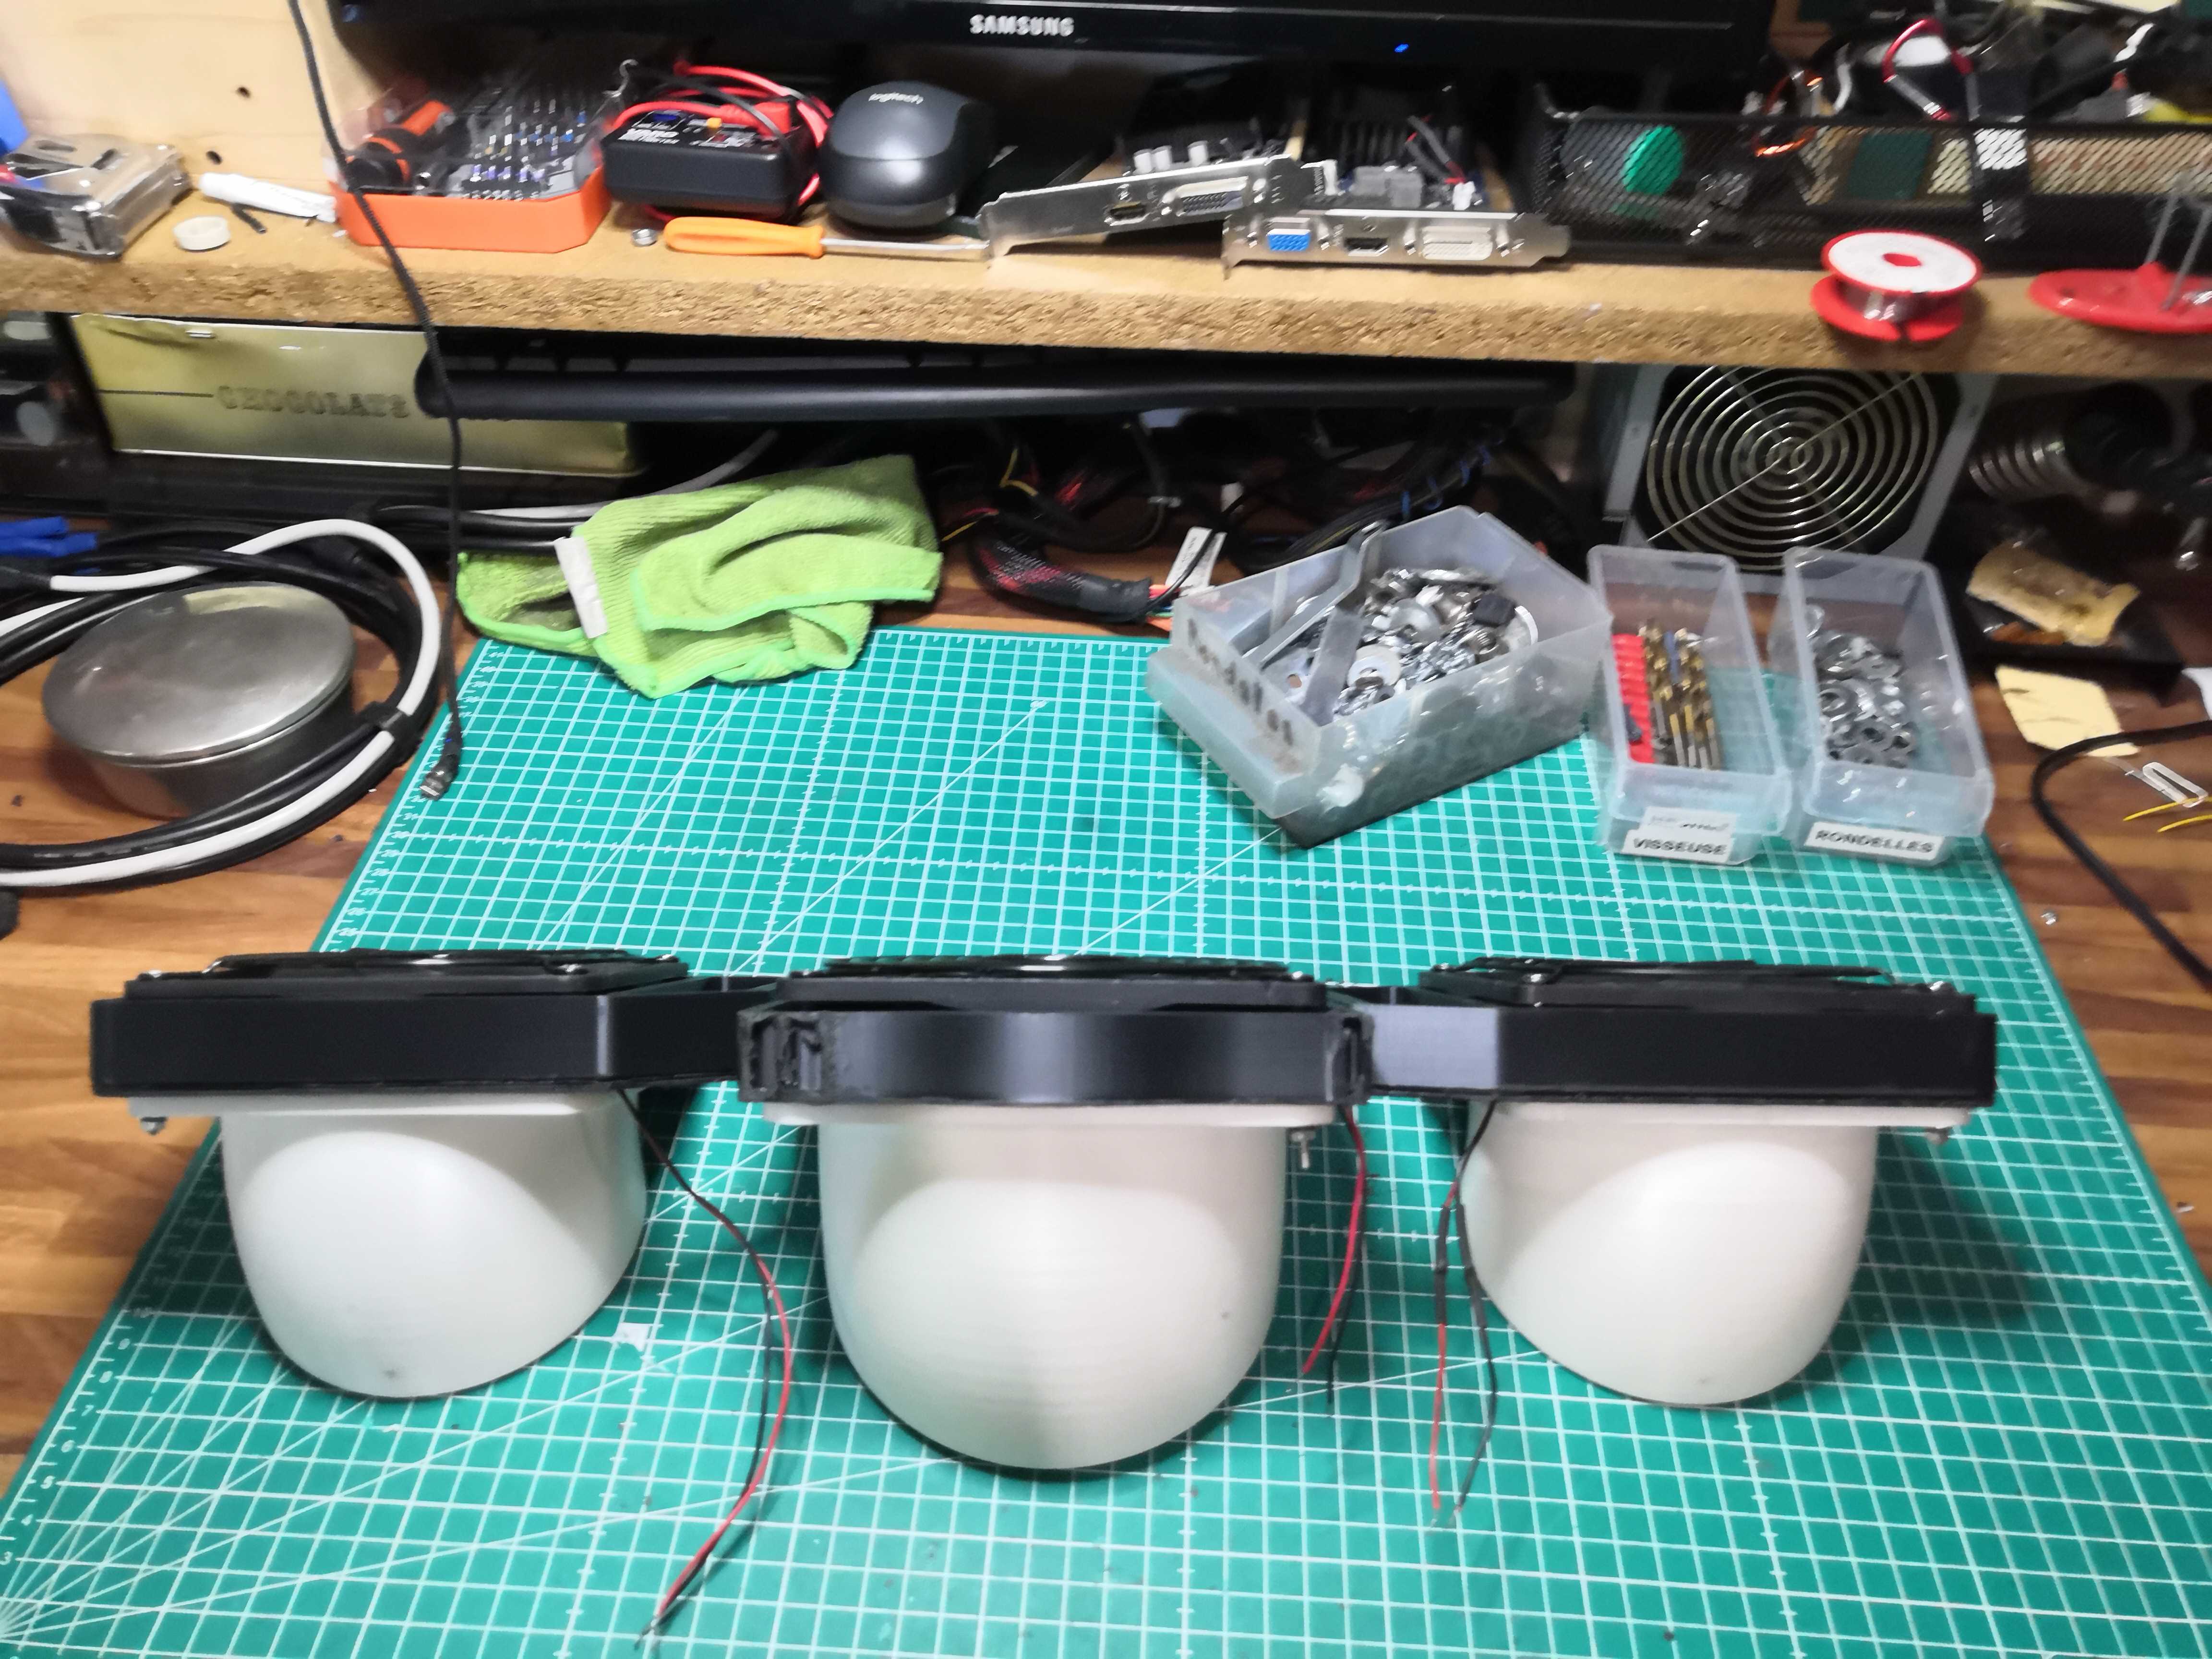
The 45° nozzles in place: the angled air outlets are clearly visible.
Power Supply: The Story of a Transformer (12 V, then 9 V)
This is where it gets interesting. First test with a 12 V transformer: it works perfectly… but the whole thing is too noisy. Three fans running at full speed in a rack are like a vacuum cleaner.
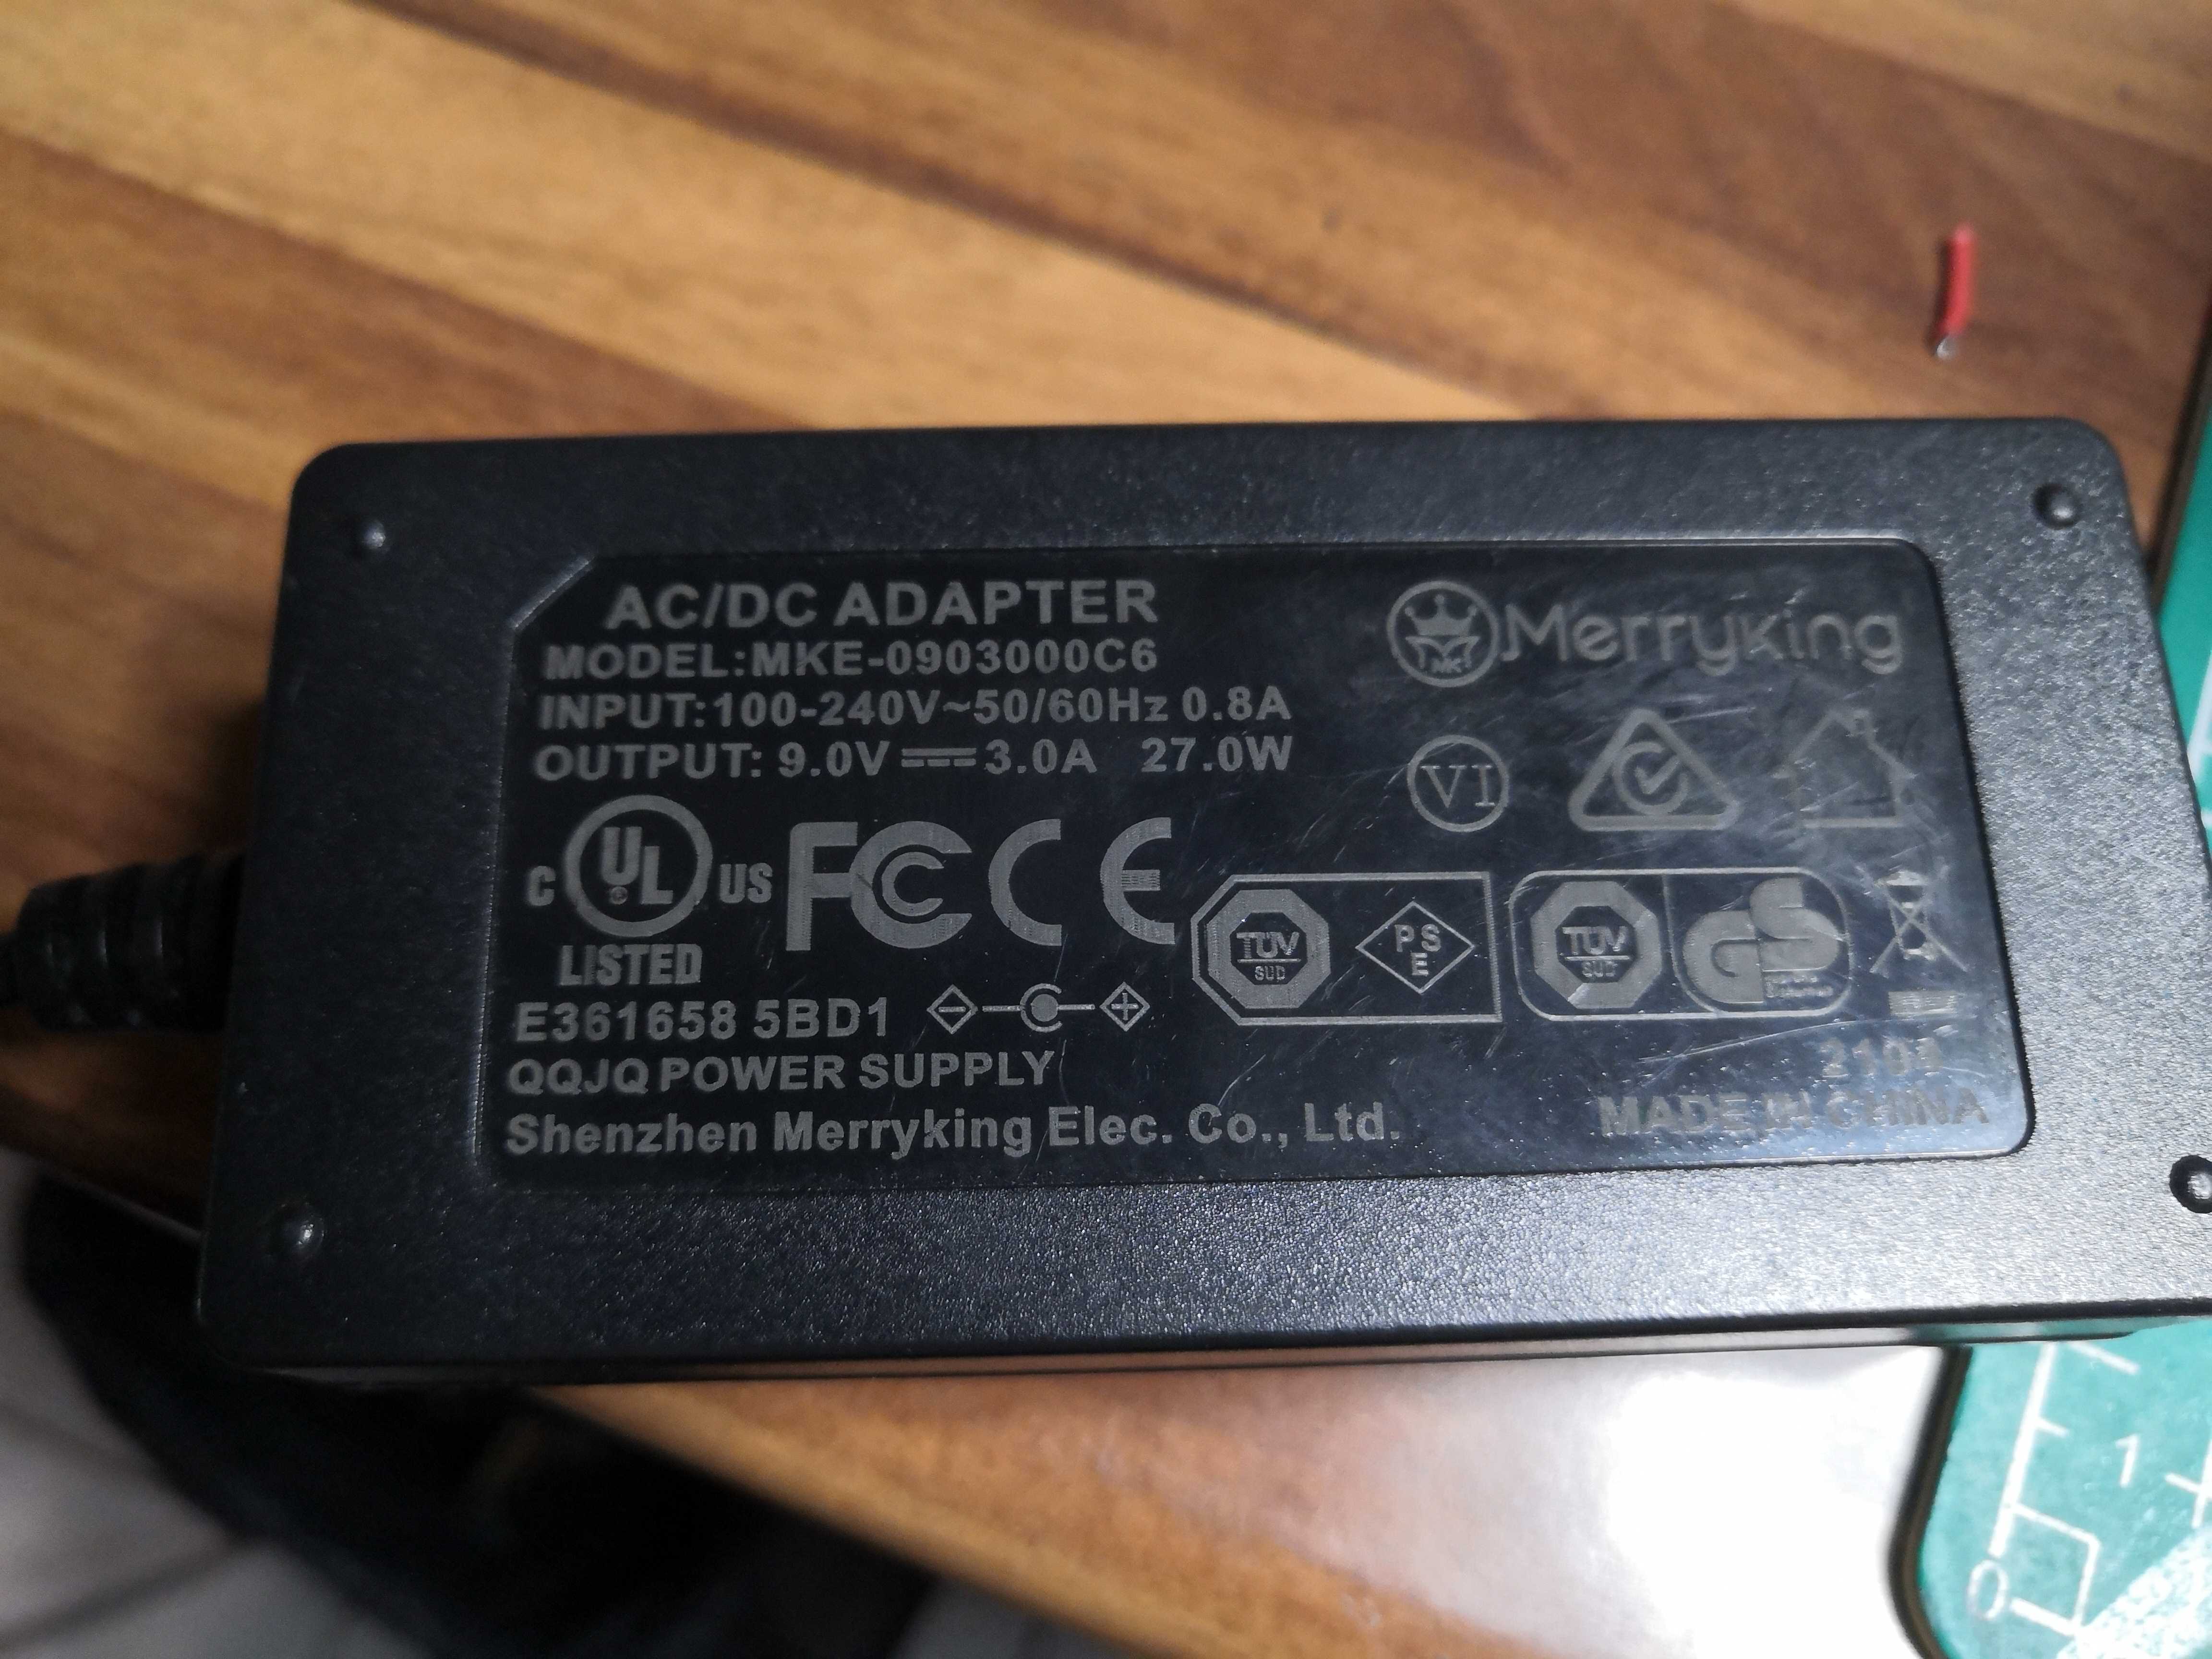
I rummaged around some more and came across a 9 V power supply—a Merryking 9 V / 3 A / 27 W. Perfect: 27 W is more than enough for three fans, and—most importantly—running them at 9 V instead of 12 V makes all the difference in terms of noise.
Why is this so effective at reducing noise? The laws of fans: airflow is proportional to speed, but sound power increases roughly as the cube of the speed. Going from 12 to 9 V means about 75% of the speed—you lose a little airflow, but you gain a lot in terms of noise reduction. In an open rack where the real problem is stagnant hot air, this is an excellent compromise: it provides enough airflow to lower the temperature without turning the server rack into a wind tunnel.
Installation in the rack
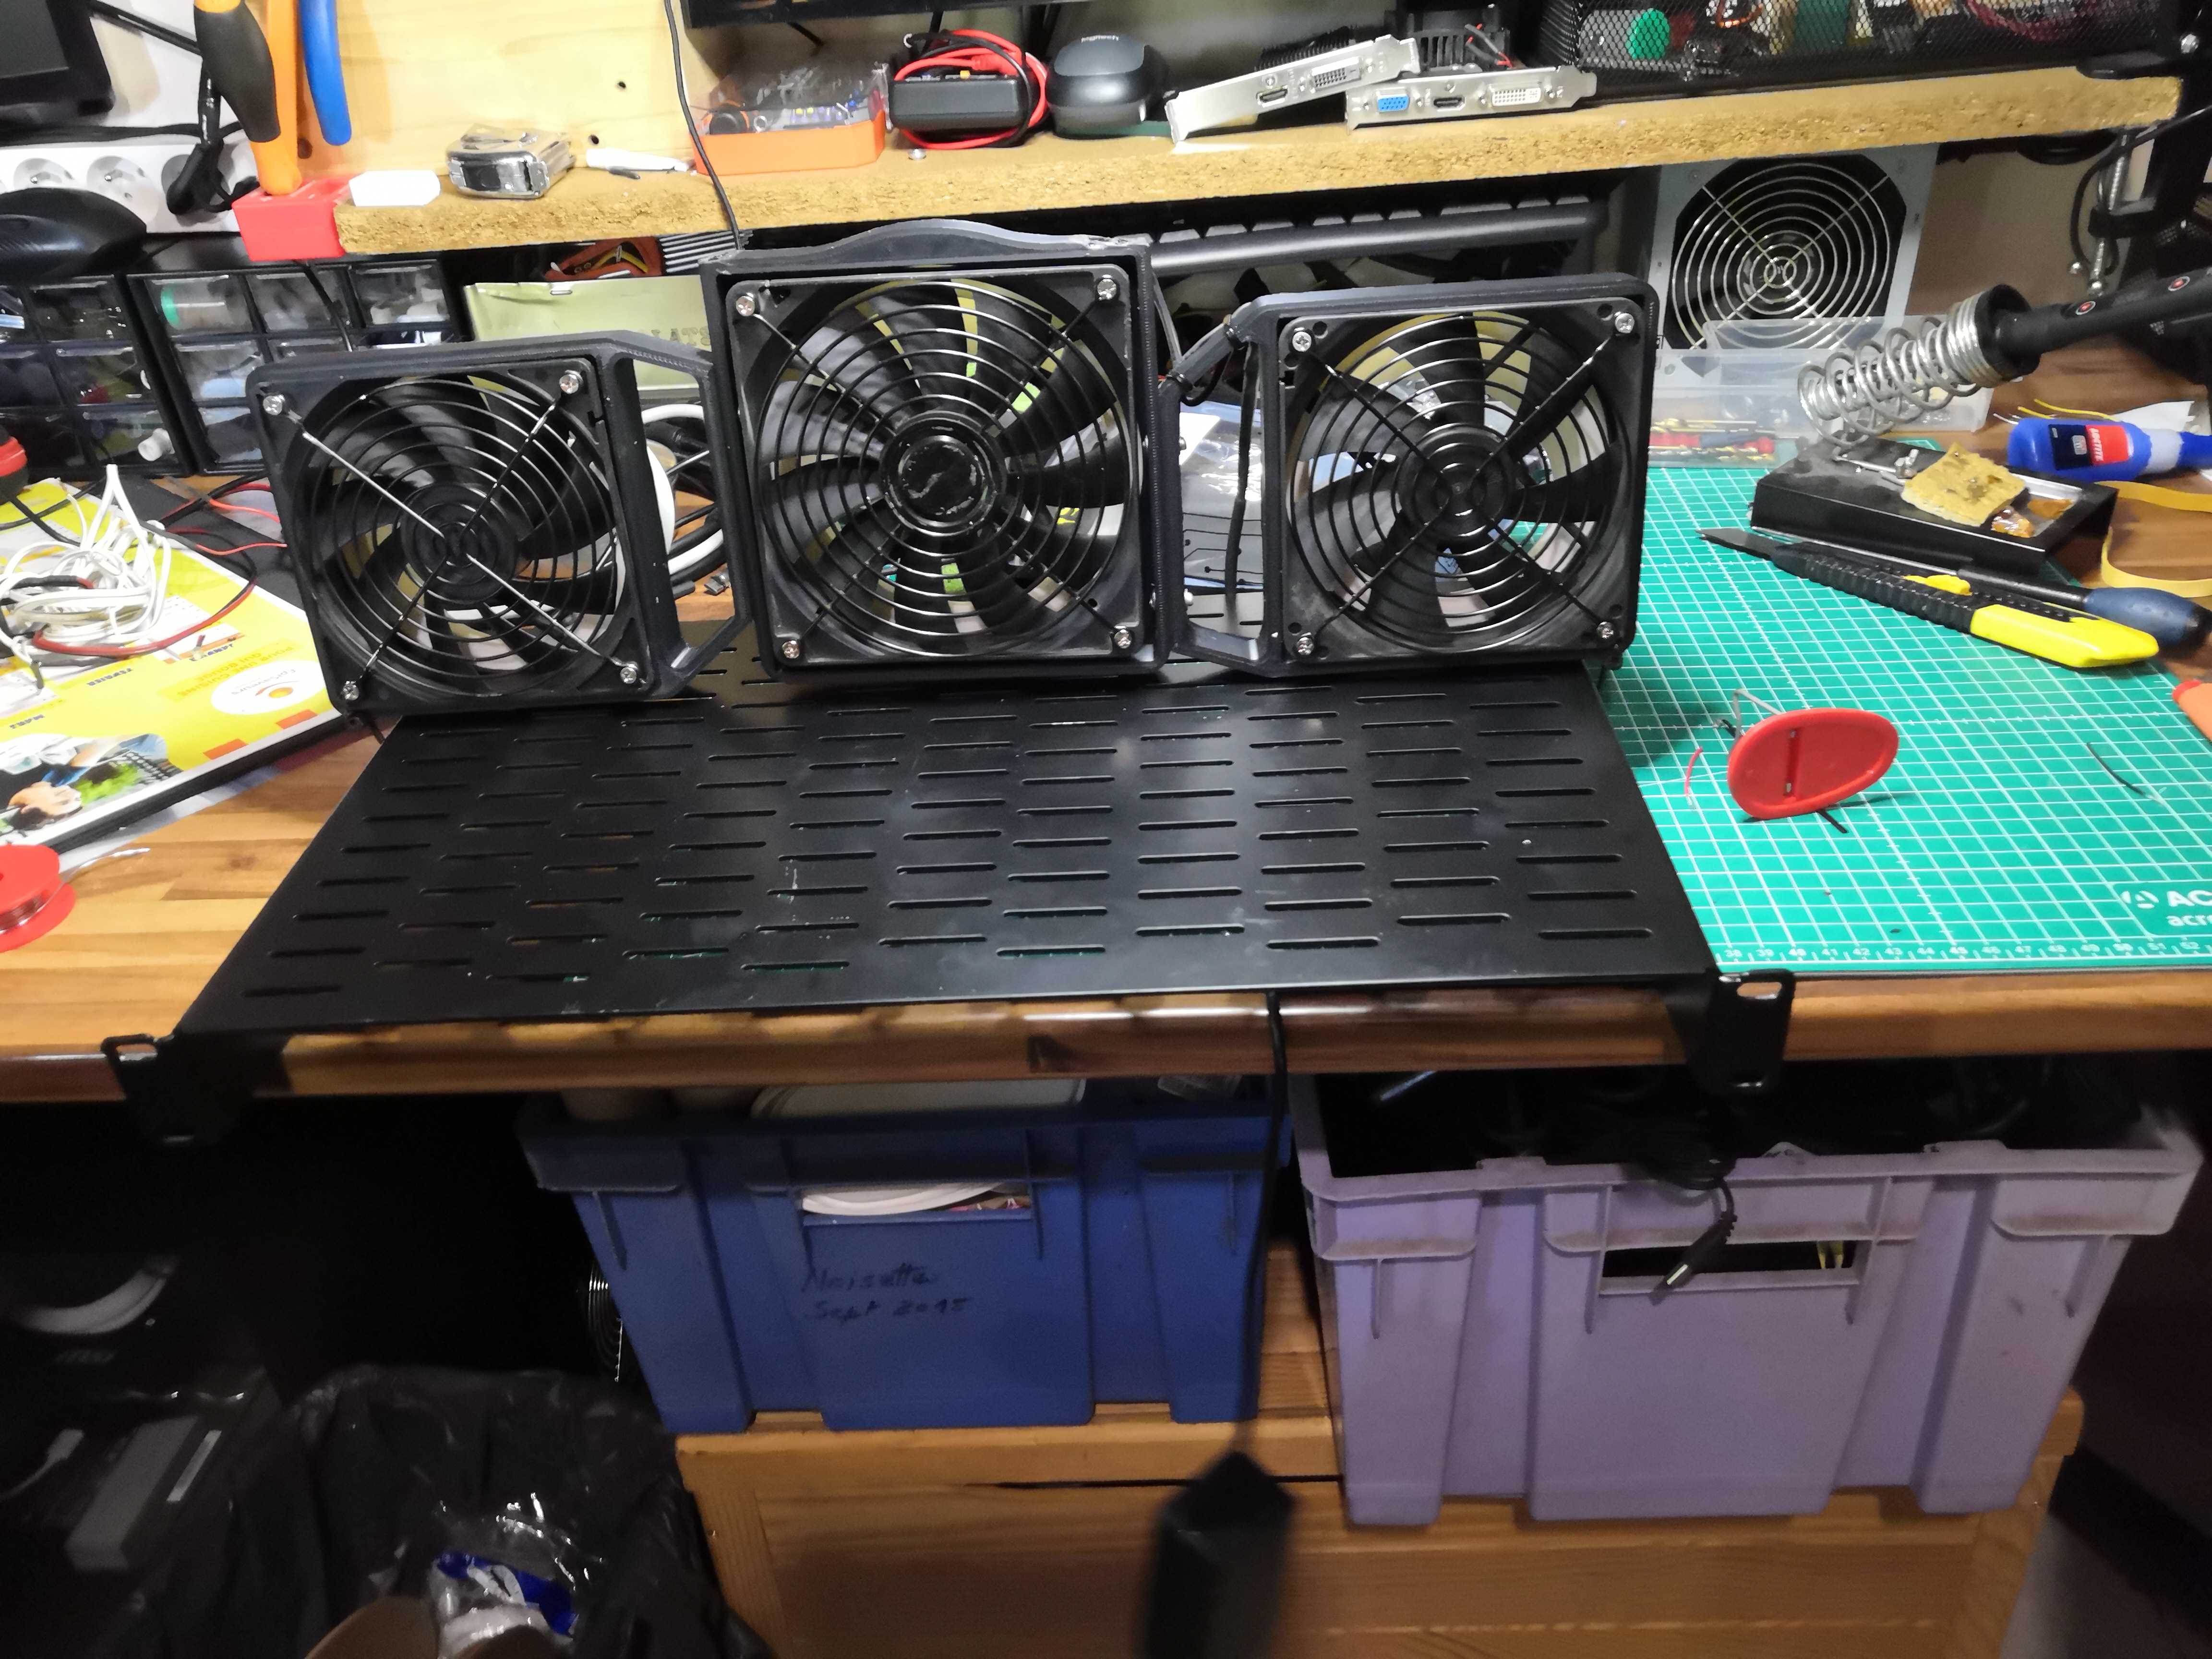
First, a dry run: fans mounted on the perforated metal shelf I pulled out of the rack:
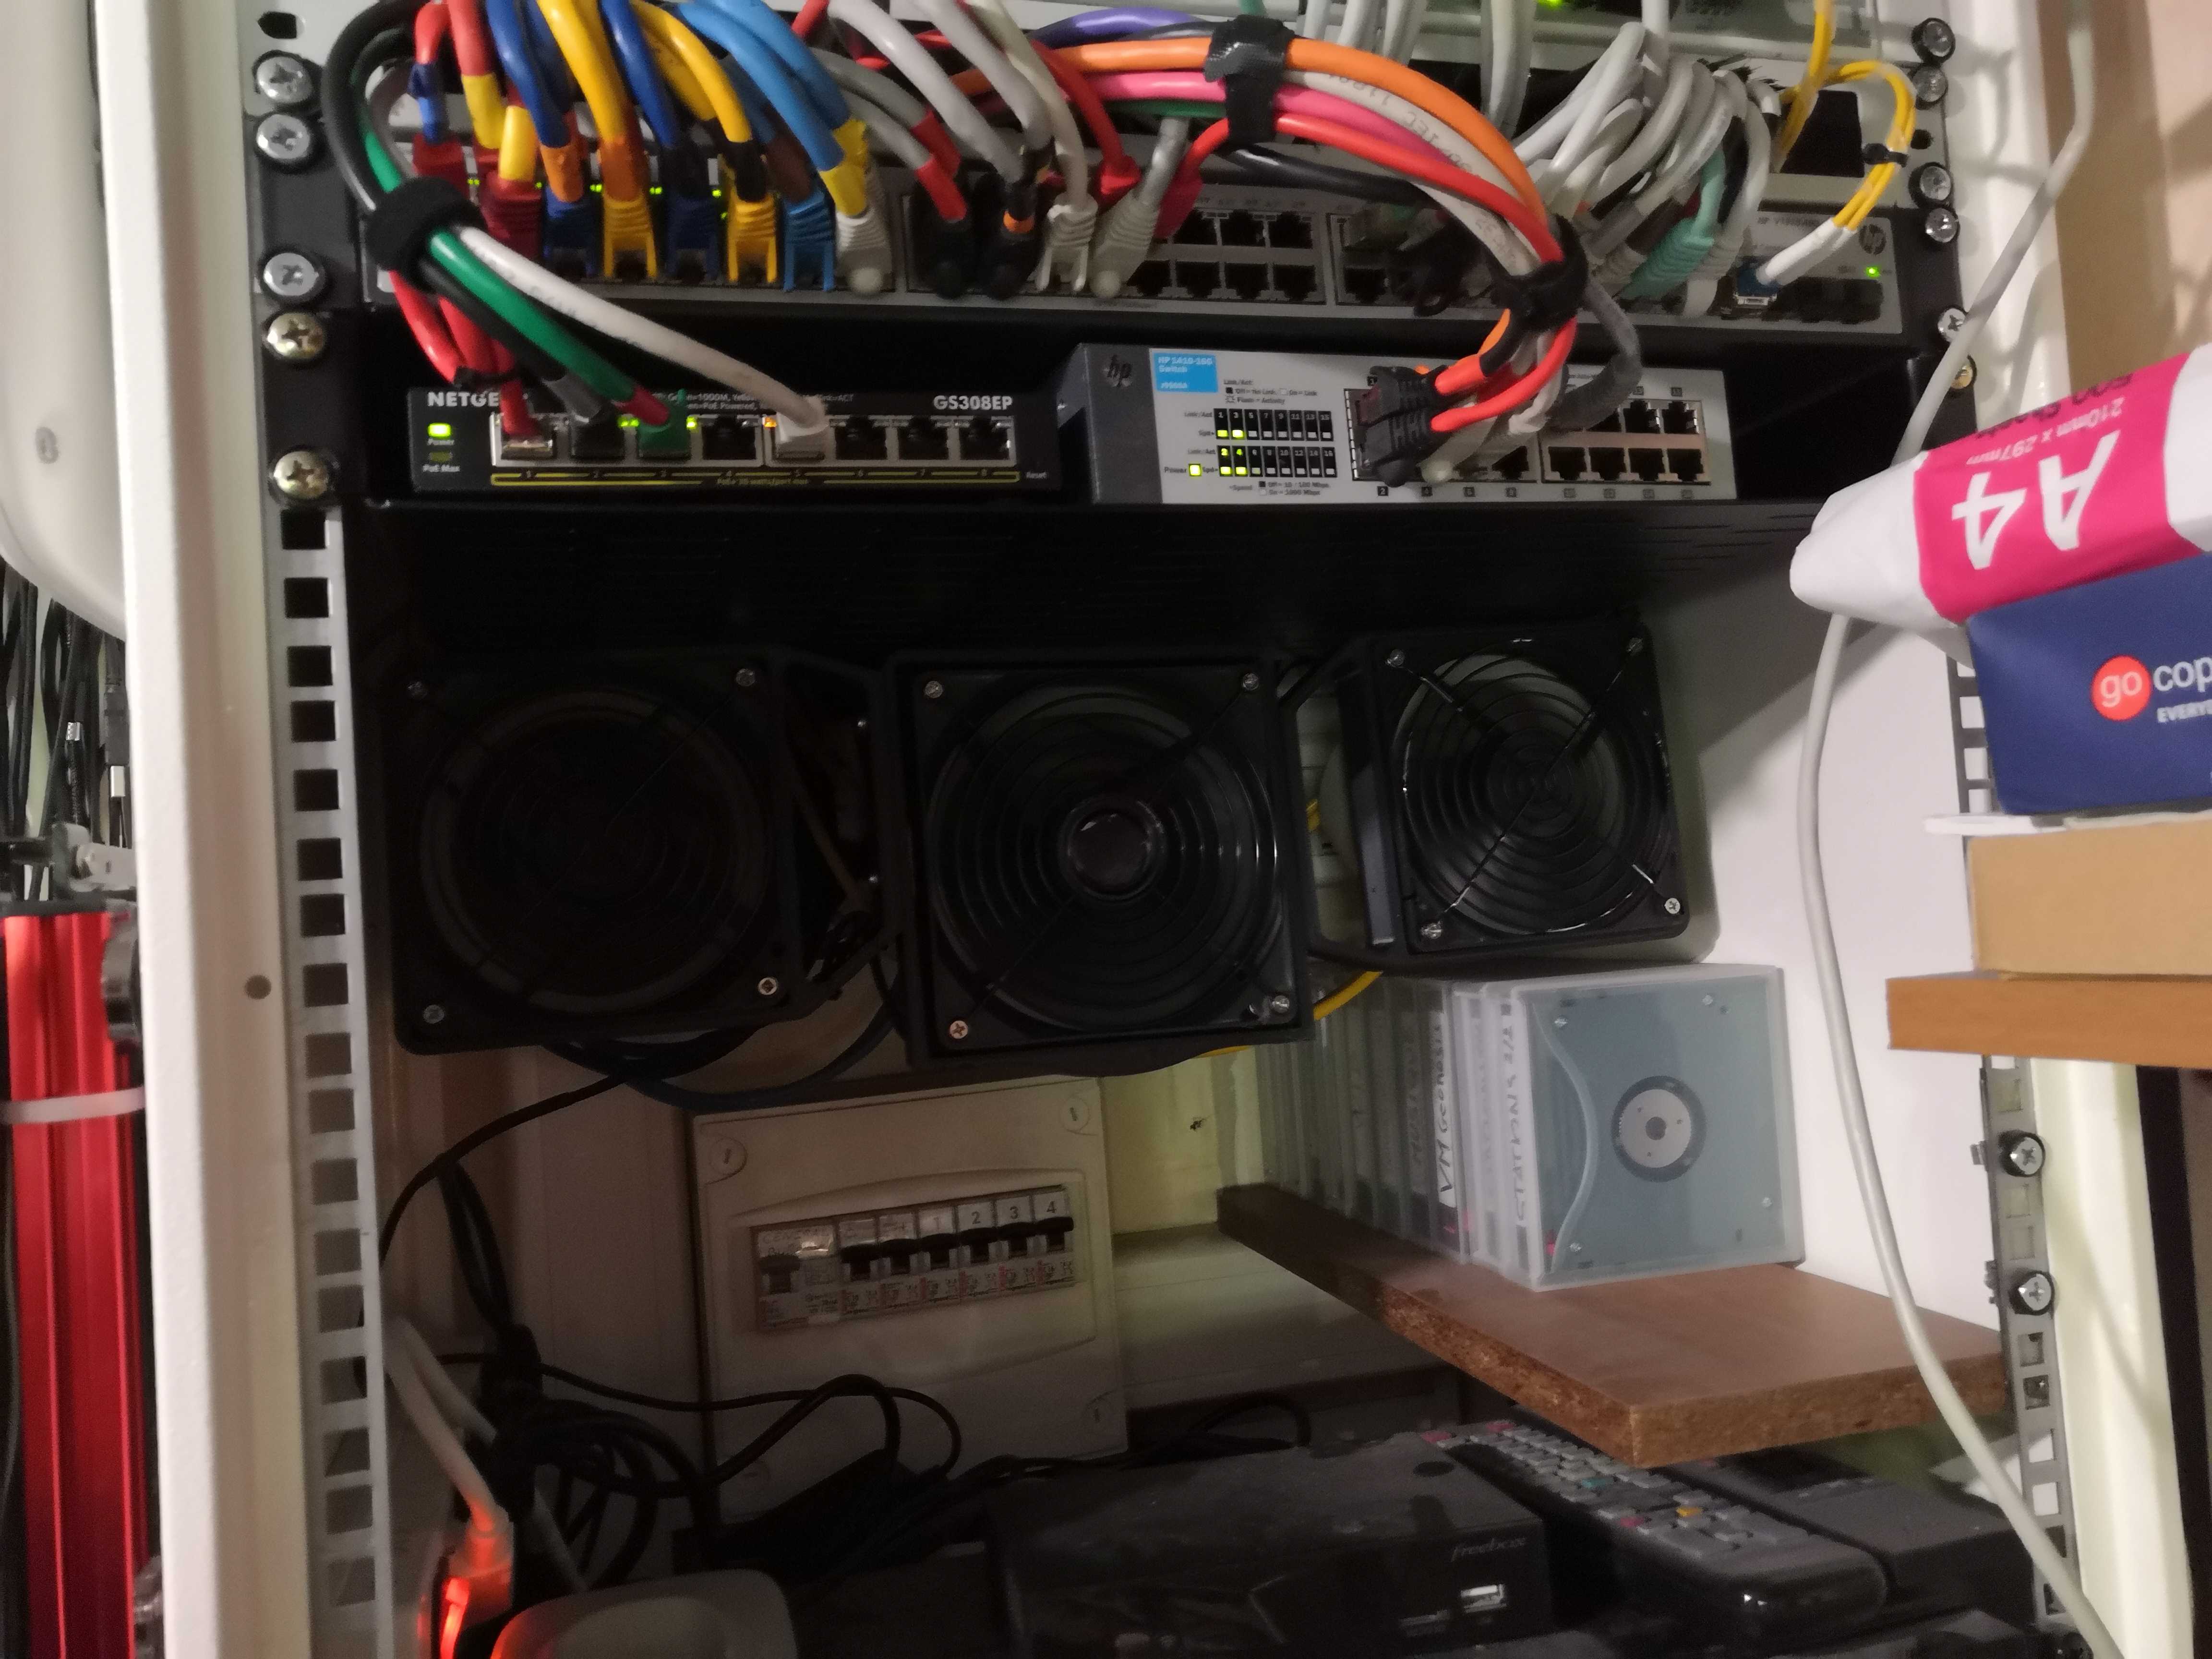
Then, I secured them permanently under the metal shelf in the rack before reassembling everything. The fans draw air from just below the switches and direct it toward the top of the rack, which is open by design.
Results
Result: the rack feels much better. The metal panel is no longer scorching hot, air no longer stagnates under the switches, and the whole setup remains discreet thanks to the 9 V power supply. Three salvaged fans, leftover PLA spool ends (that’s why there are two colors), a spare power supply lying around, and an afternoon of tinkering: exactly the kind of “personal infrastructure” project I love.
A few ideas I’m keeping in mind for the future:
- Speed control: A knob to run the fans at full speed only when it gets really hot, and stay inaudible the rest of the time.
- Single point of failure: The three fans all rely on the same 9V power supply. If the power supply fails, everything stops at once. Something to keep an eye on.
Credits & Licenses
This build is based on three models freely shared on Printables. Thanks to their authors:
- 120 mm PCI Bracket — Gustavo (@Gustavo_2073): <https: www.printables.com="" model="" 1118379-pci-bracket-for-120mm-fan="">
- 140 mm PCI Bracket — Gustavo (@Gustavo_2073): <https: www.printables.com="" model="" 1125321-pci-bracket-for-140mm-fan="">
- 40 mm Nozzle (resized to 120/140) — Tunanika (@tunanika):<https: www.printables.com="" model="" 435682-40mm-fan-shroud="">
> The models are published under a Creative Commons license on Printables; please refer to the specific license listed on each page before reusing or redistributing them. The nozzle used here is a resized derivative version of Tunanika’s model, republished in accordance with its original license.</https:></https:></https:>