Background
I picked up two used Cisco Aironet SAP1602I units—the kind of gear you can find for next to nothing because it’s being phased out of corporate networks. Classic problem: both were in CAP mode (Lightweight Access Point, firmware k9w8), meaning they were configured to be managed by a WLC controller. Without a WLC, they search for a controller in vain and remain unusable. My personal infrastructure runs on standalone SAP access points (k9w7), so I had to migrate them.
Second problem: the SAP firmware for this series has been EOL for years; Cisco has removed public downloads, and without a partner account, you’re stuck.
Except that I already had one in production, the exact same model, running SAP, which was working perfectly. The obvious solution.
Photos of the beast
Top, bottom, plugged in during the flash:
 Front panel
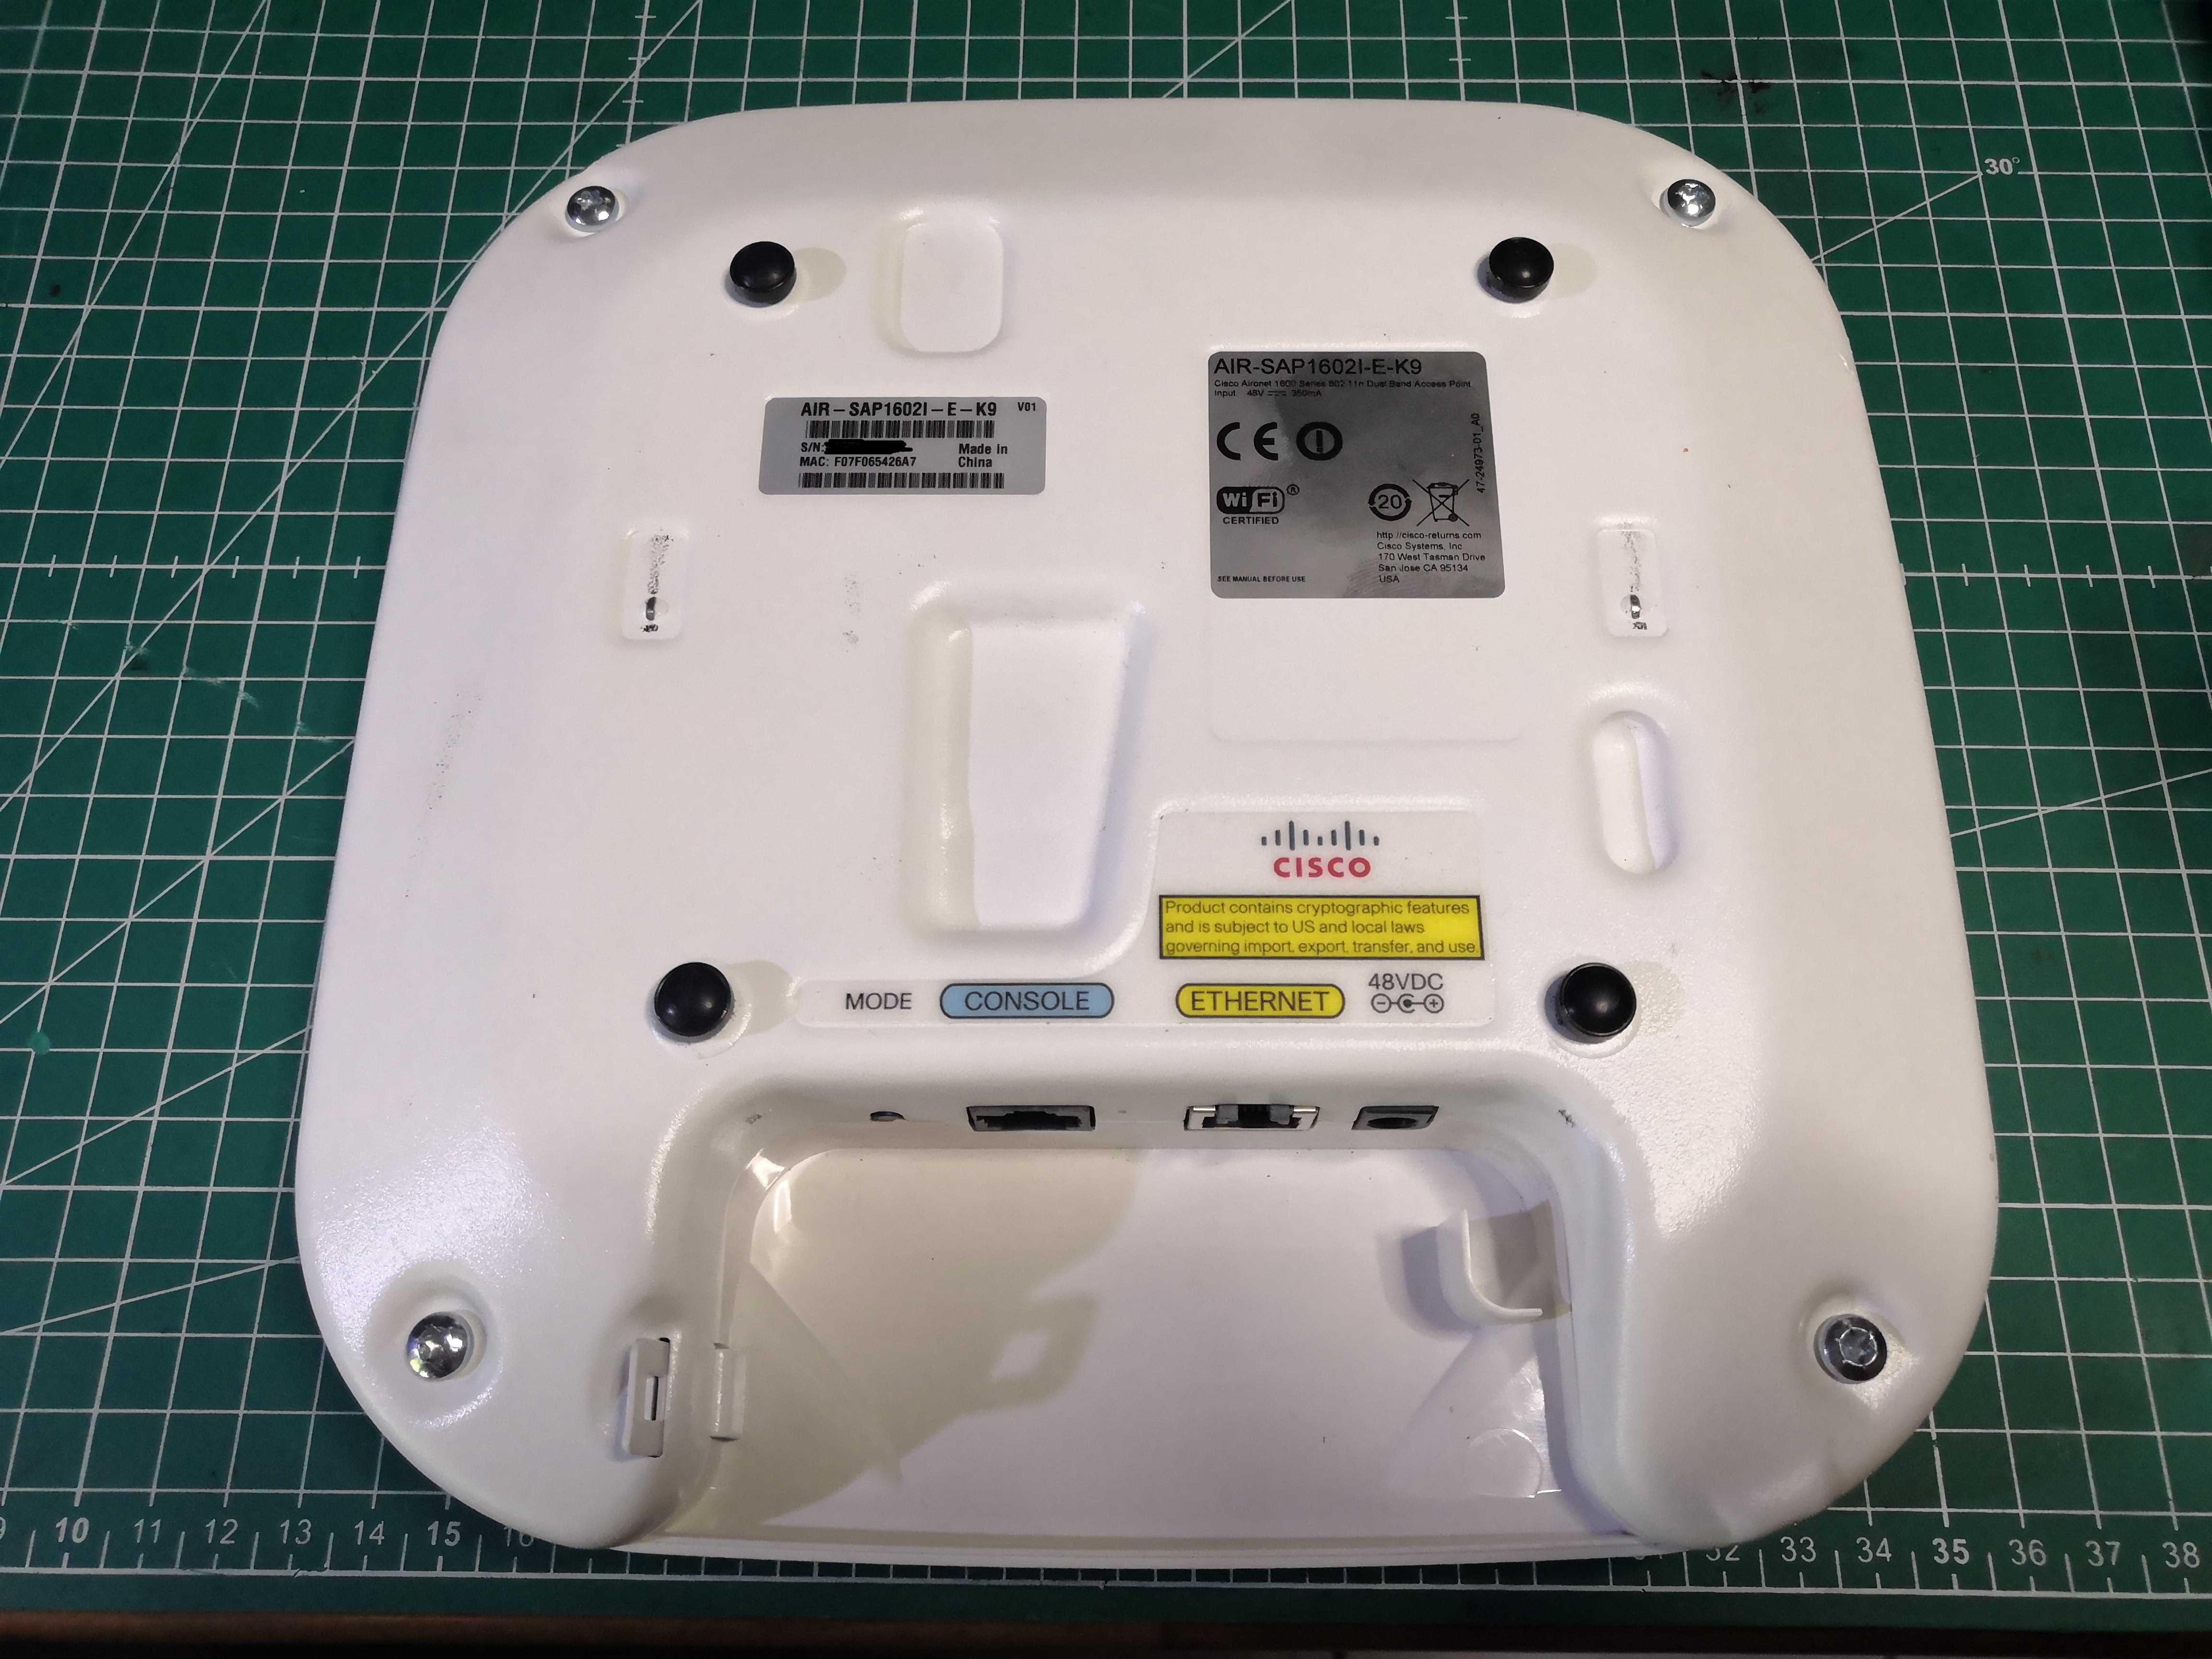 Rear panel
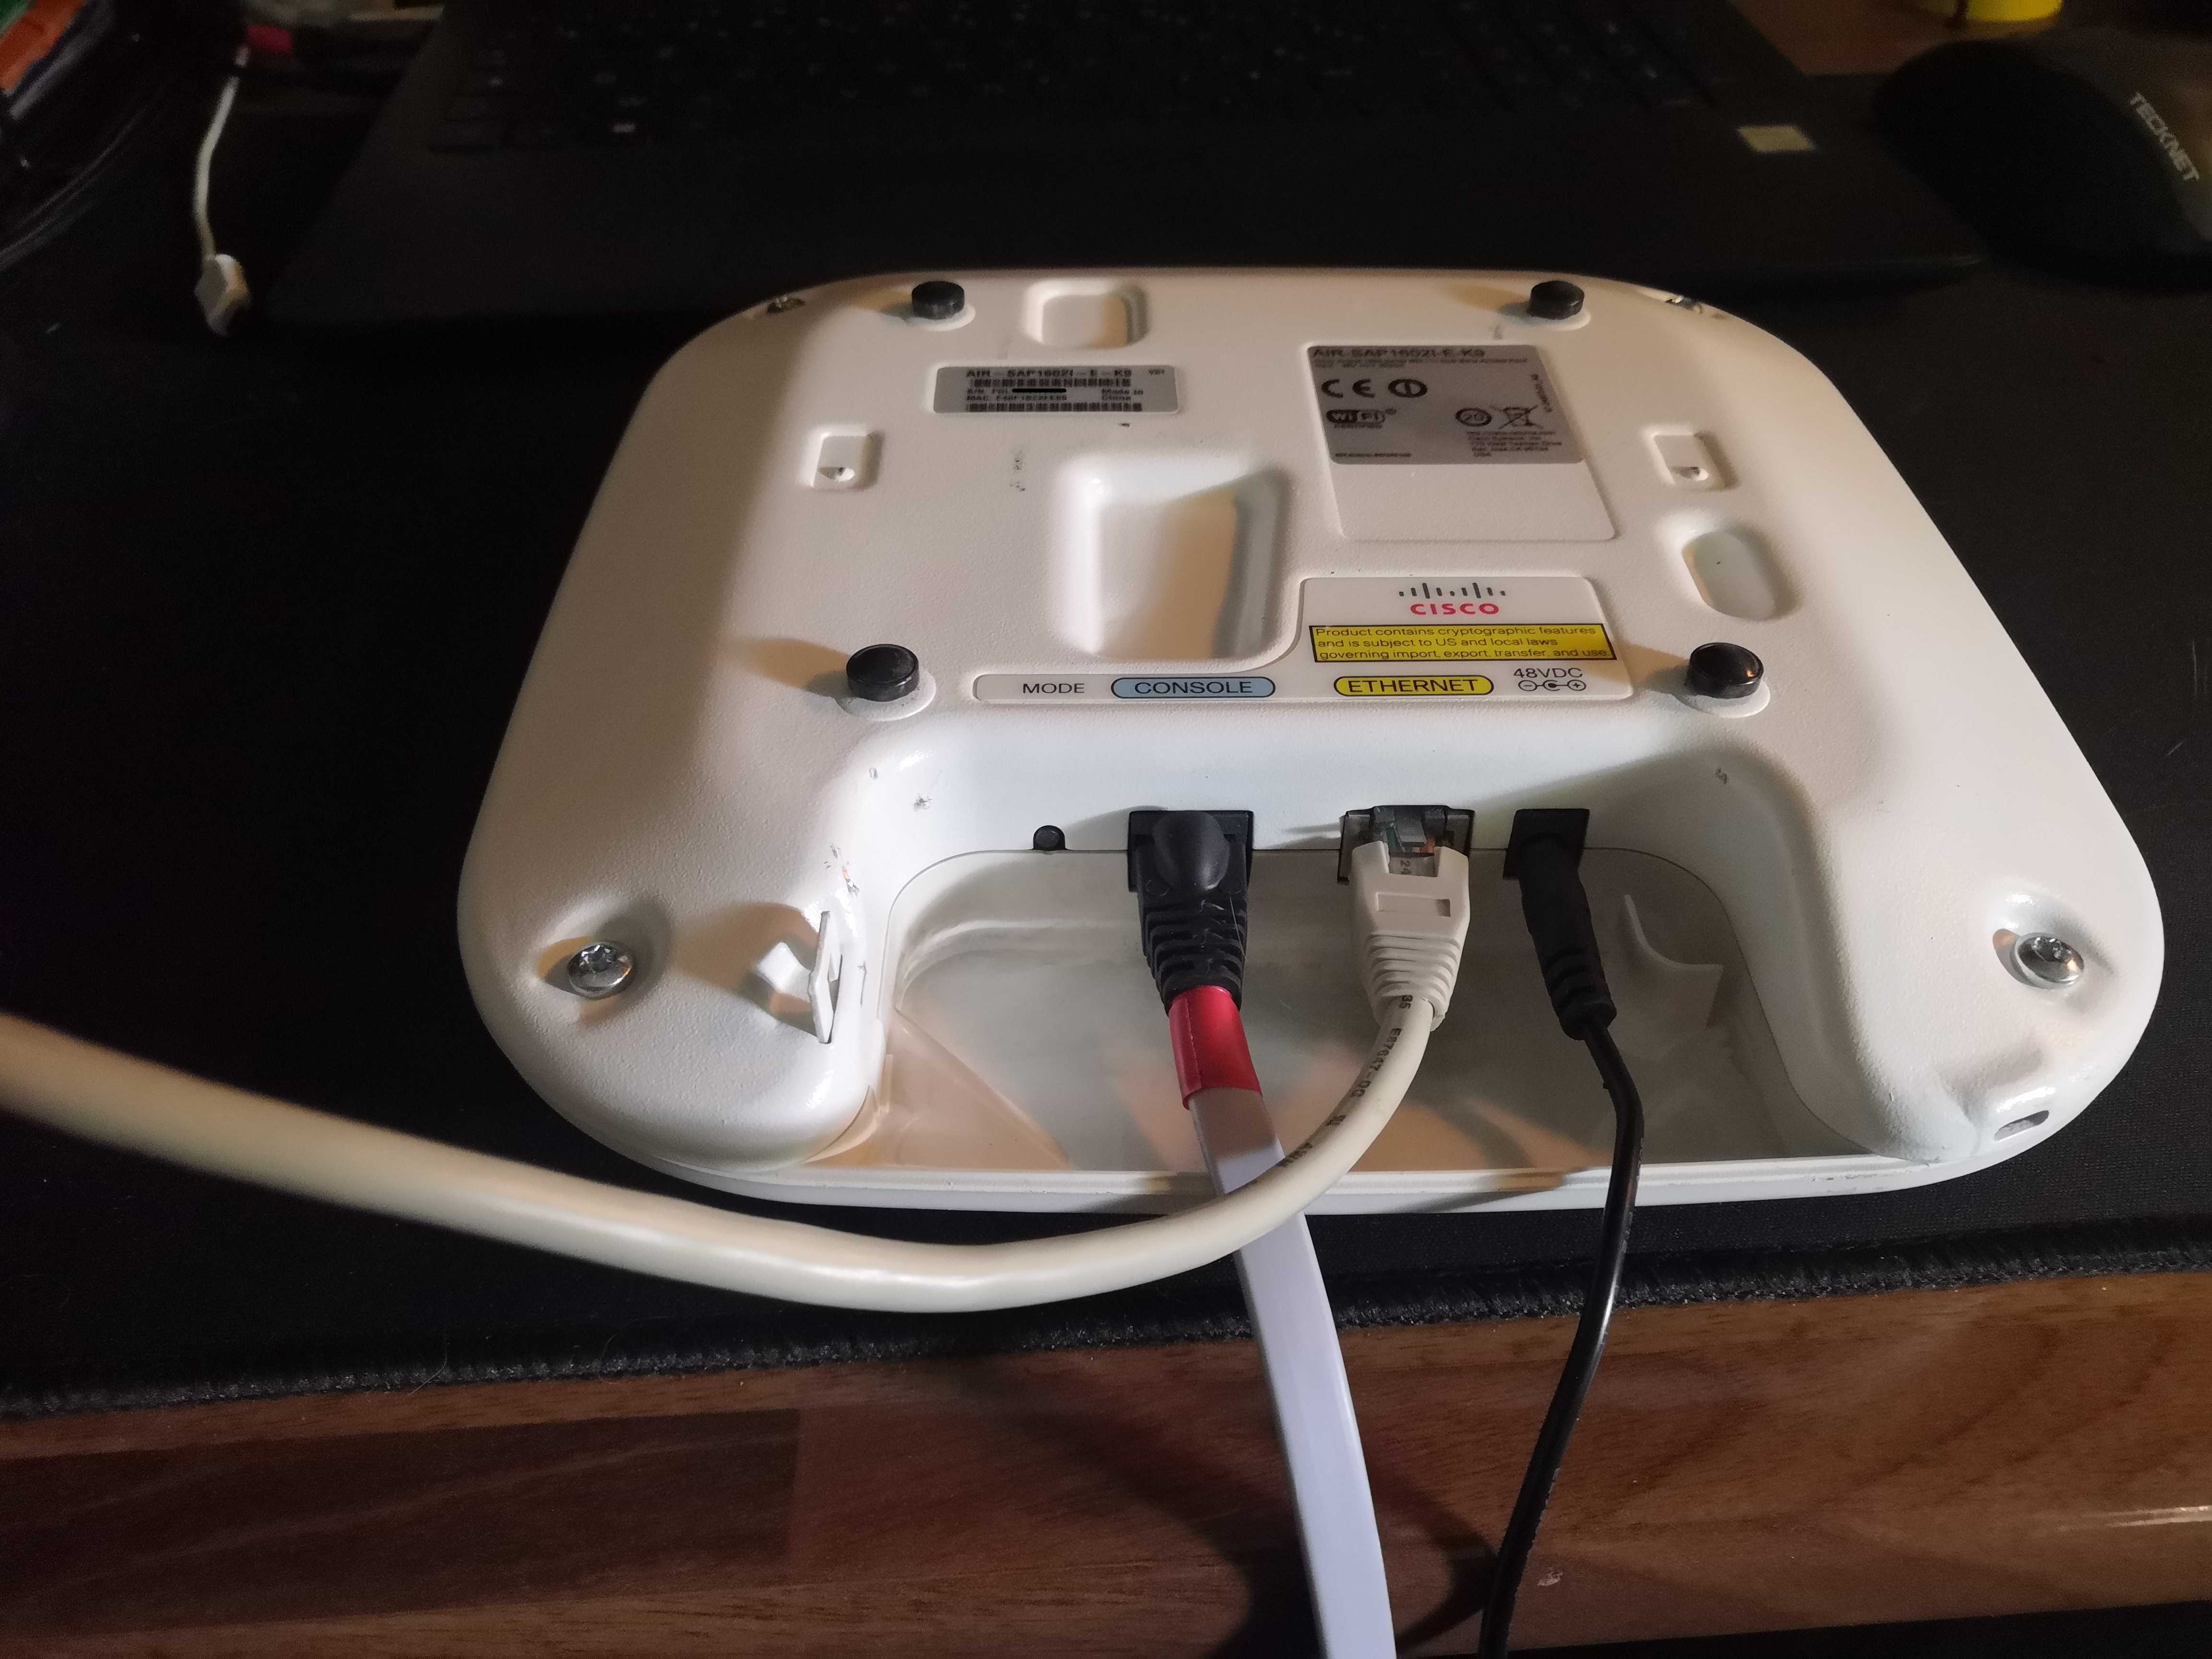 Connected during the procedure
The CONSOLE port uses a standard RJ45 connector (standard Cisco console cable), the ETHERNET port supports PoE 802.3af/at or a 48V DC power jack. And the MODE button—we’re going to need it.
SAP vs CAP: the difference in a nutshell
SAP (k9w7) |
CAP (k9w8) |
|
|---|---|---|
| Mode | Standalone | Lightweight (controller) |
| Config | Directly on the access point | Remote via WLC |
| Usage | Personal infrastructure, office | Enterprise deployment |
Both firmwares coexist in the same device, using the same boot image. Only the suffix in the tar file name changes. If you receive a used access point running CAP, it’s almost always because it came from an enterprise network managed by a WLC.
Step 1: Retrieve the firmware from the production access point
On the production access point in SAP (k9w7), I first checked what was in flash:
AP-PROD#dir flash:
Directory of flash:/
    3  drwx         896   Mar 1 1993 01:07:45 +01:00  ap1g2-k9w7-mx.153-3.JC
  ...
The directory is there, but the original tar file no longer exists—it was extracted during installation. This is the first pitfall: archive download-sw expects a tar file structured in a specific way, and a homemade tar file doesn’t always work. We’ll come back to this.
To extract the firmware to the TFTP server, IOS has a command that does exactly that:
archive tar /create tftp://192.168.X.254/ap1g2-k9w7-tar.153-3.JC.tar flash:/ap1g2-k9w7-mx.153-3.JC
> Warning: The production access point was on a VLAN dedicated to the Wi-Fi access points’ admin interface, and my TFTP server was on an infrastructure VLAN. Check the inter-VLAN routing policy to ensure this works. If the command times out for no apparent reason, that’s where you should look.
The tar file is now on the TFTP server. Let’s get started.
Step 2: Use the bootloader
This is the standard procedure on Aironet devices when archive download-sw isn’t enough—and in my case, it wasn’t enough; I’ll come back to that below.
Procedure:
- Unplug the power supply
- Hold down the MODE button
- Plug the power supply back in, keeping MODE held down
- Wait for the message
button is pressed, wait for button to be released...; most importantly, wait until the access point turns solid red - Release
The access point attempts an automatic TFTP boot from 255.255.255.255/ap1g2-k9w7-tar.default — it finds nothing and drops to the ap: prompt. That’s where we want to be.
ap: set IP_ADDR 192.168.X.Y
ap: set NETMASK 255.255.255.0
ap: set DEFAULT_ROUTER 192.168.X.254
ap: tftp_init
ap: tar -xtract tftp://192.168.X.254/ap1g2-k9w7-tar.153-3.JC.tar flash:
The extraction takes a few minutes. When it’s finished:
ap: set BOOT flash:/ap1g2-k9w7-xx.153-3.JC
ap: boot
> Common pitfall: With set BOOT, you must point to the xx file (the compressed IOS image), not the mx file (the secondary bootloader). Both exist in flash after extraction. Pointing to mx results in a magic number mismatch error at boot, and the device attempts to load from a fallback—which is confusing the first time.
Step 3: Clean up the old CAP image
Once booted into SAP, verify that there is enough space and delete the CAP image k9w8 if it is still there:
dir flash:
delete /recursive /force flash:/ap1g2-k9w8-mx.153-3.JF7
Why archive download-sw didn’t work
I first tried the shortcut—flashing directly from IOS with archive download-sw /overwrite /reload from a terminal that was already running. It consistently failed with ERROR: Problem extracting files from archive, even with sufficient free space.
The likely cause: the tar file rebuilt with archive tar /create has a slightly different structure than an official tar file downloaded from Cisco. archive download-sw is more demanding regarding the internal structure than the bootloader, which accepts any valid tar file.
In summary:
archive download-sw→ works with an official Cisco tar file downloaded- Bootloader
ap: tar -xtract→ also works with a rebuilt tar file
If you’re retrieving firmware from a production device, use the bootloader. Period.
Firmware Version
15.3(3)JC is the latest version I was able to obtain using this method—it’s the 2015 version. There are reportedly newer versions in the JF branch (15.3(3)JF5, JF15…) but they are unavailable without Cisco partner access. For EOL hardware in a personal infrastructure, the JC version does the job.
Conclusion
The entire procedure consists of just a few commands, but there are pitfalls:
- The tar file no longer exists after installation; you must rebuild it with
archive tar /create - Inter-VLAN routing must be verified before the TFTP transfer
archive download-swmay reject a rebuilt tar file → bootloader requiredset BOOTmust point toxxand not tomx
A CAP terminal salvaged for next to nothing that becomes a fully functional SAP again. That’s aperturezone.