Download the latest ISO from https://clonezilla.org/downloads.php and prepare a bootable USB drive or boot via PXE using Iventoy, for example
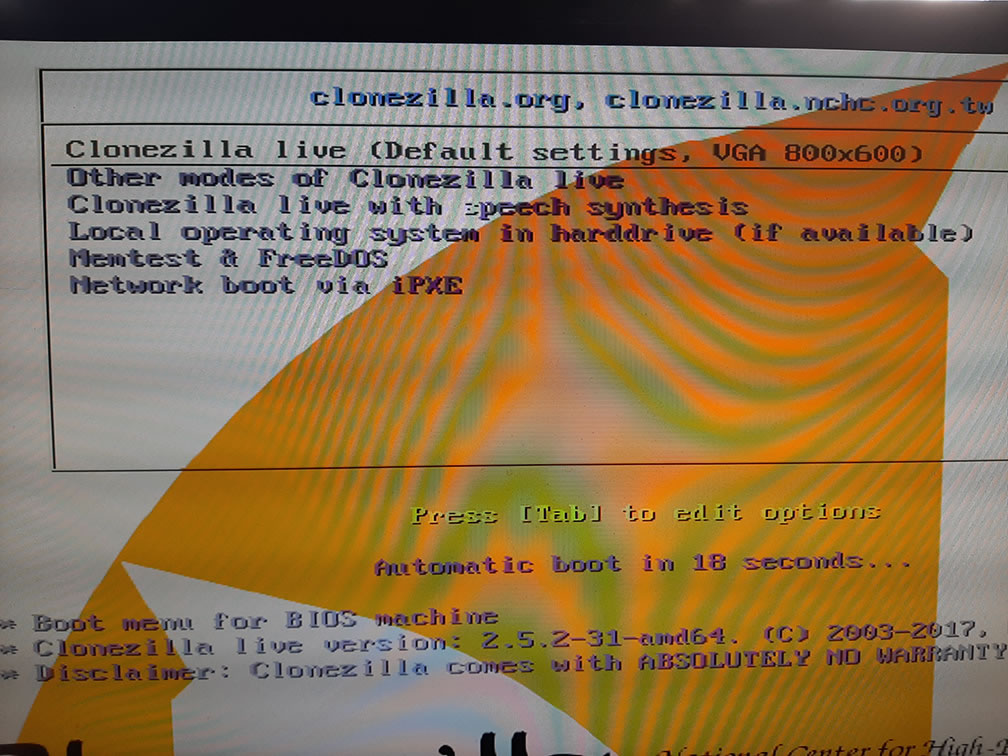 Here is the welcome screen—it’s minimalist, but that’s all you need
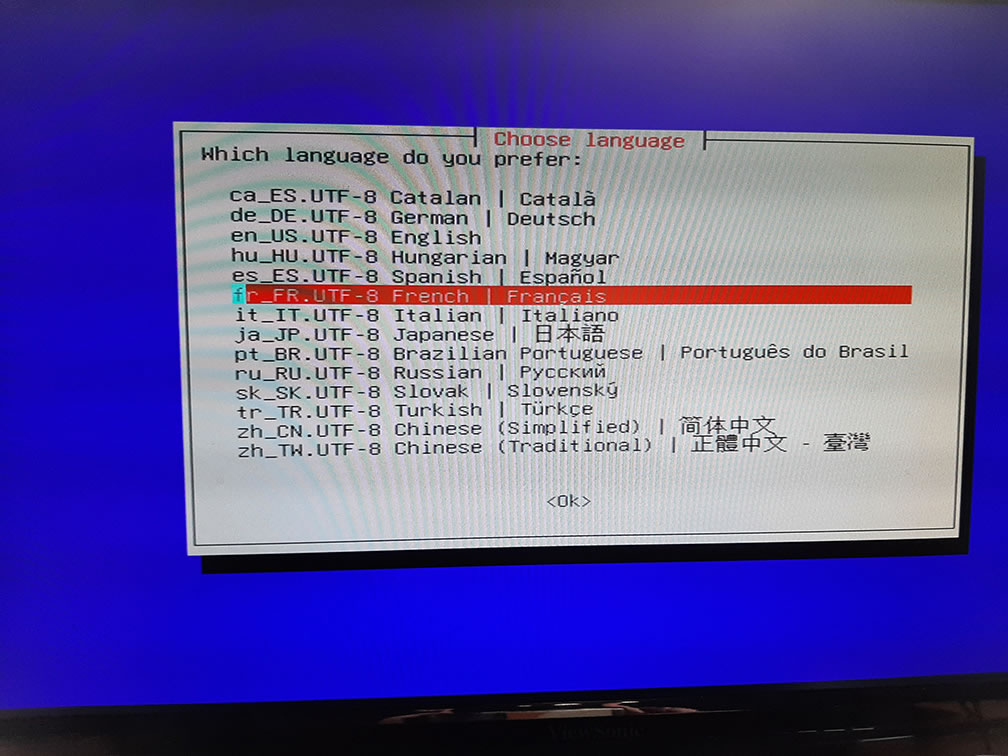 Let’s select French at random
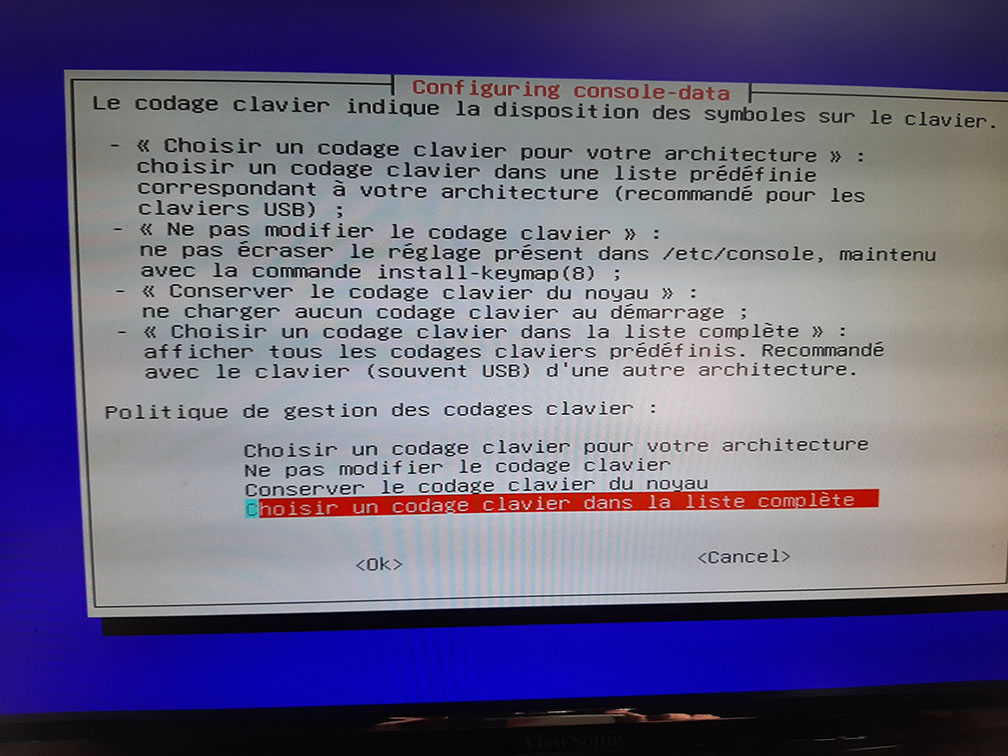 We’ll choose a French keyboard—it’ll be more convenient
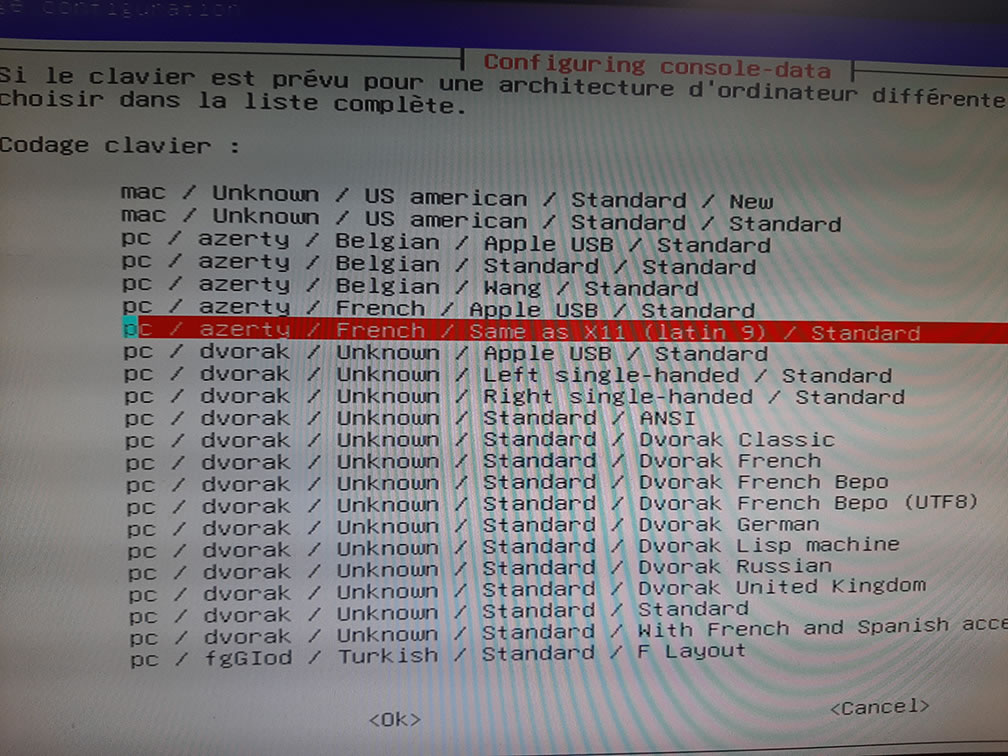 Select Latin9
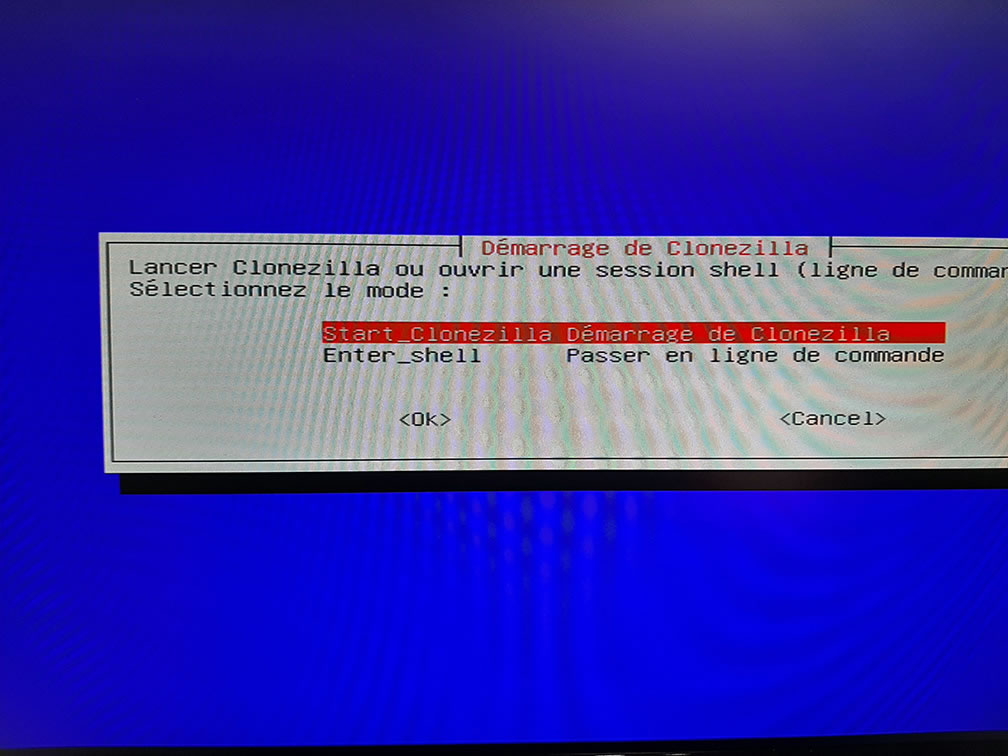 Start Clonezilla, of course
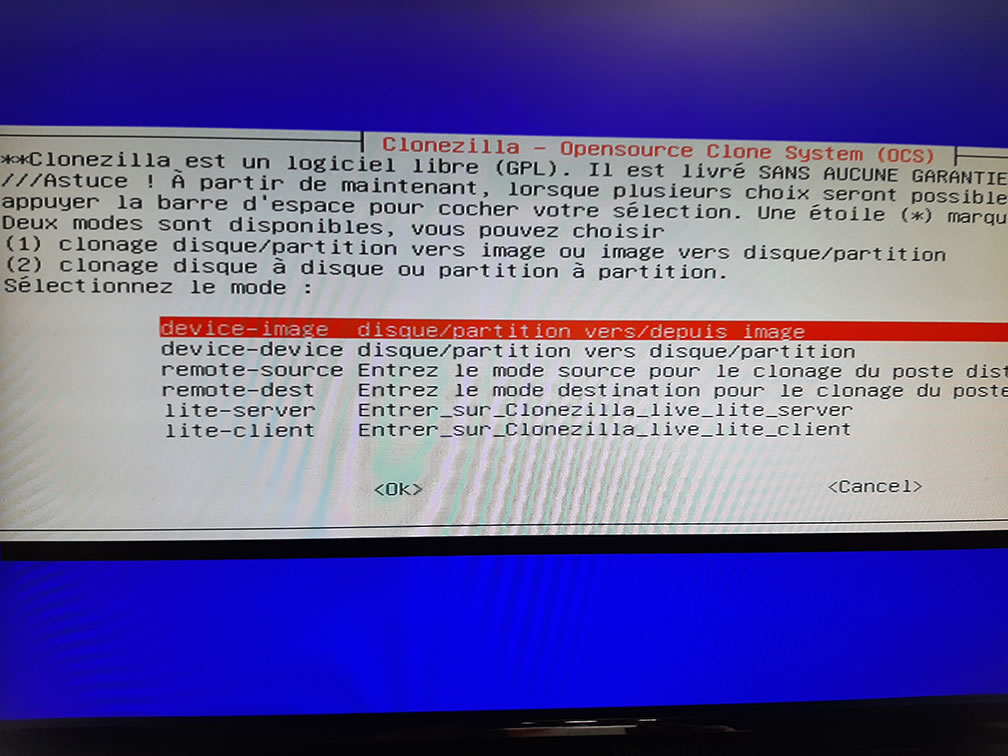 So we’re going to create an image of an entire disk, so we select device-image
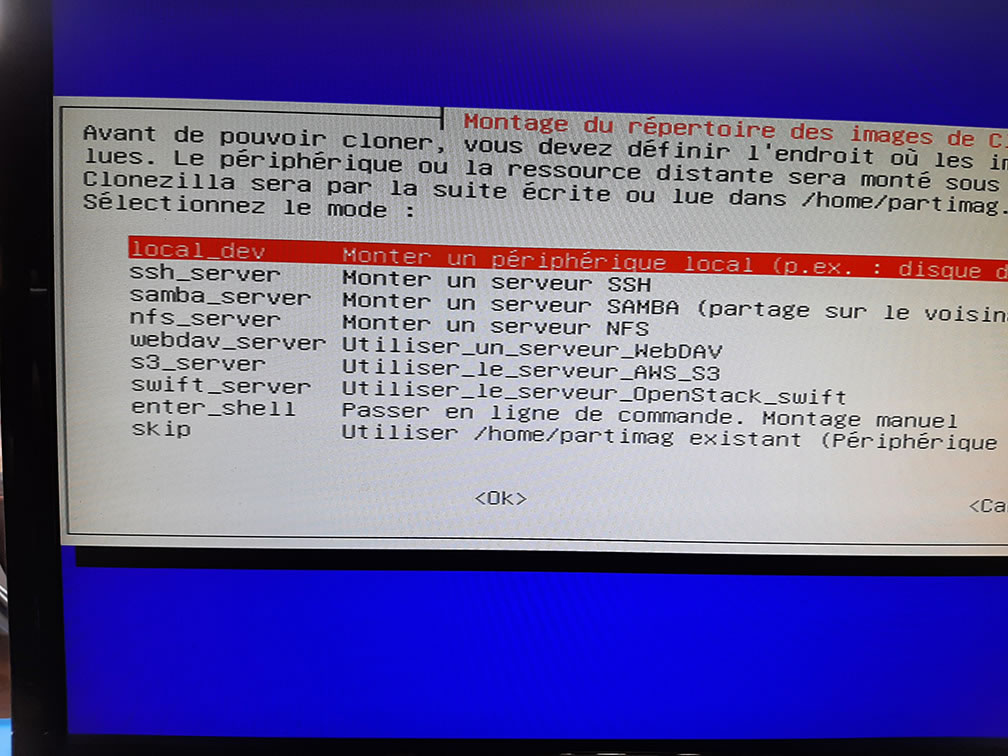 The image will be created on a local disk, so we select local_dev
 Detecting available devices; we’ll send the image to /dev/sdd
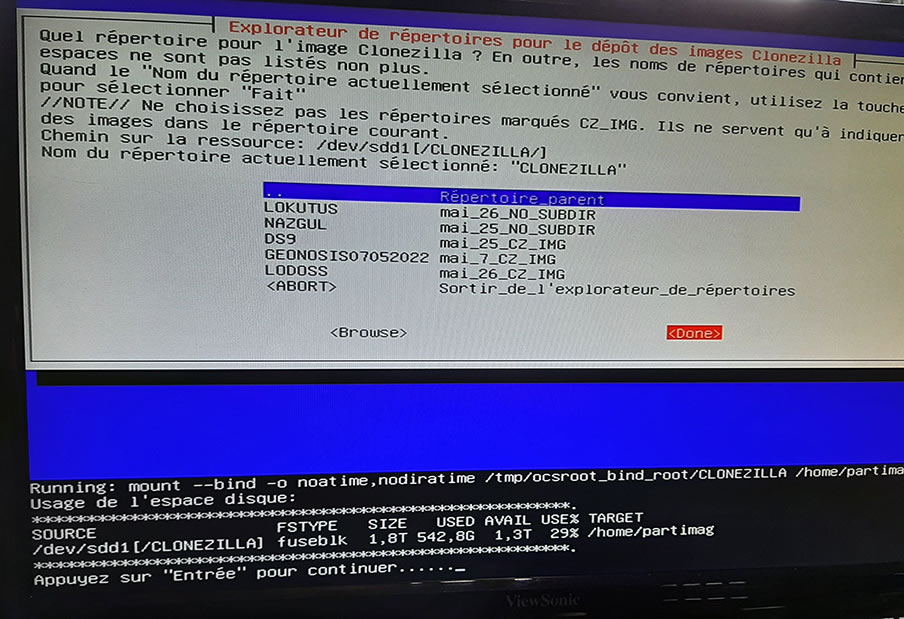 This isn’t the first image I’m creating; there’s already a folder at /dev/sdd1/CLONEZILLA, so I’ll select it
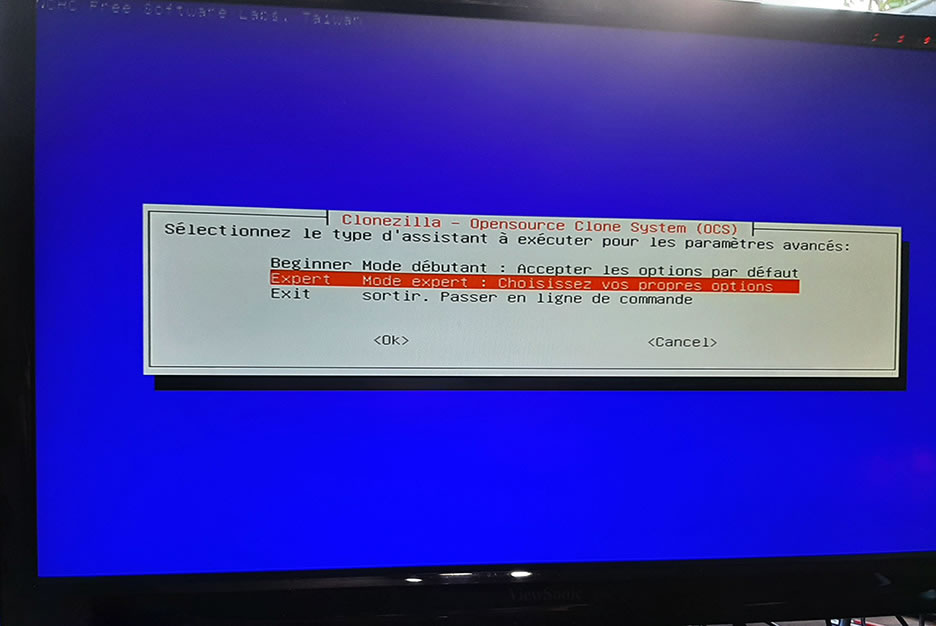 I like Expert Mode
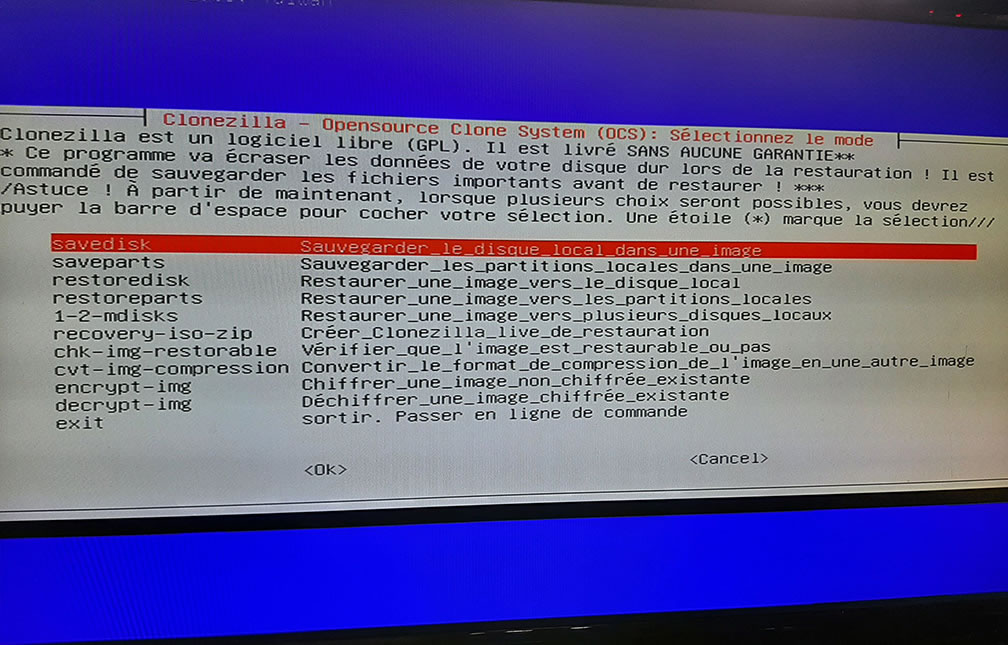 Select "Save Disk"
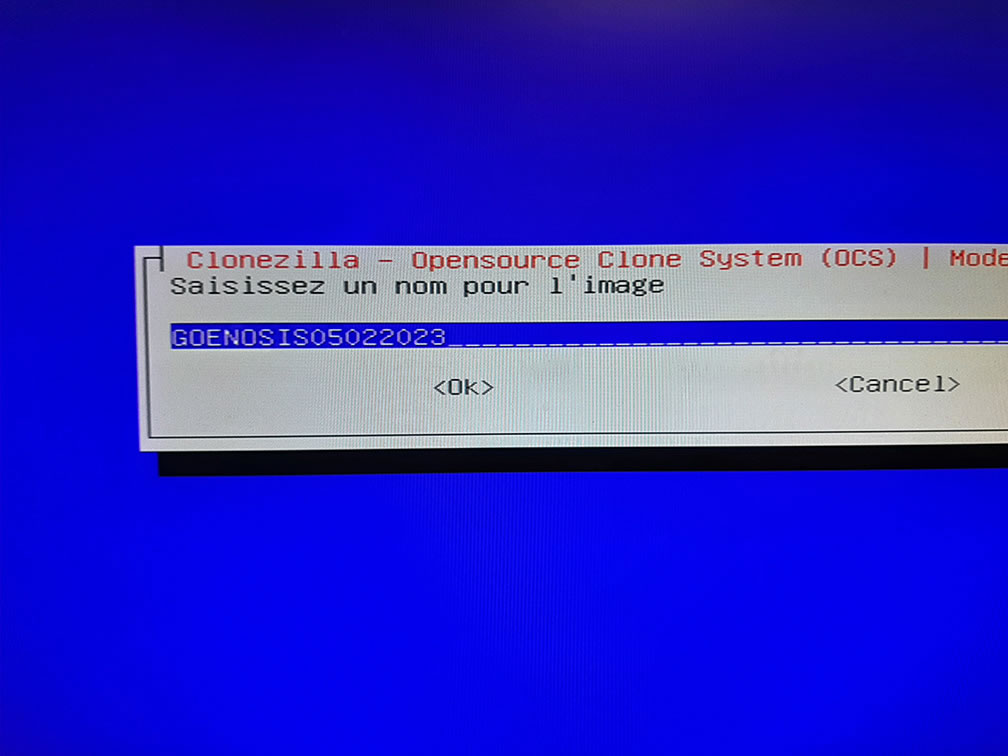 The machine I’m imaging is called GEONOSIS, so I’m choosing that name plus the date, but you can enter whatever you like
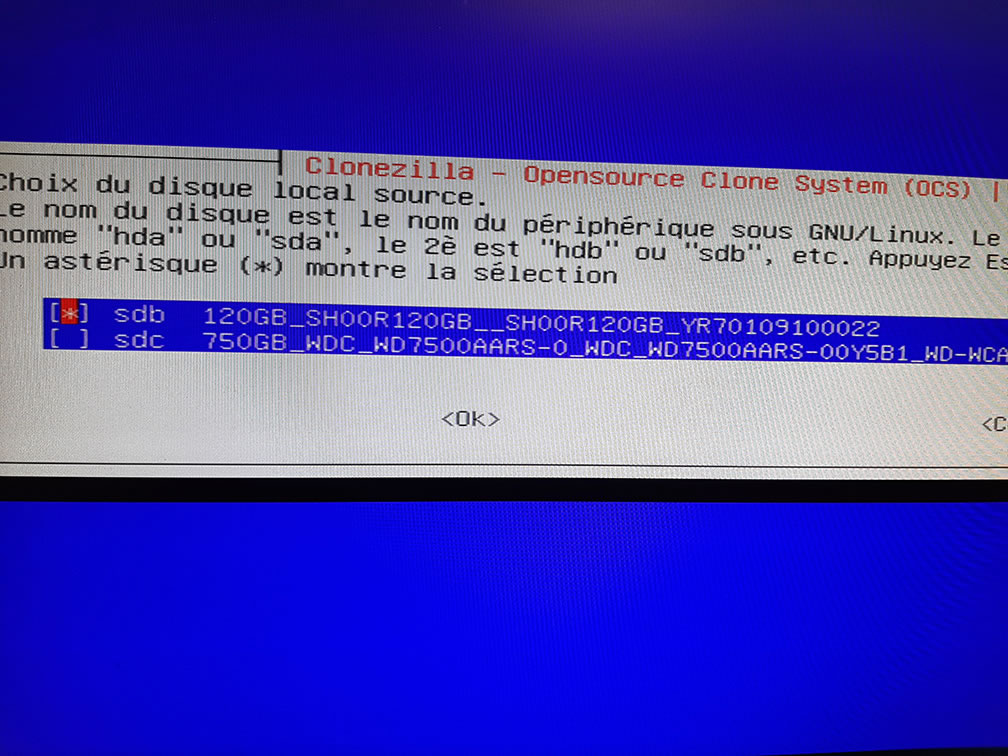 Here, select the source disk; we’re interested in the system disk
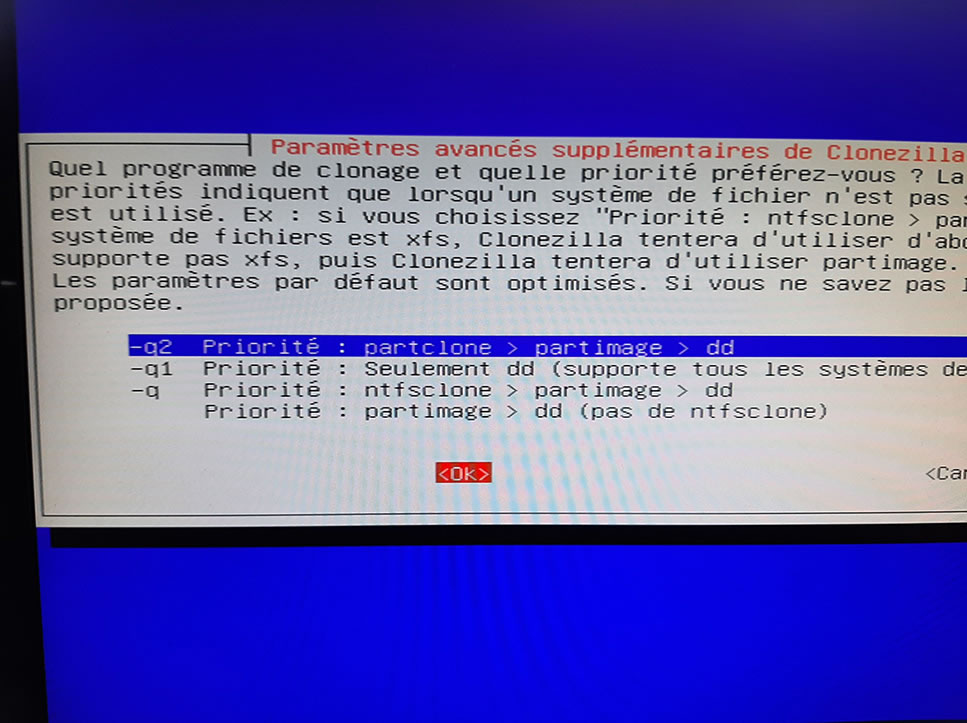 I choose to use PartClone
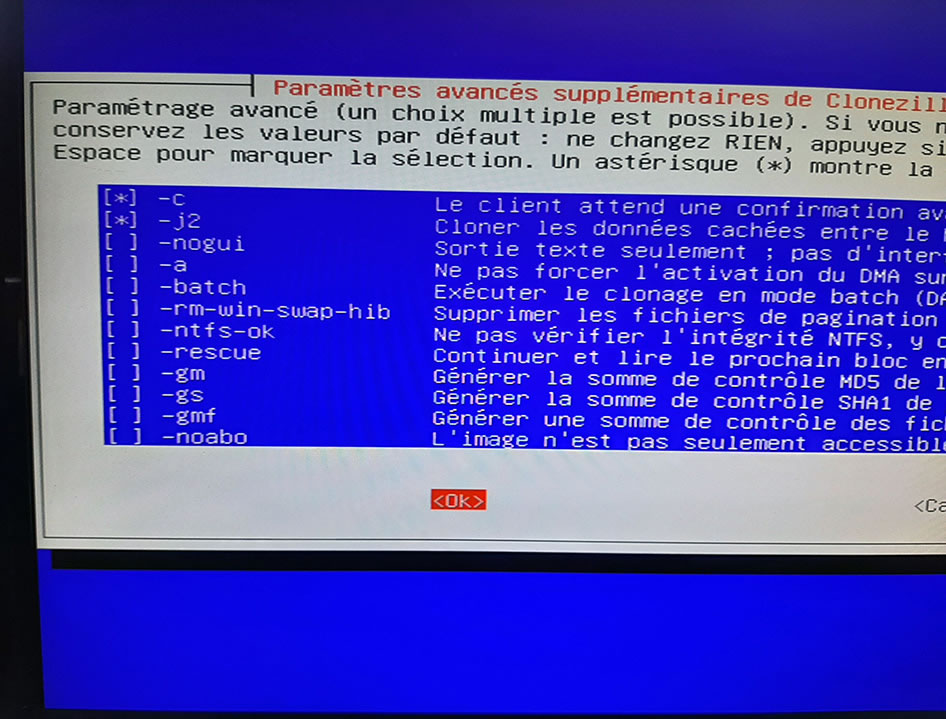 Here, leave the default settings
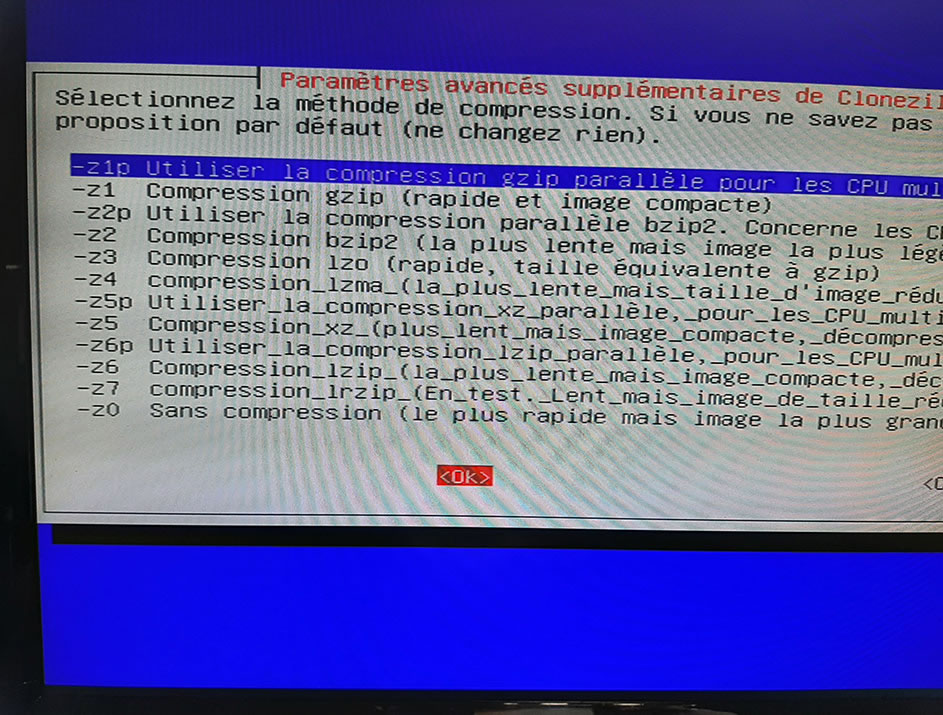 I select multicore compression—it’s faster
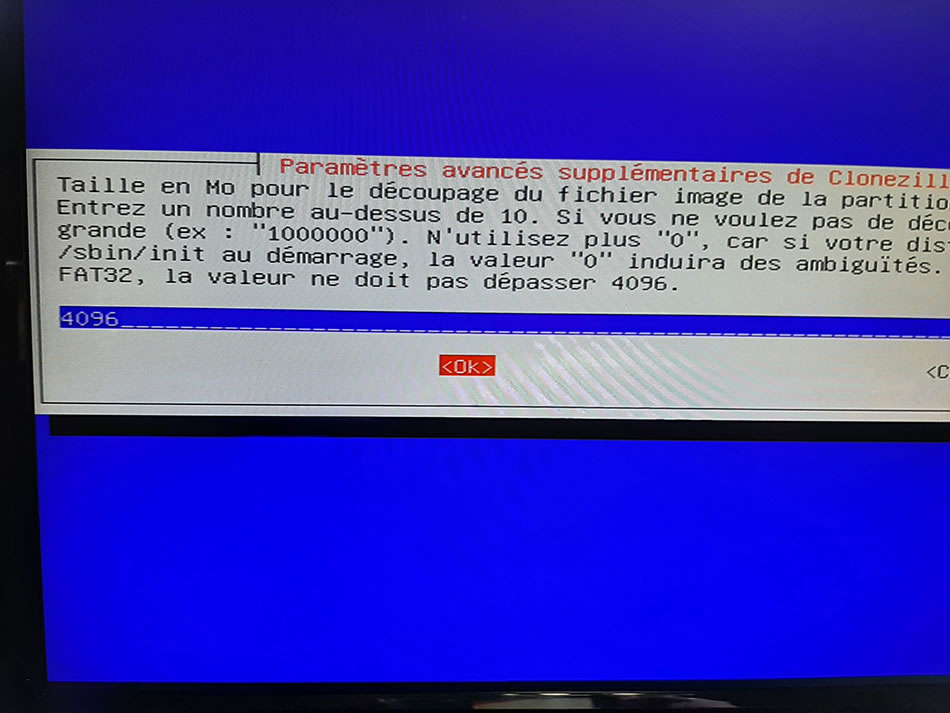 If the disk storing the image is formatted as FAT32, select 4096 to split the image into multiple parts; otherwise, you can set it to 0
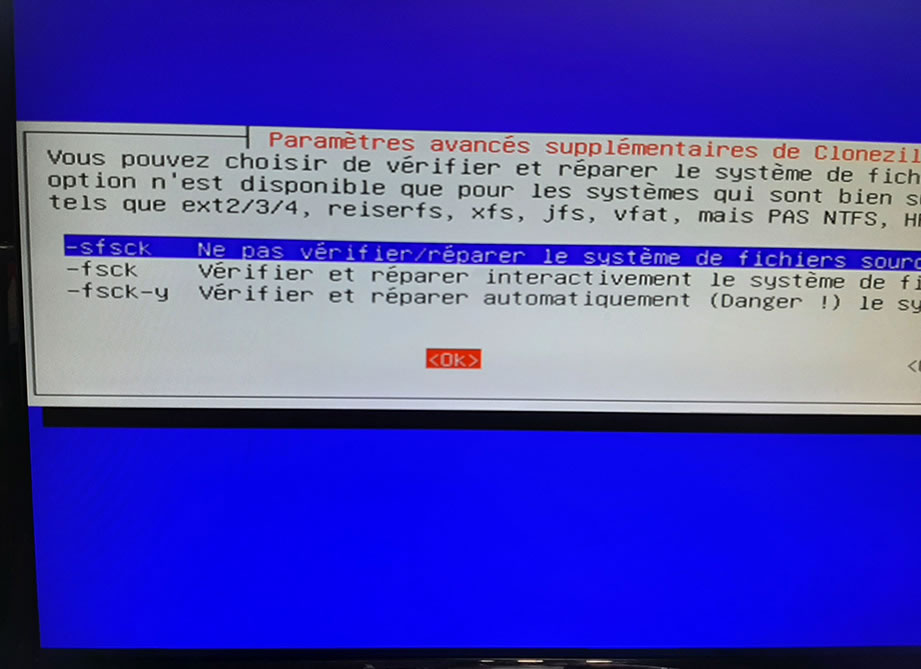 Do not verify the source disk
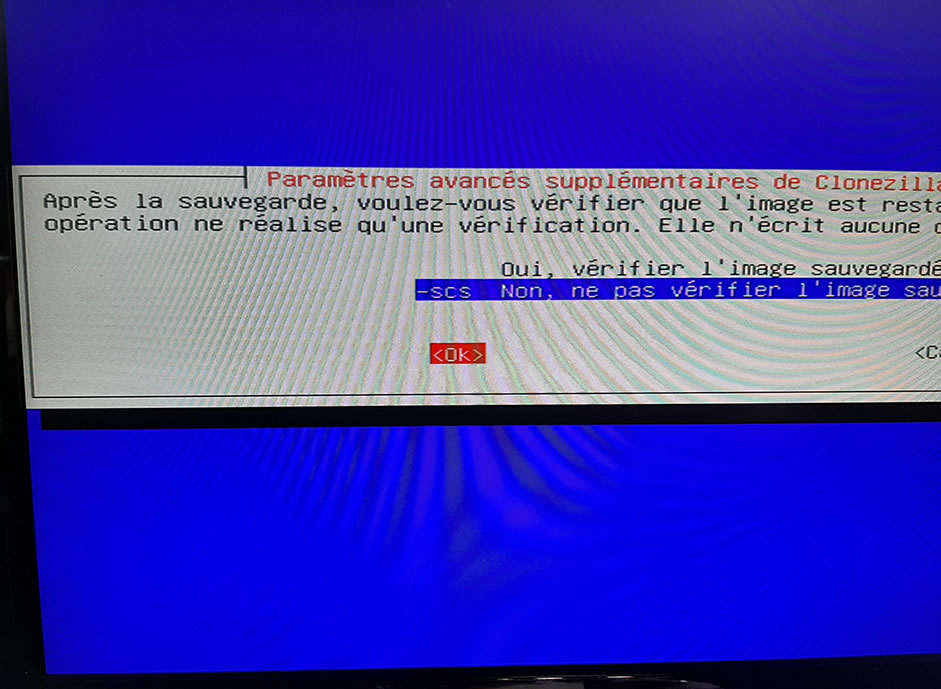 It’s up to you whether or not to verify the image once it’s finished
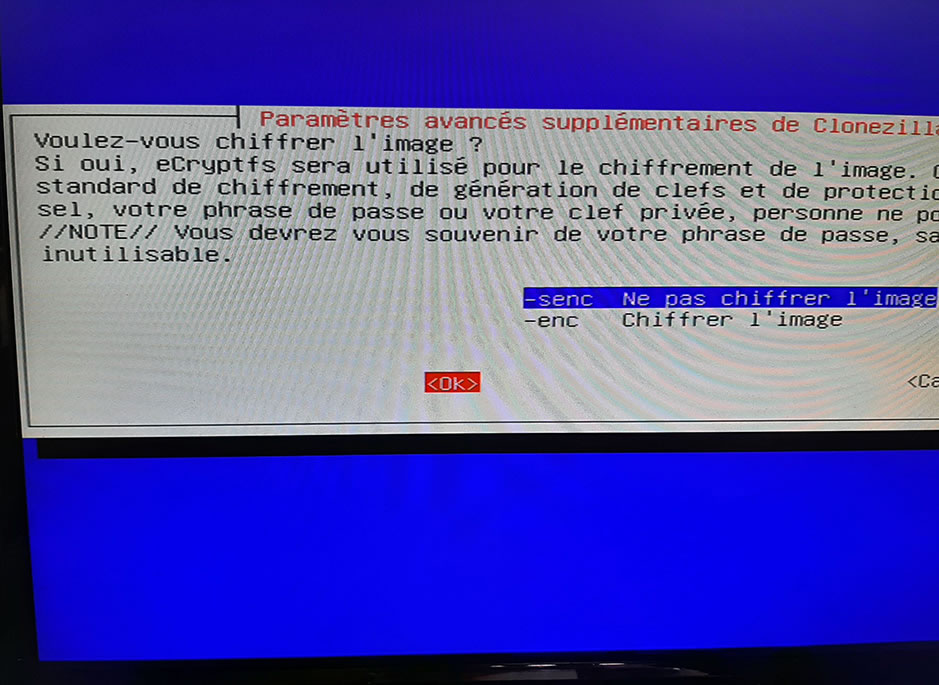 It’s up to you whether you want to encrypt the image
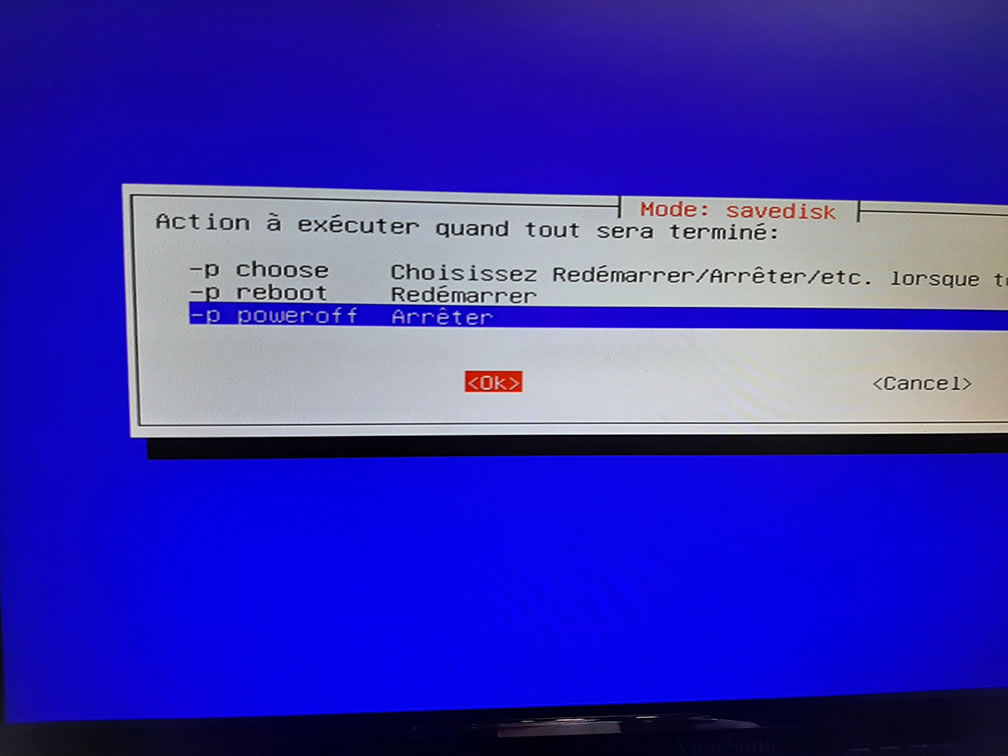 It’s up to you what to do once the image is finished
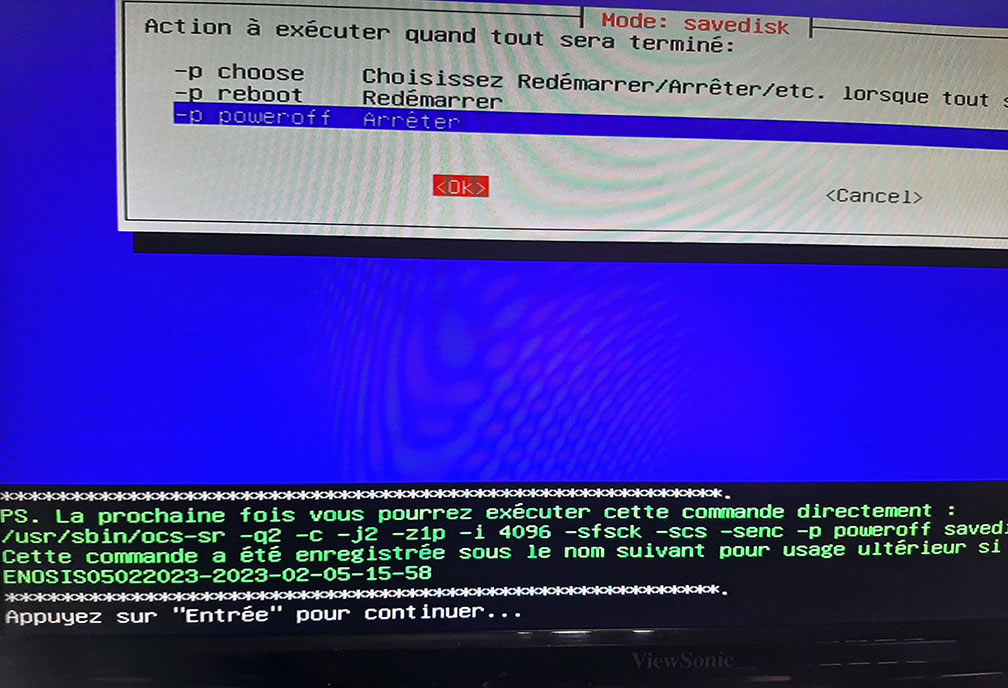 We’ll have to confirm once or twice
 Yes, I’m sure!
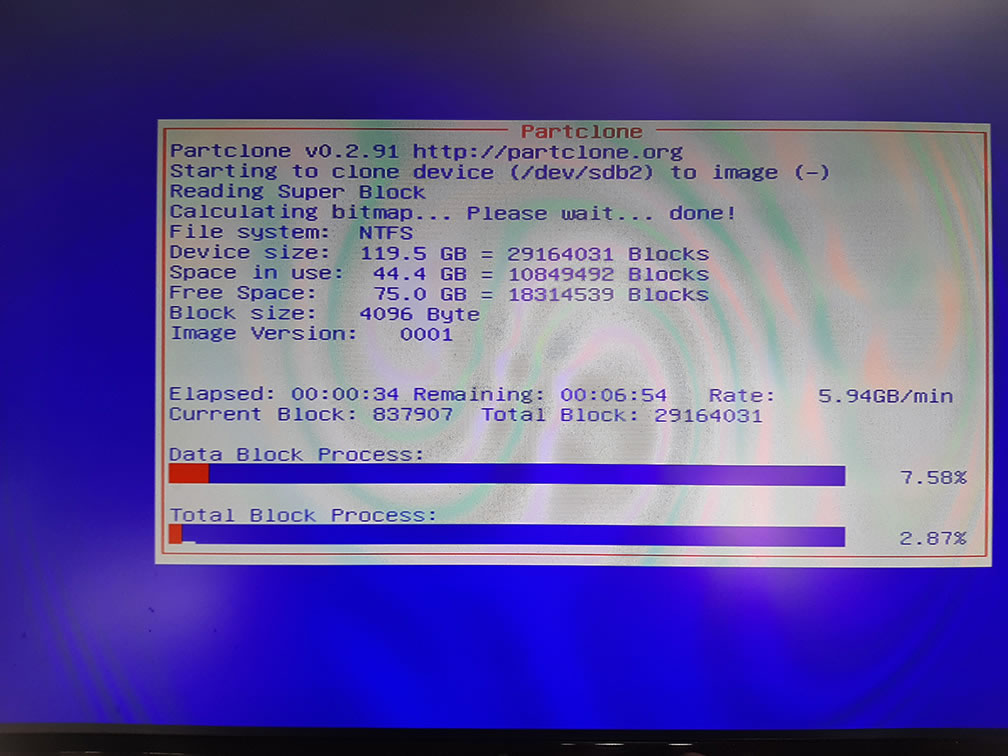 There you go, you can go grab a coffee or smoke a cigarette (wait, no, that’s bad for your health)
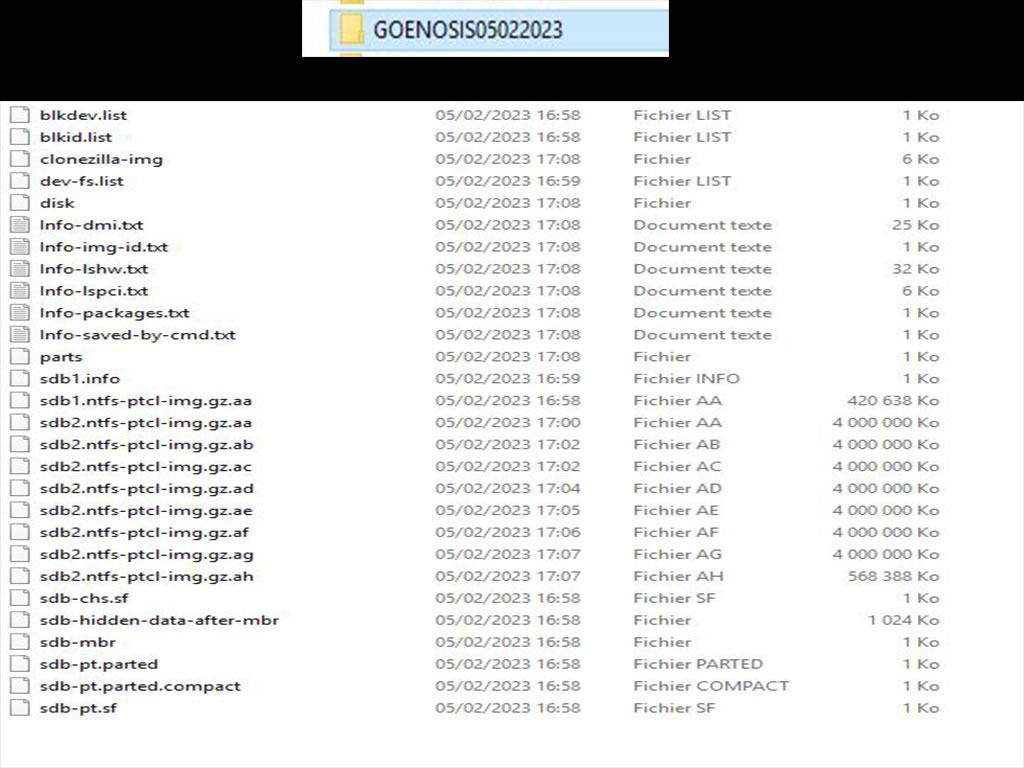 Once the image is finished, here’s the folder’s contents