We have seen how to create a system image with Clonezilla. Now we are going to restore it. In the previous article, we saw how to start up, set up the French keyboard, etc. I won't repeat the screenshots.
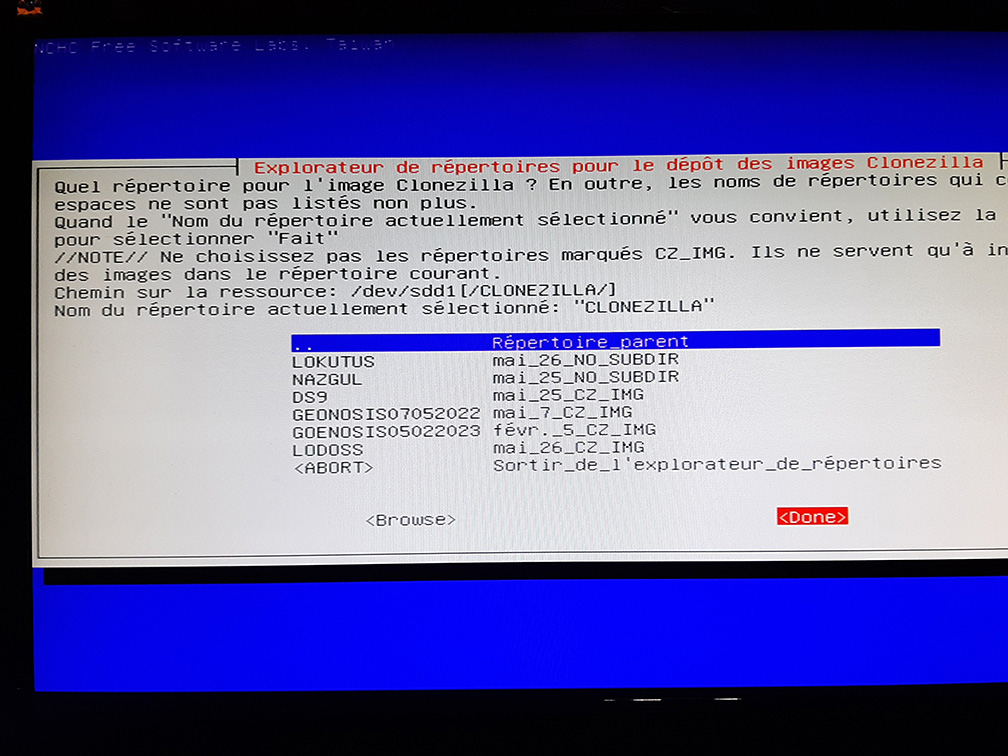 We reselect our /dev/sdd1/CLONEZILLA folder as the source.
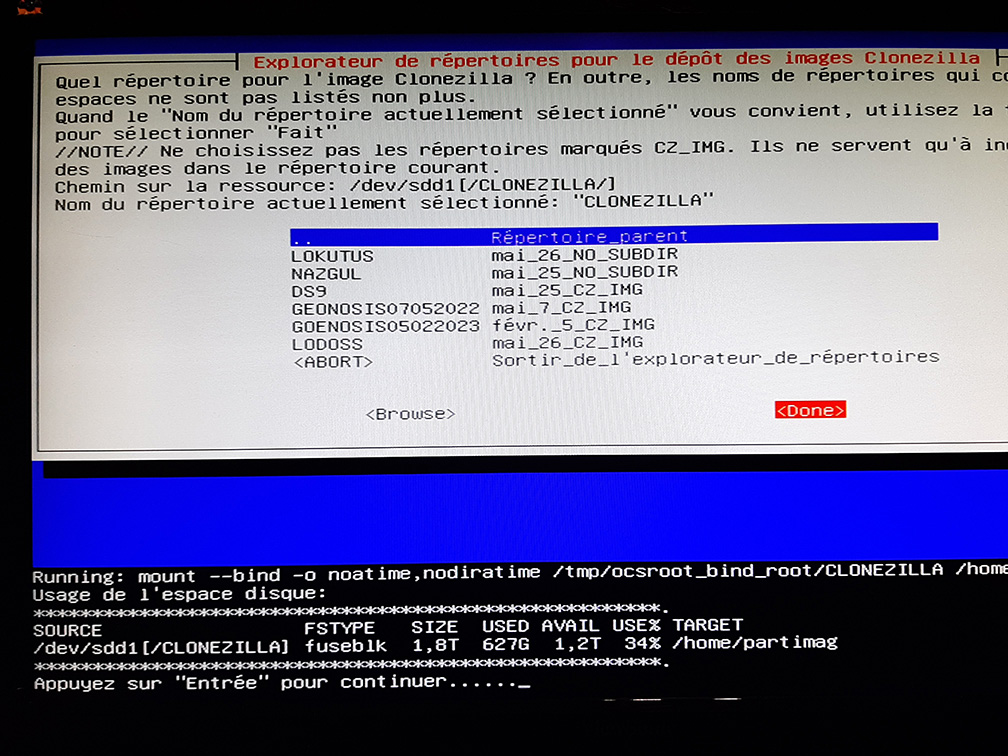 And we confirm.
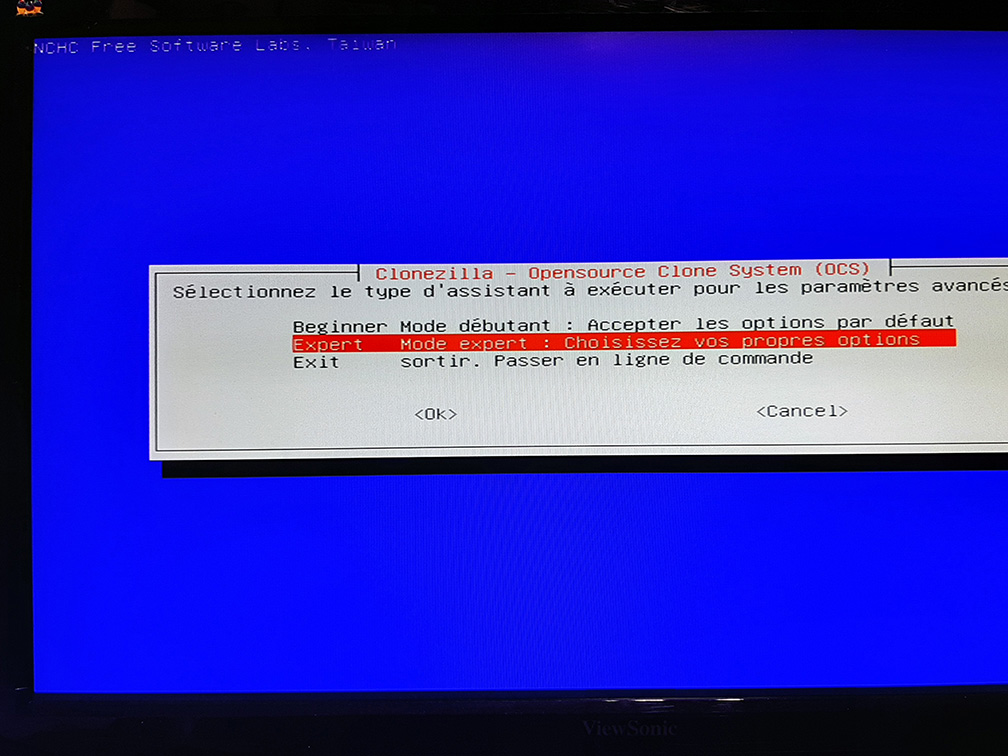 Expert mode, of course.
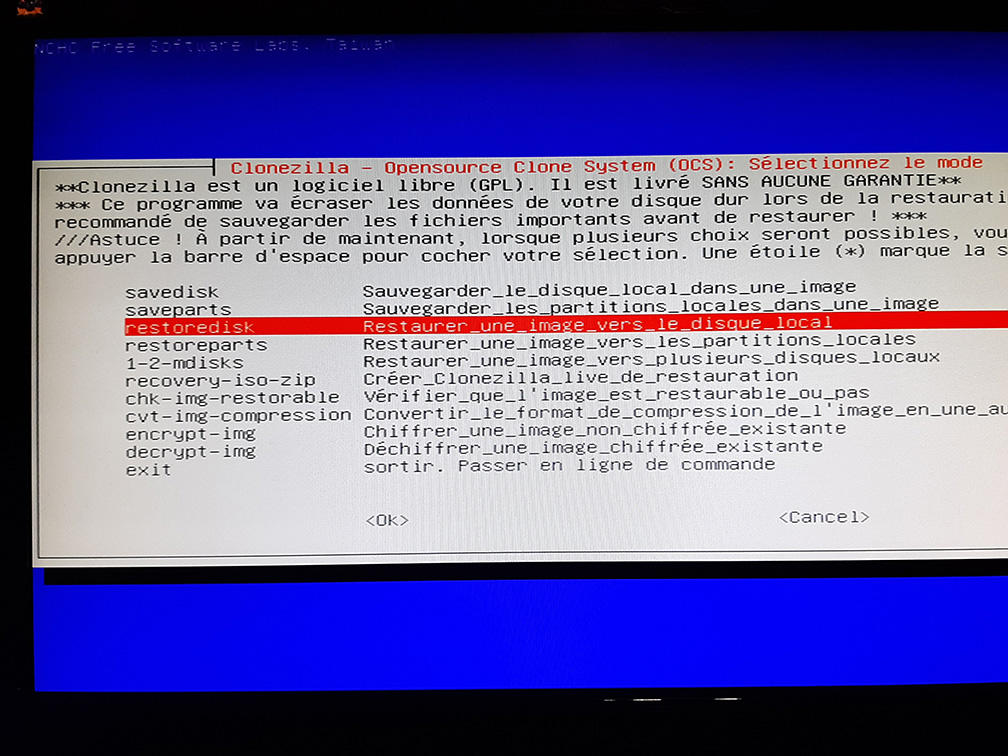 So this time we select restoredisk
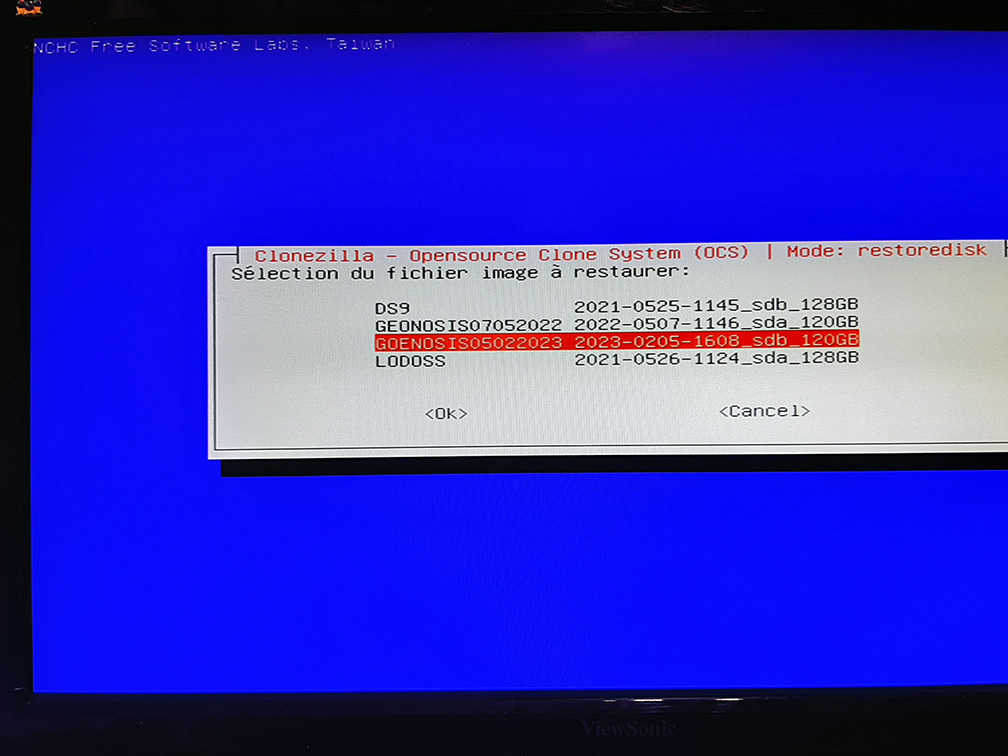 We select the image we created earlier
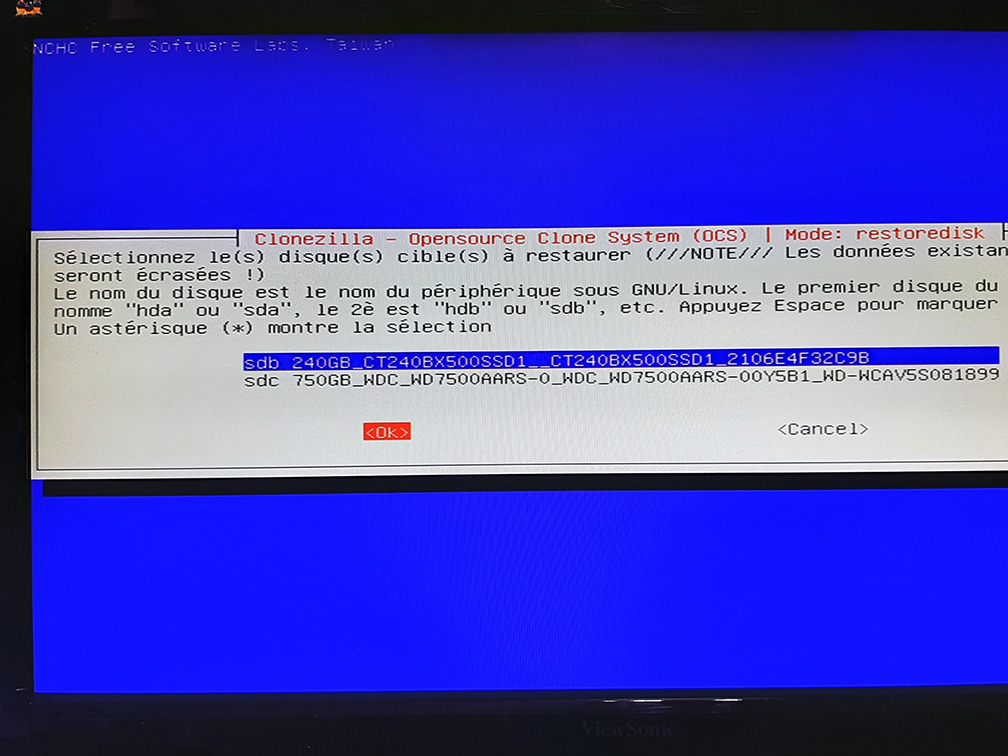 Here, we select the destination disk…. And here, the most observant among you will have noticed that we are going to restore the image of a 120GB disk to a 240GB disk.
Clonezilla doesn't care about the size of the disk, at least in this sense!
If you try the opposite, it may or may not work, depending on the disk space occupied.
Let me explain: if your 240 GB disk has, say, 70 GB of data, you can fit the image onto a 120 GB disk, but if there is more than 120 GB, it won't work.
Here, we select the destination disk…. And here, the most observant among you will have noticed that we are going to restore the image of a 120GB disk to a 240GB disk.
Clonezilla doesn't care about the size of the disk, at least in this sense!
If you try the opposite, it may or may not work, depending on the disk space occupied.
Let me explain: if your 240 GB disk has, say, 70 GB of data, you can fit the image onto a 120 GB disk, but if there is more than 120 GB, it won't work.
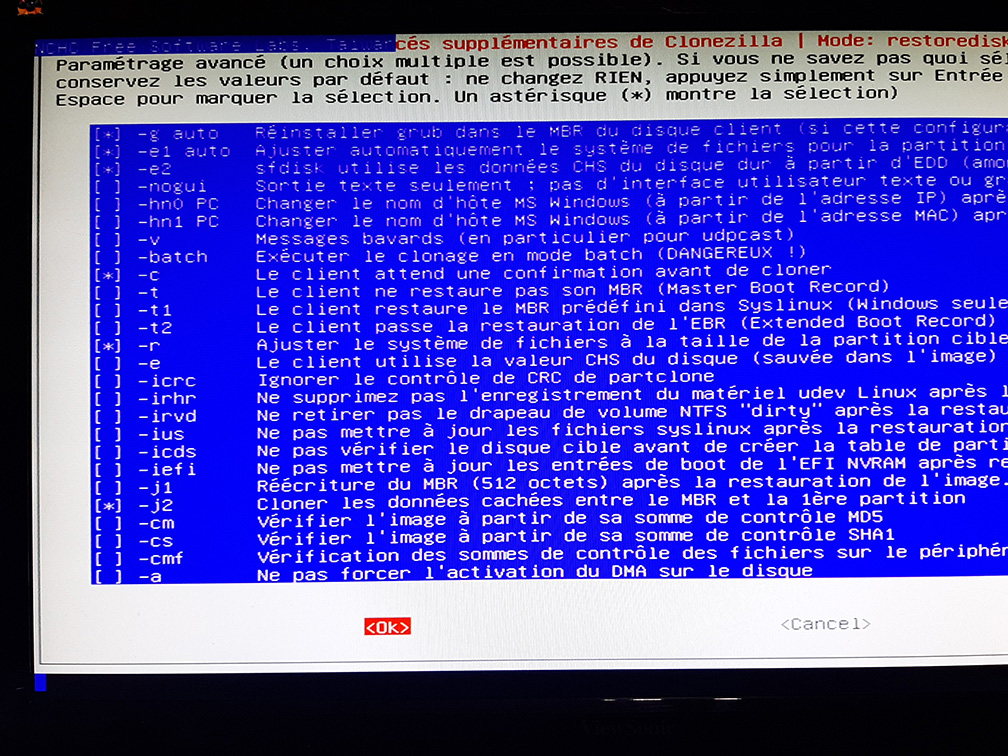 So here, it's important that if you want to fit an image from a 240 disk onto a 120 disk, you use the -icds option ("do not check target disks").
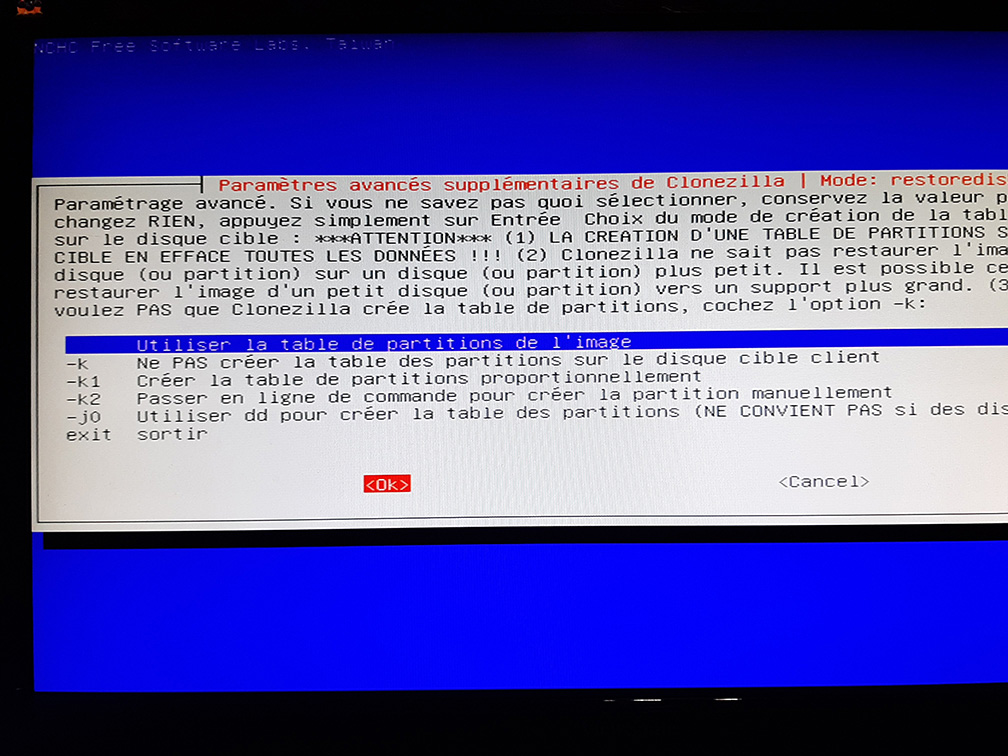 And we use the partition table from the image.
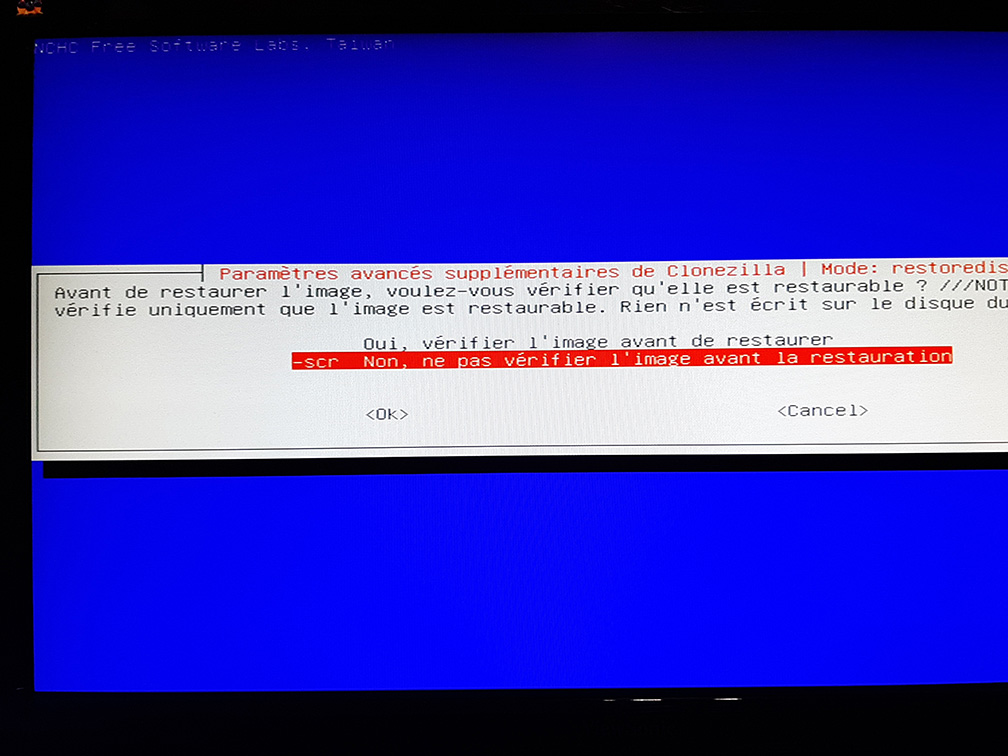 It's up to you to choose. I skip it, otherwise it takes too long.
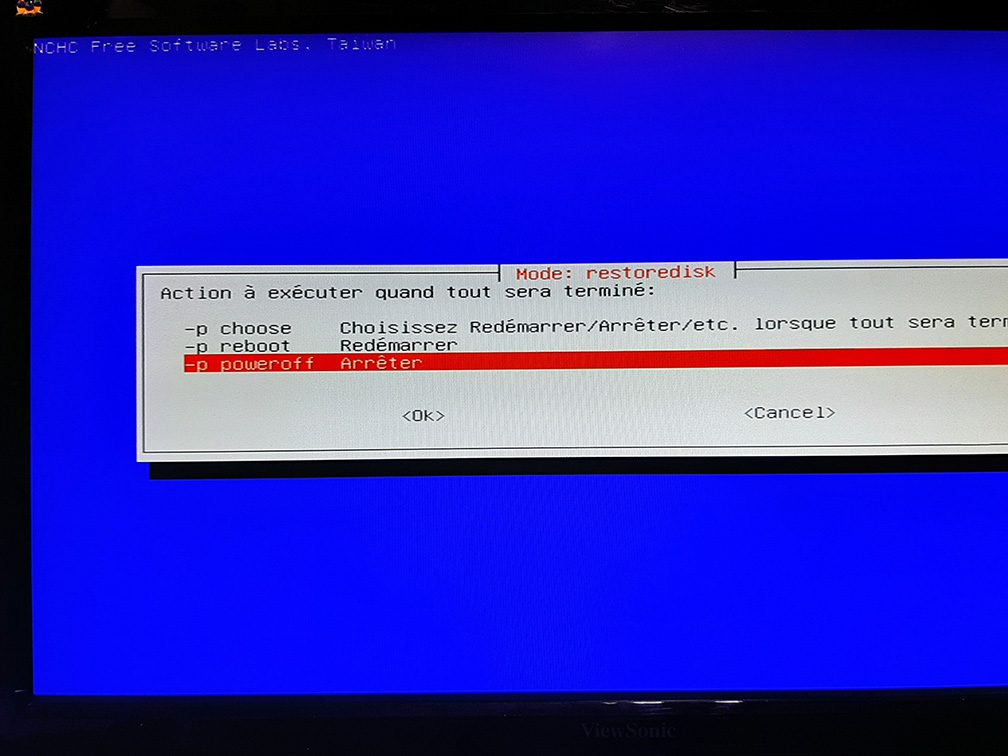 It's up to you
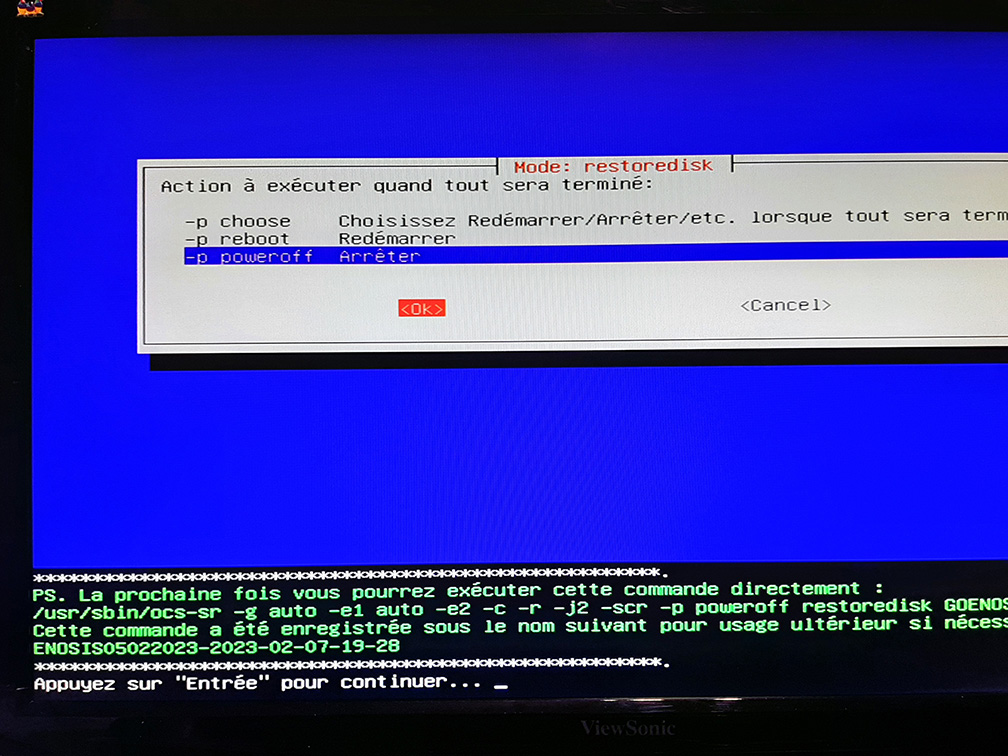 We validate
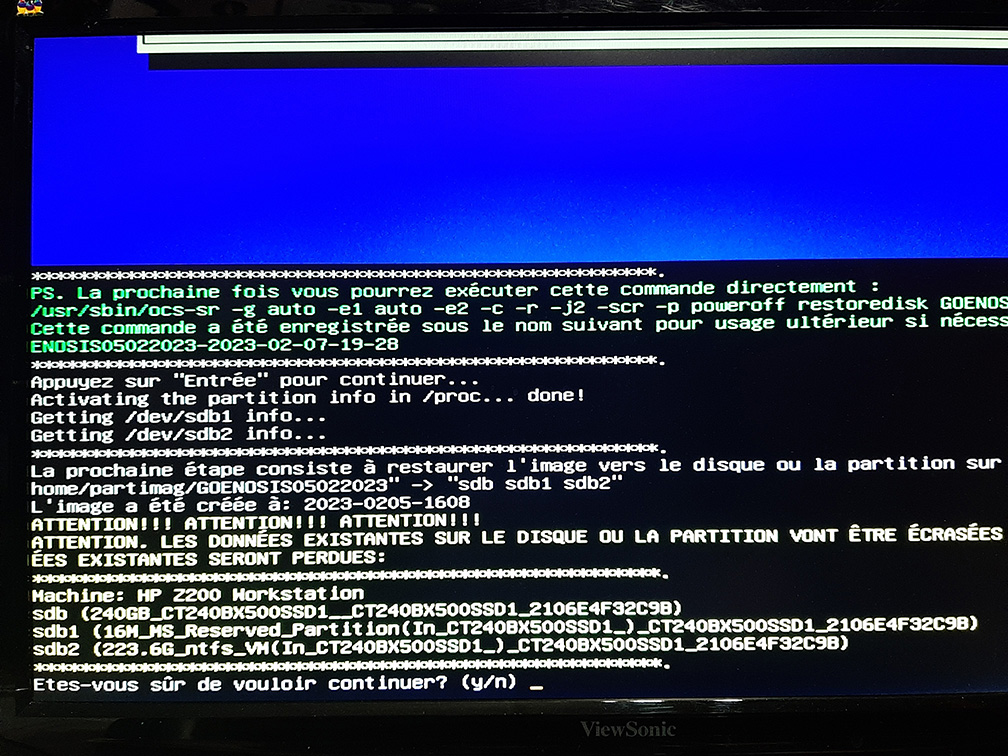 Are you sure?
 No, but are you really sure?
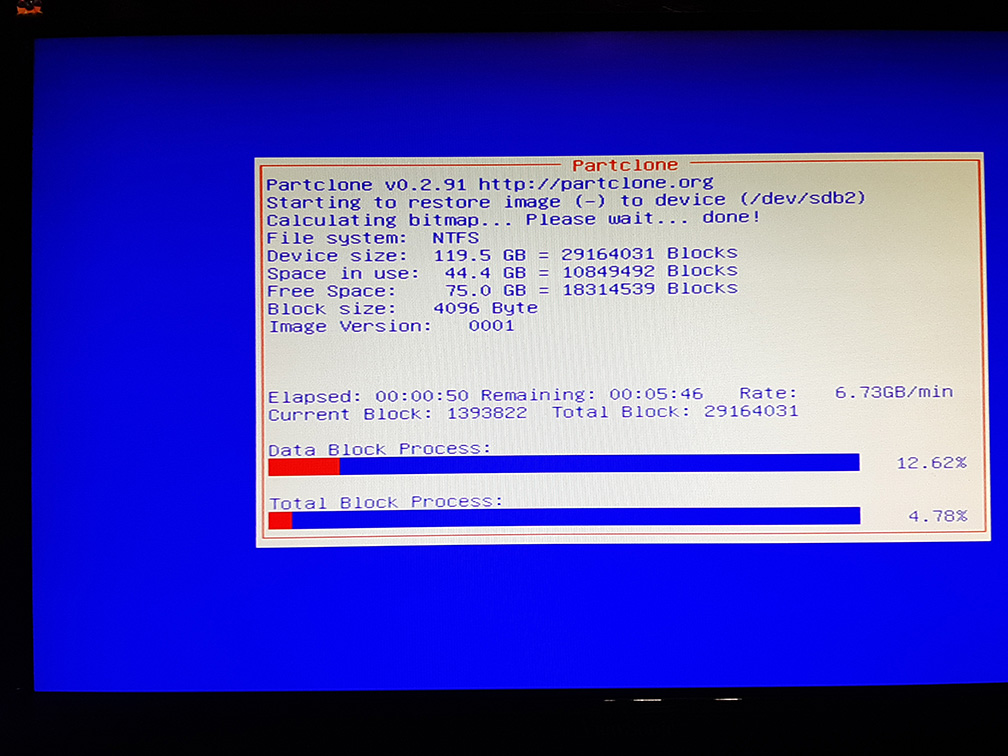 There you go -> coffee, tea, no, no, not a cigarette