Okay, we've seen how to create a Clonezilla image, and we've also seen how to restore it. All of that was done locally, so now we're going to do the same thing but with remote storage on the network. We're going to work with a share on a Microsoft server with authentication.
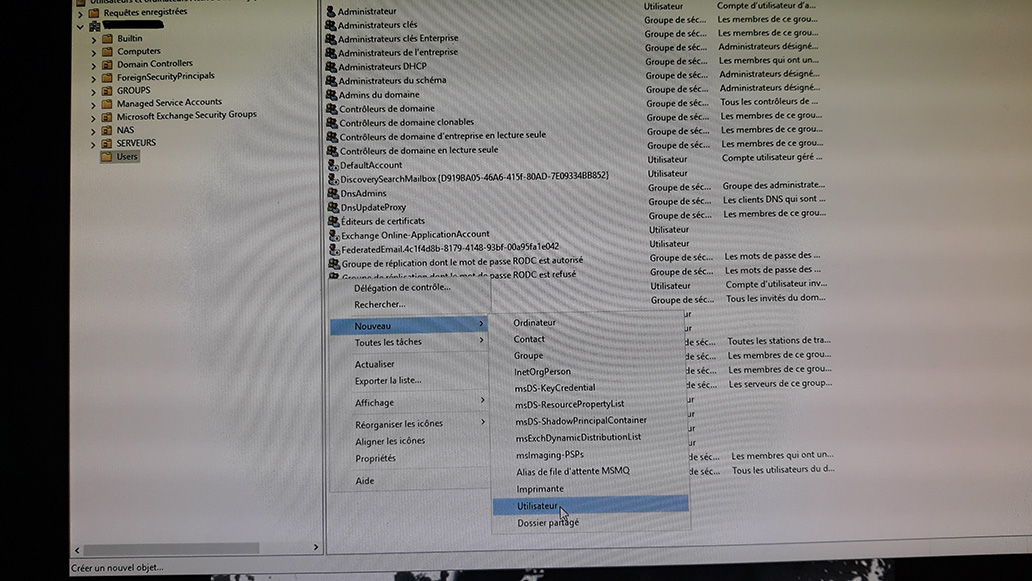 I'll start by creating a user on the AD.
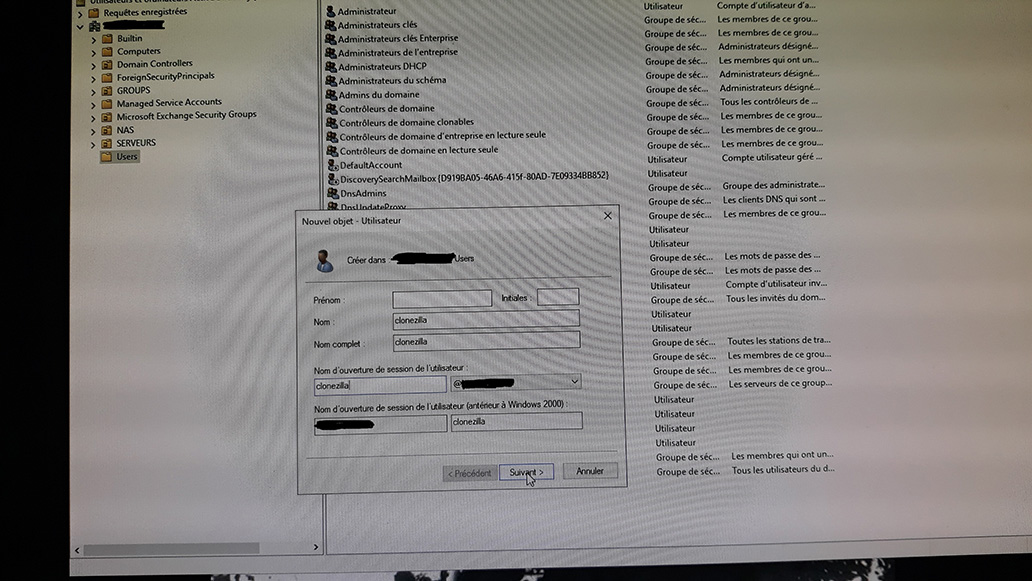 I'm not going to complicate things too much; the user is called clonezilla.
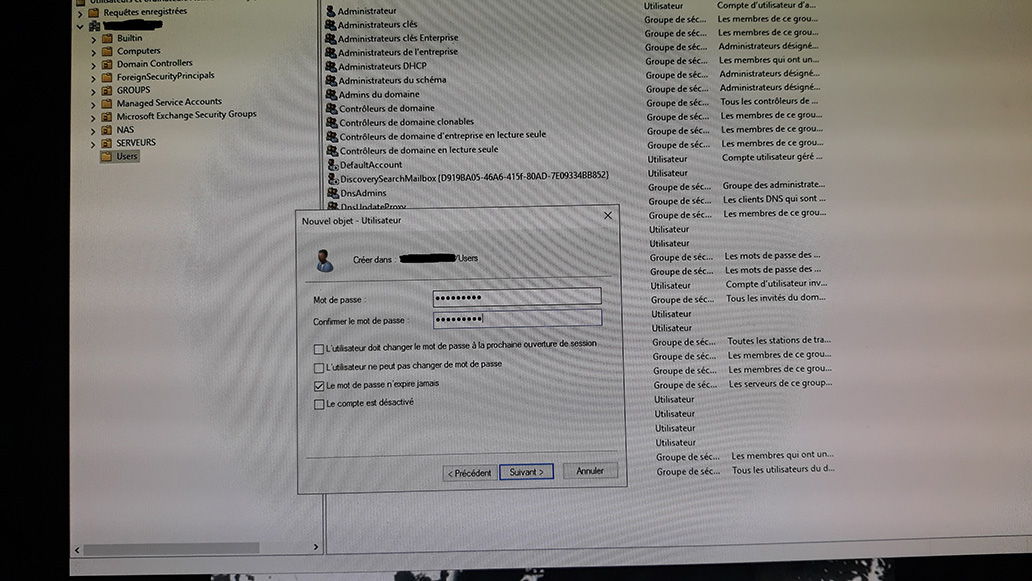 We set a password
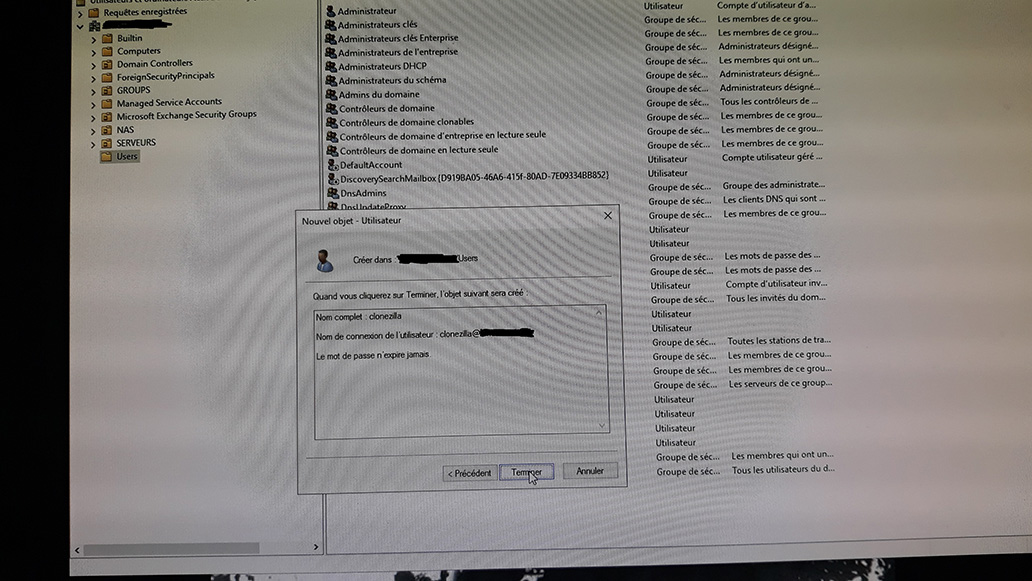 That's it, the user is created
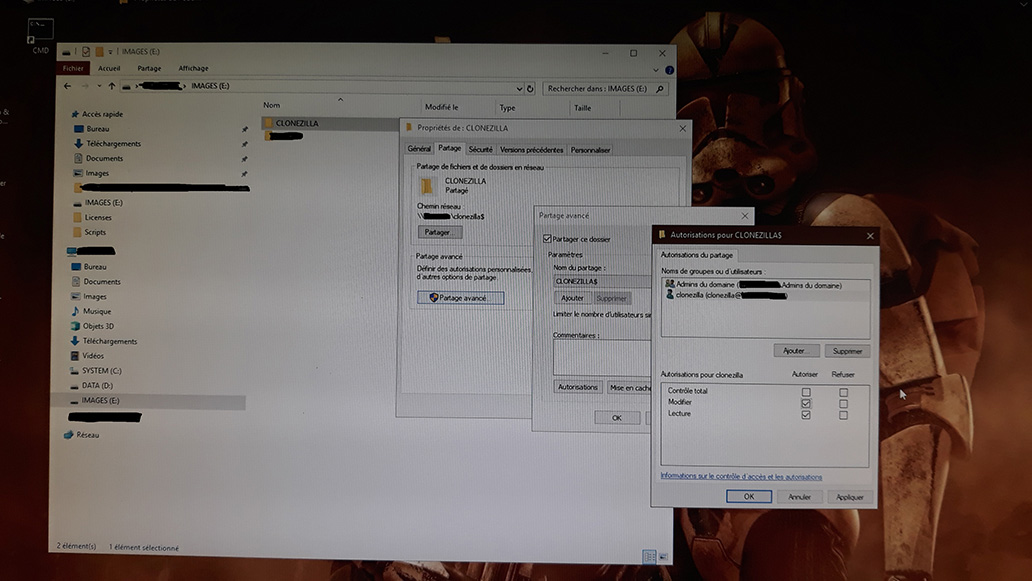 I create the folder to receive the images. Again, I don't complicate things: the folder is called CLONEZILLA and I share it as CLONEZILLA$ ($ to make it a hidden share).
Then I give write permissions to the AD clonezilla account.
I create the folder to receive the images. Again, I don't complicate things: the folder is called CLONEZILLA and I share it as CLONEZILLA$ ($ to make it a hidden share).
Then I give write permissions to the AD clonezilla account.
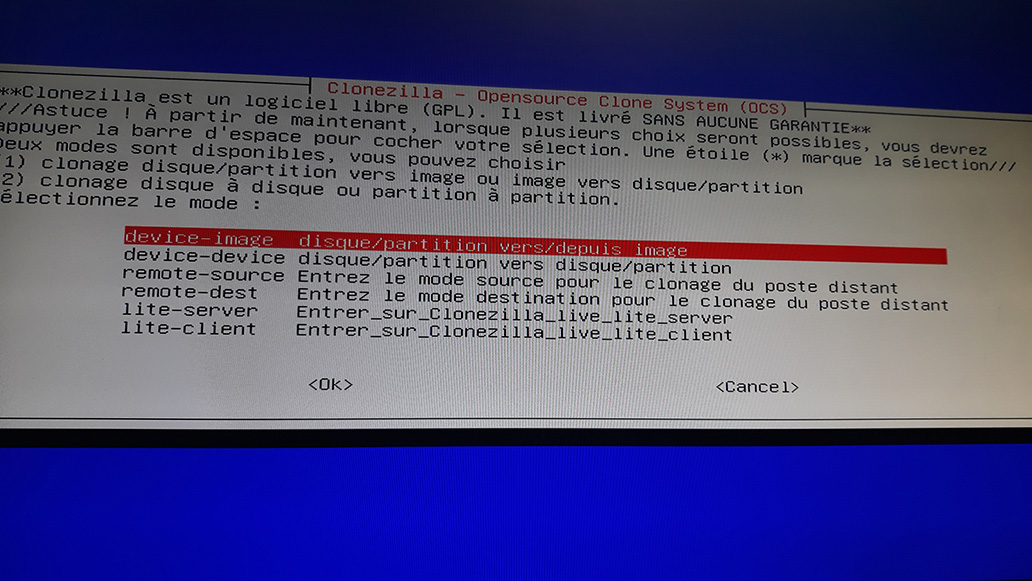 We restart clonezilla and we're ready to go for a device image.
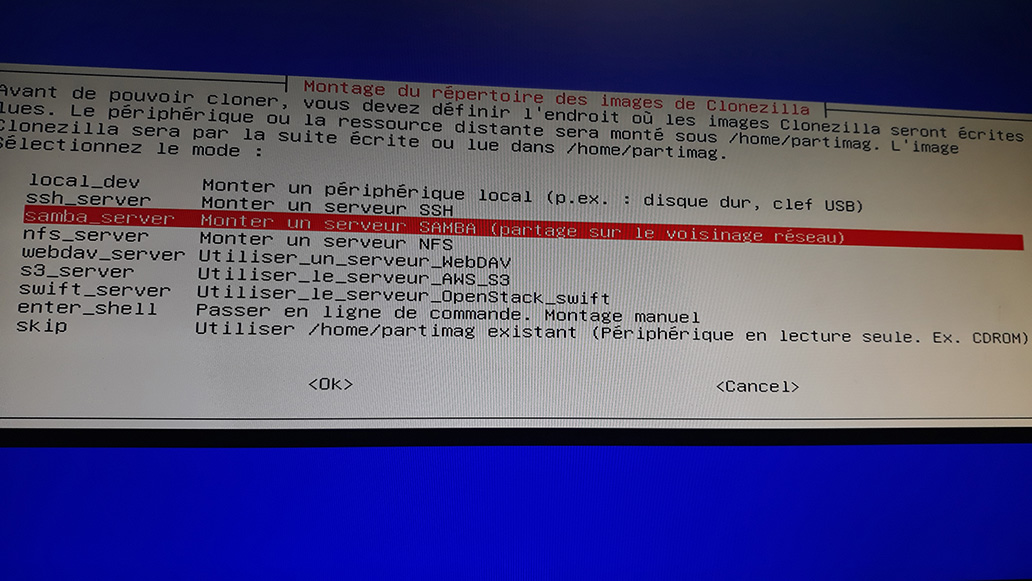 This time we select Samba server.
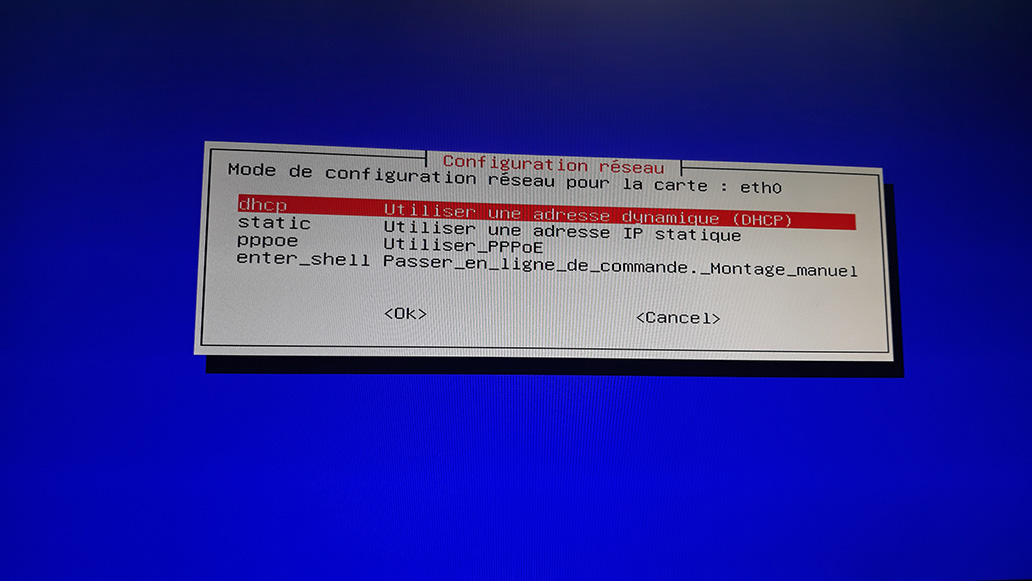 DHCP is fine
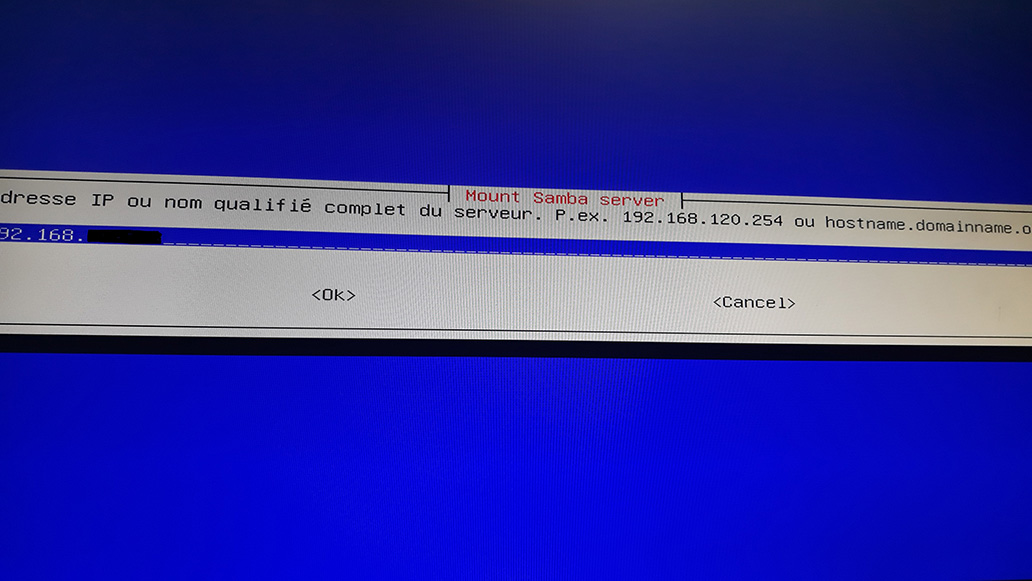 Enter the server address
 The domain name
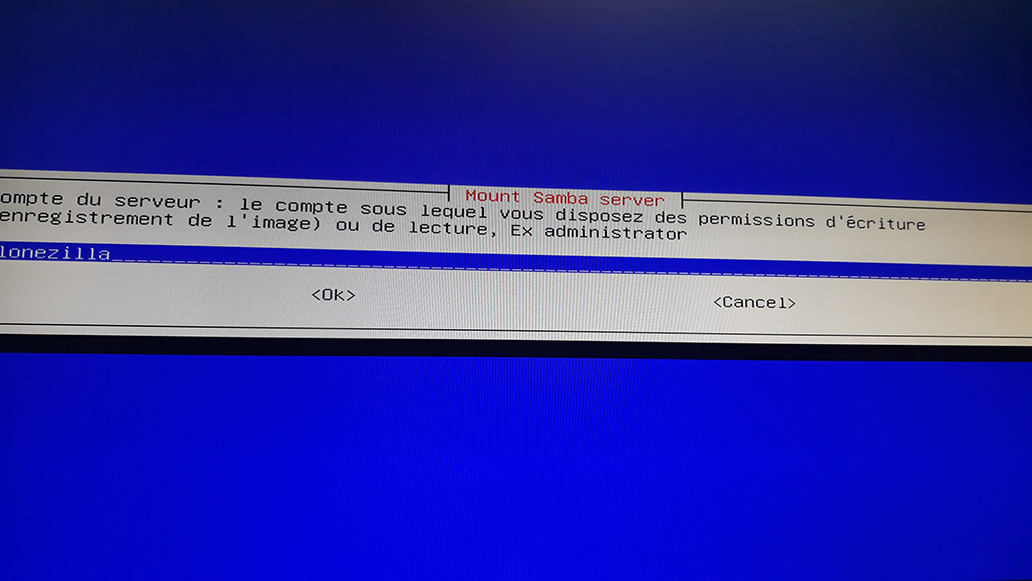 The user account
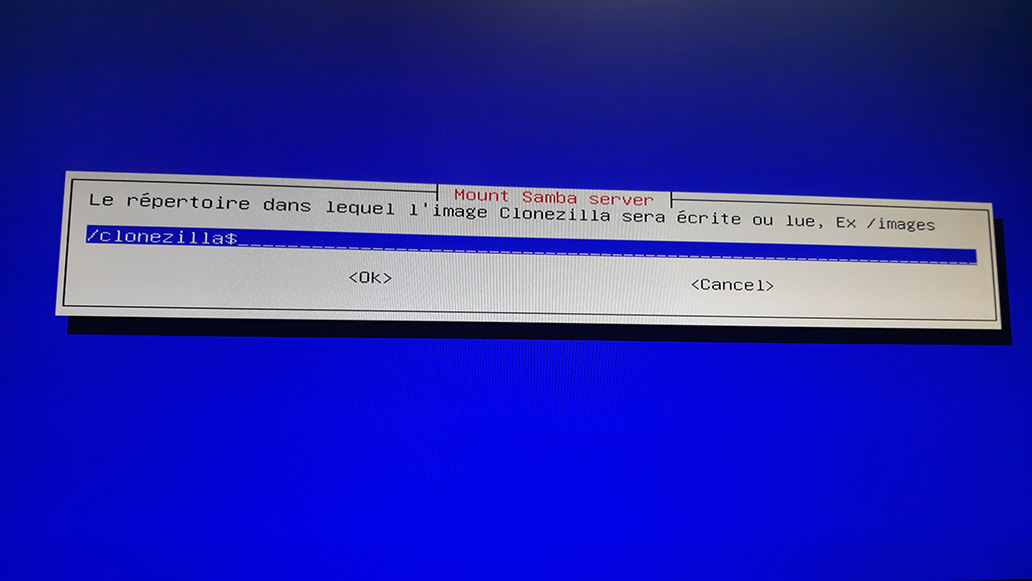 The share name
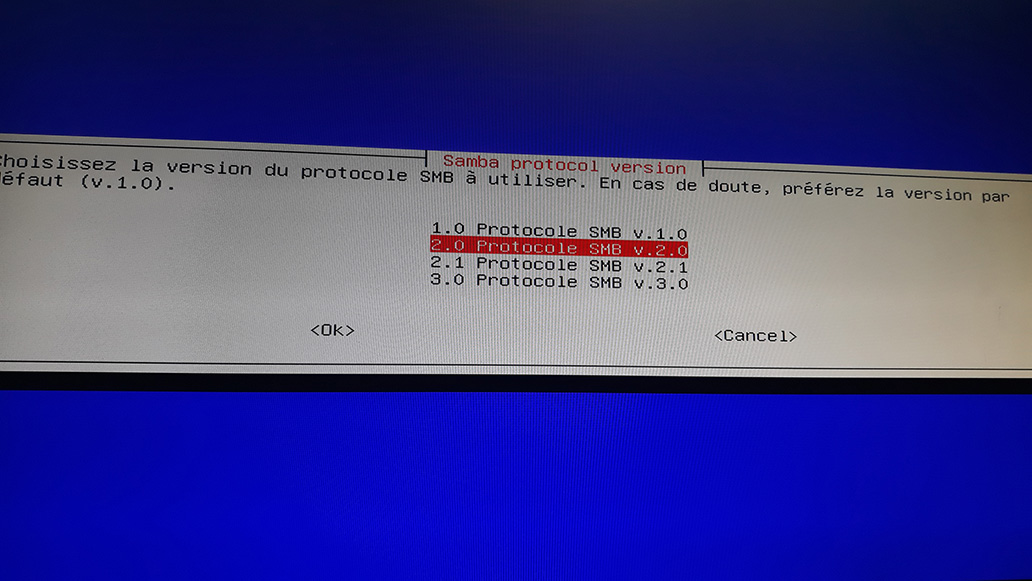 Samba protocol version, 2 or 3 works
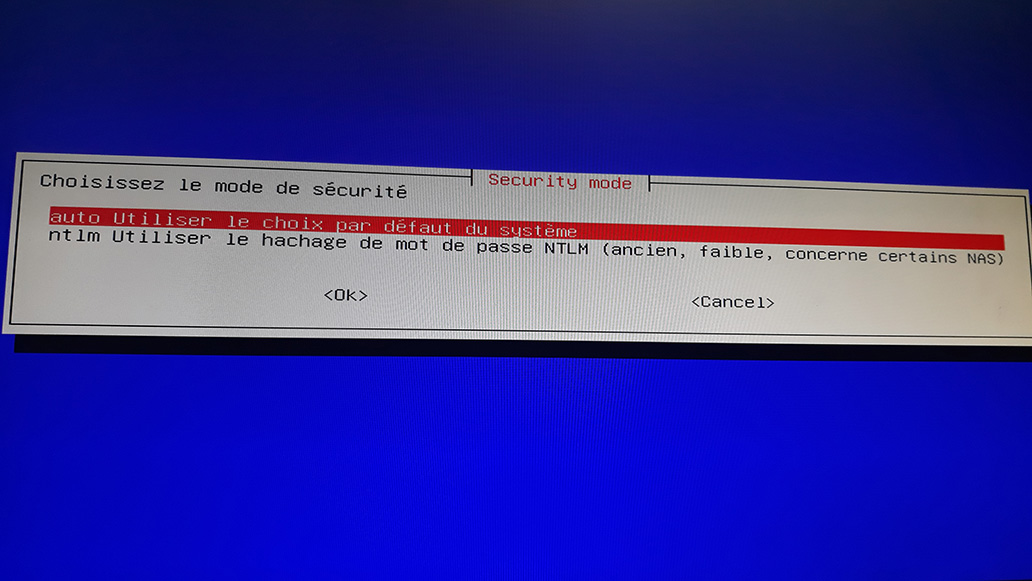 Auto is fine
 Confirm
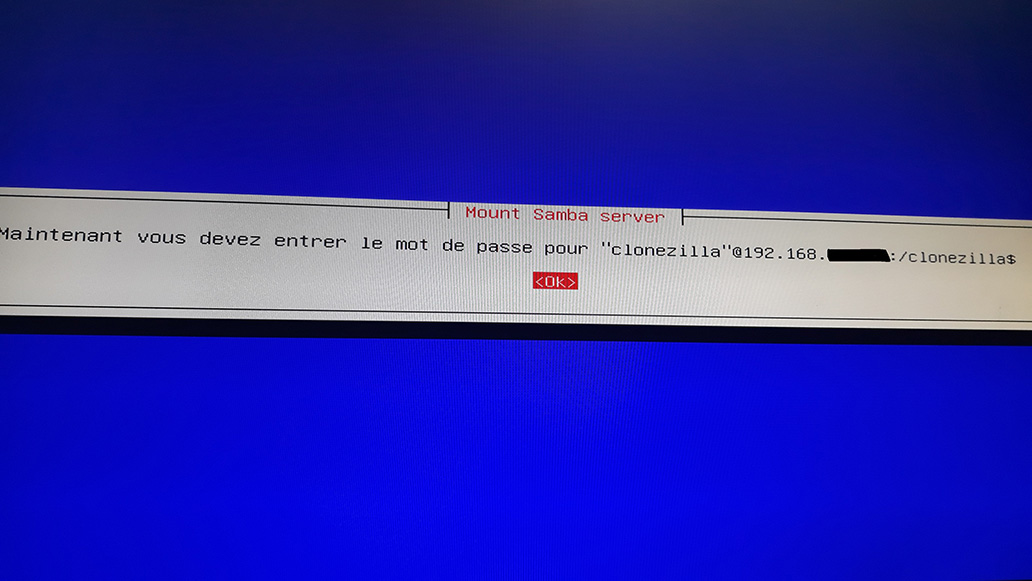
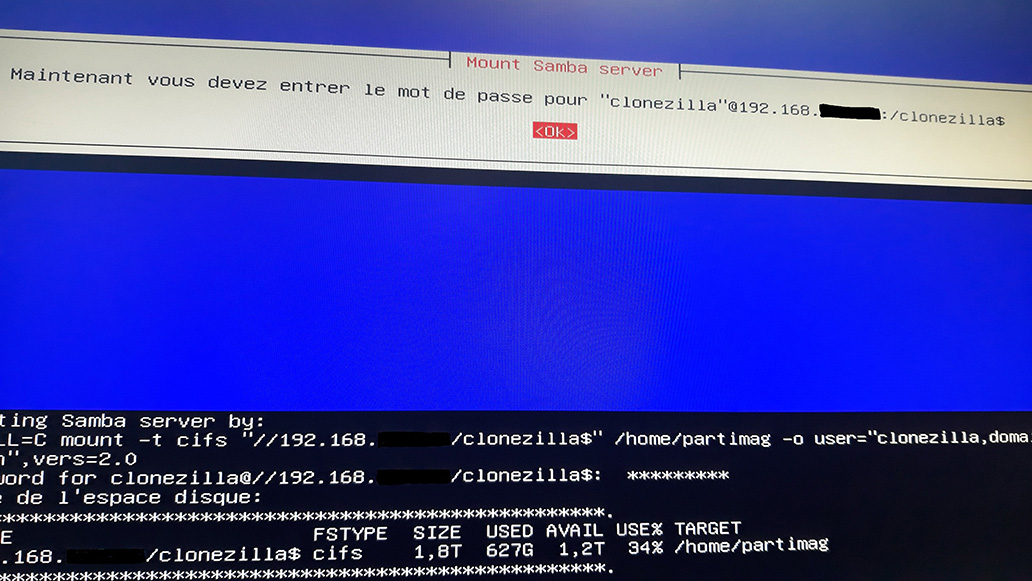 Here you must enter the password for the clonezilla account on the AD
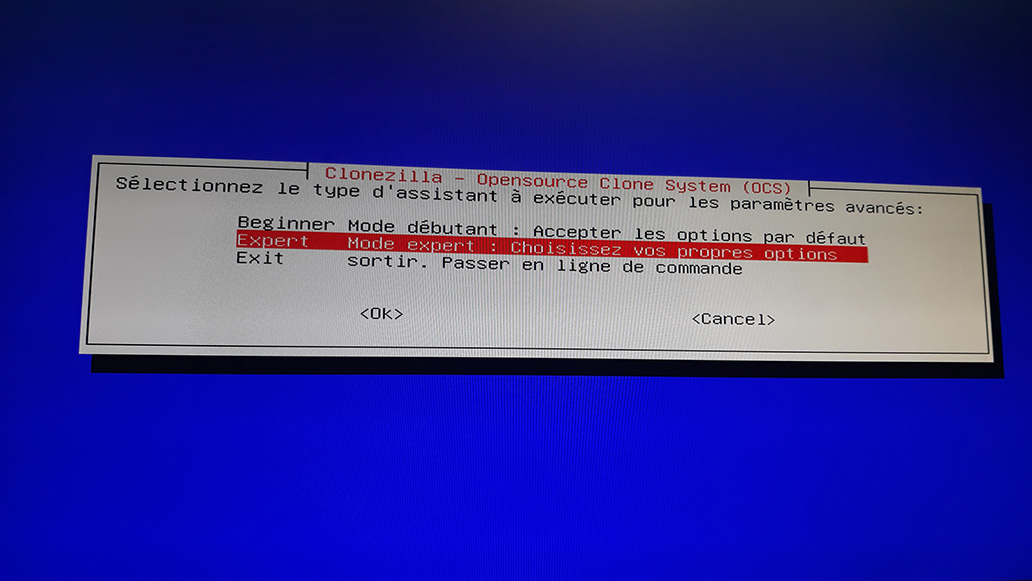 And we're back in expert mode
You know what comes next: backup or restore, it's the same thing
Note that you now have a tool that will allow you to back up/restore sensitive machines or deploy a sysprepped master
And we're back in expert mode
You know what comes next: backup or restore, it's the same thing
Note that you now have a tool that will allow you to back up/restore sensitive machines or deploy a sysprepped master
Enjoy!