> When I decided to set up my own Passbolt server, I relied on the excellent article by caddy666: https://aperturezone.fr/posts/passbolt/. However, the version has evolved quite a bit since then, and several steps no longer matched what I was seeing on my screen. So I decided to write an update—this in no way detracts from the relevance of the original article, which remains a very good introduction to Passbolt, but the steps below reflect the current state of version CE 5.10.0 on Ubuntu 24.04.
Background
The goal is to deploy Passbolt Community Edition on a dedicated VM, with:
- LUKS-encrypted disk with automatic unlocking at boot (PRA-compatible)
- SSL certificate signed by an internal Linux CA (no self-signed, no Let’s Encrypt)
- Email integration via an internal SMTP server
- Users from two AD domains
The VM is entirely dedicated to Passbolt—it does nothing else.
Prerequisites
- Ubuntu 24.04 LTS installed (fresh VM)
- SSH access on a custom port
- Operational internal Linux CA
- Reachable internal SMTP server
- DNS entry created for the VM’s FQDN
1. Installing the Passbolt Repo
The installation script has recently changed its name (.CE.sh → .ce.sh). You must now verify the checksum before running it:
curl -LO https://download.passbolt.com/ce/installer/passbolt-repo-setup.ce.sh
curl -LO https://github.com/passbolt/passbolt-dep-scripts/releases/latest/download/passbolt-ce-SHA512SUM.txt
sha512sum -c passbolt-ce-SHA512SUM.txt && sudo bash ./passbolt-repo-setup.ce.sh || echo "Bad checksum. Aborting"
Once the repository is configured:
sudo apt install -y passbolt-ce-server
2. Generating the SSL certificate from the internal CA
Before launching the installation wizard, we generate the SSL certificate from the internal CA. The server is Linux with an ECDSA CA, so we stick with ECDSA:
# On the CA server
sudo bash -c 'cat > /tmp/passbolt-ext.cnf <<eof [ext]="" subjectaltname="DNS:monserveur.mondomaine.local" basicconstraints="CA:FALSE" eof'="" sudo="" openssl="" req="" -new="" -newkey="" ec="" -pkeyopt="" ec_paramgen_curve:p-256="" -nodes="" \="" -keyout="" etc="" cert="" myca="" monserveur.mondomaine.local.key="" -out="" monserveur.mondomaine.local.csr="" -subj="" "="" c="FR/ST=France/L=Paris/O=MonOrg/CN=monserveur.mondomaine.local"" x509="" -req="" -in="" -ca="" ca.cert.pem="" -cakey="" private="" ca.key.pem="" -cacreateserial="" monserveur.mondomaine.local.crt="" -days="" 3650="" -sha256="" -extfile="" tmp="" passbolt-ext.cnf="" -extensions="" ext="" ```="" copie="" des="" fichiers="" vers="" la="" vm="" passbolt="" (port="" ssh="" personnalisé)="" :="" ```bash="" scp="" -p="" xxxxx="" user@monserveur:="" sur="" passbolt,="" on="" prépare="" les="" et="" crée="" le="" fullchain="" mkdir="" ssl="" mv="" cat="" |="" tee="" fullchain.pem="" chmod="" 640="" chown="" root:www-data="" ---="" ##="" 3.="" installation="" interactive="" wizard="" se="" lance="" pendant="" l'`apt="" install`.="" voici="" réponses="" attendues="" question="" réponse="" |---|---|="" configurer="" mysql="" mariadb="" ?="" oui="" root="" user="" `root`="" password="" *(vide="" fraîche)*="" bdd="" *(nom="" de="" votre="" choix)*="" *(mot="" passe="" solide,="" éviter="" `'="" @="" #="" %="" `)*="" nom="" `passbolt`="" nginx="" type="" **manual**="" domaine="" `monserveur.mondomaine.local`="" `="" fullchain.pem`="" key="" monserveur.mondomaine.local.key`=""> **Note:** The MySQL root user is not the same as the system root. On a fresh Ubuntu/Debian installation, MariaDB/MySQL uses Unix socket authentication—the root password is therefore empty and accessible only via sudo.
---
## 4. The web wizard
Once the installation is complete, go to `https://monserveur.mondomaine.local`:

The wizard checks the environment:
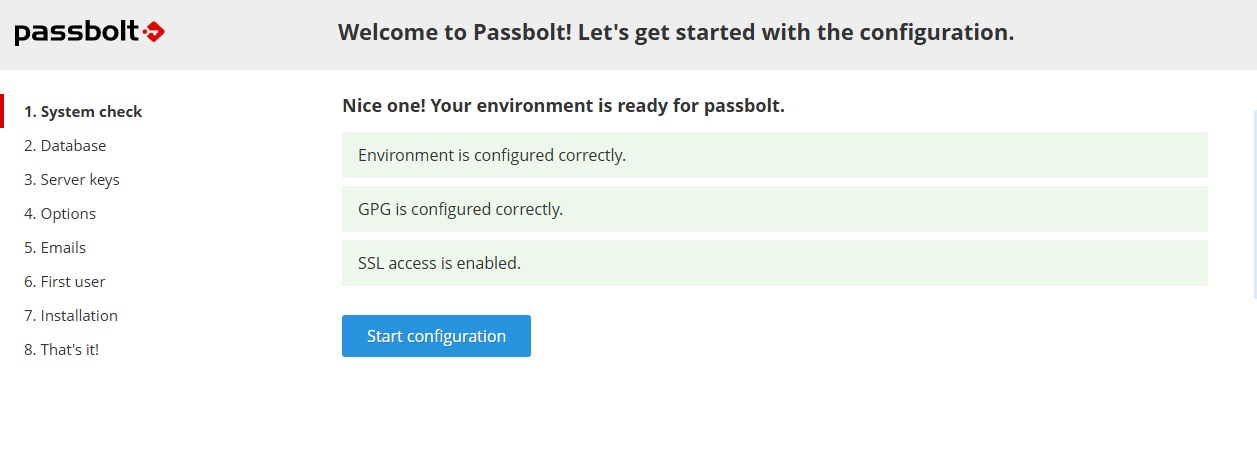
Three green checks — environment, GPG, and SSL are OK. We can begin.
### Database
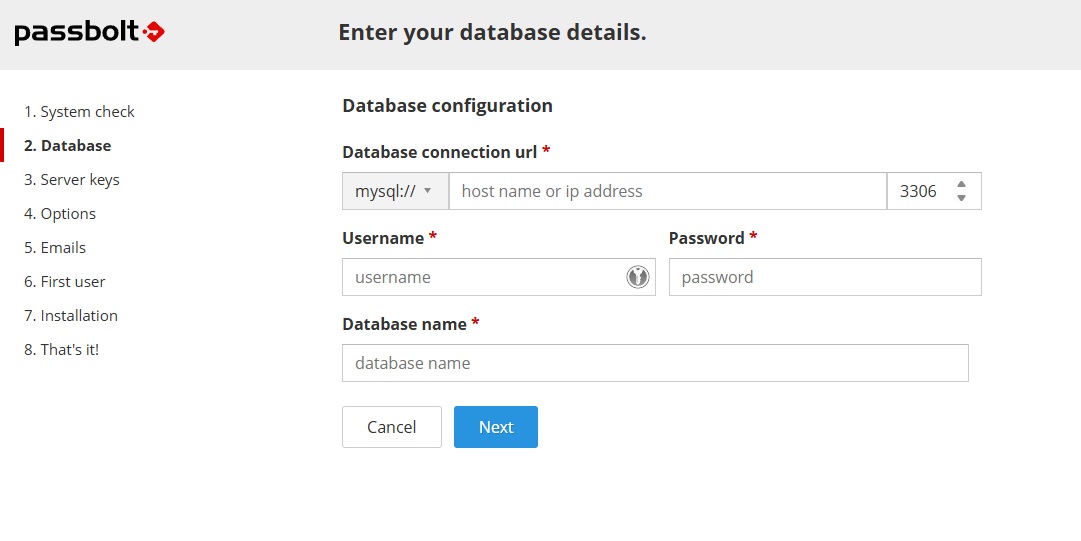
Enter `localhost`, port `3306`, the database username and password defined during installation, and the database name `passbolt`.
### Server OpenPGP Key
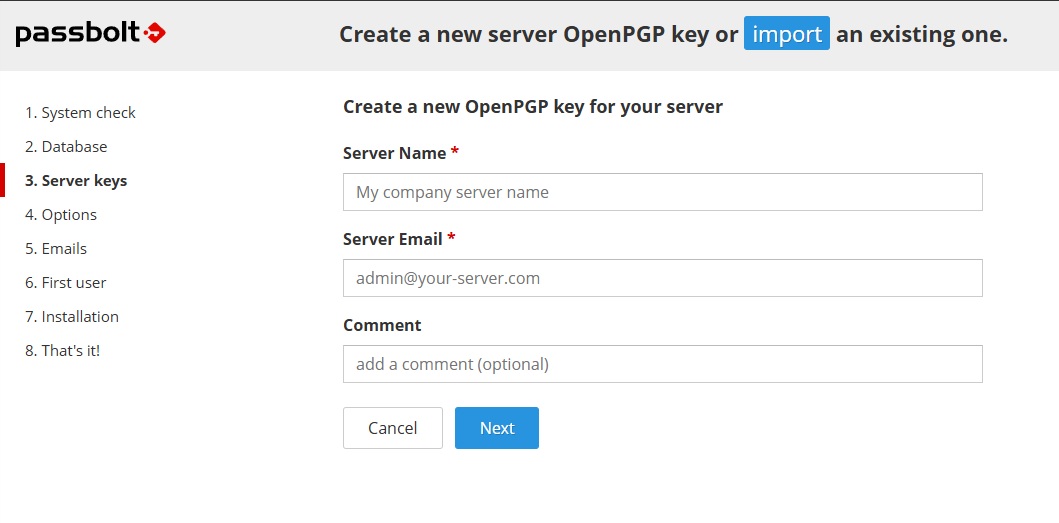
This is the GPG key for the Passbolt server itself, used to encrypt data. It is separate from user keys. Enter a name and email address for the server.
### Options
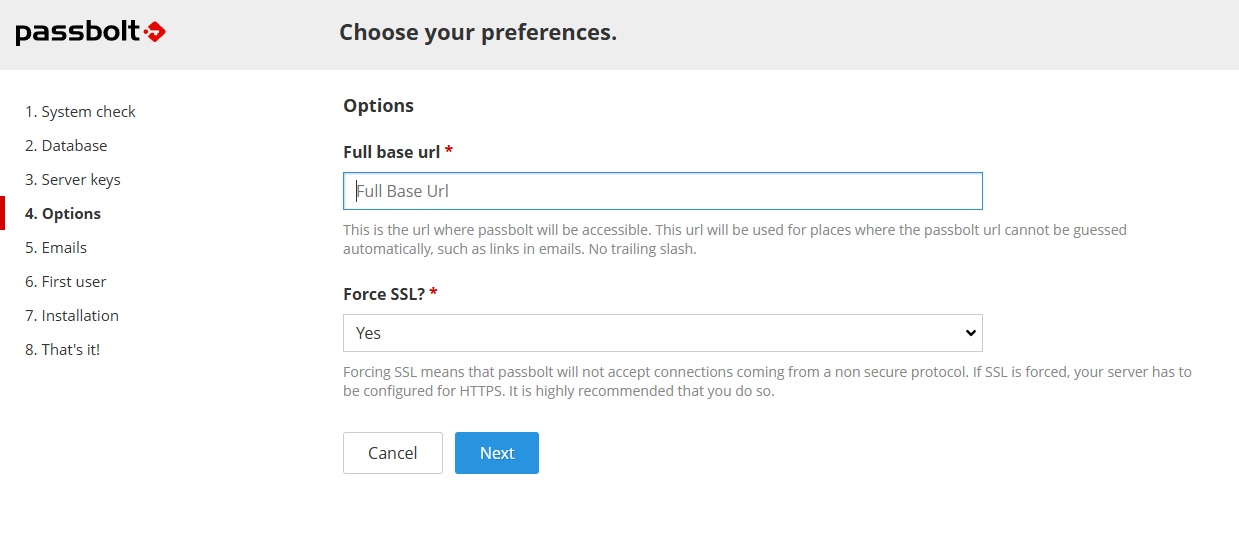
The base URL is pre-filled with the domain entered during installation. Leave **Force SSL: Yes**.
### Email Configuration
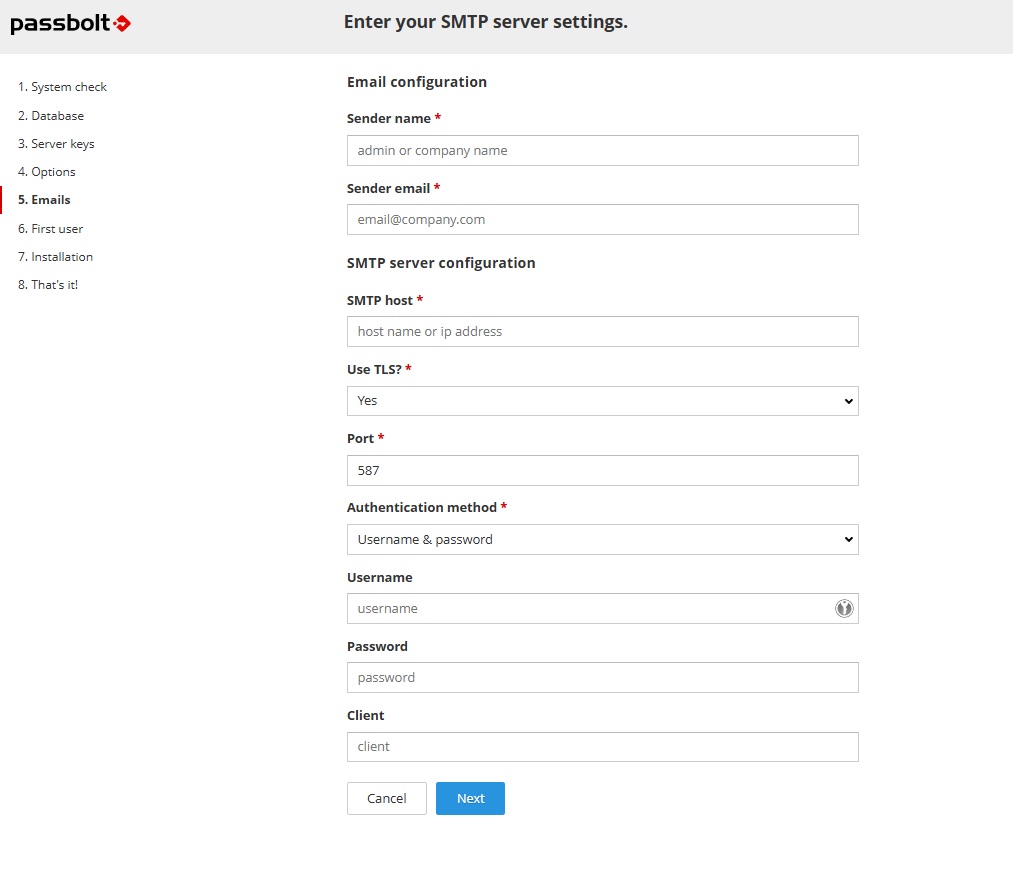
Configuration for an internal SMTP server without authentication:
| Field | Value |
|---|---|
| Sender name | Your organization's name |
| Sender email | `passbolt@mondomaine.local` |
| SMTP host | FQDN of the internal mail server |
| Use TLS | **No** |
| Port | `25` |
| Authentication method | **None** |
### First admin user
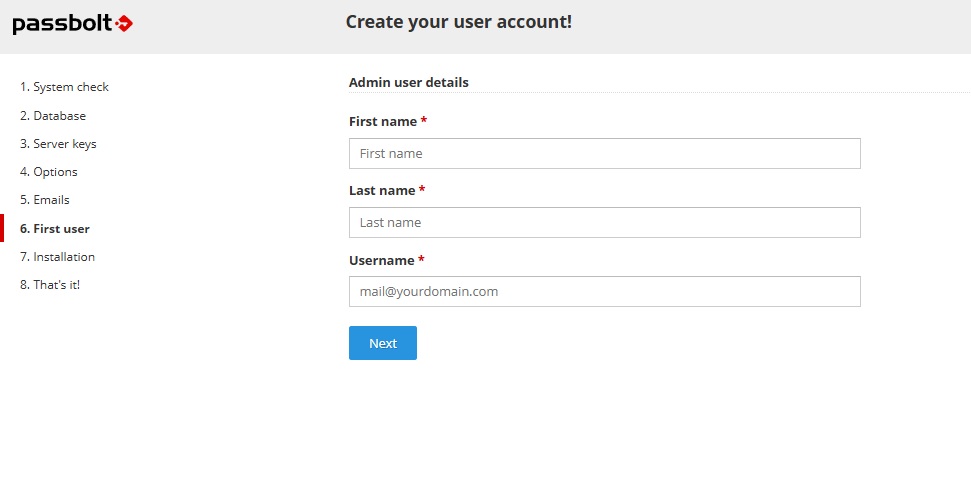
The username must be a valid and accessible email address—Passbolt will send the invitation link there to finalize the account.
---
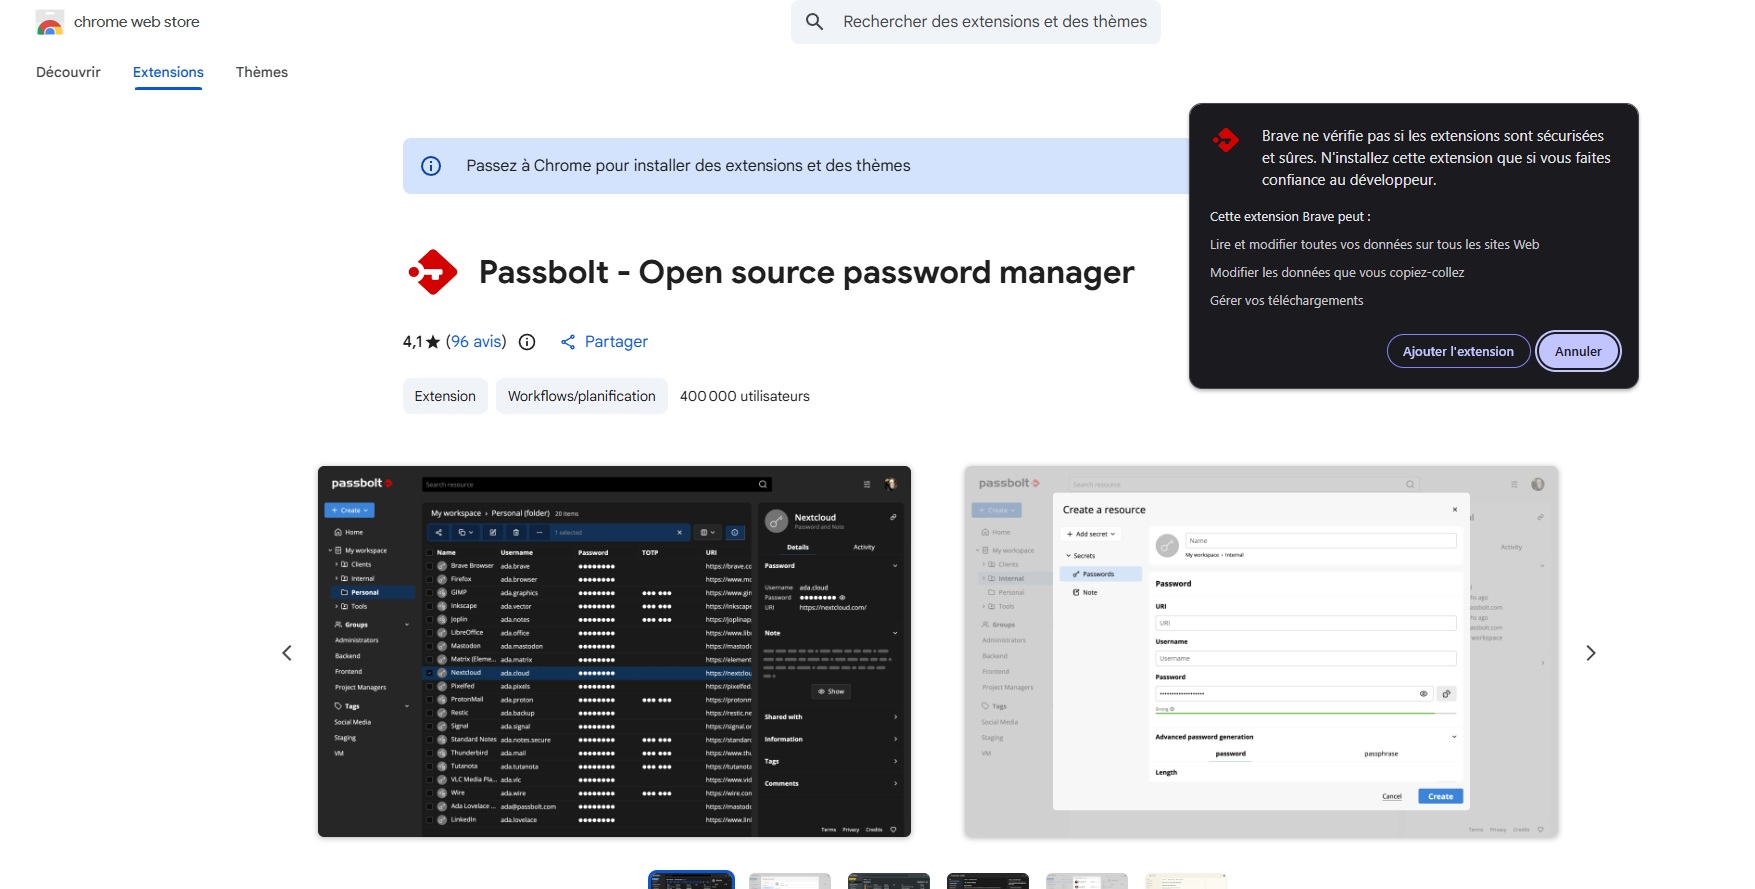
## 5. Installing the browser extension
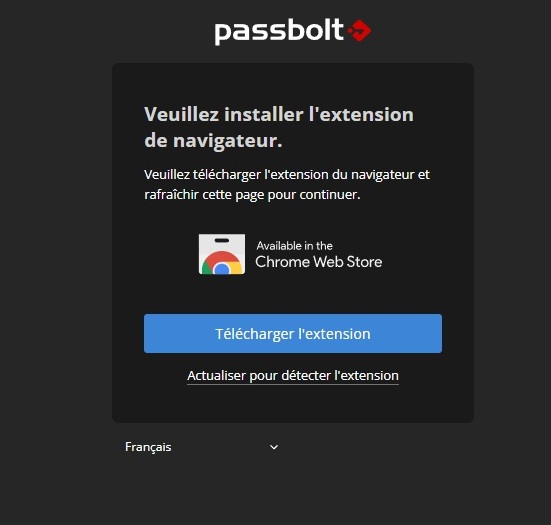
Passbolt **does not work without the browser extension**. It manages the personal GPG key on the client side. It is available on the Chrome Web Store and also works on Brave, Edge, and other Chromium-based browsers.
---
## 6. Finalizing the admin account
Once the extension is installed, the invitation received via email allows you to finalize the account:
**Choosing the passphrase:**
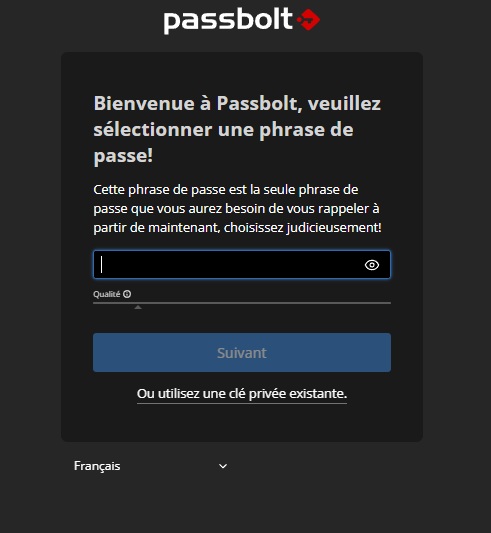
This is the only passphrase you need to remember. It protects the user’s private GPG key. Choose something strong but memorable.
**Recovery Kit:**
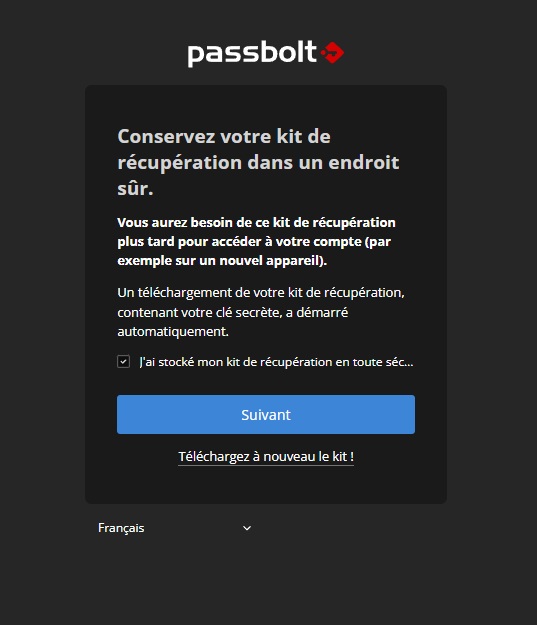
The recovery kit contains the GPG private key. **Store it in a safe place** — this is the only way to regain access if you lose your passphrase or switch computers.
**Anti-phishing security token:**
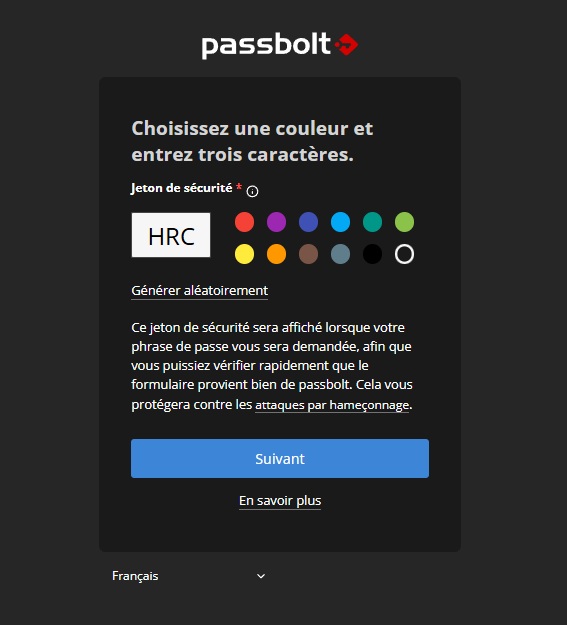
Passbolt generates a visual token (color + 3 letters) displayed every time the passphrase is requested. This allows you to verify that the form is indeed from your Passbolt instance and not from a phishing site.
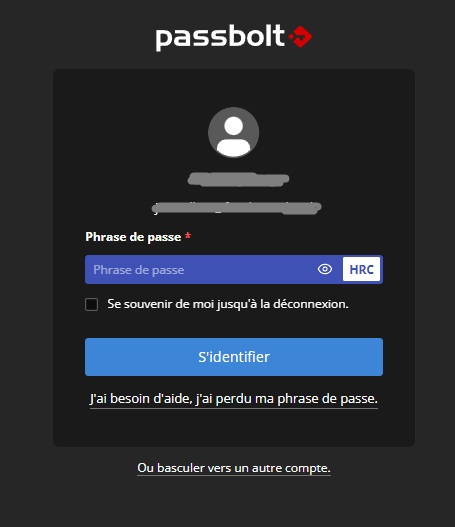
**Login:**
---
## 7. Passbolt is operational
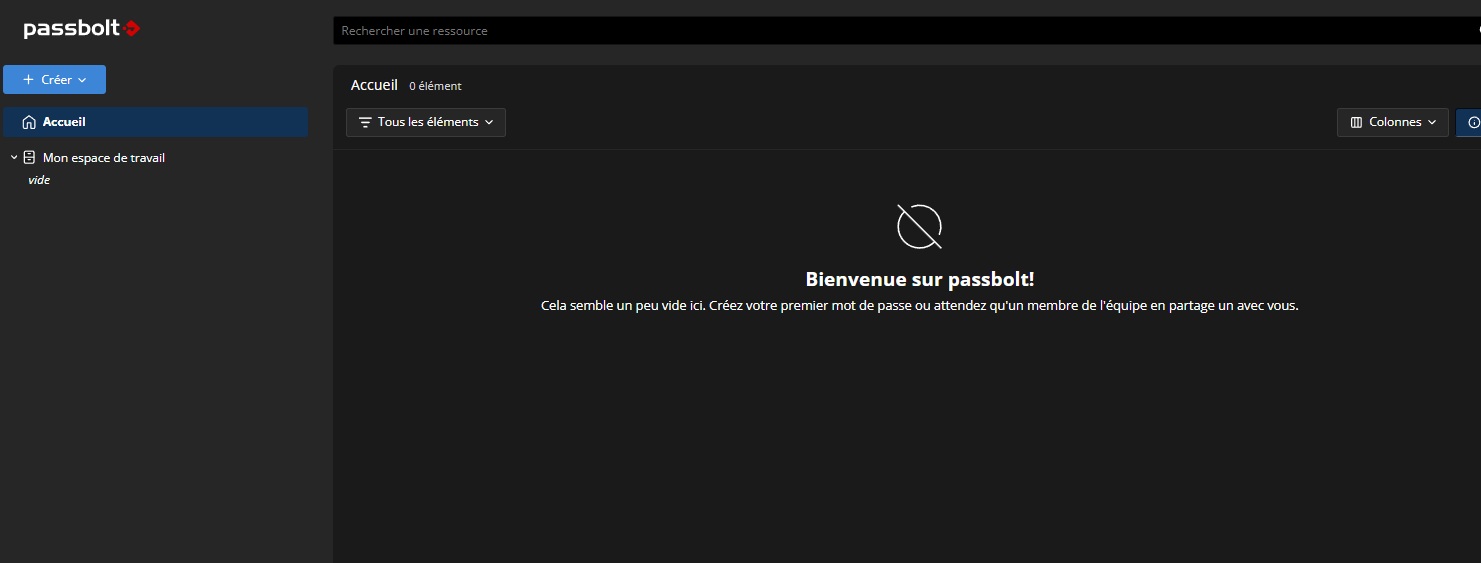
The instance is up and running. All that’s left is to invite other users from **Administration → Users**.
---
## Important Notes
**LDAP/AD synchronization** (`User Directory`) is a **Pro** feature—not available in CE. In CE, users are invited manually via the admin interface. Each invited user receives an email to configure their account and GPG key.
**The recovery kit** is critical. Without it, a user who loses their passphrase can no longer access their passwords. Save it outside the VM.
---
## In conclusion
Installing Passbolt CE is relatively simple thanks to the official script. Integration with an internal Linux CA requires a bit more work but yields a clean result—no SSL warnings, no self-signed certificates, and trust managed via the root CA deployment GPO.</eof>