I emptied my Pea and treated myself to a second Corsair kit (actually, it was on sale and begged me to buy it). Unlike the first article I published, this case was not designed to accommodate water cooling at all. You'll see that you'll need to get out the angle grinder!
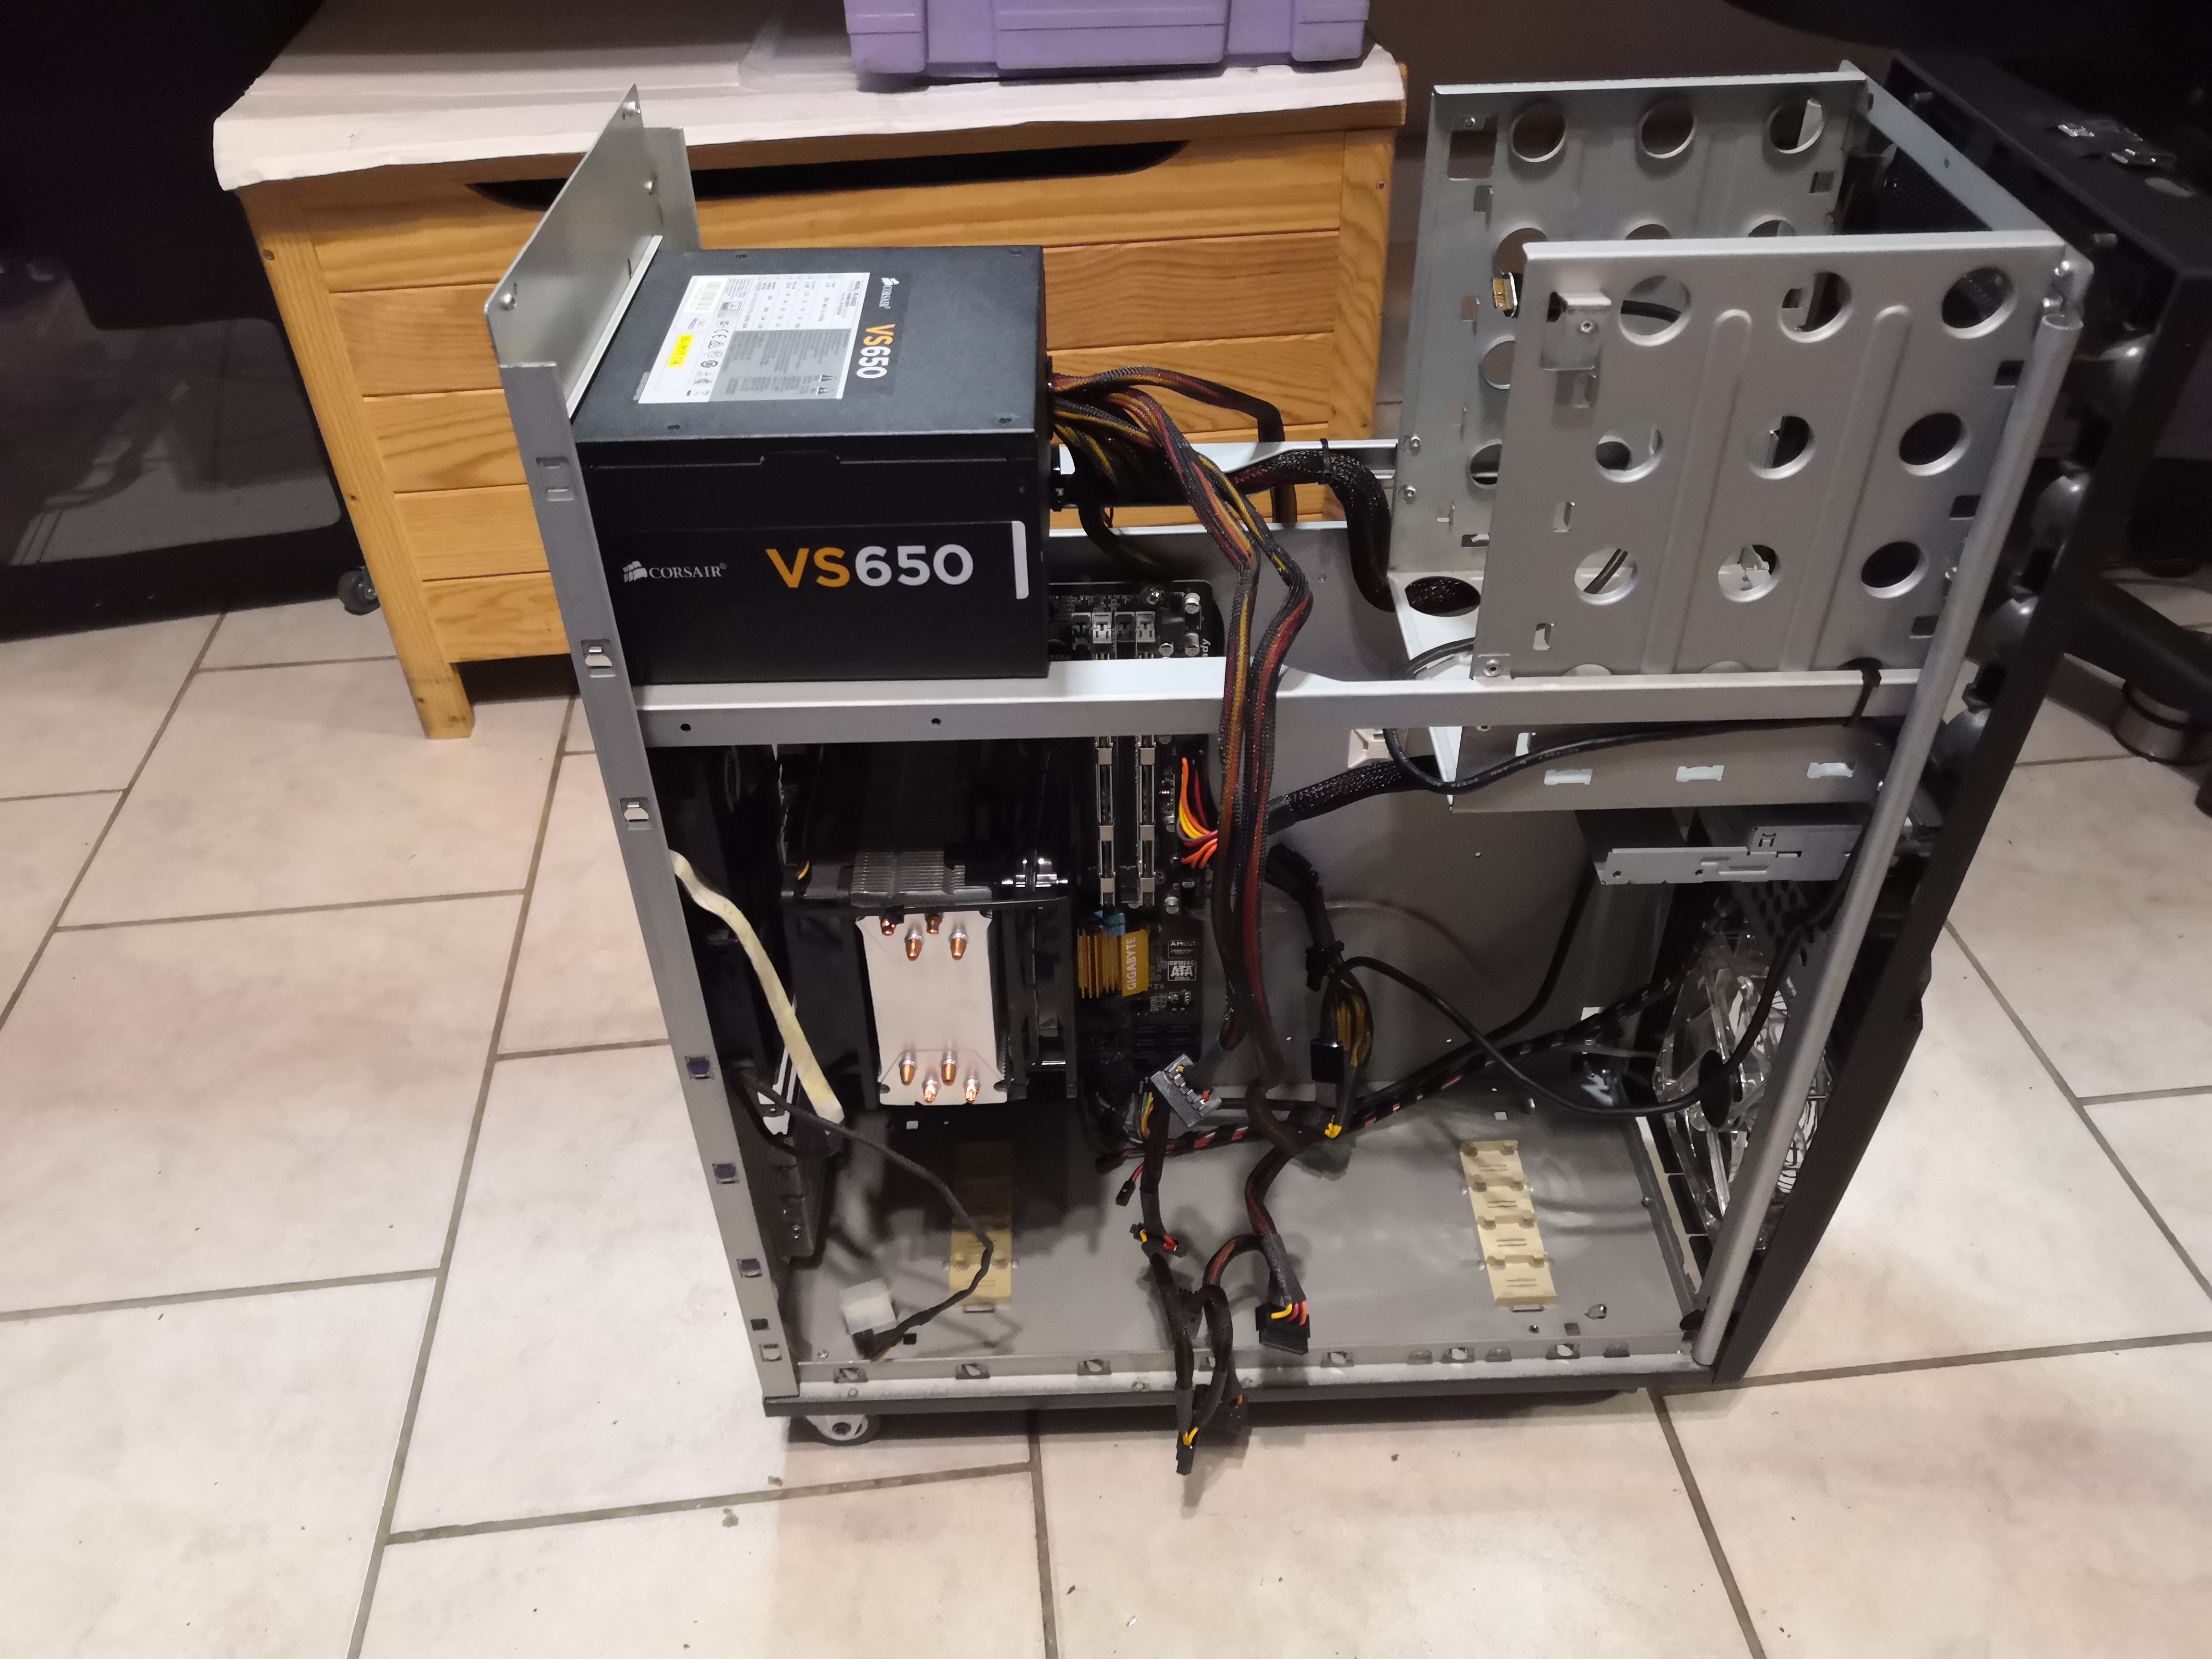
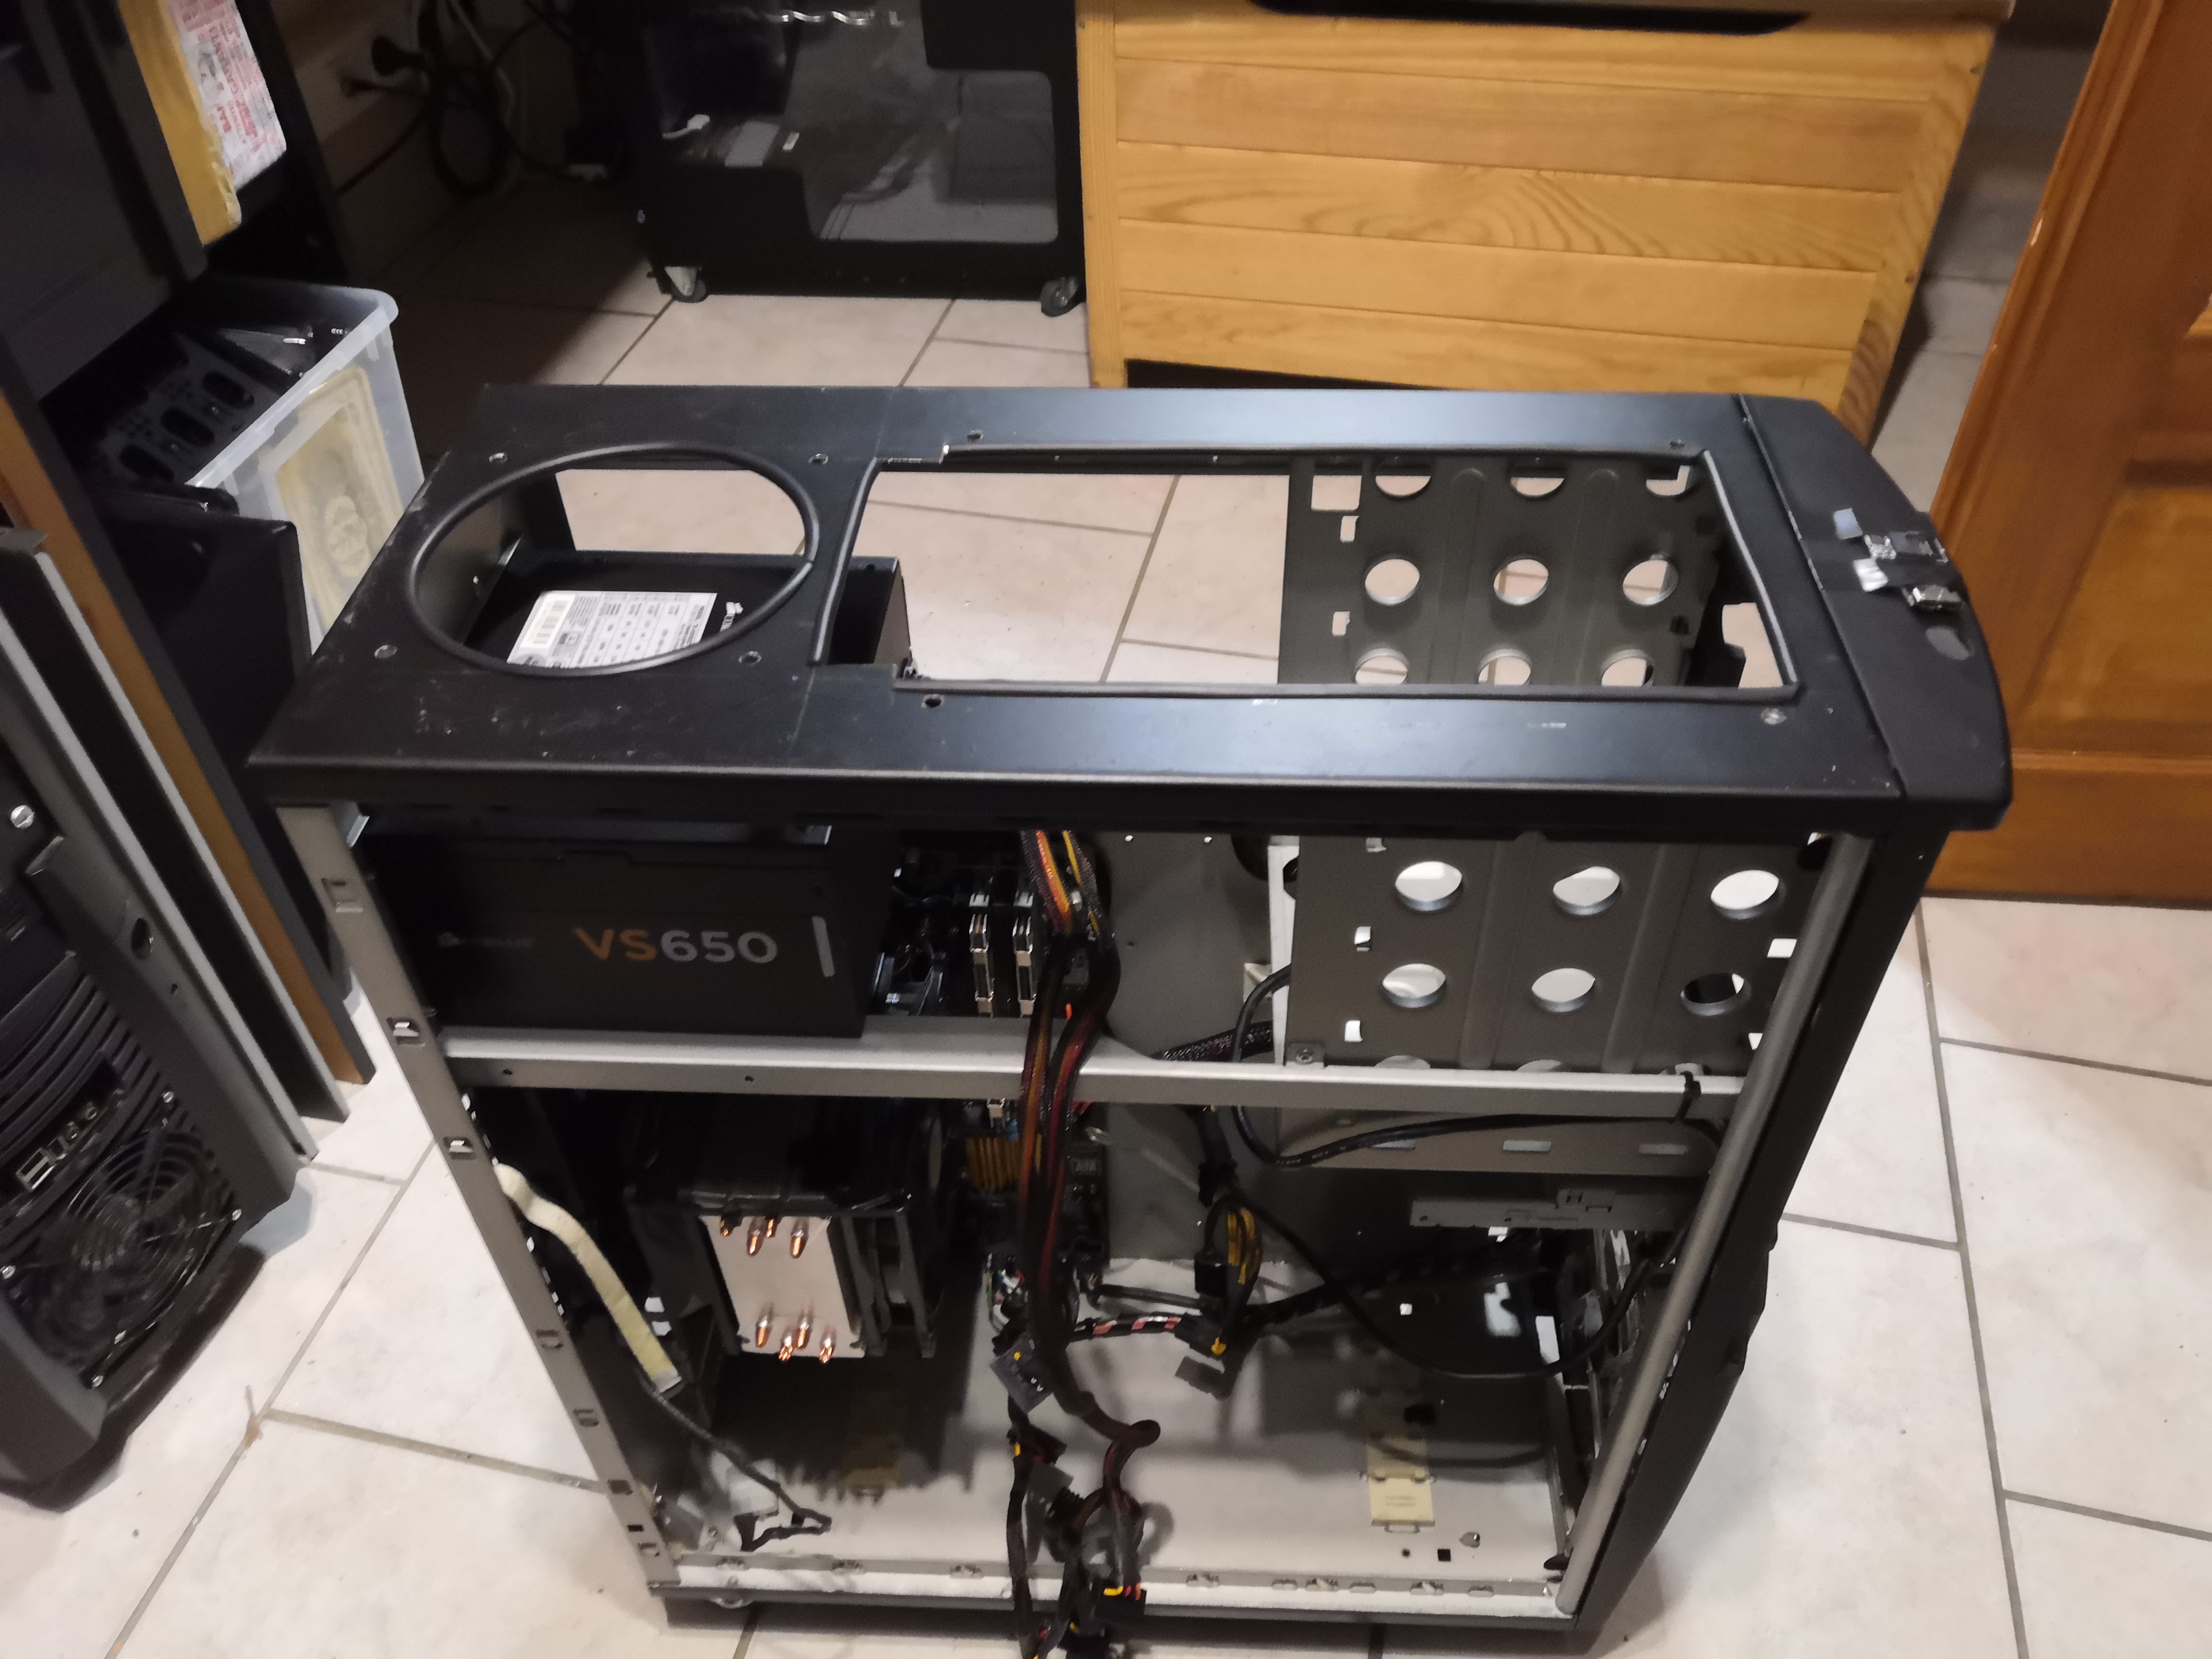
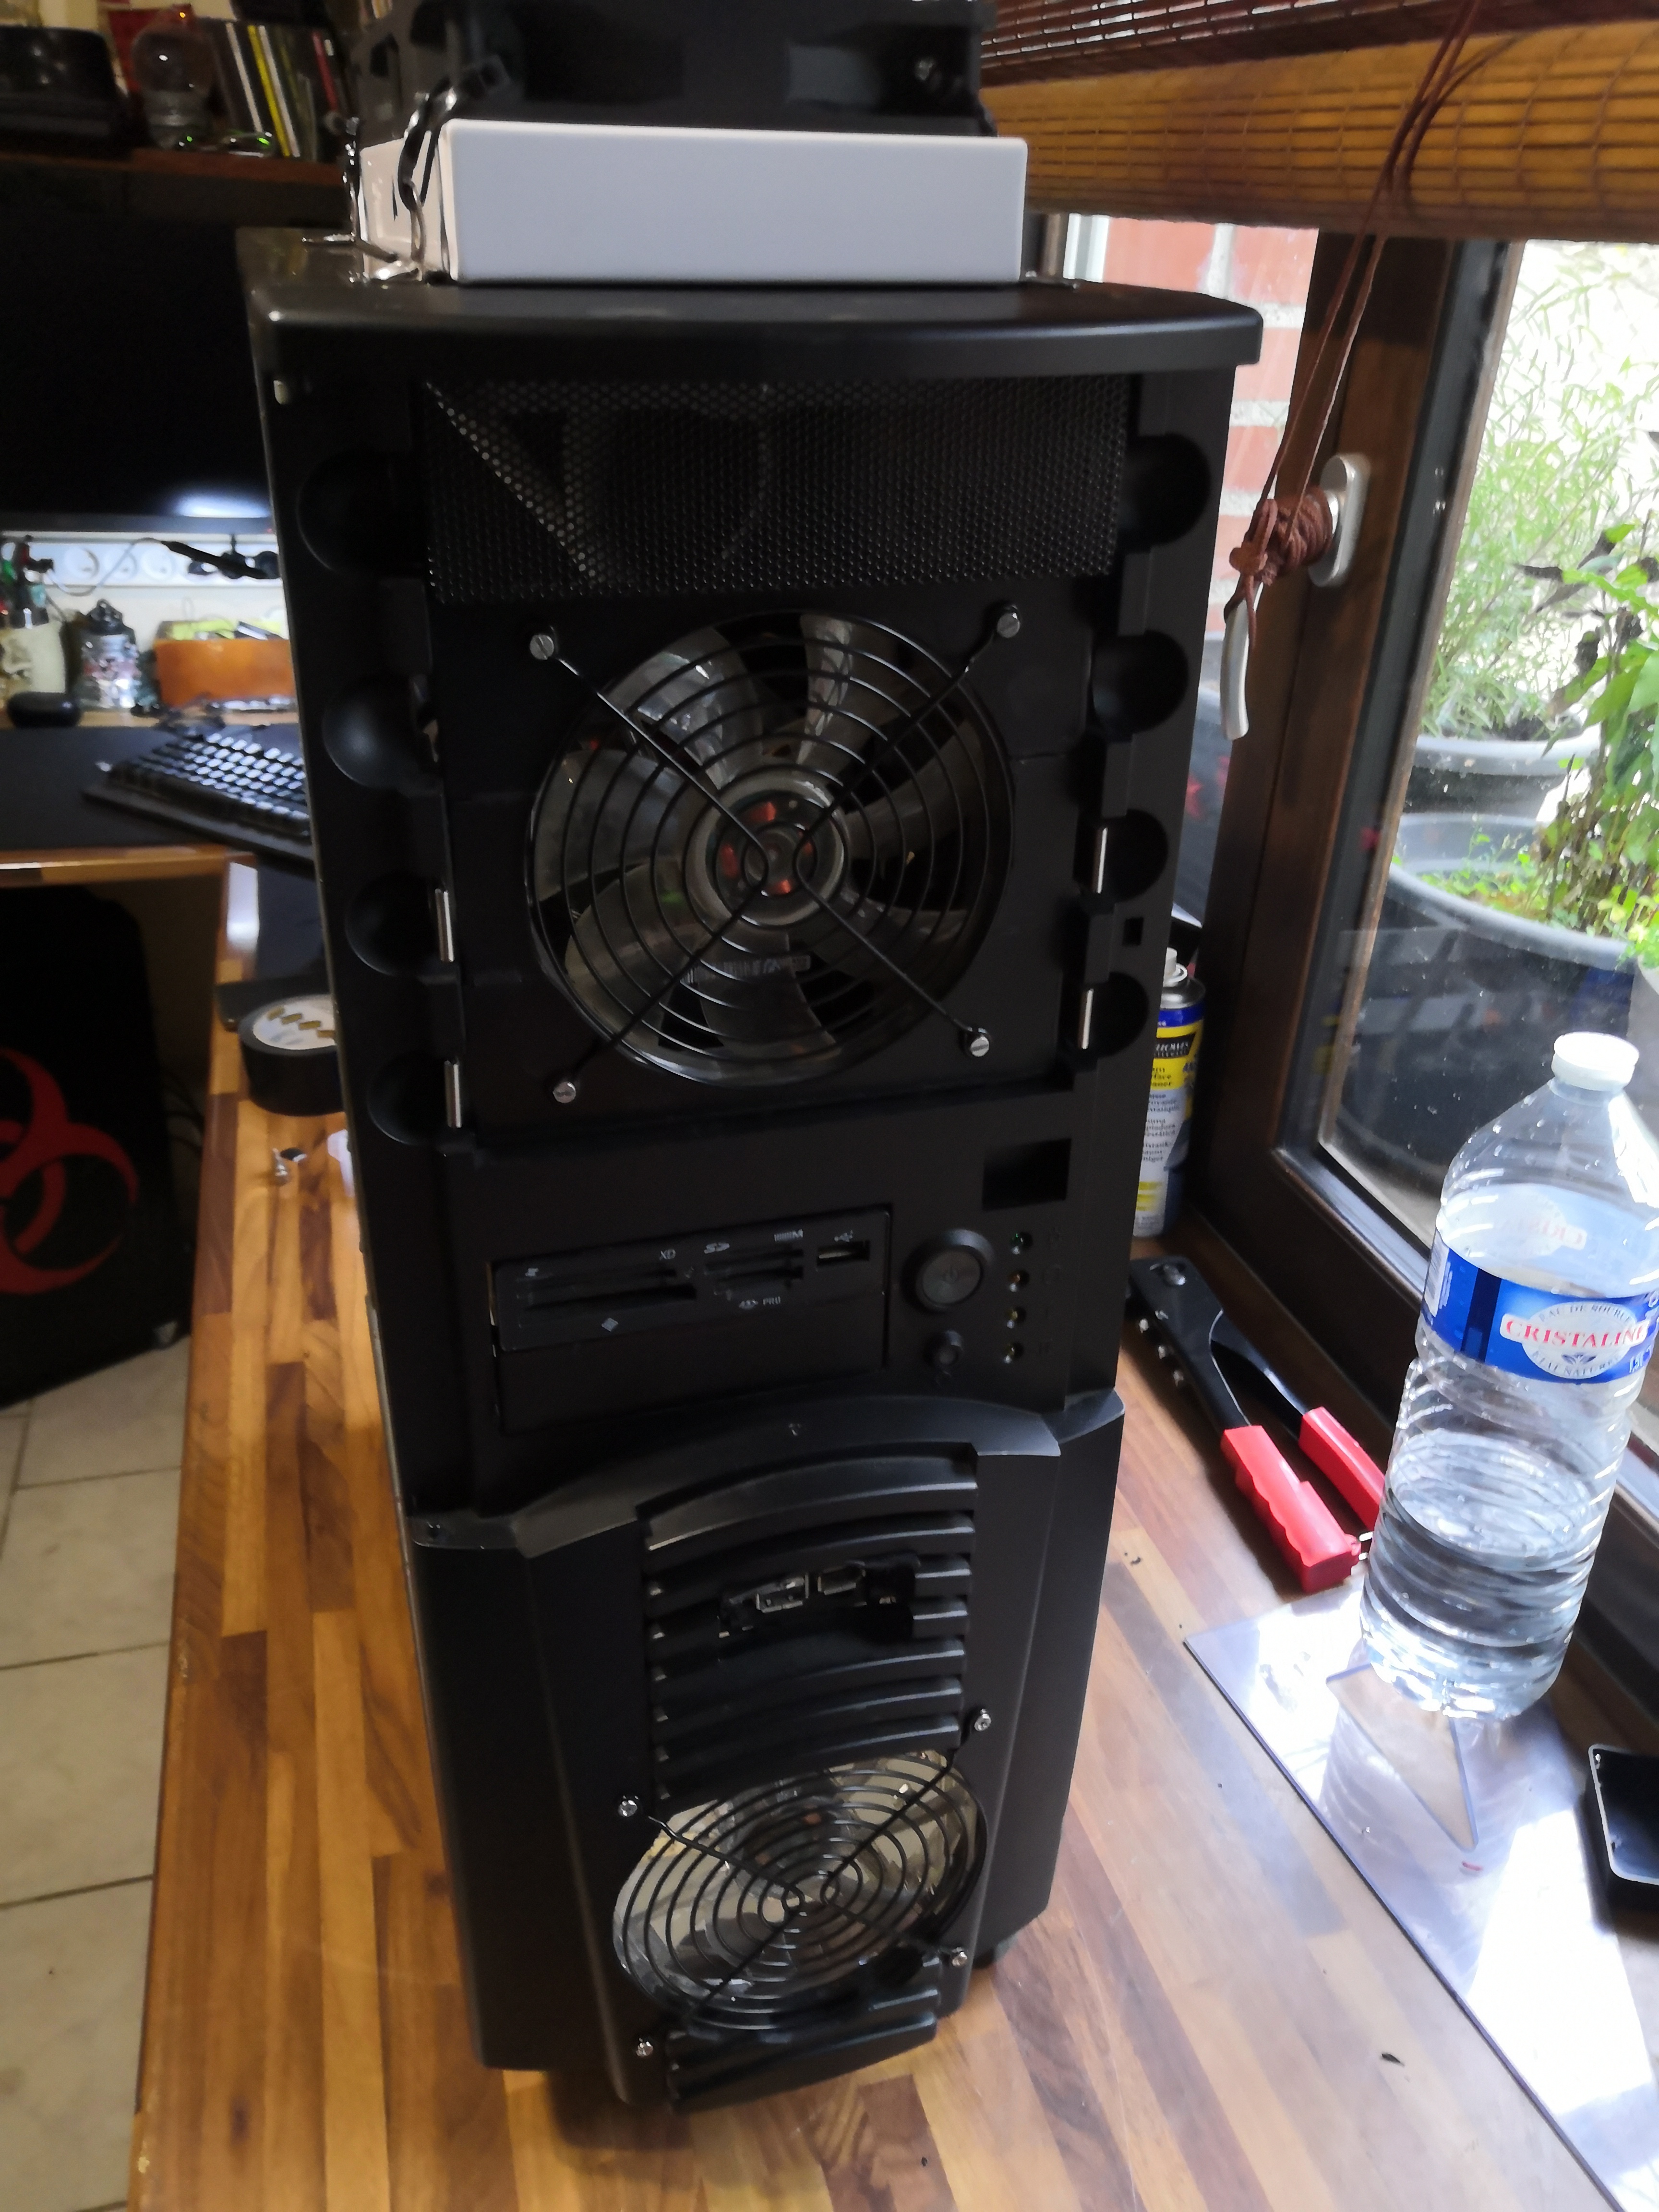
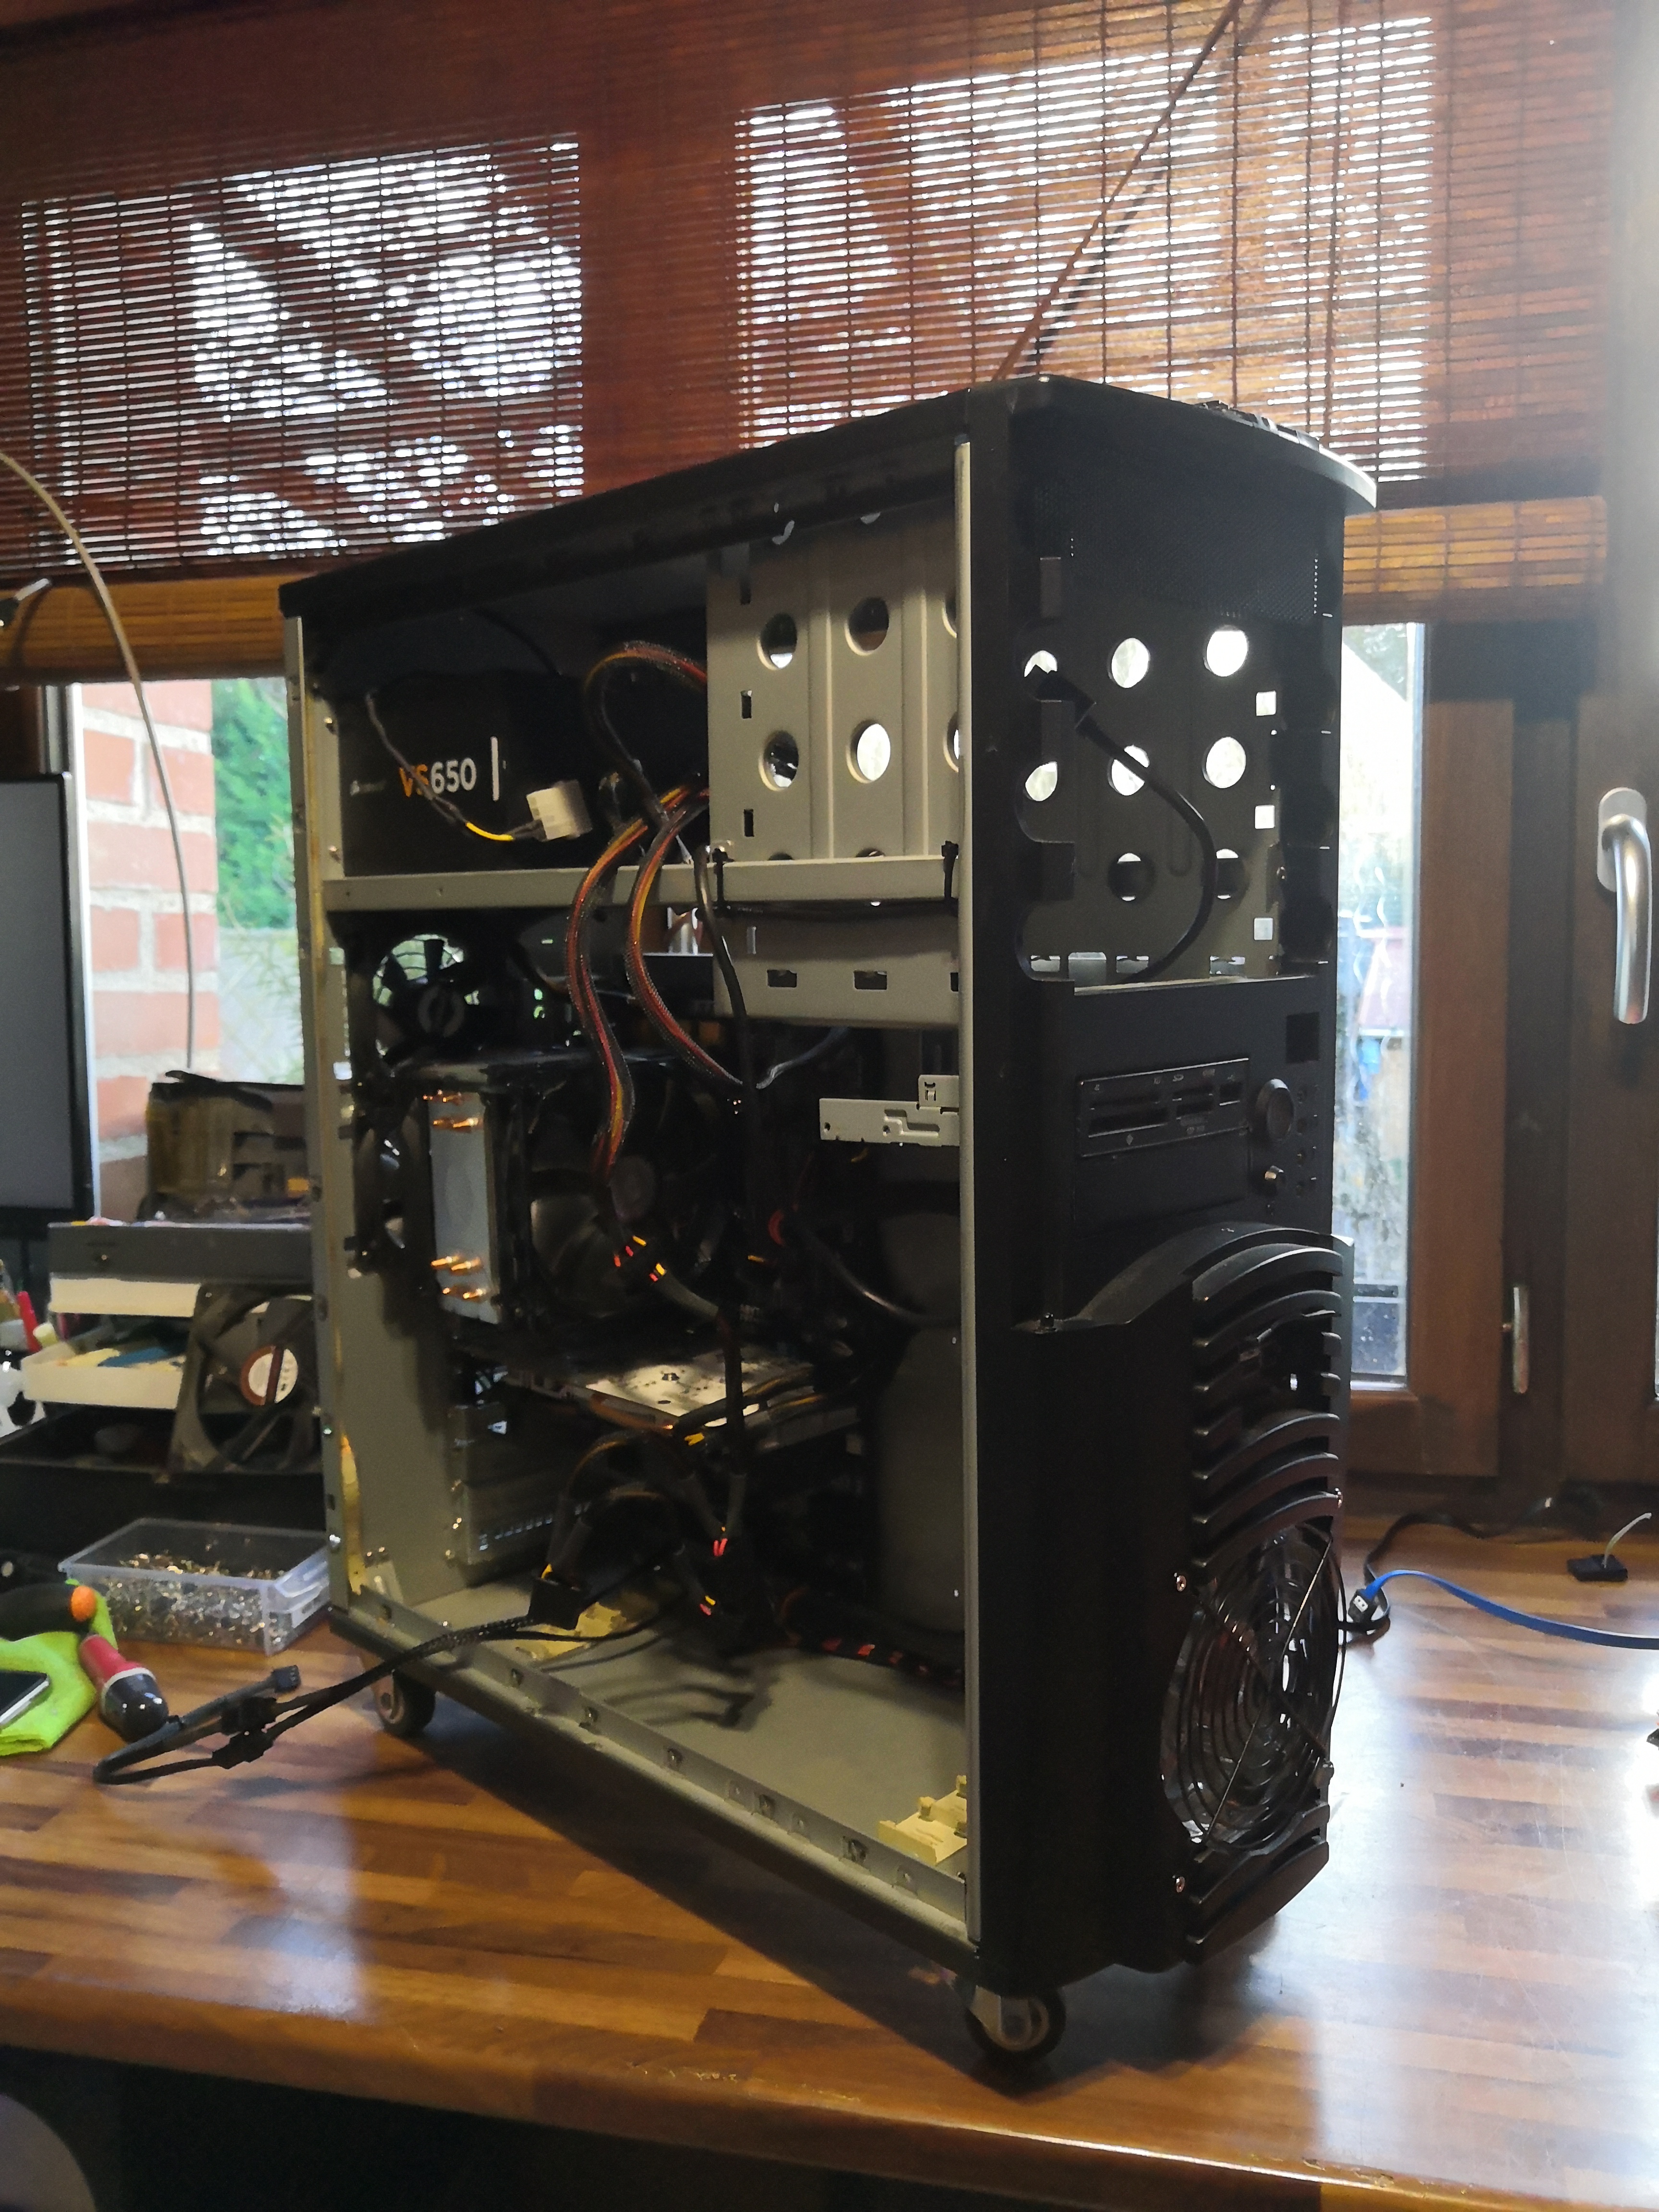 Here is the tower before modification. It's not in its prime, but it's functional. It's an Antec from the early 2010s.
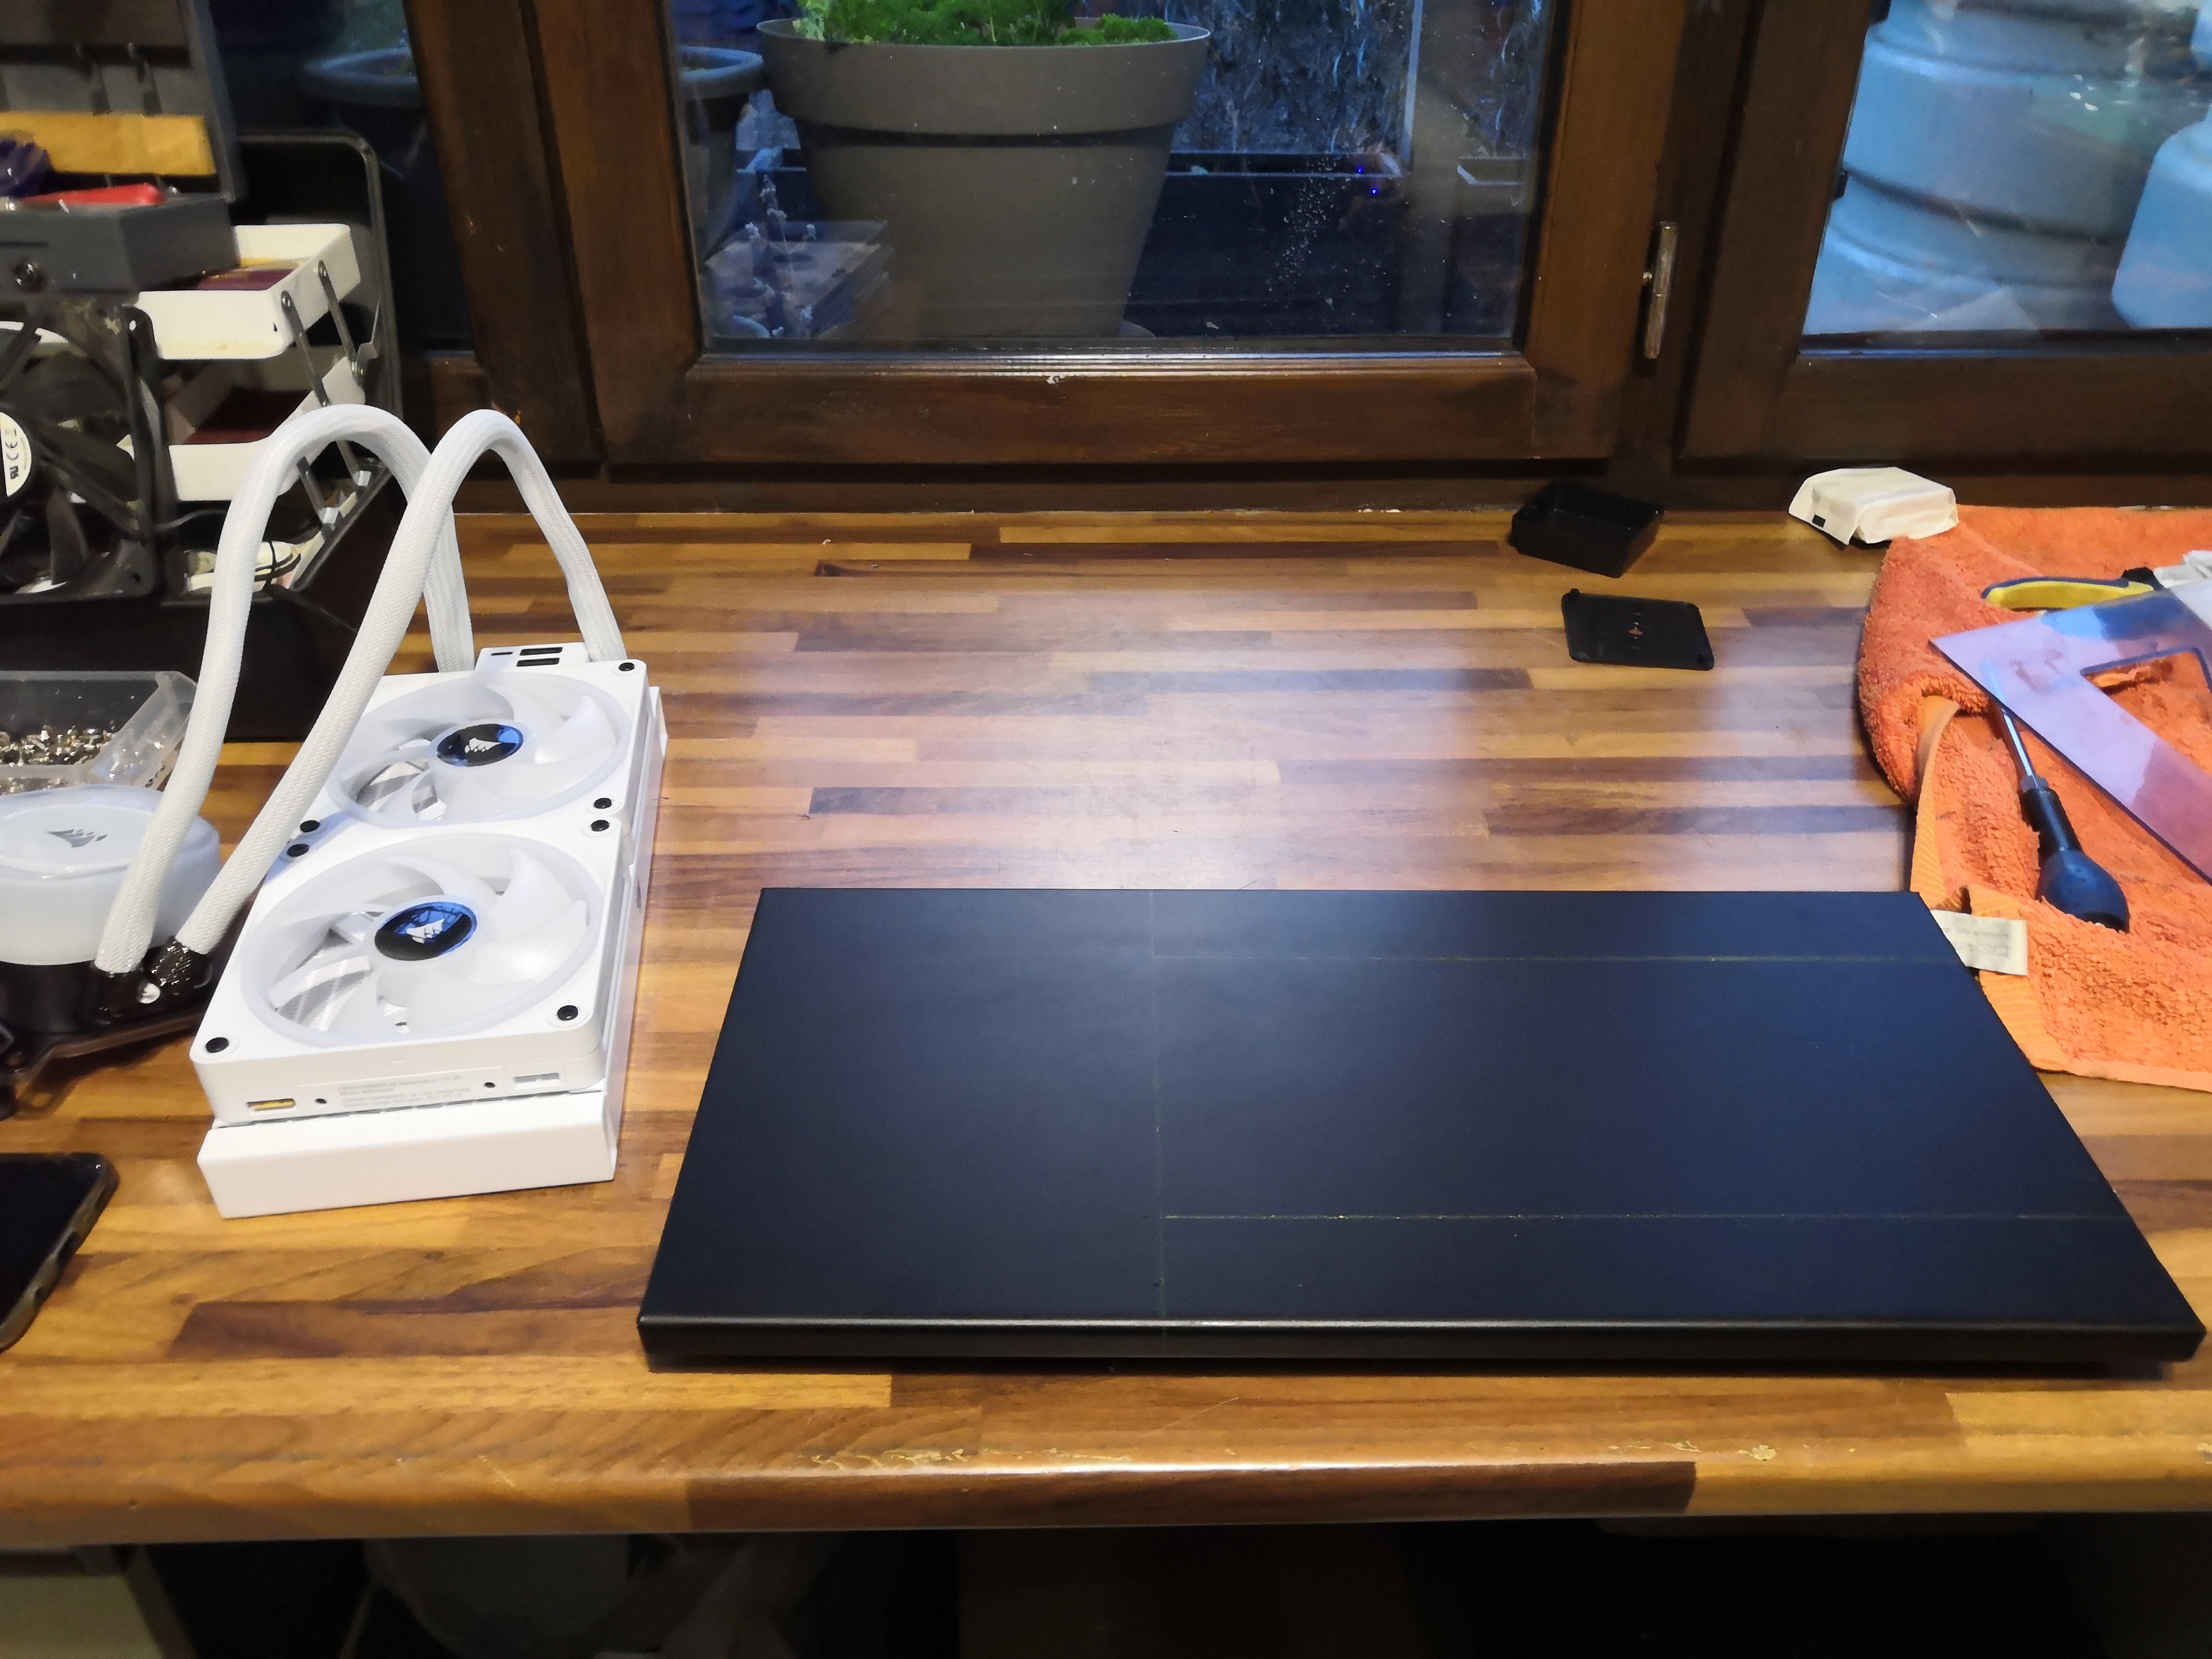
 I remove the top plate of the case.
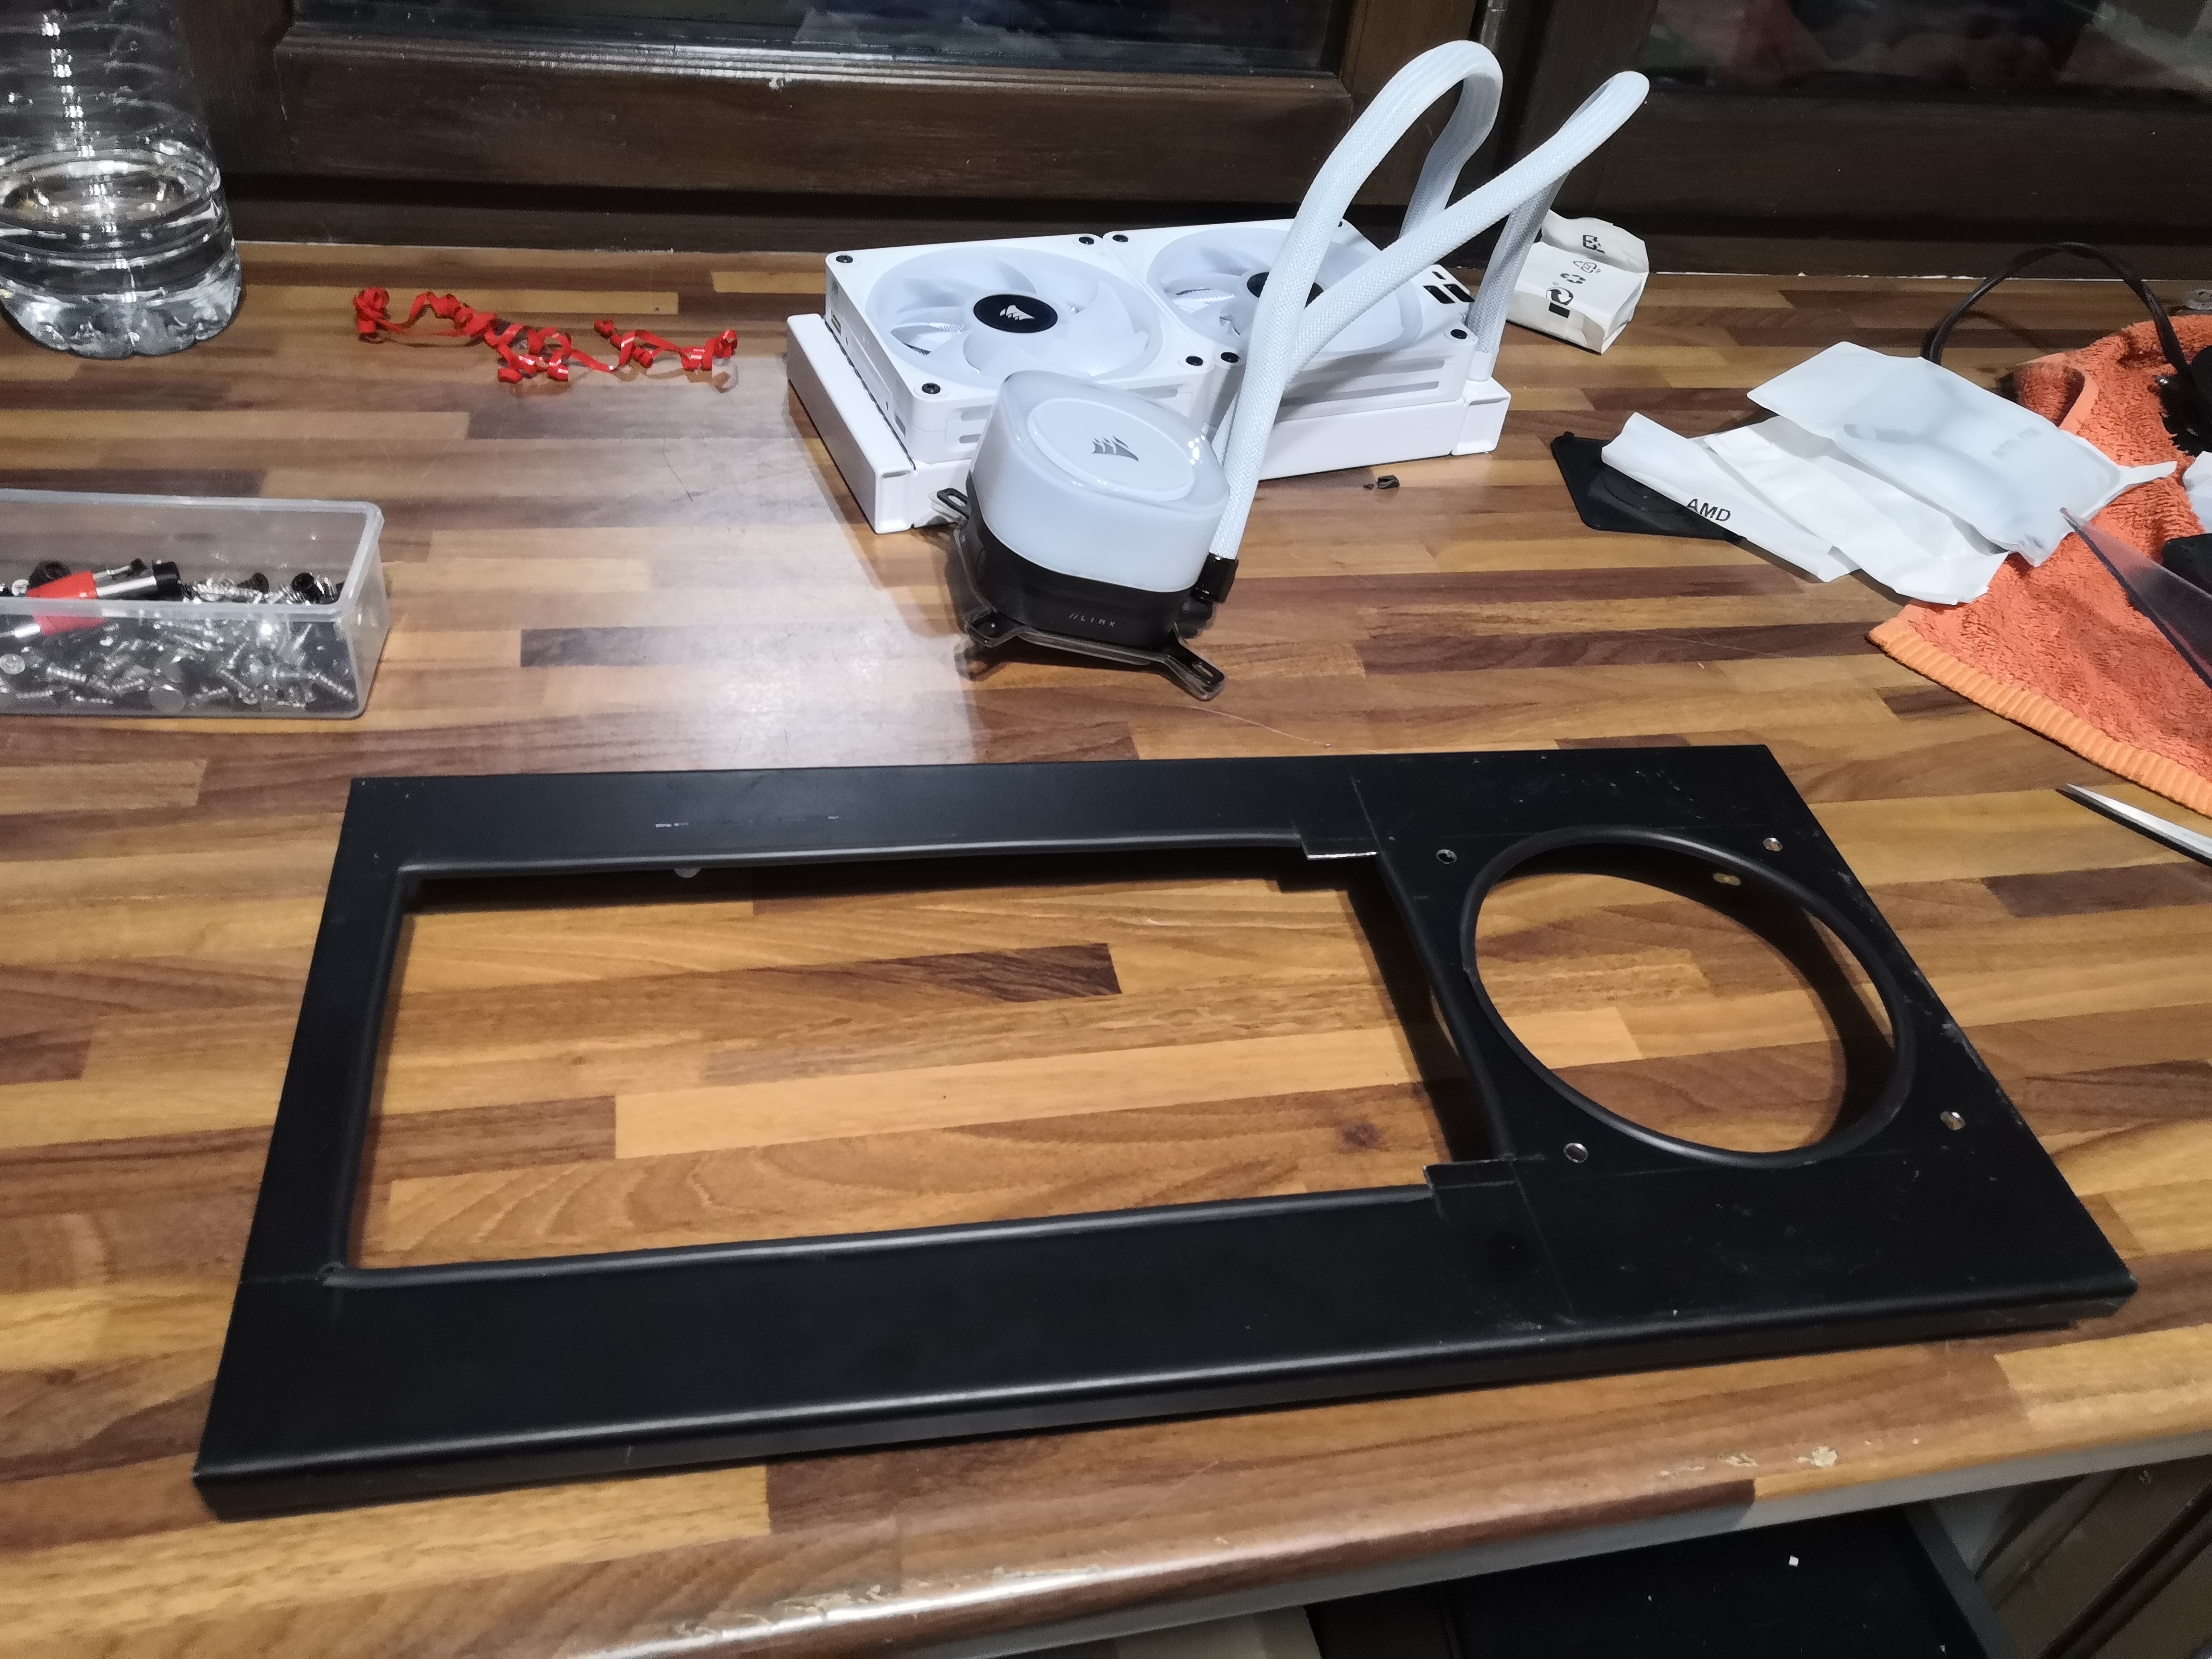
 Measurements, markings, we're ready to cut.
 While I was cutting, I prepared a space for a 120 mm fan that will push fresh air towards the radiator.
I also put rubber protection on the edges to prevent chipping and limit vibrations.
While I was cutting, I prepared a space for a 120 mm fan that will push fresh air towards the radiator.
I also put rubber protection on the edges to prevent chipping and limit vibrations.
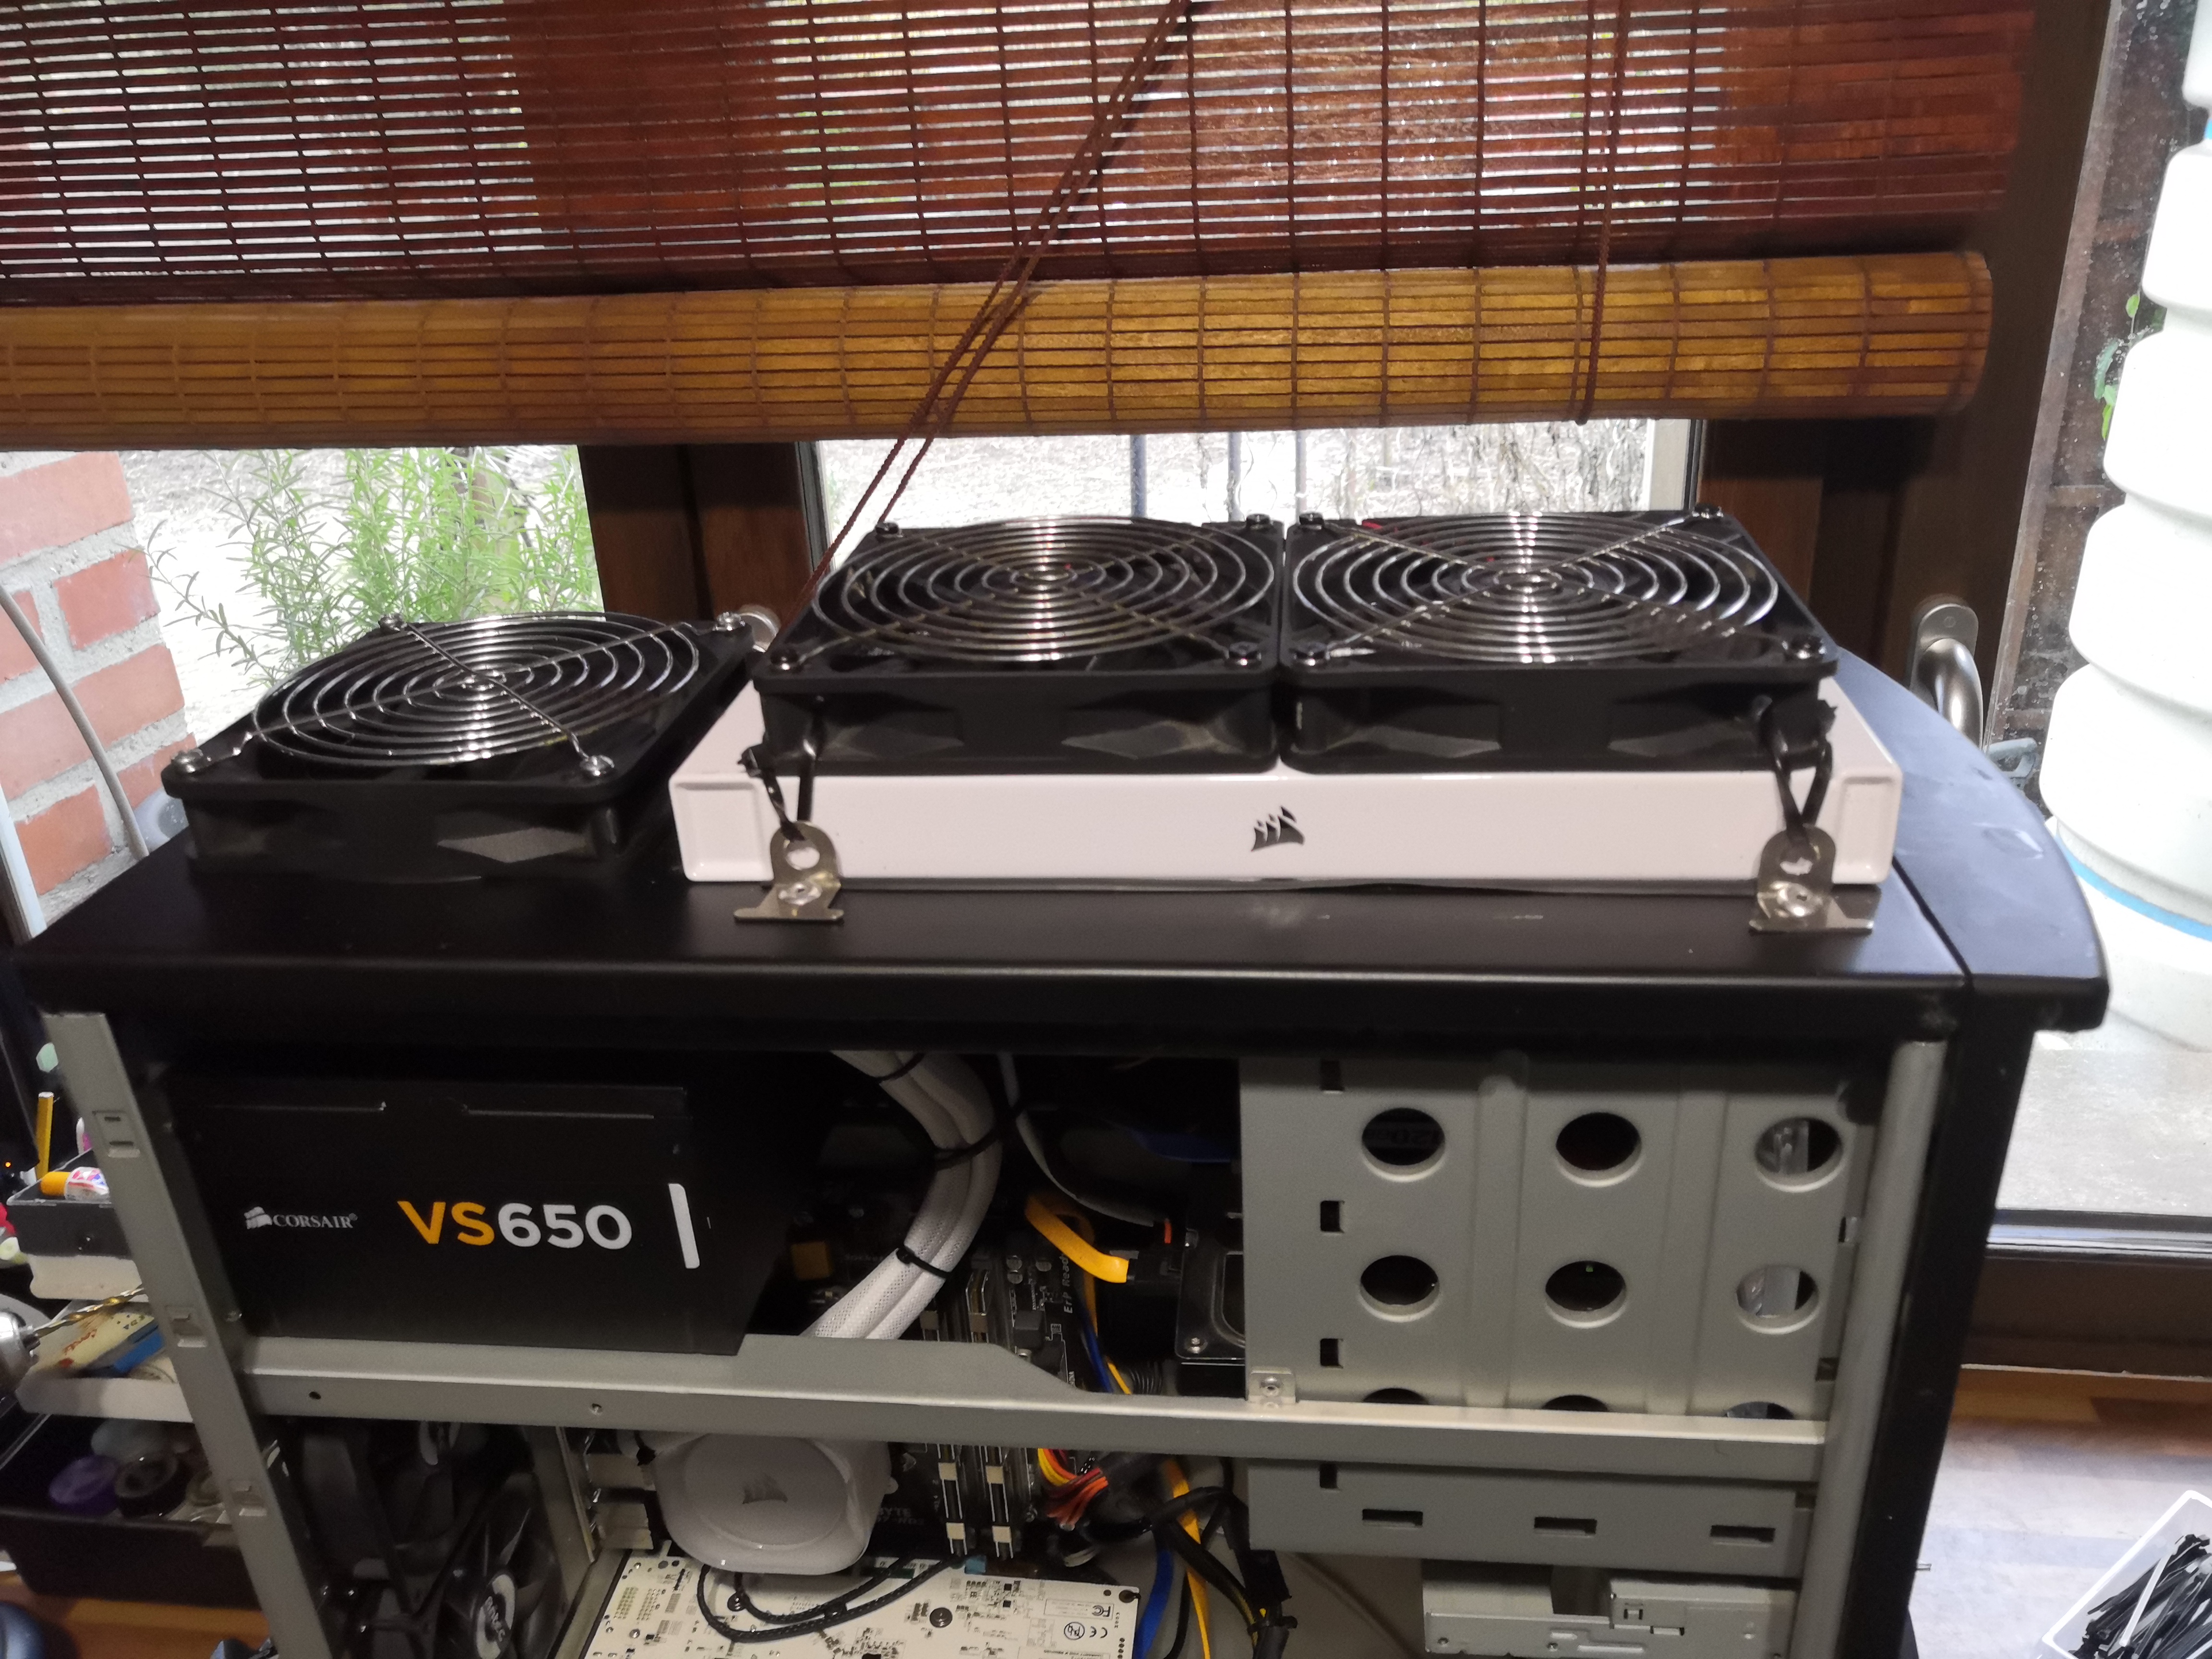
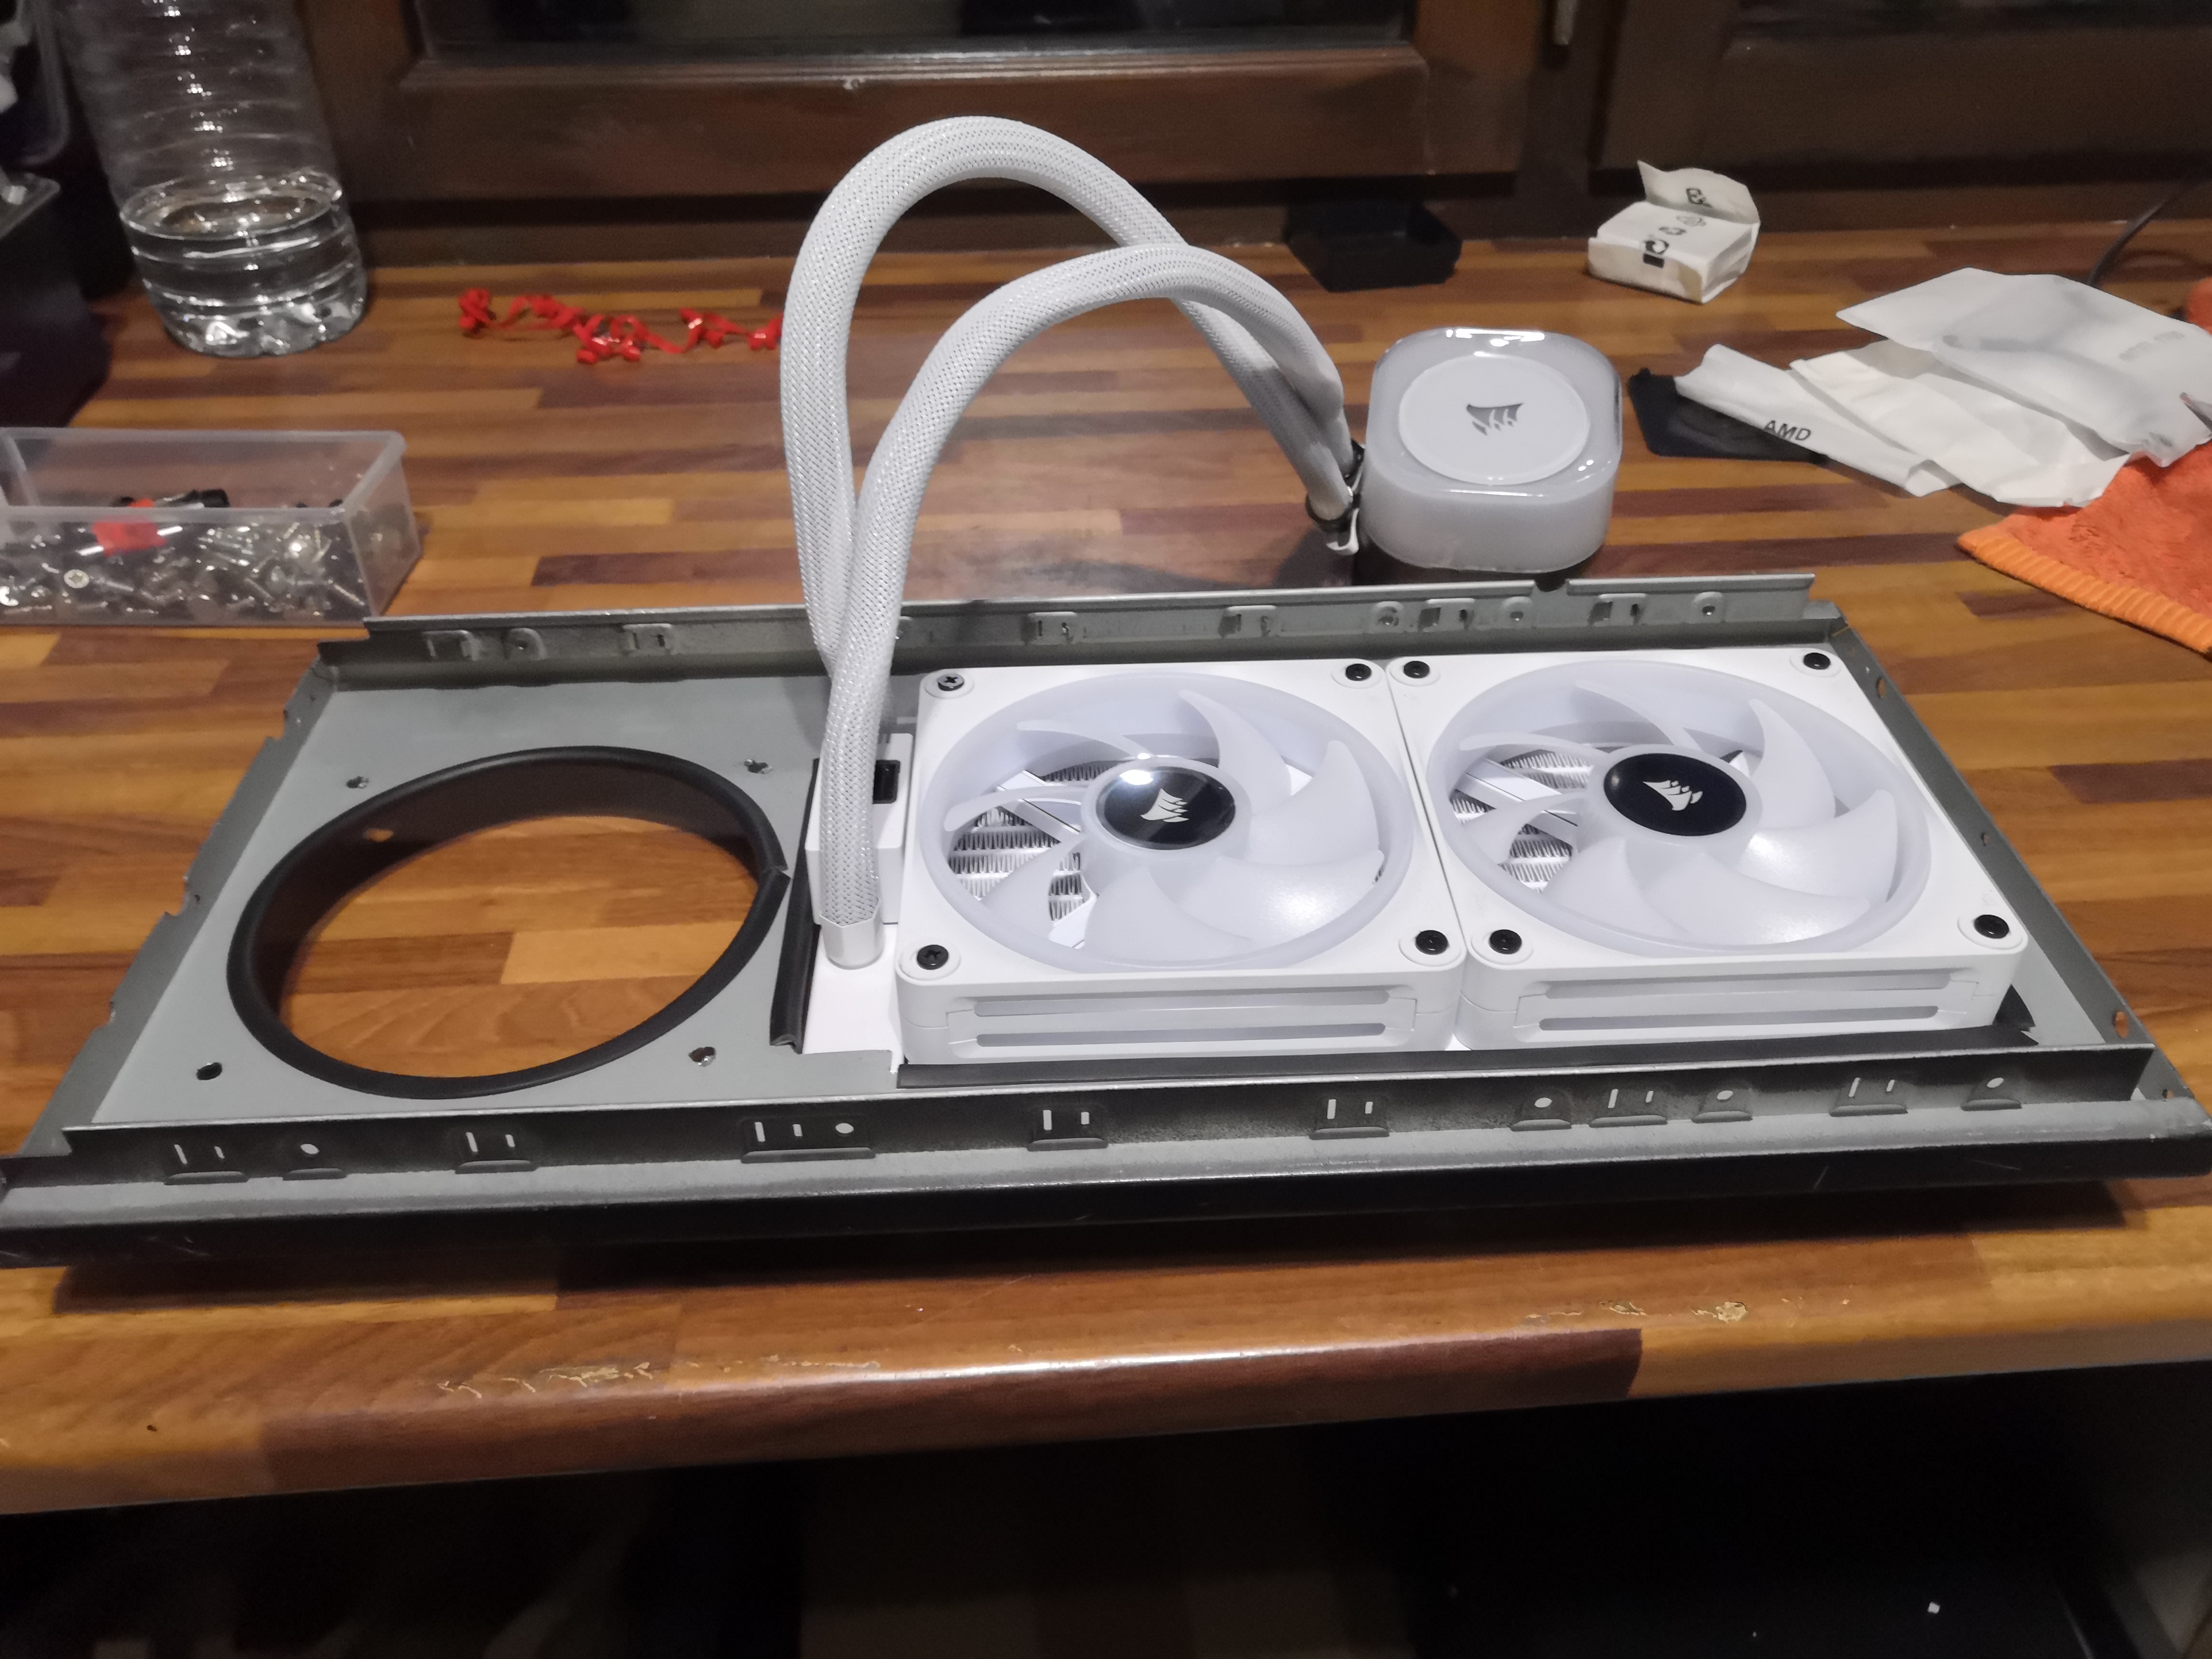 First tests: it fits without too much trouble.
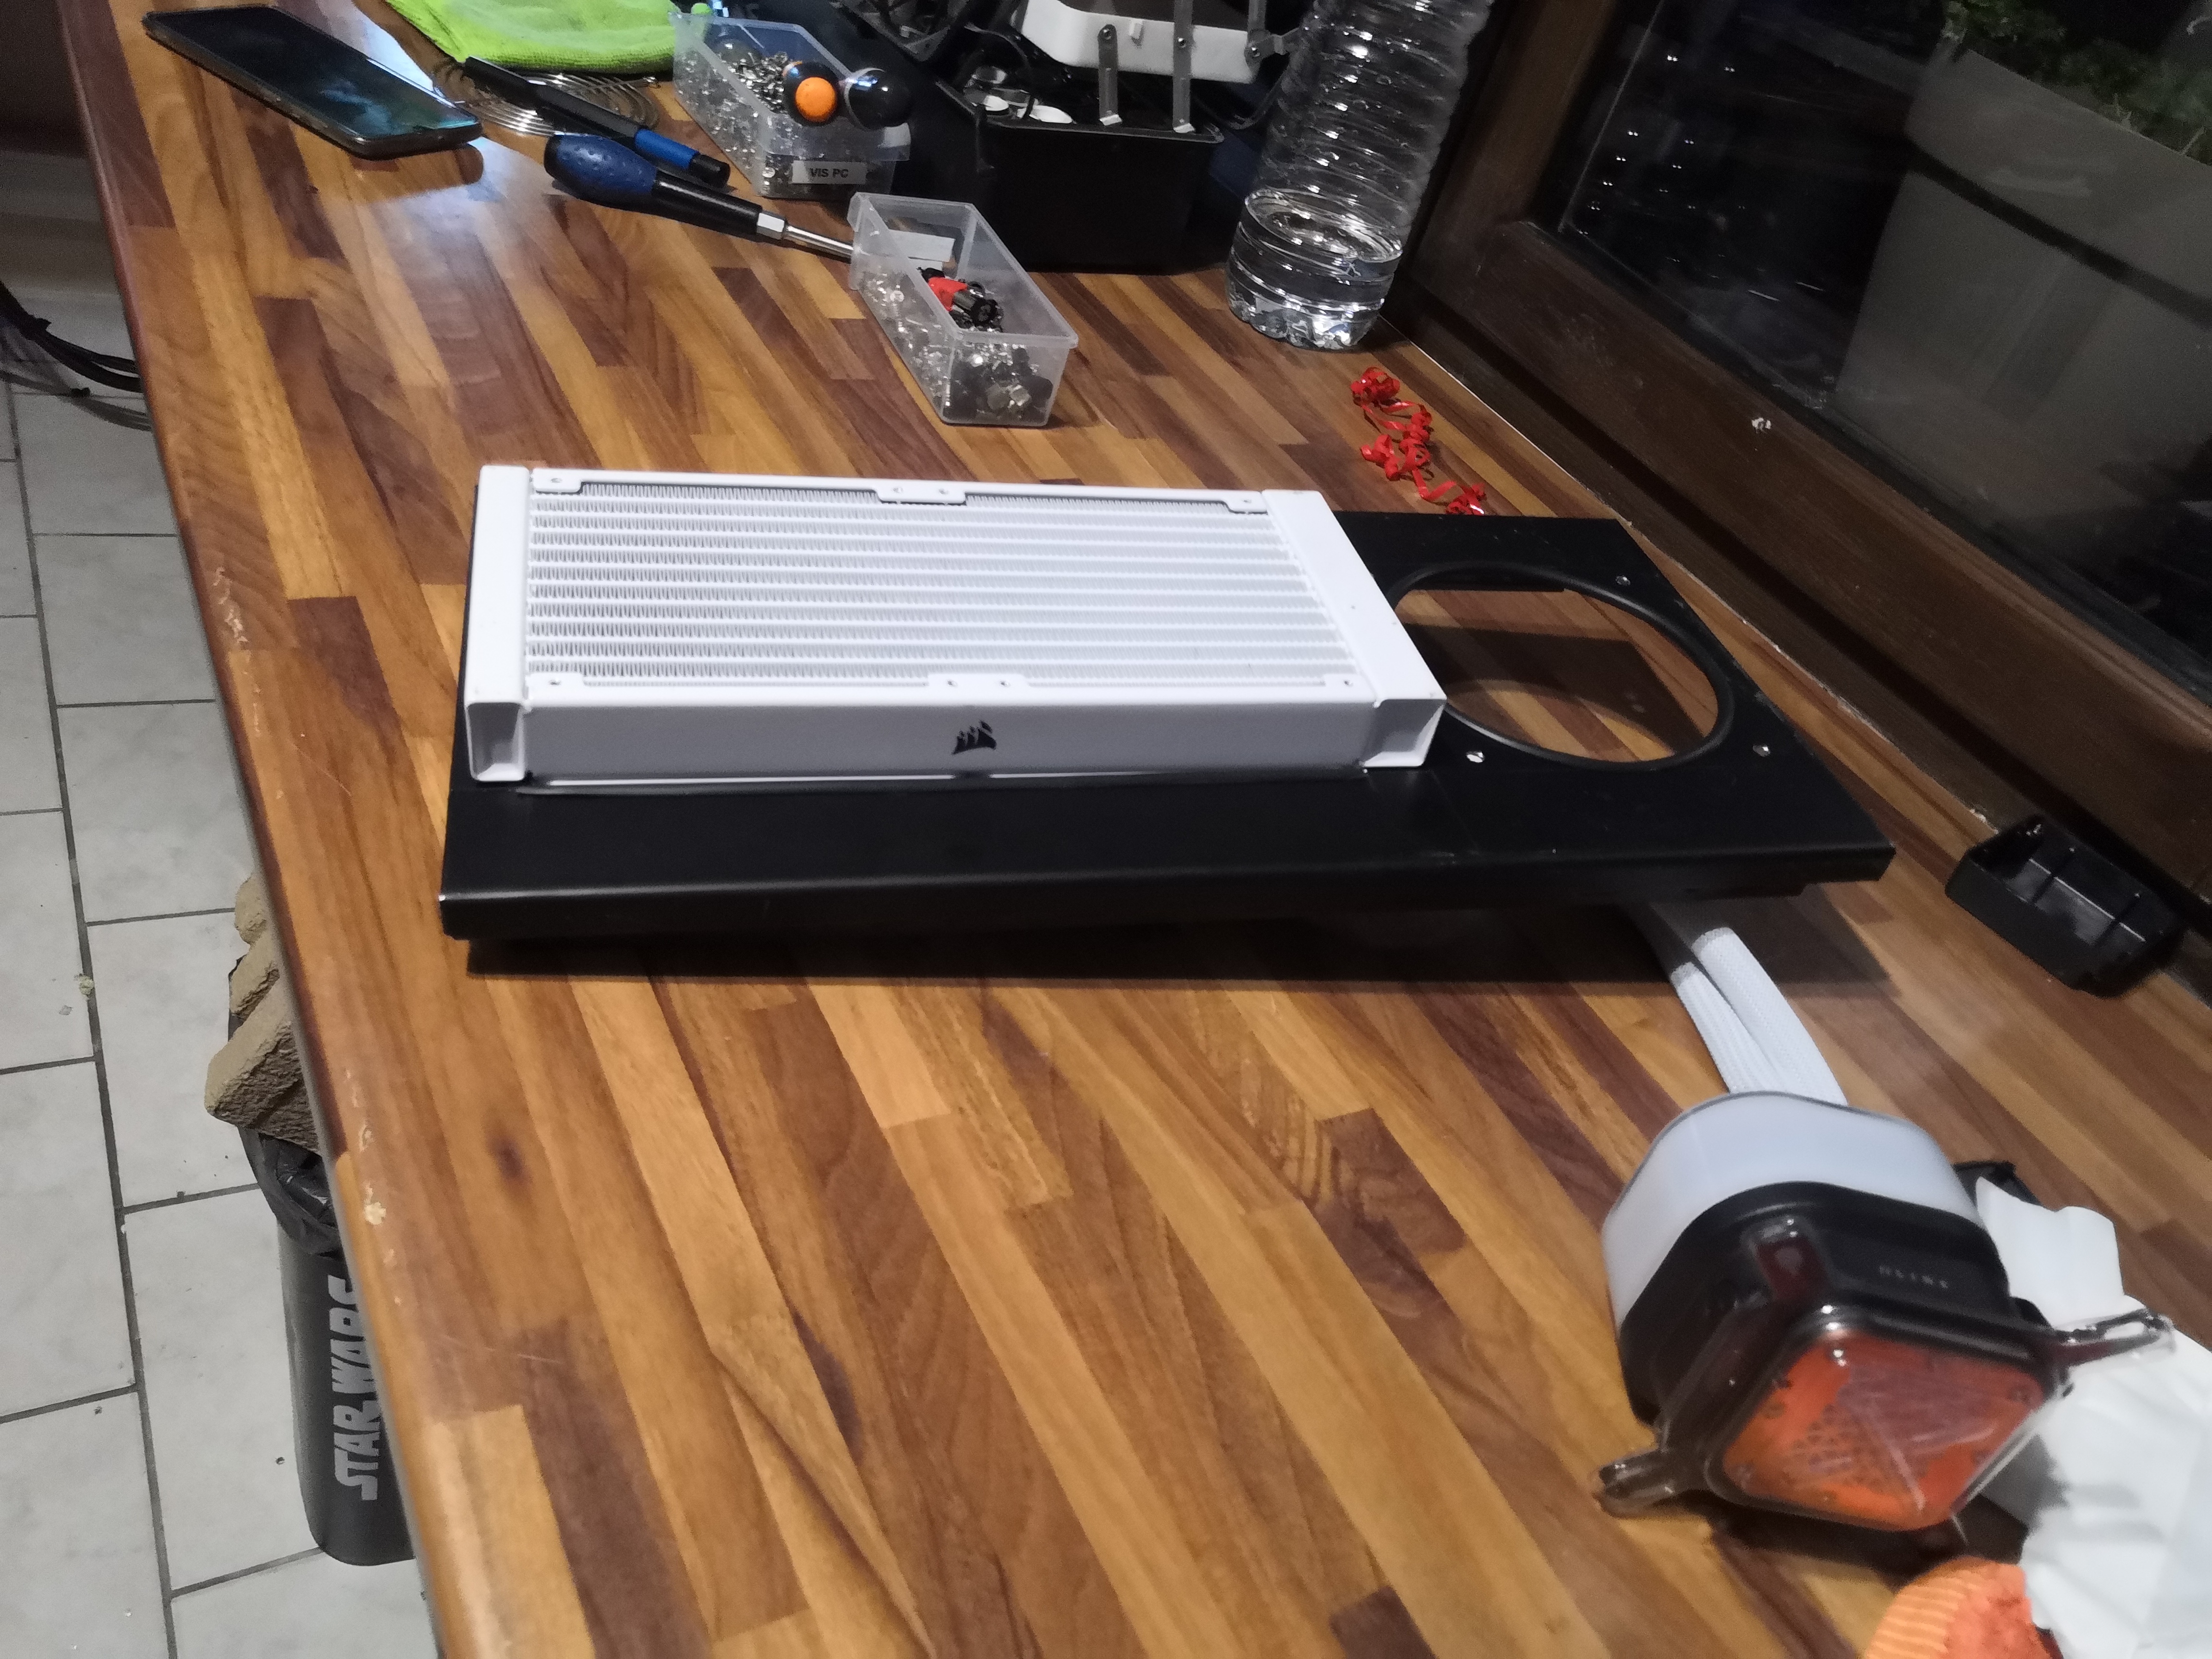 Top view.
 Reassembly of the plate on the case
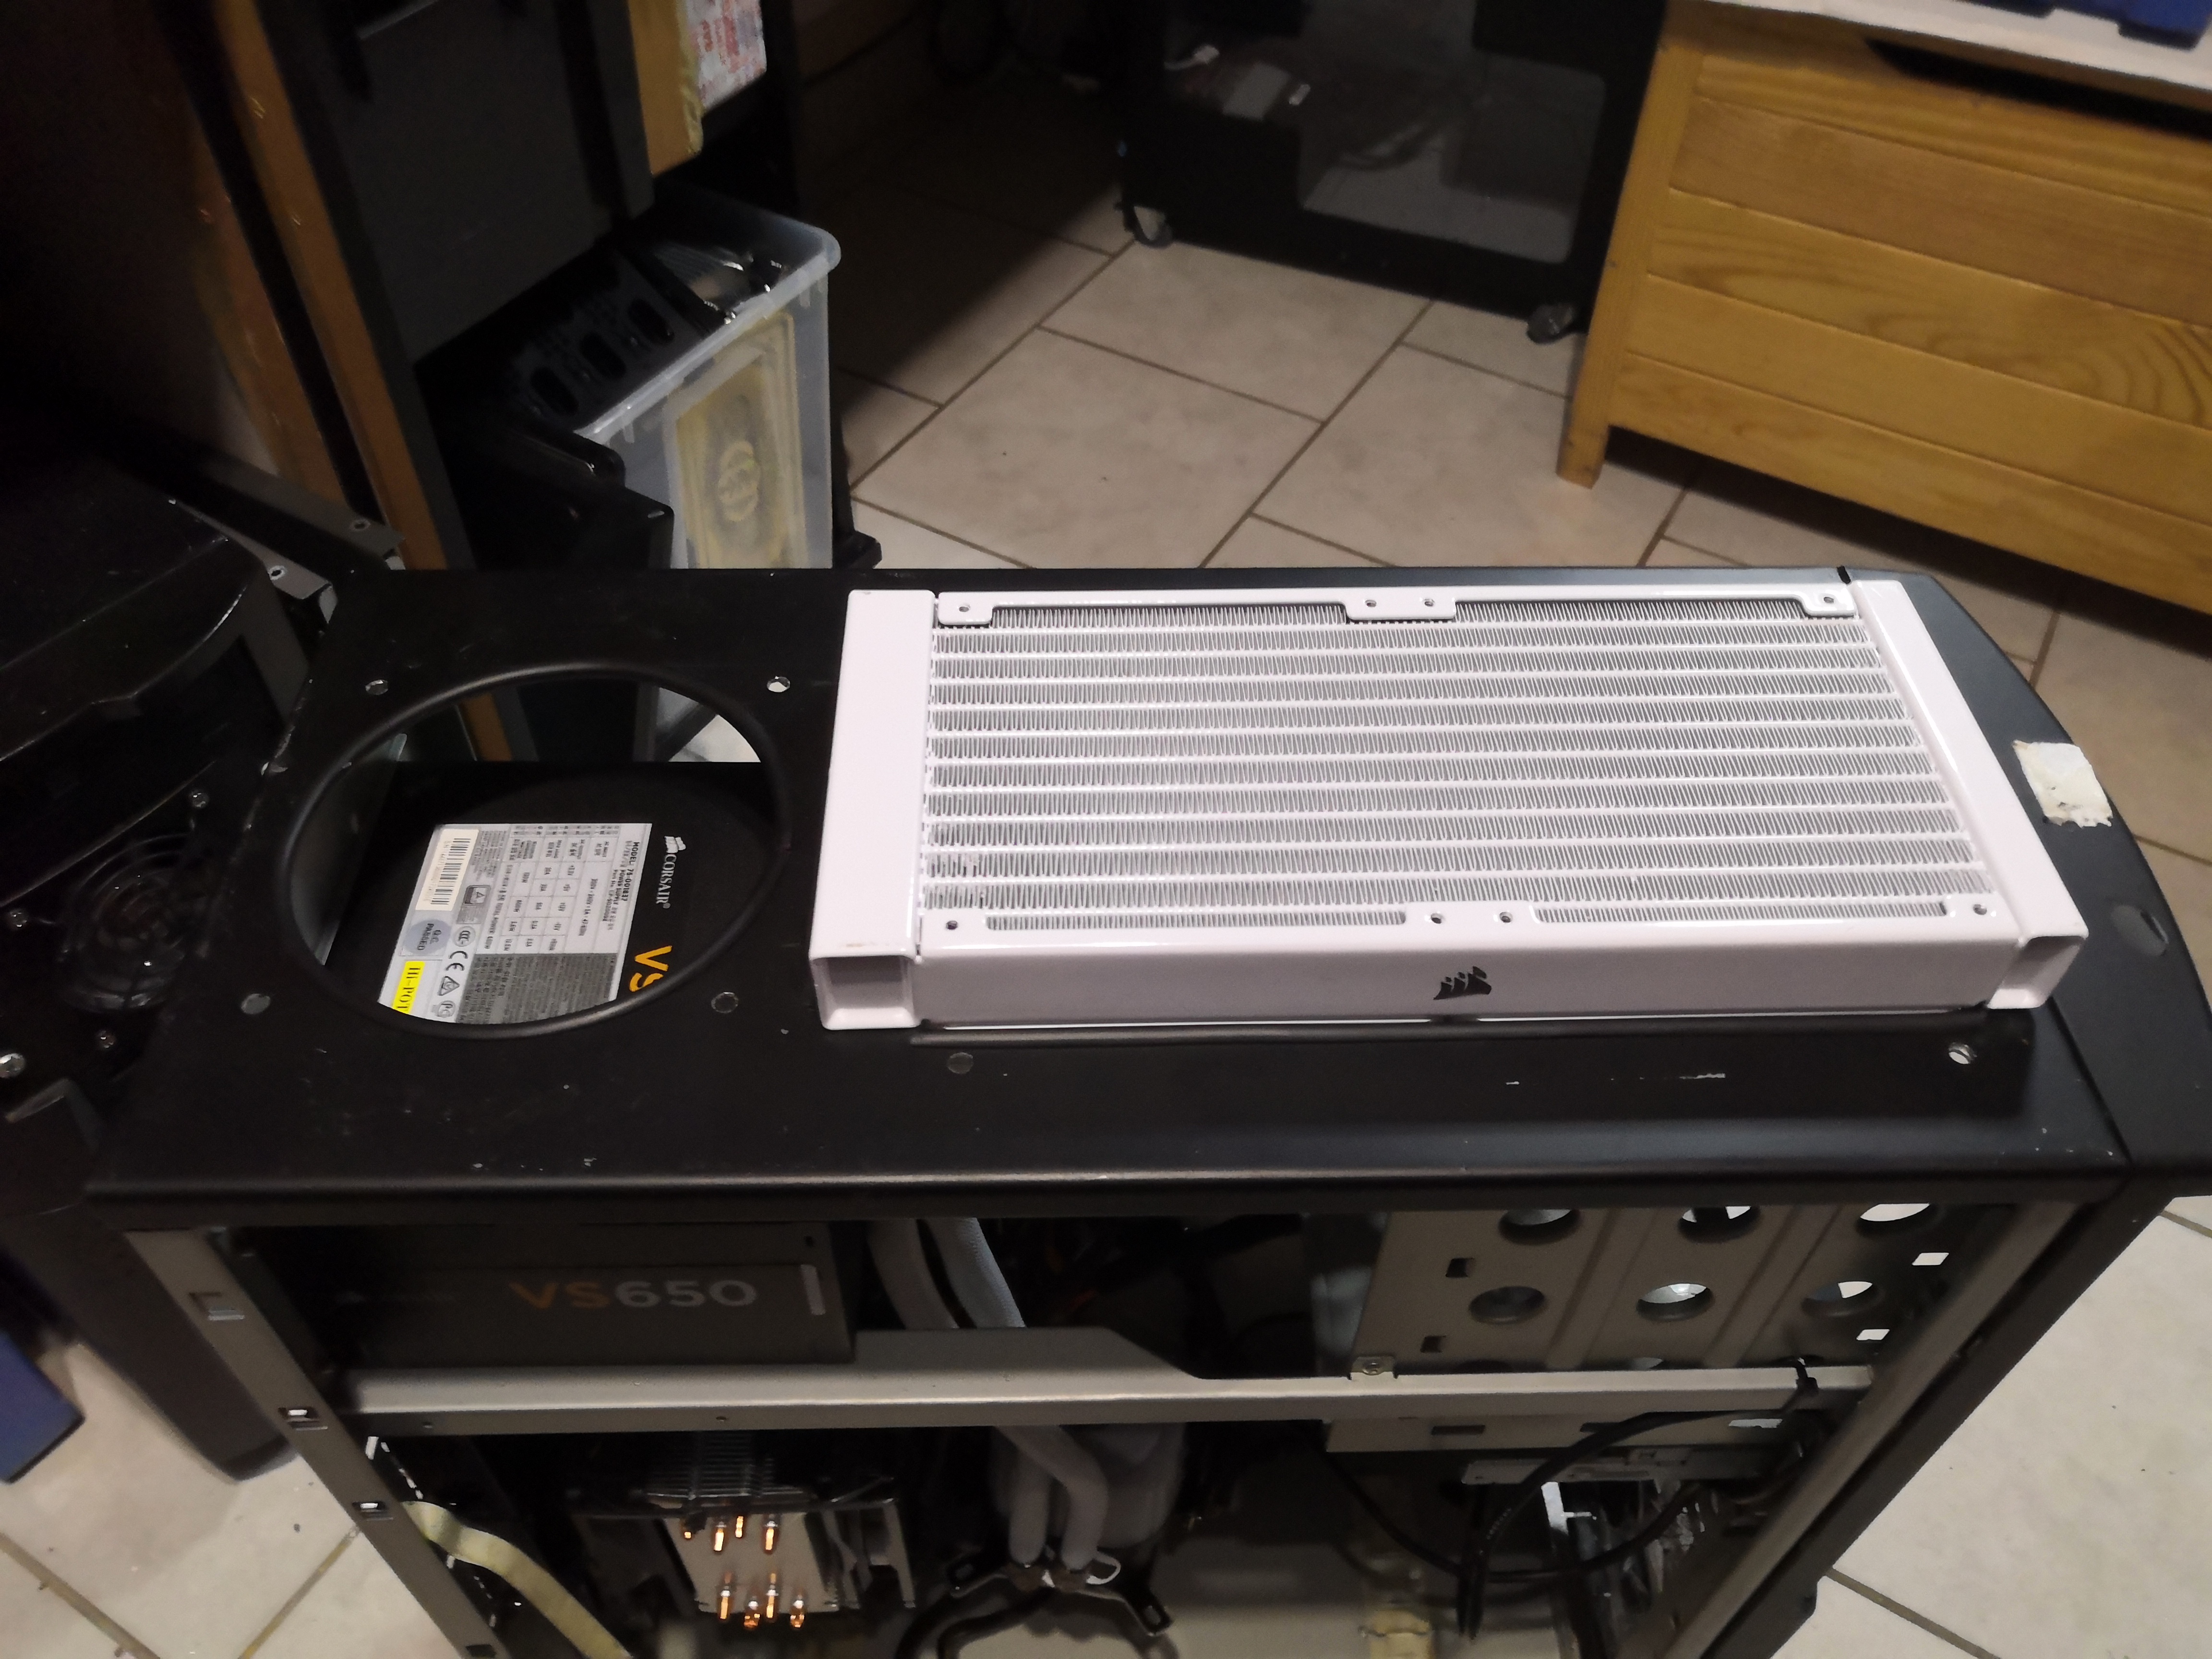 The radiator will be completely outside; there really wasn't enough room to fit it inside
 We can now remove the air cooling system.
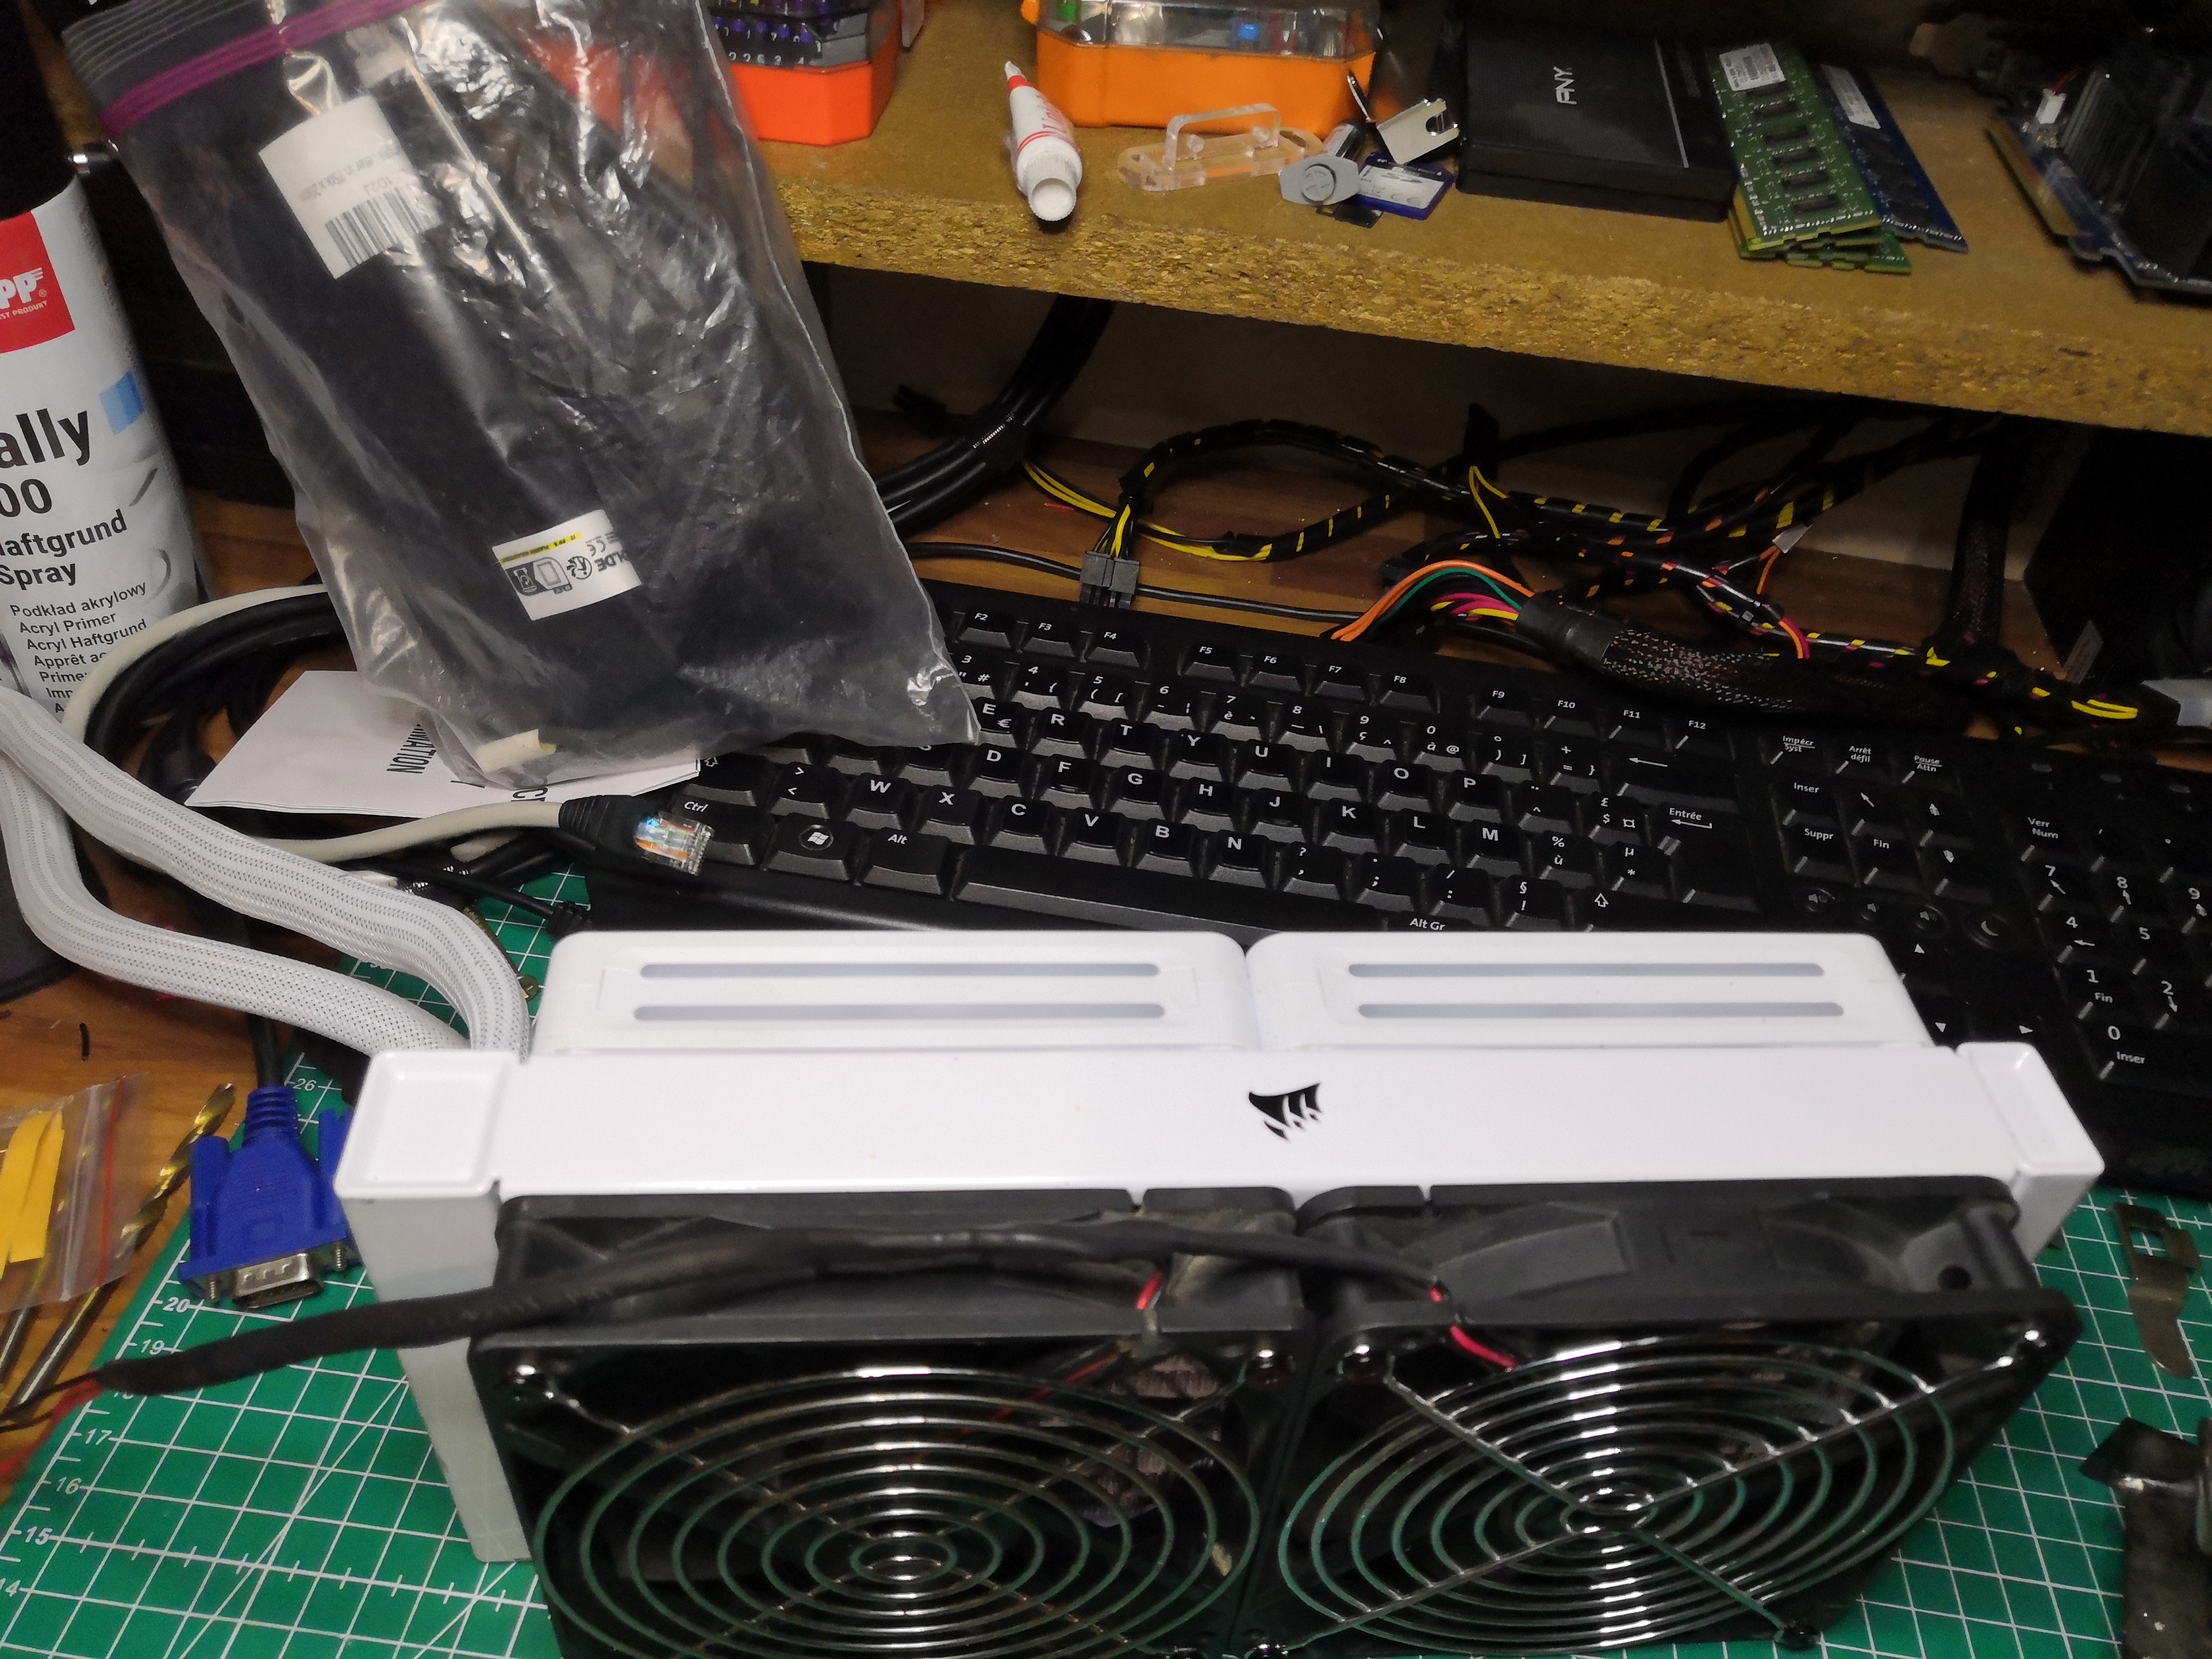
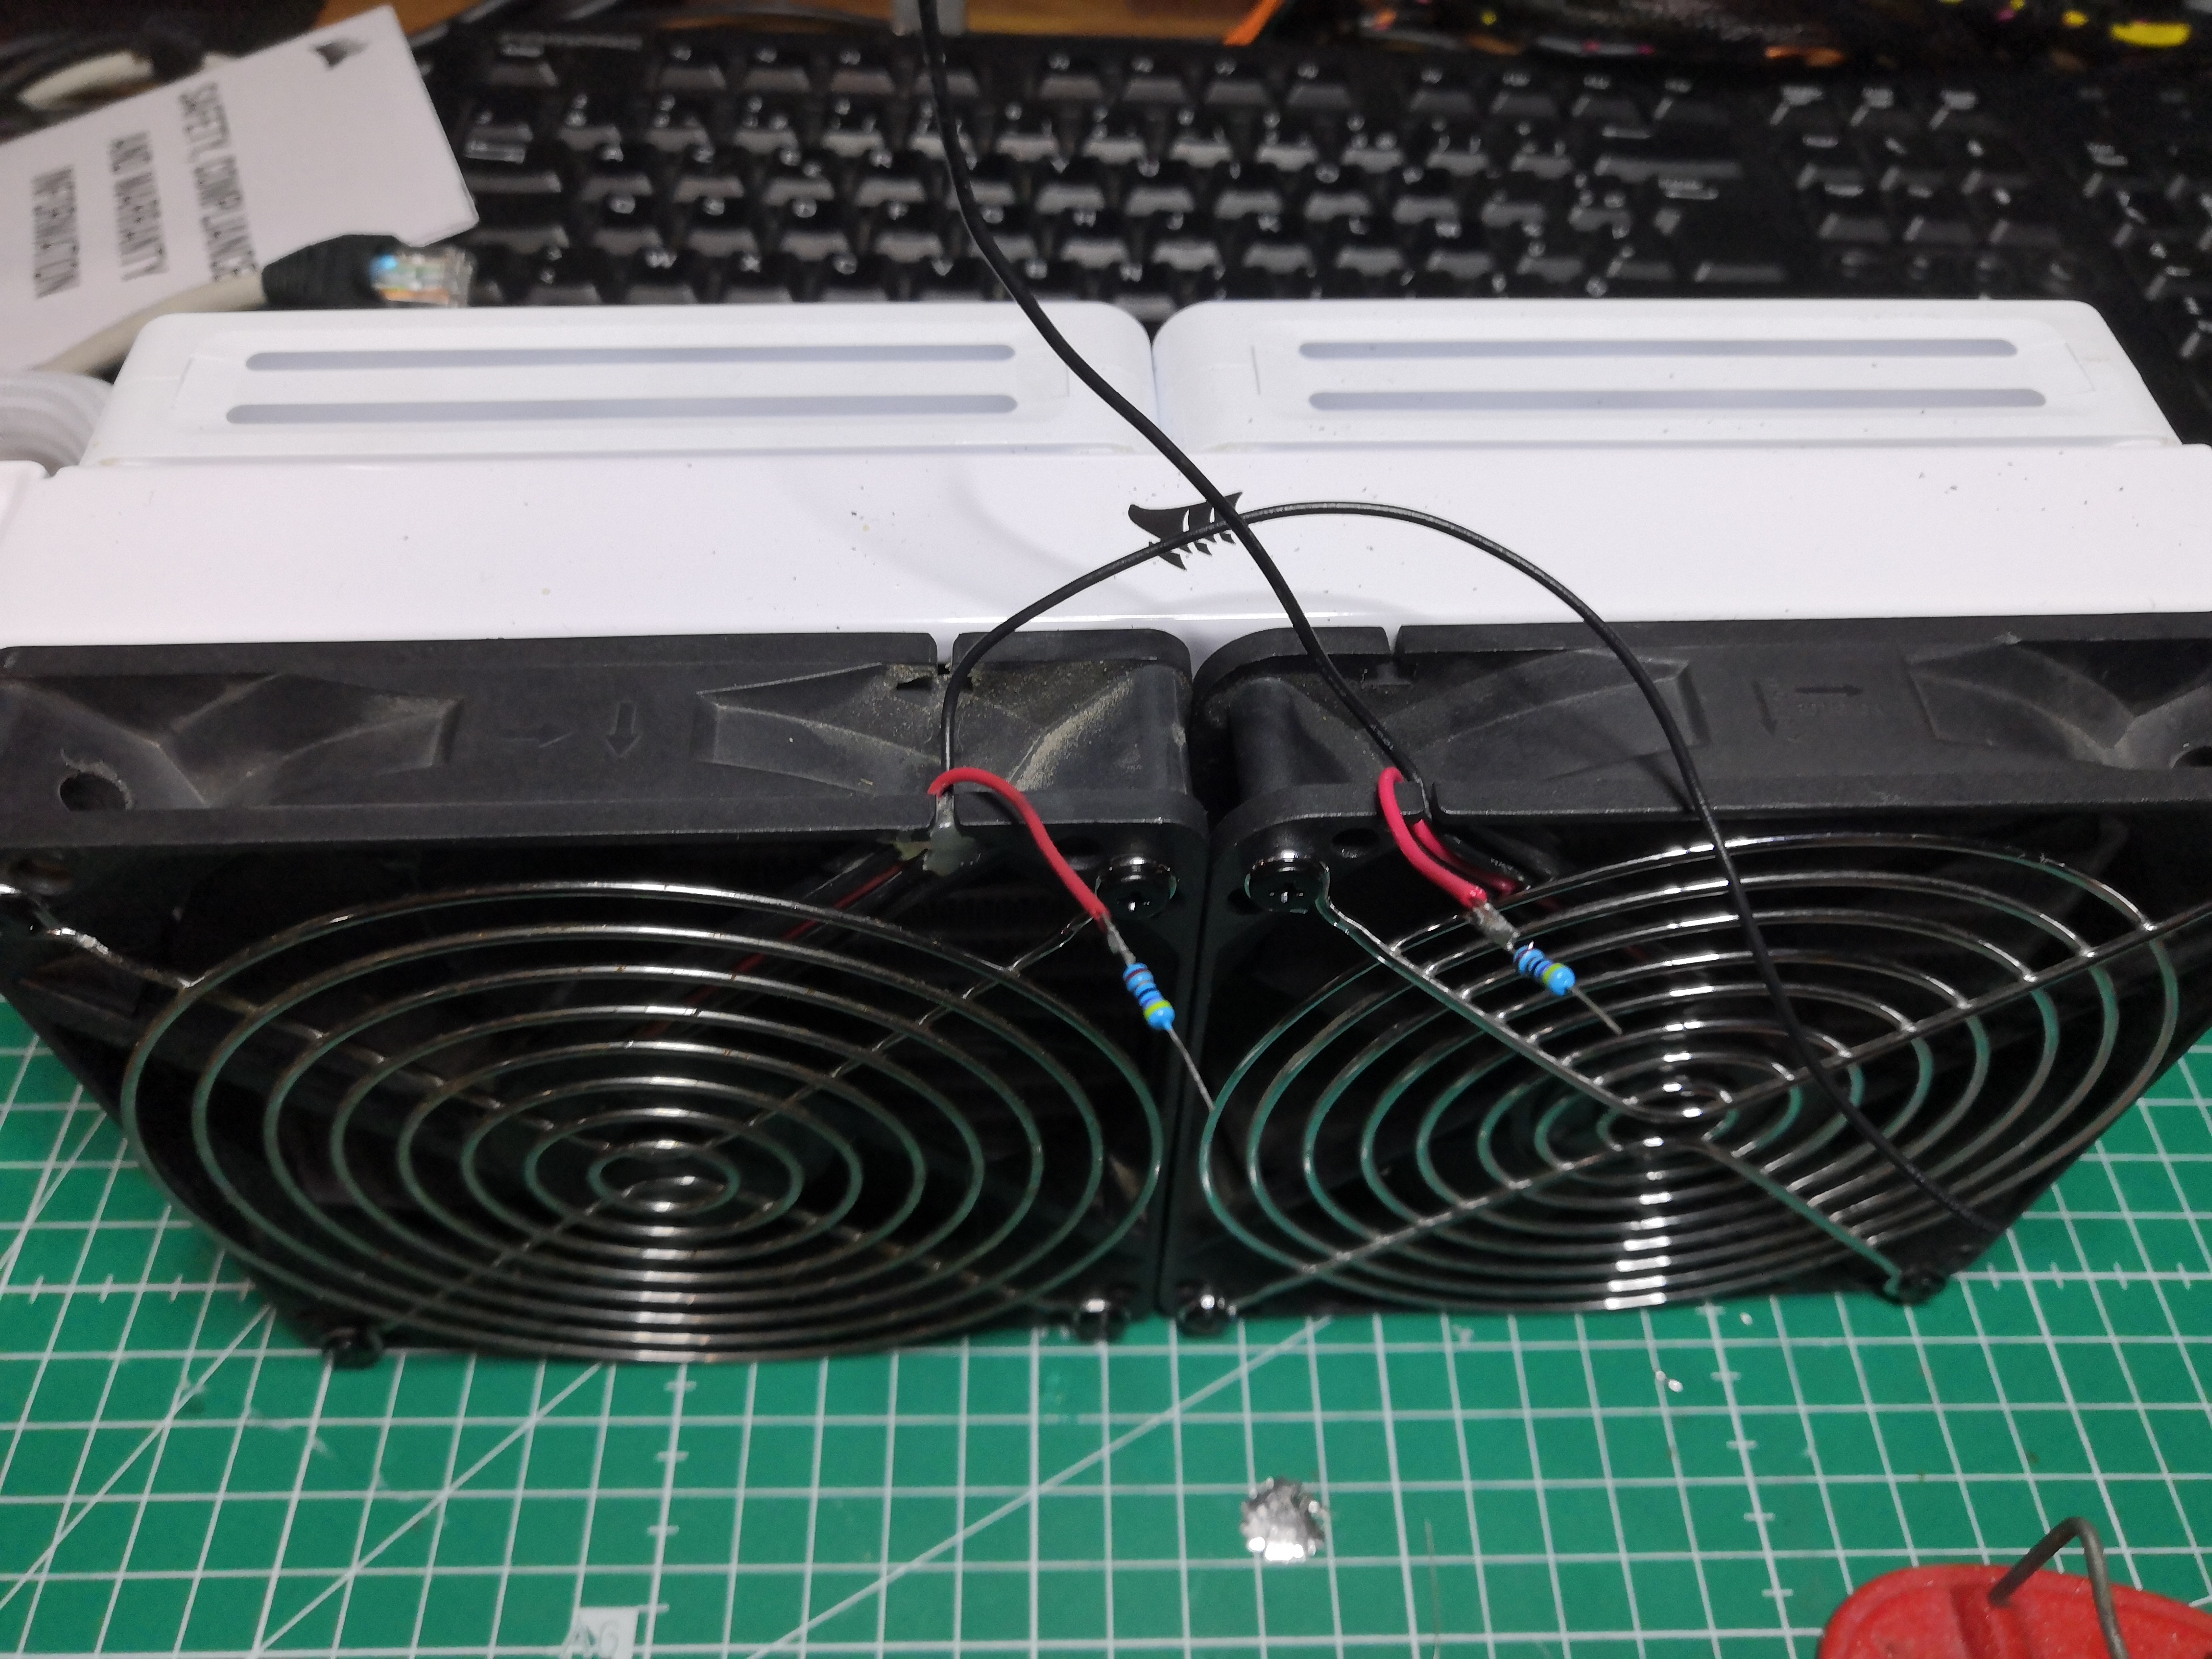 But first, we'll prepare a push/pull system like on the previous tower. Since I find the fans too noisy, I'm soldering a 47-ohm resistor to make them run at a little over 9V.
 Heat shrink tubing for a clean and well-insulated installation
 We can now mount the water block on the motherboard
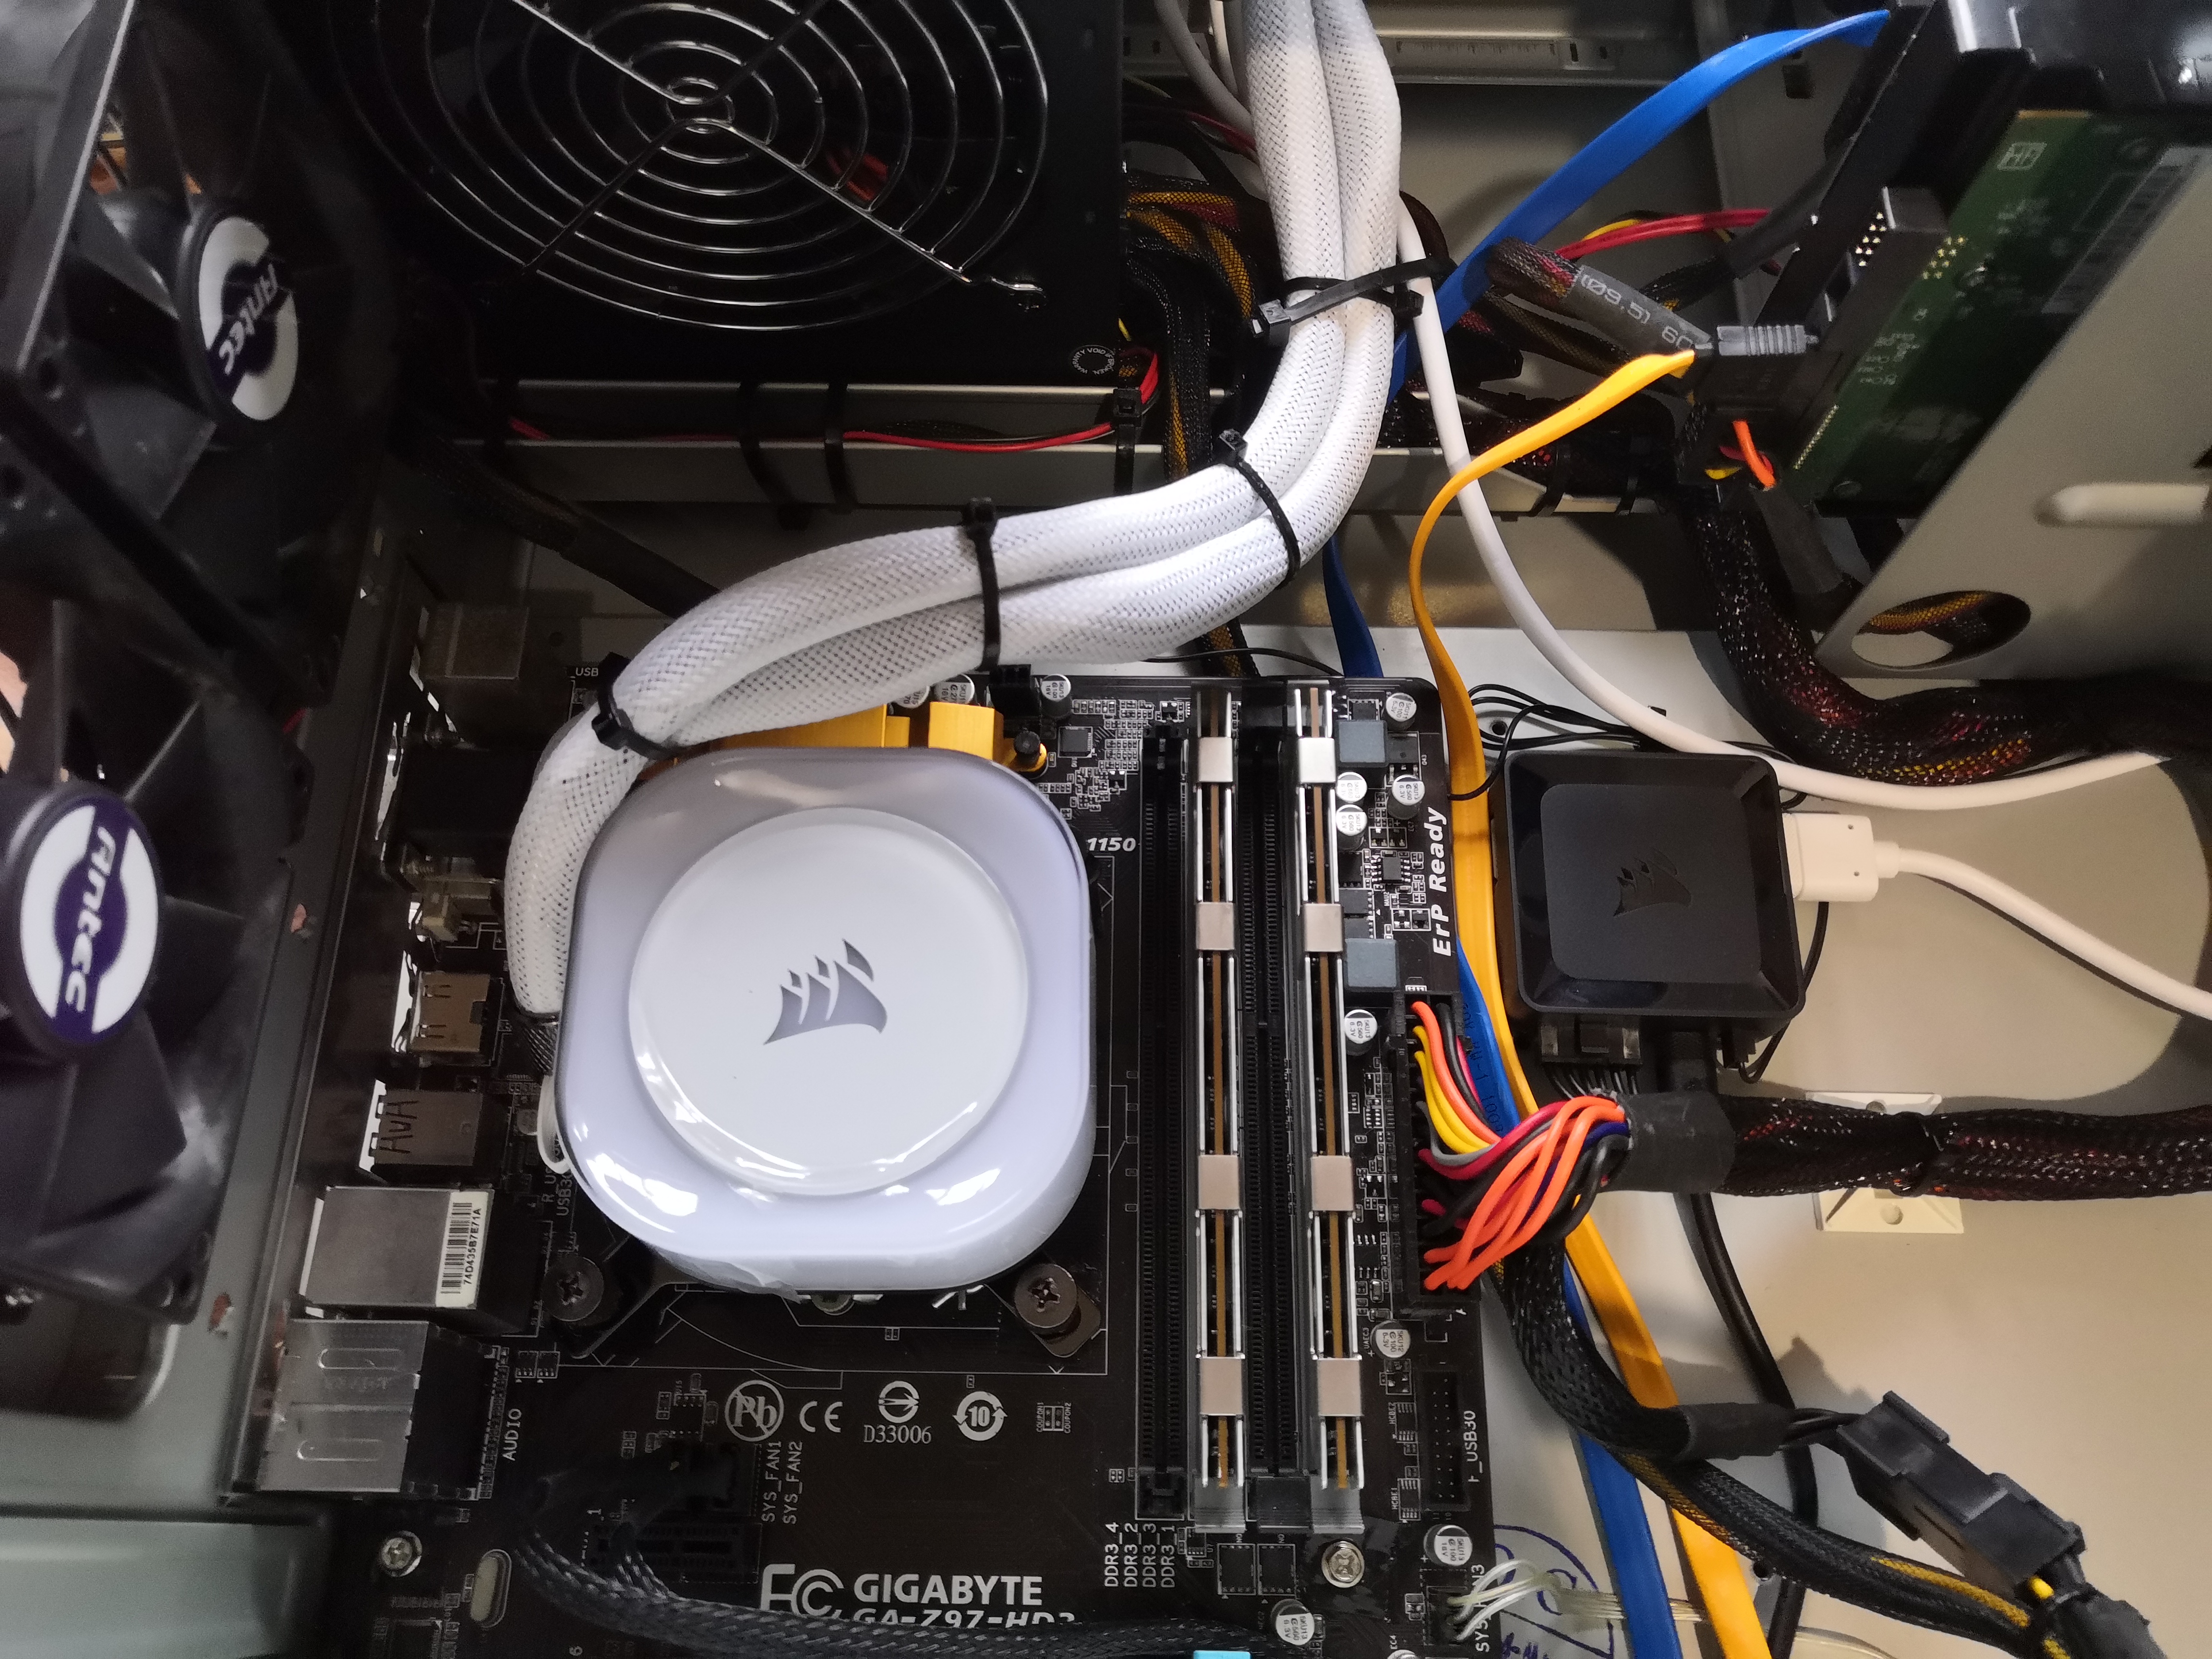 Clean!
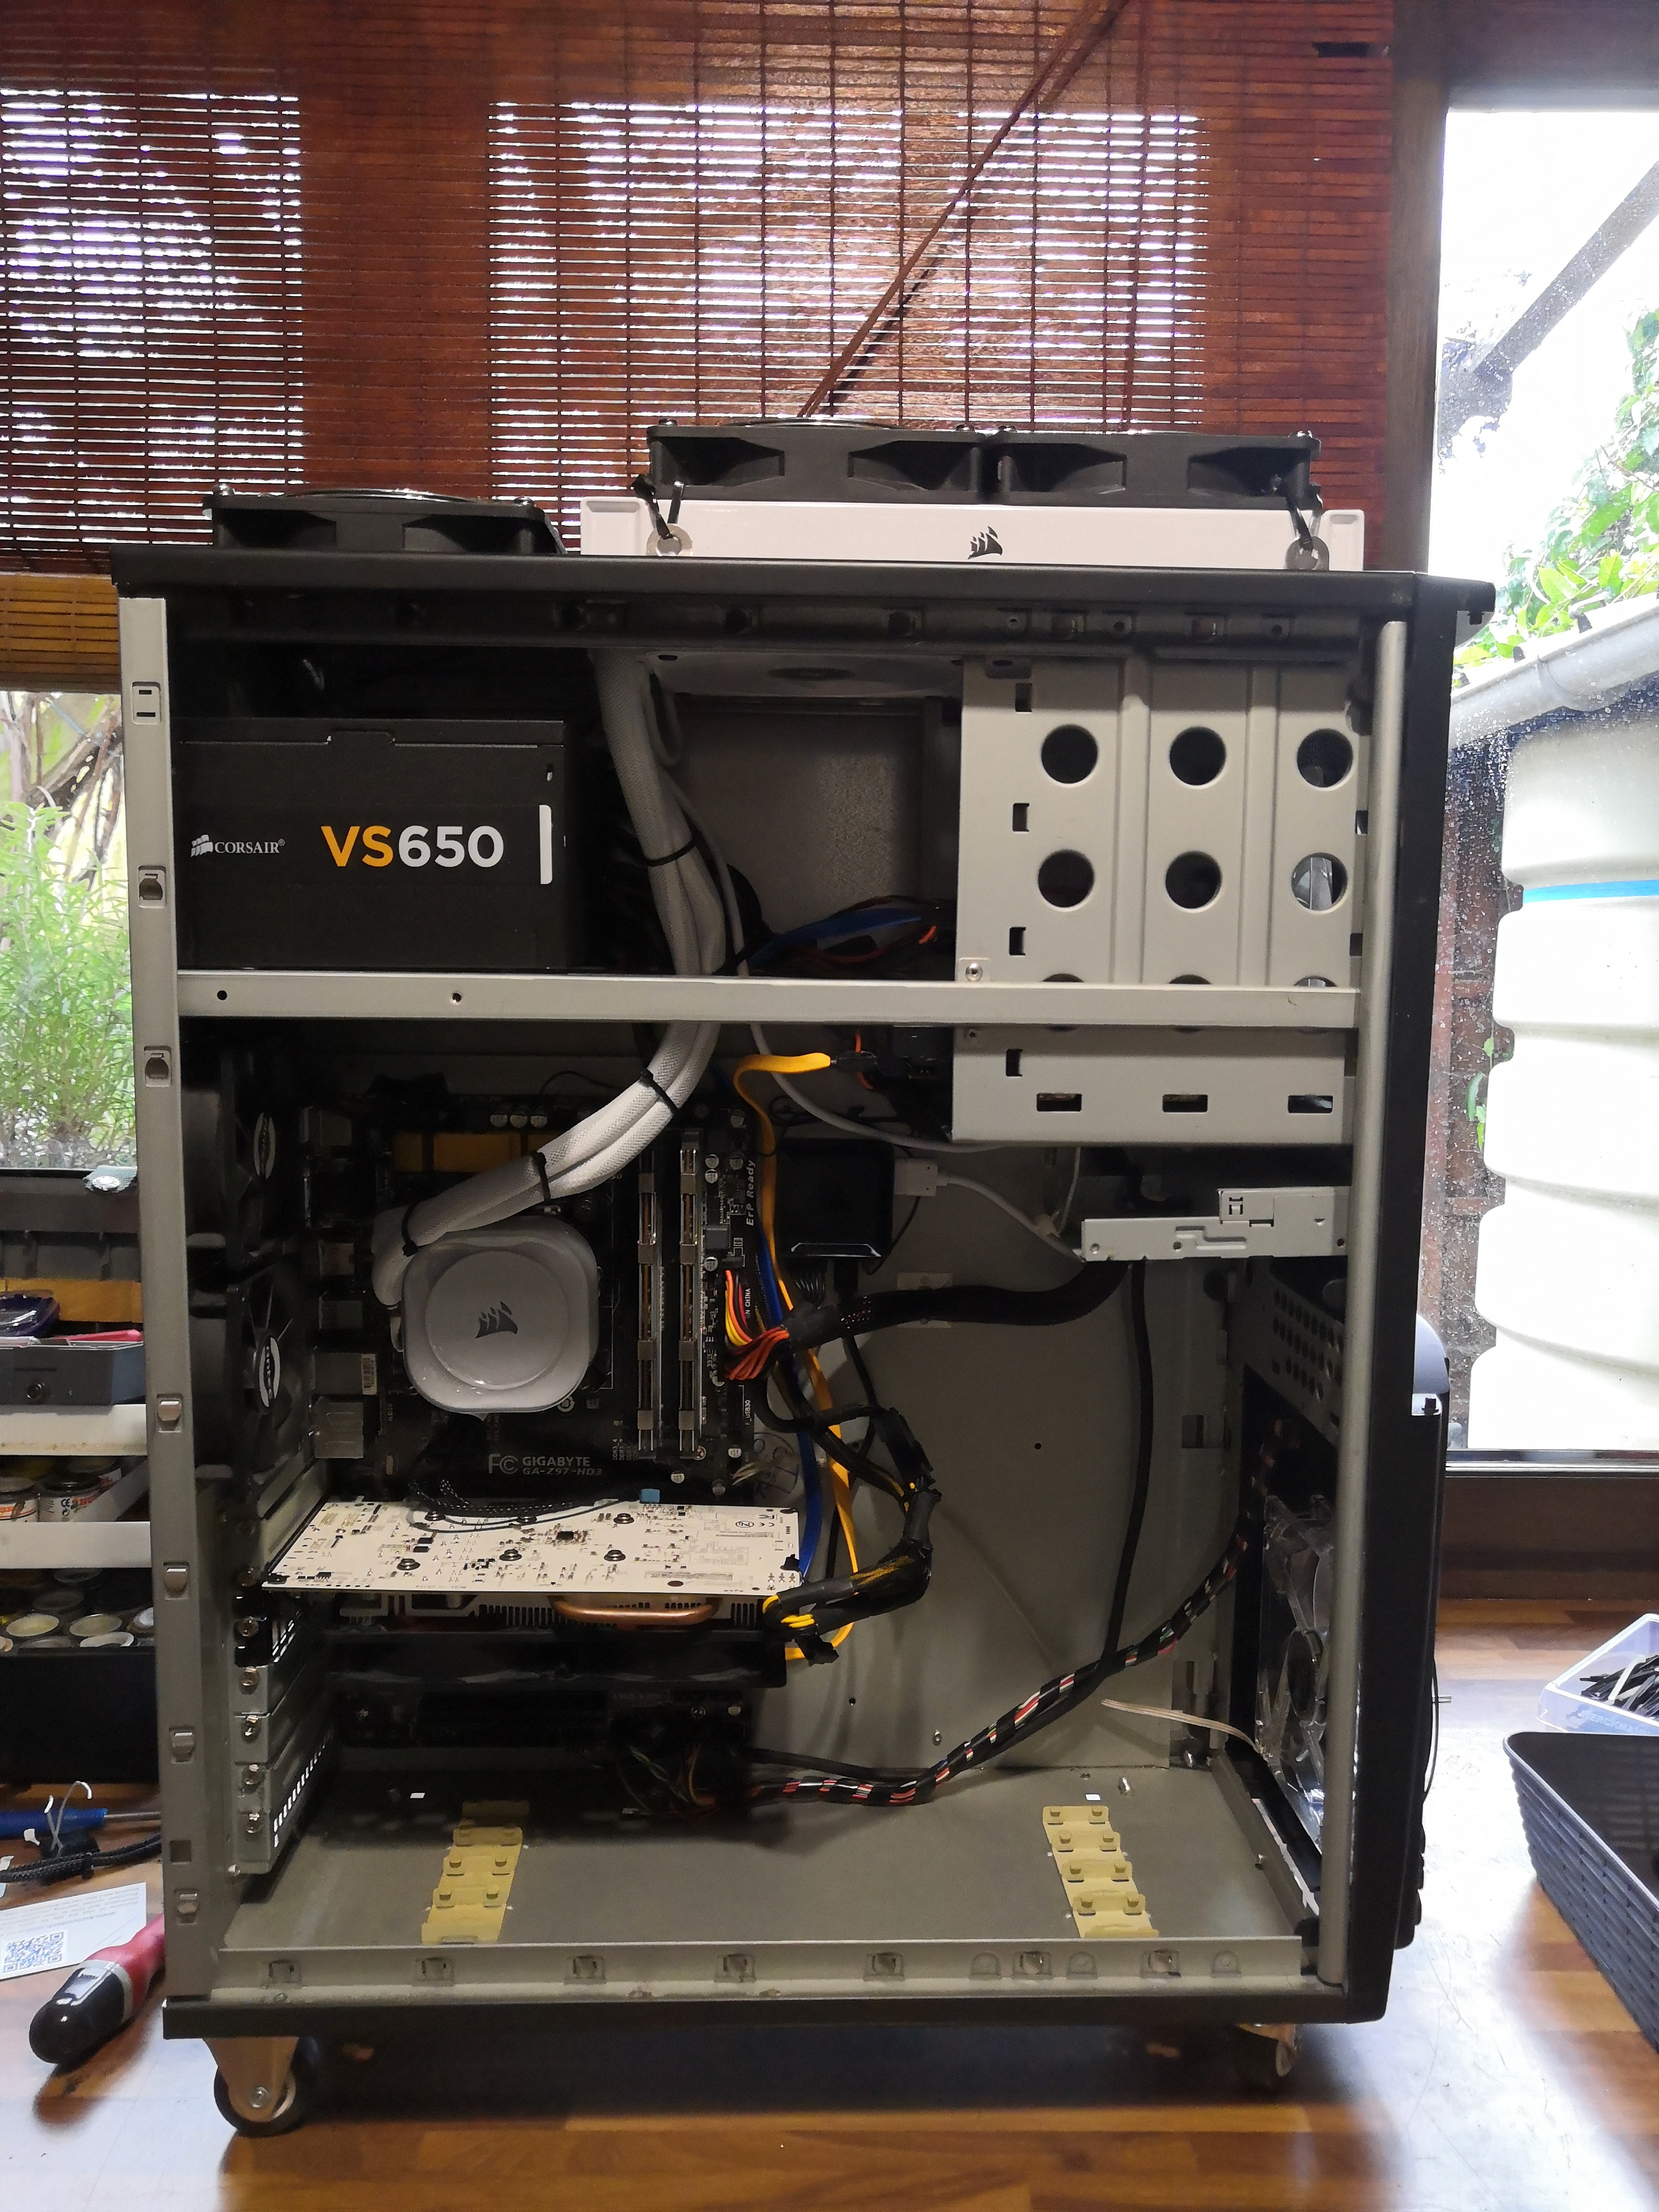 Overall profile view
 Front view
 I secure it again with clamps, which act as silent blocks
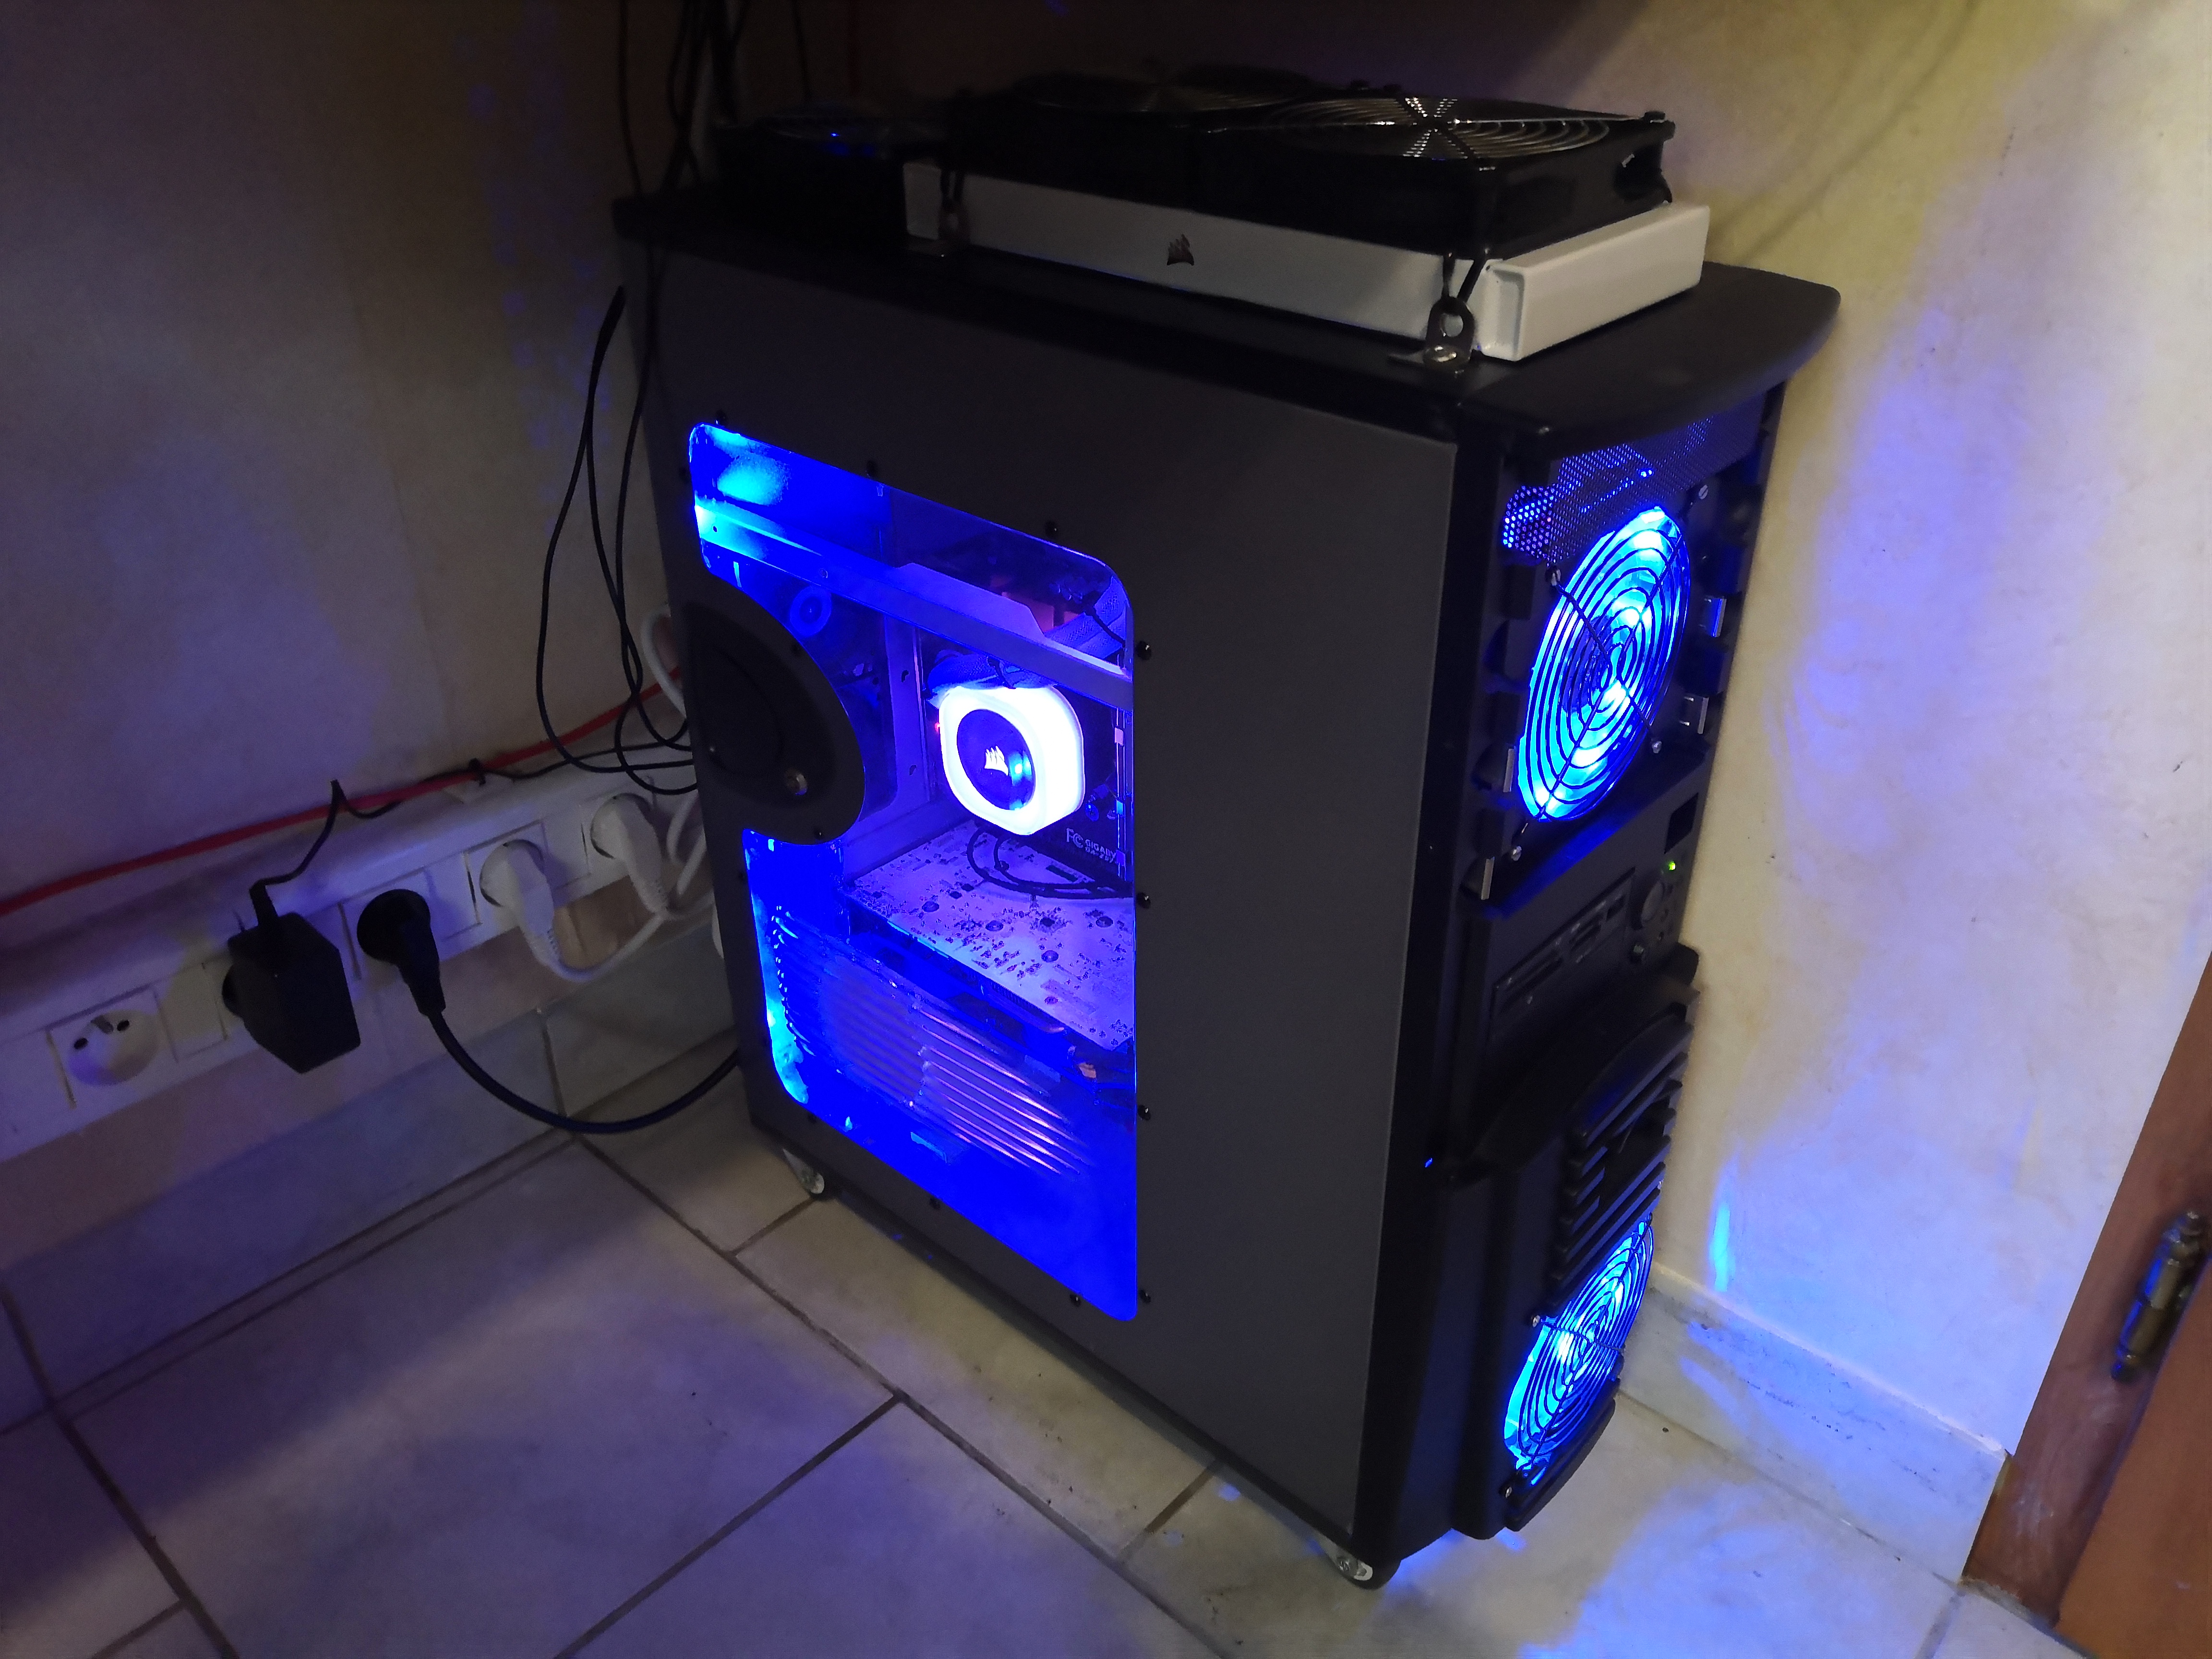 There you go, we can admire the finished work