Round three of the water cooling saga. An old-timer, a 2001 Juno P6 Full Tower, a Ryzen 7 5700X that was overheating with air cooling, an angle grinder, a Dremel, and a Corsair iCUE H100i.
> The first two installments of the water cooling saga were intentionally brief—a few photos, the essentials, no long-winded stories. This time, I’ve decided to give you a real treat. You’ve been warned.
“I want one too”
There’s one phrase that sums up the whole project: “I want one too”.
My brother-in-law came by the office, looked at my rigs, and that phrase just came out.
The good news: he actually has a decent setup himself—a Ryzen 7 5700X overclocked to 4.5 GHz and an RTX 3080. The bad news: the cooling. With air cooling, the CPU was easily exceeding 80°C at that frequency. Not critical, but uncomfortable—and above all, symptomatic of a case that was no longer fulfilling its role as a thermal manager.
That case, specifically: a Morex Juno P6 Full Tower, a relic from 2001, with its distinctive turquoise plexiglass and six stacked 5.25" bays that clashed a bit with the modern components inside. A case originally designed to accommodate two power supplies and five 80mm fans—in other words, it was quite ambitious for its time. A relic that ran hot and had long been in need of a serious makeover.
The goal: integrate a 240mm AIO, redo the intake and exhaust panels, and restore this machine to the dignity it deserved.
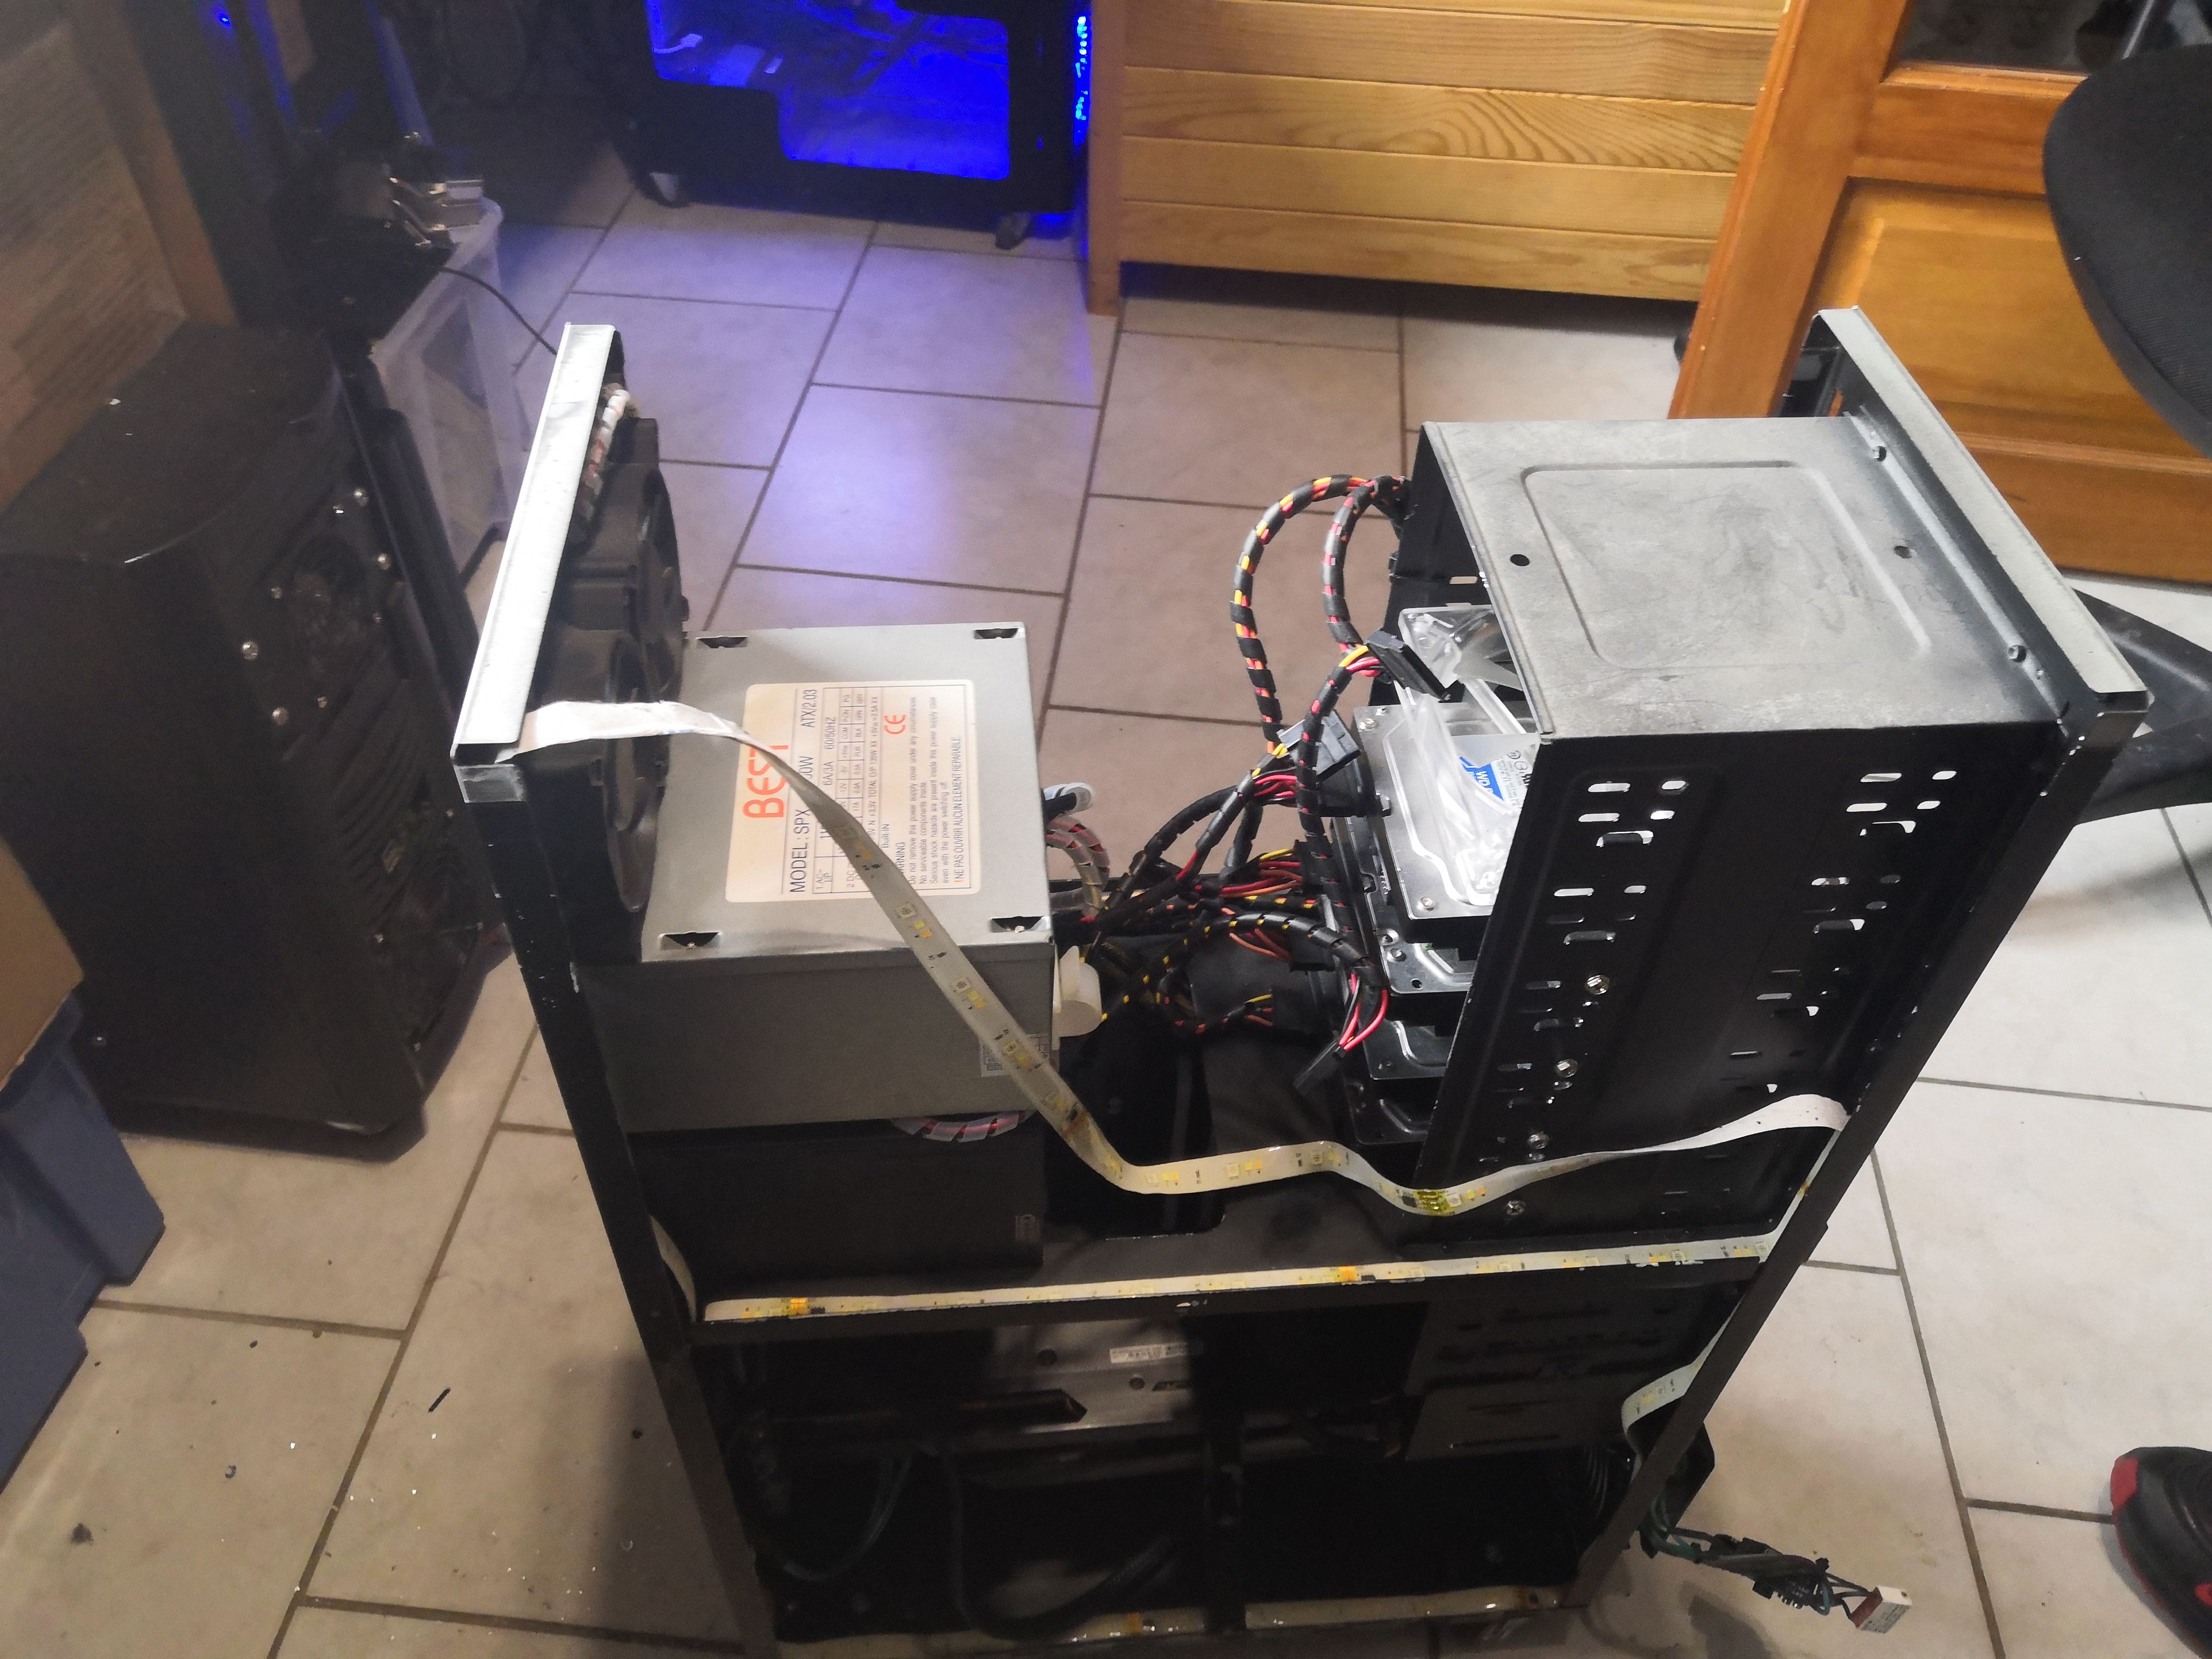
The second power supply—a hack with real character
Before talking about the build itself, a quick aside about the second power supply—because it deserves its own paragraph.
This Juno P6 belonged to me before ending up with my brother-in-law. Back then, I made a modification to it that I still find elegant in its brutality: opening the power supply unit, completely desoldering all the cables connected to the motherboard connectors, then bypassing the green wire (PS_ON) to ground via a switch installed on the front panel. This way, the secondary power supply starts up independently, without the motherboard, with a simple press of a button.
The remaining cables? Only the 5V and 12V rails, with or without Molex connectors as needed—some soldered directly and insulated with heat-shrink tubing.
The role of this power supply is specific: it manages all the case fans to offload the main power supply. The latter now handles only the active components—CPU, GPU, RAM, storage. Load distribution is clean, and both power supplies get a break.
A hack from the 2000s that still holds up in 2026.
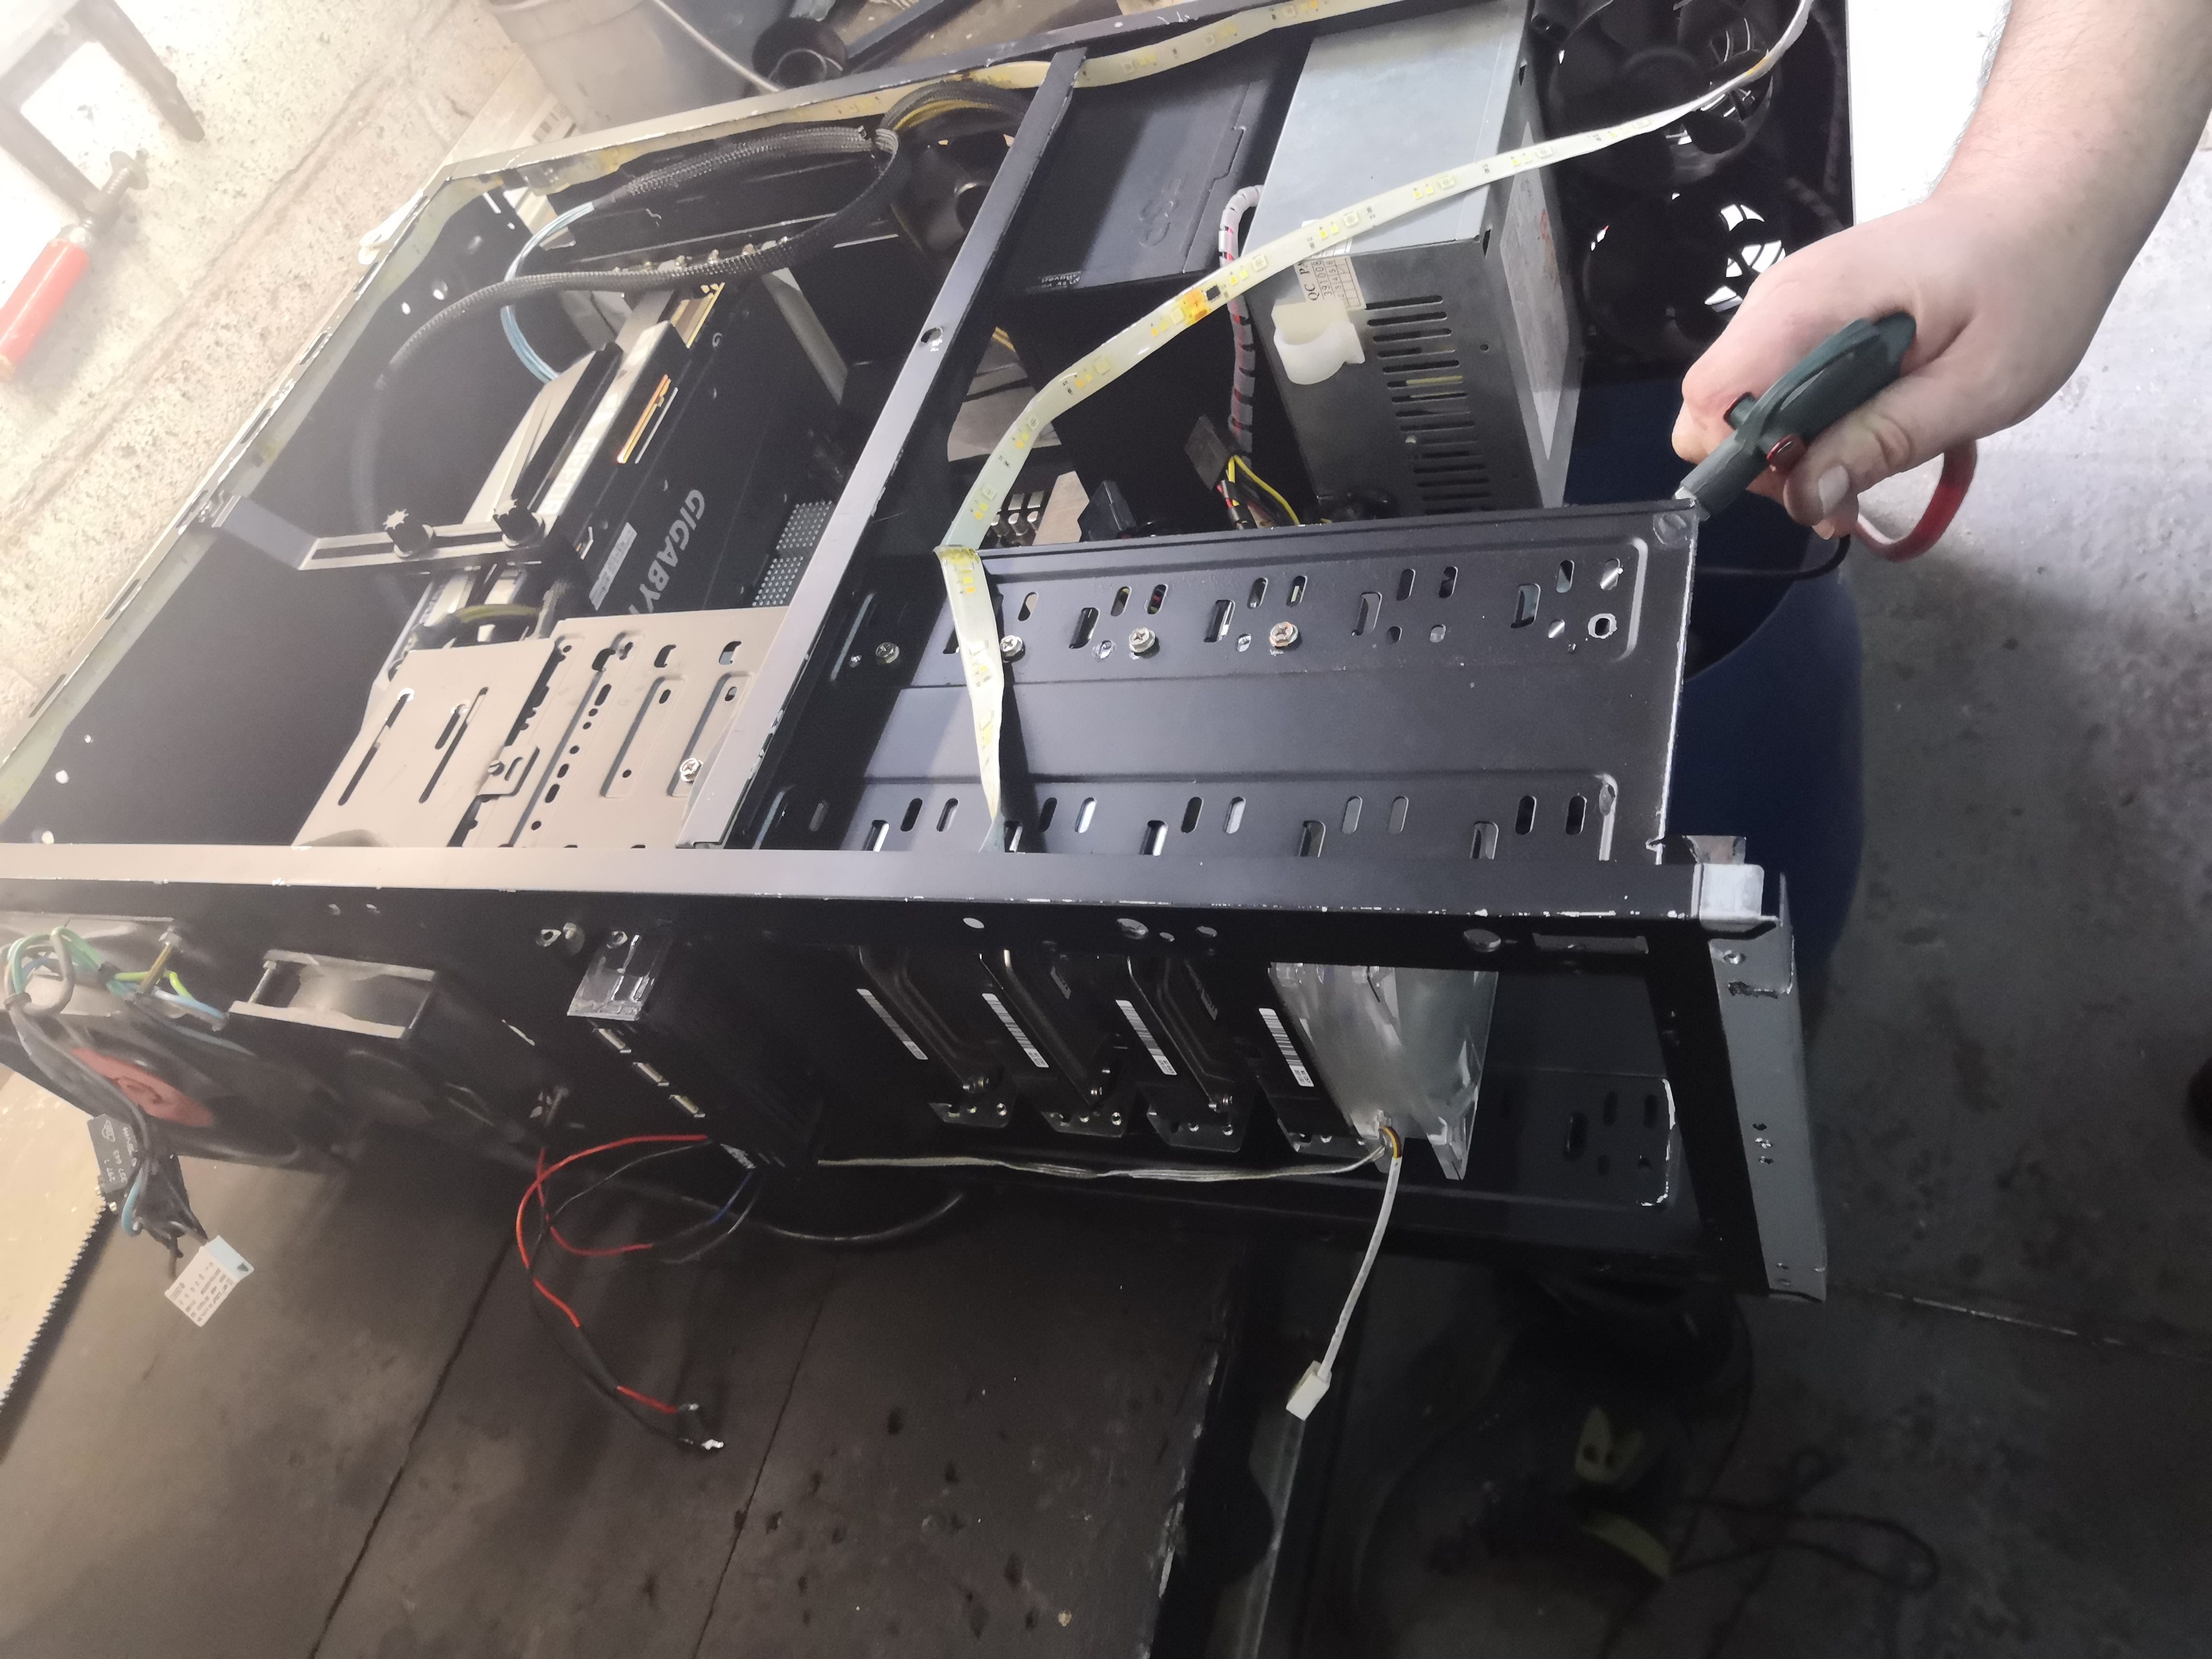
Another detail: a 120mm fan mounted on a bracket occupying 4 x 5.25" bays. Behind it, tucked away in the shadows, 4 hard drives in a RAID 5 array—a small, discreet, and efficient homemade storage solution. The direct airflow keeps the HDDs at a maximum of 27°C. For drives that would normally tend to reach 40–45°C in a poorly ventilated case, this makes a significant difference in their lifespan.
One final killer detail: the 120mm fan at the bottom front isn’t a standard PC fan. It’s a 120mm 220V AC fan, which draws power directly from the modified power supply unit, right after the internal fuse. And because it sounded like an aircraft jet engine at full power, I installed a speed controller salvaged from a broken drill. Result: manually adjustable airflow, a silent cruising speed, and a solution you won’t find in any catalog.
Starting Point
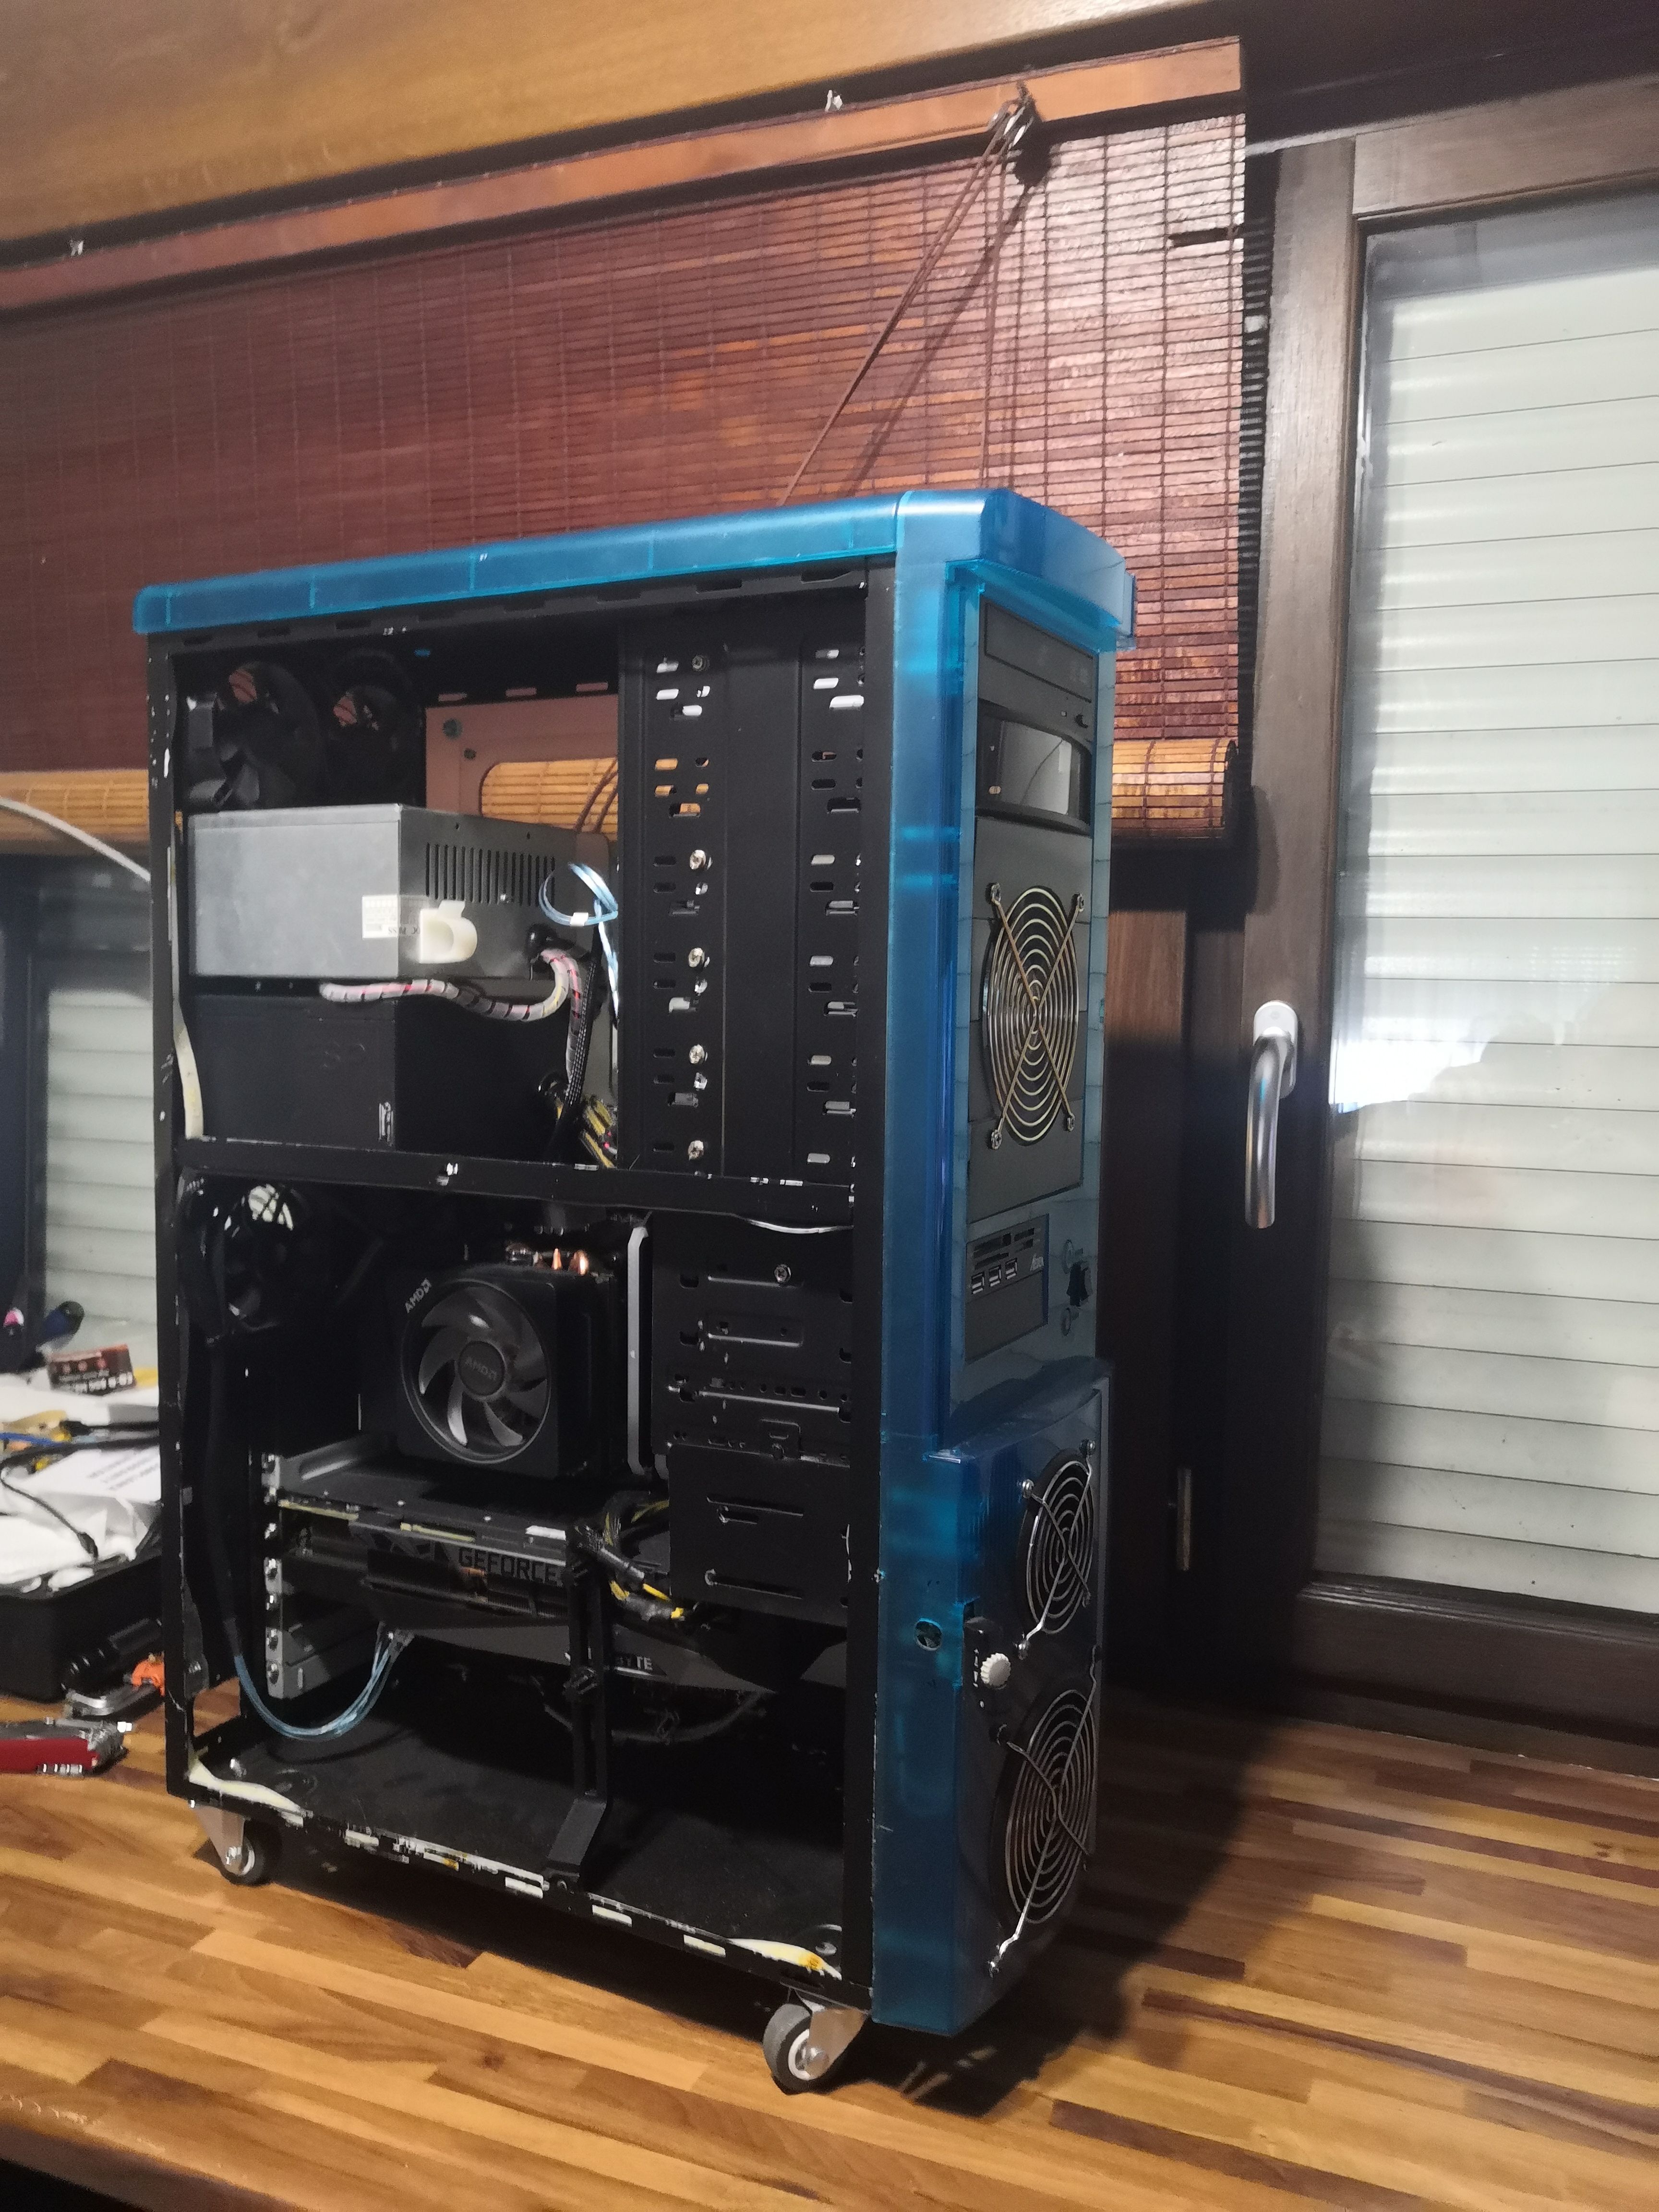
This was the starting point. The case originally came in aqua turquoise blue; the metal frame has already been repainted black.
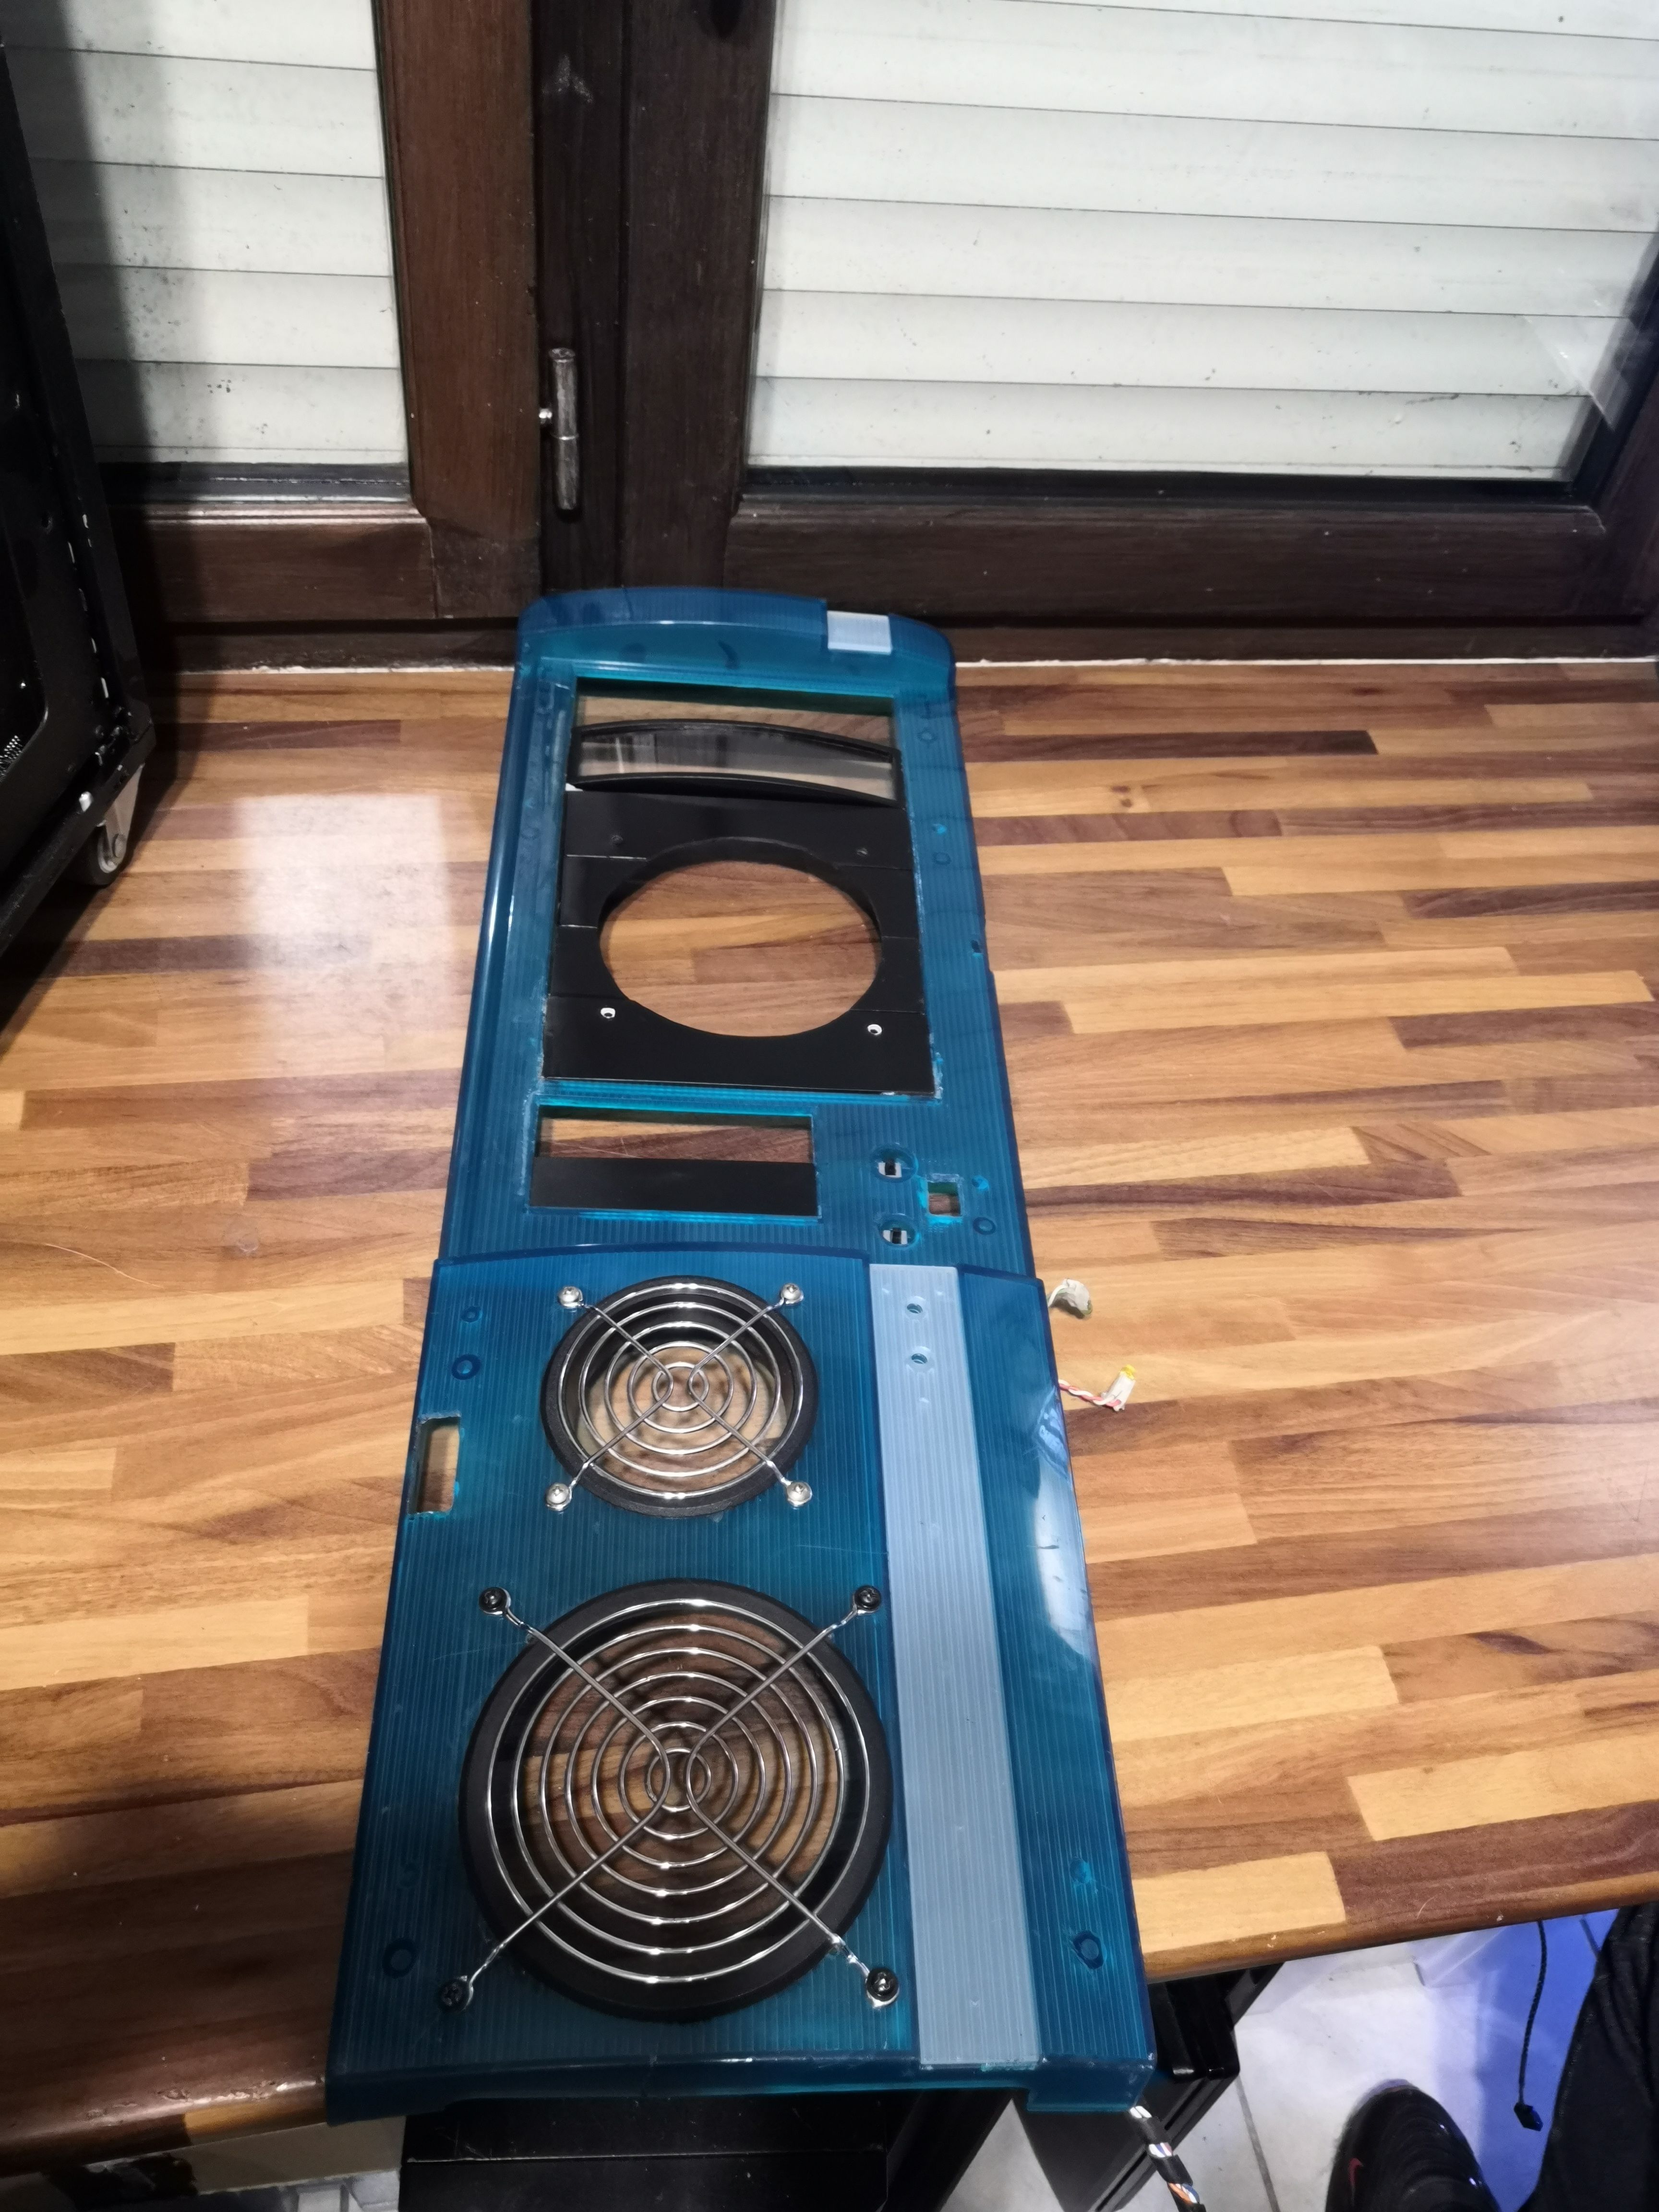
The blue front panel, which looks a bit scary now.
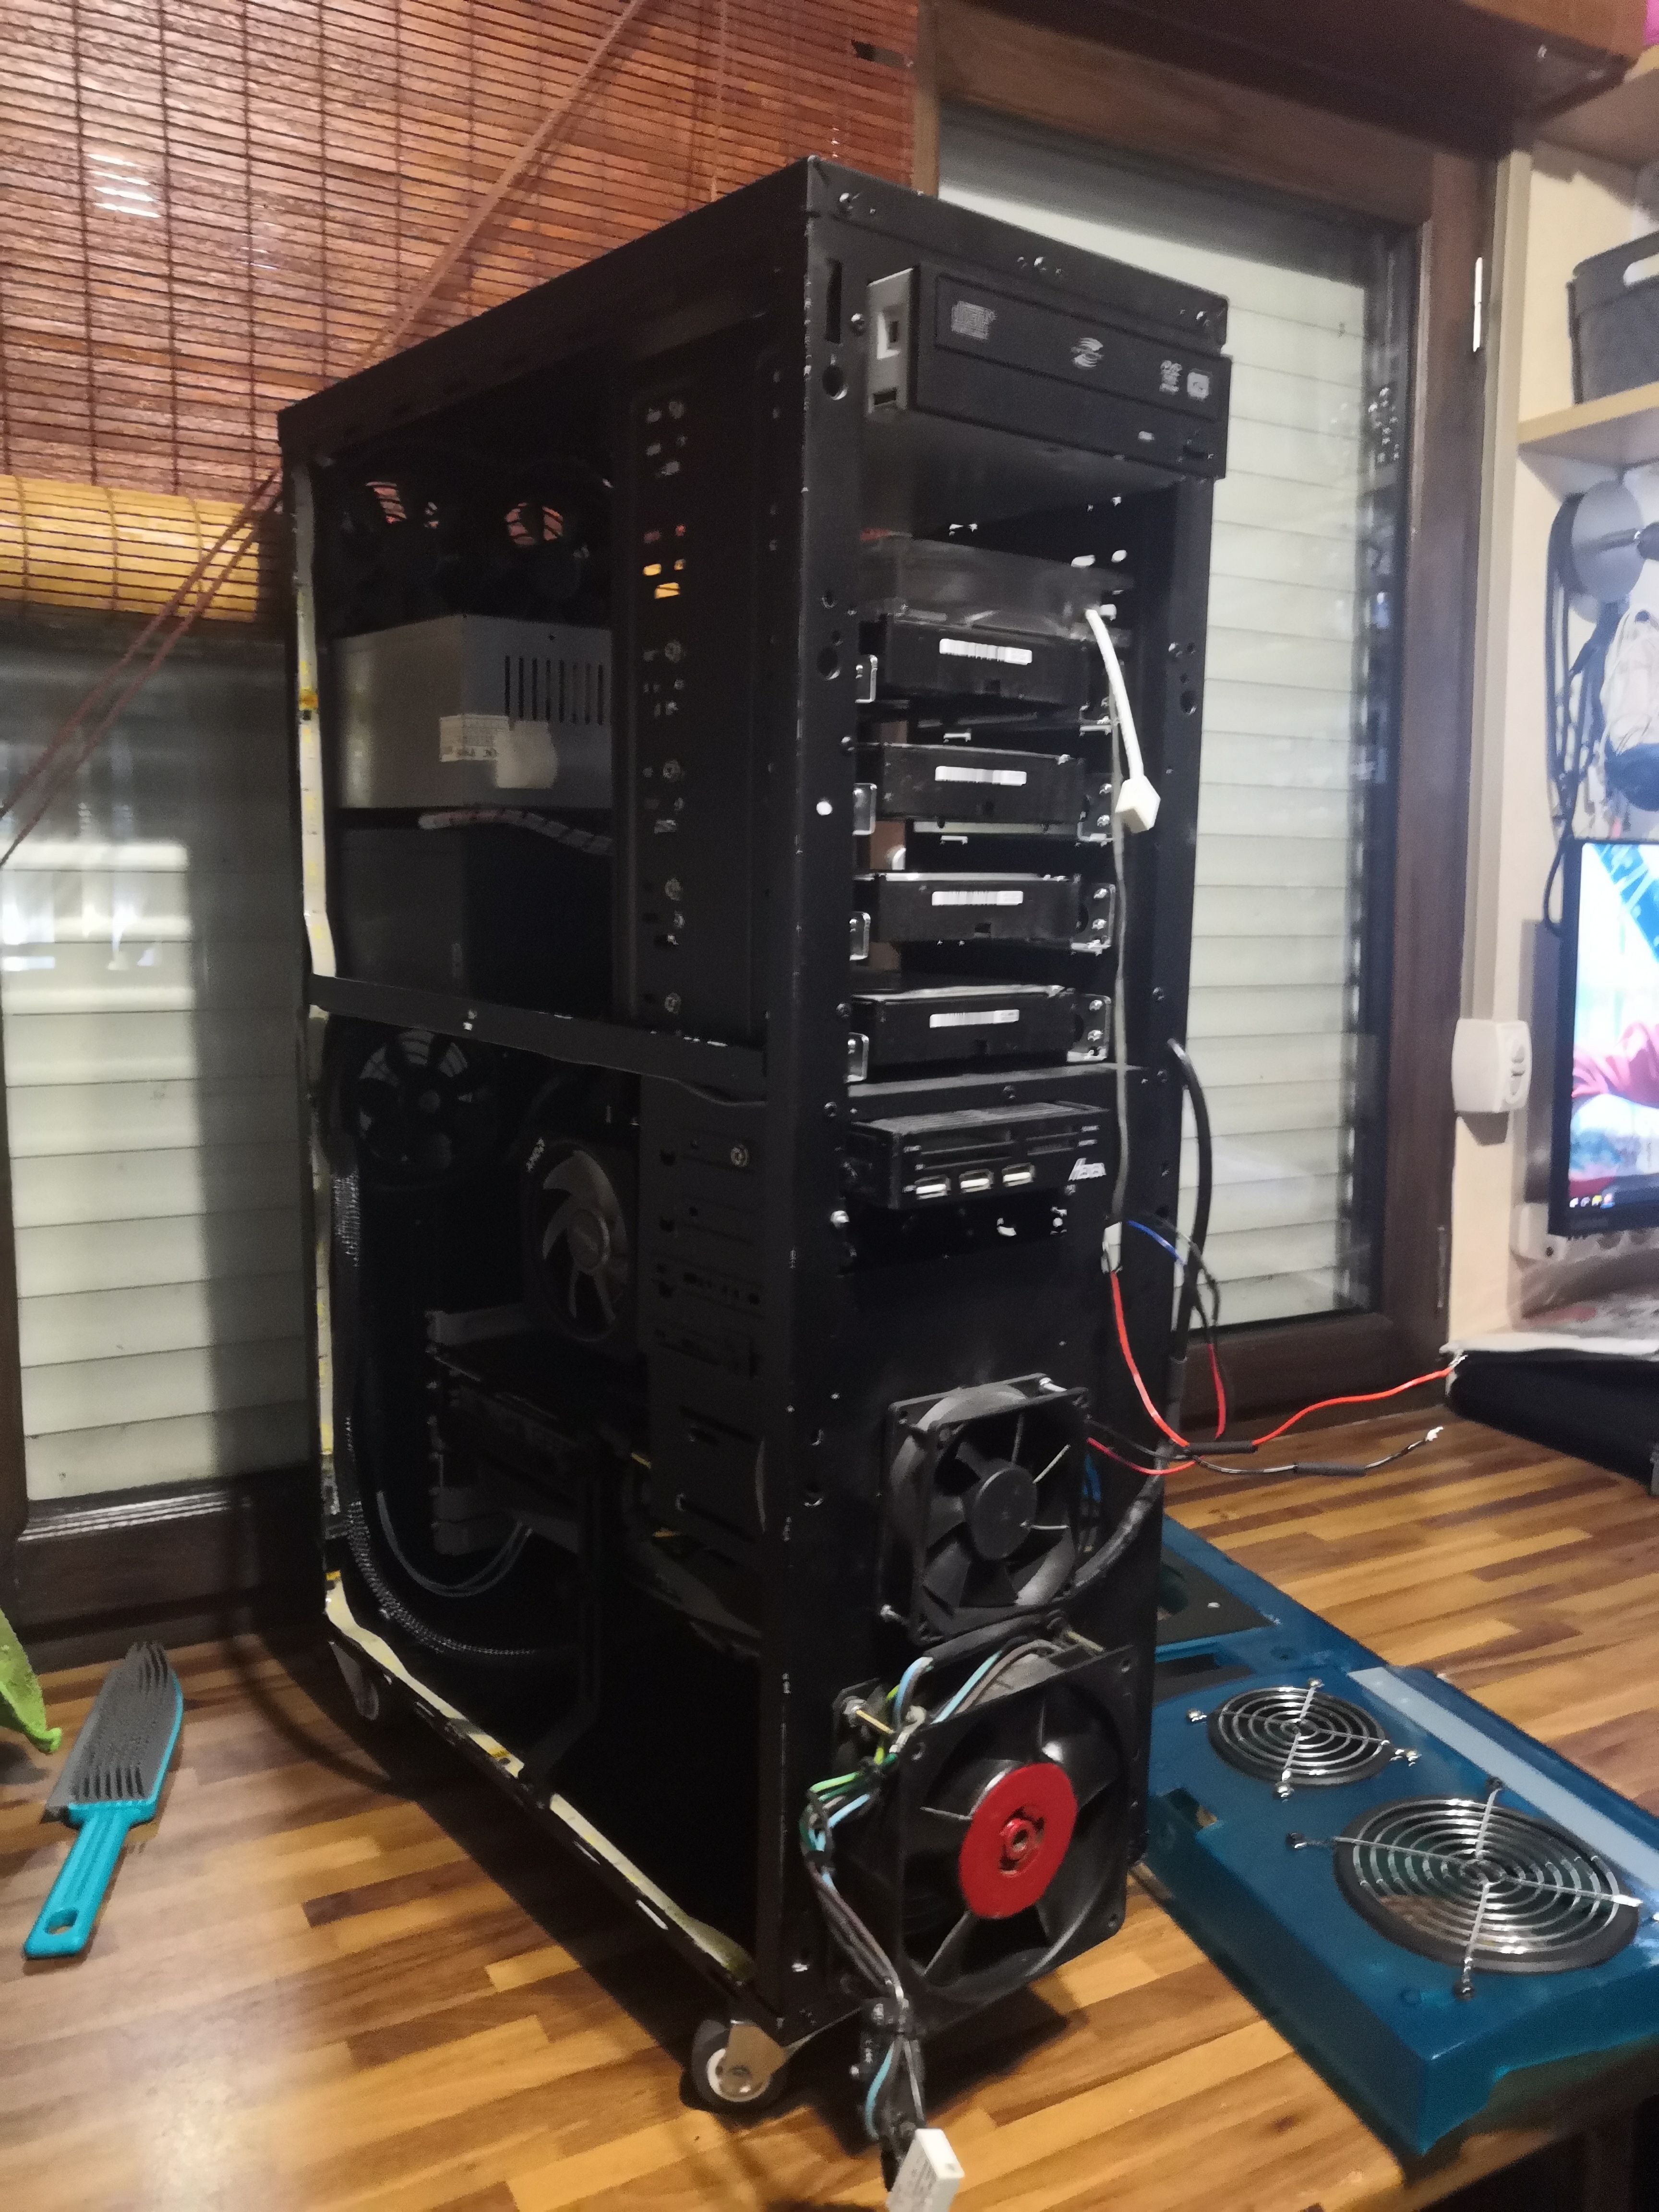
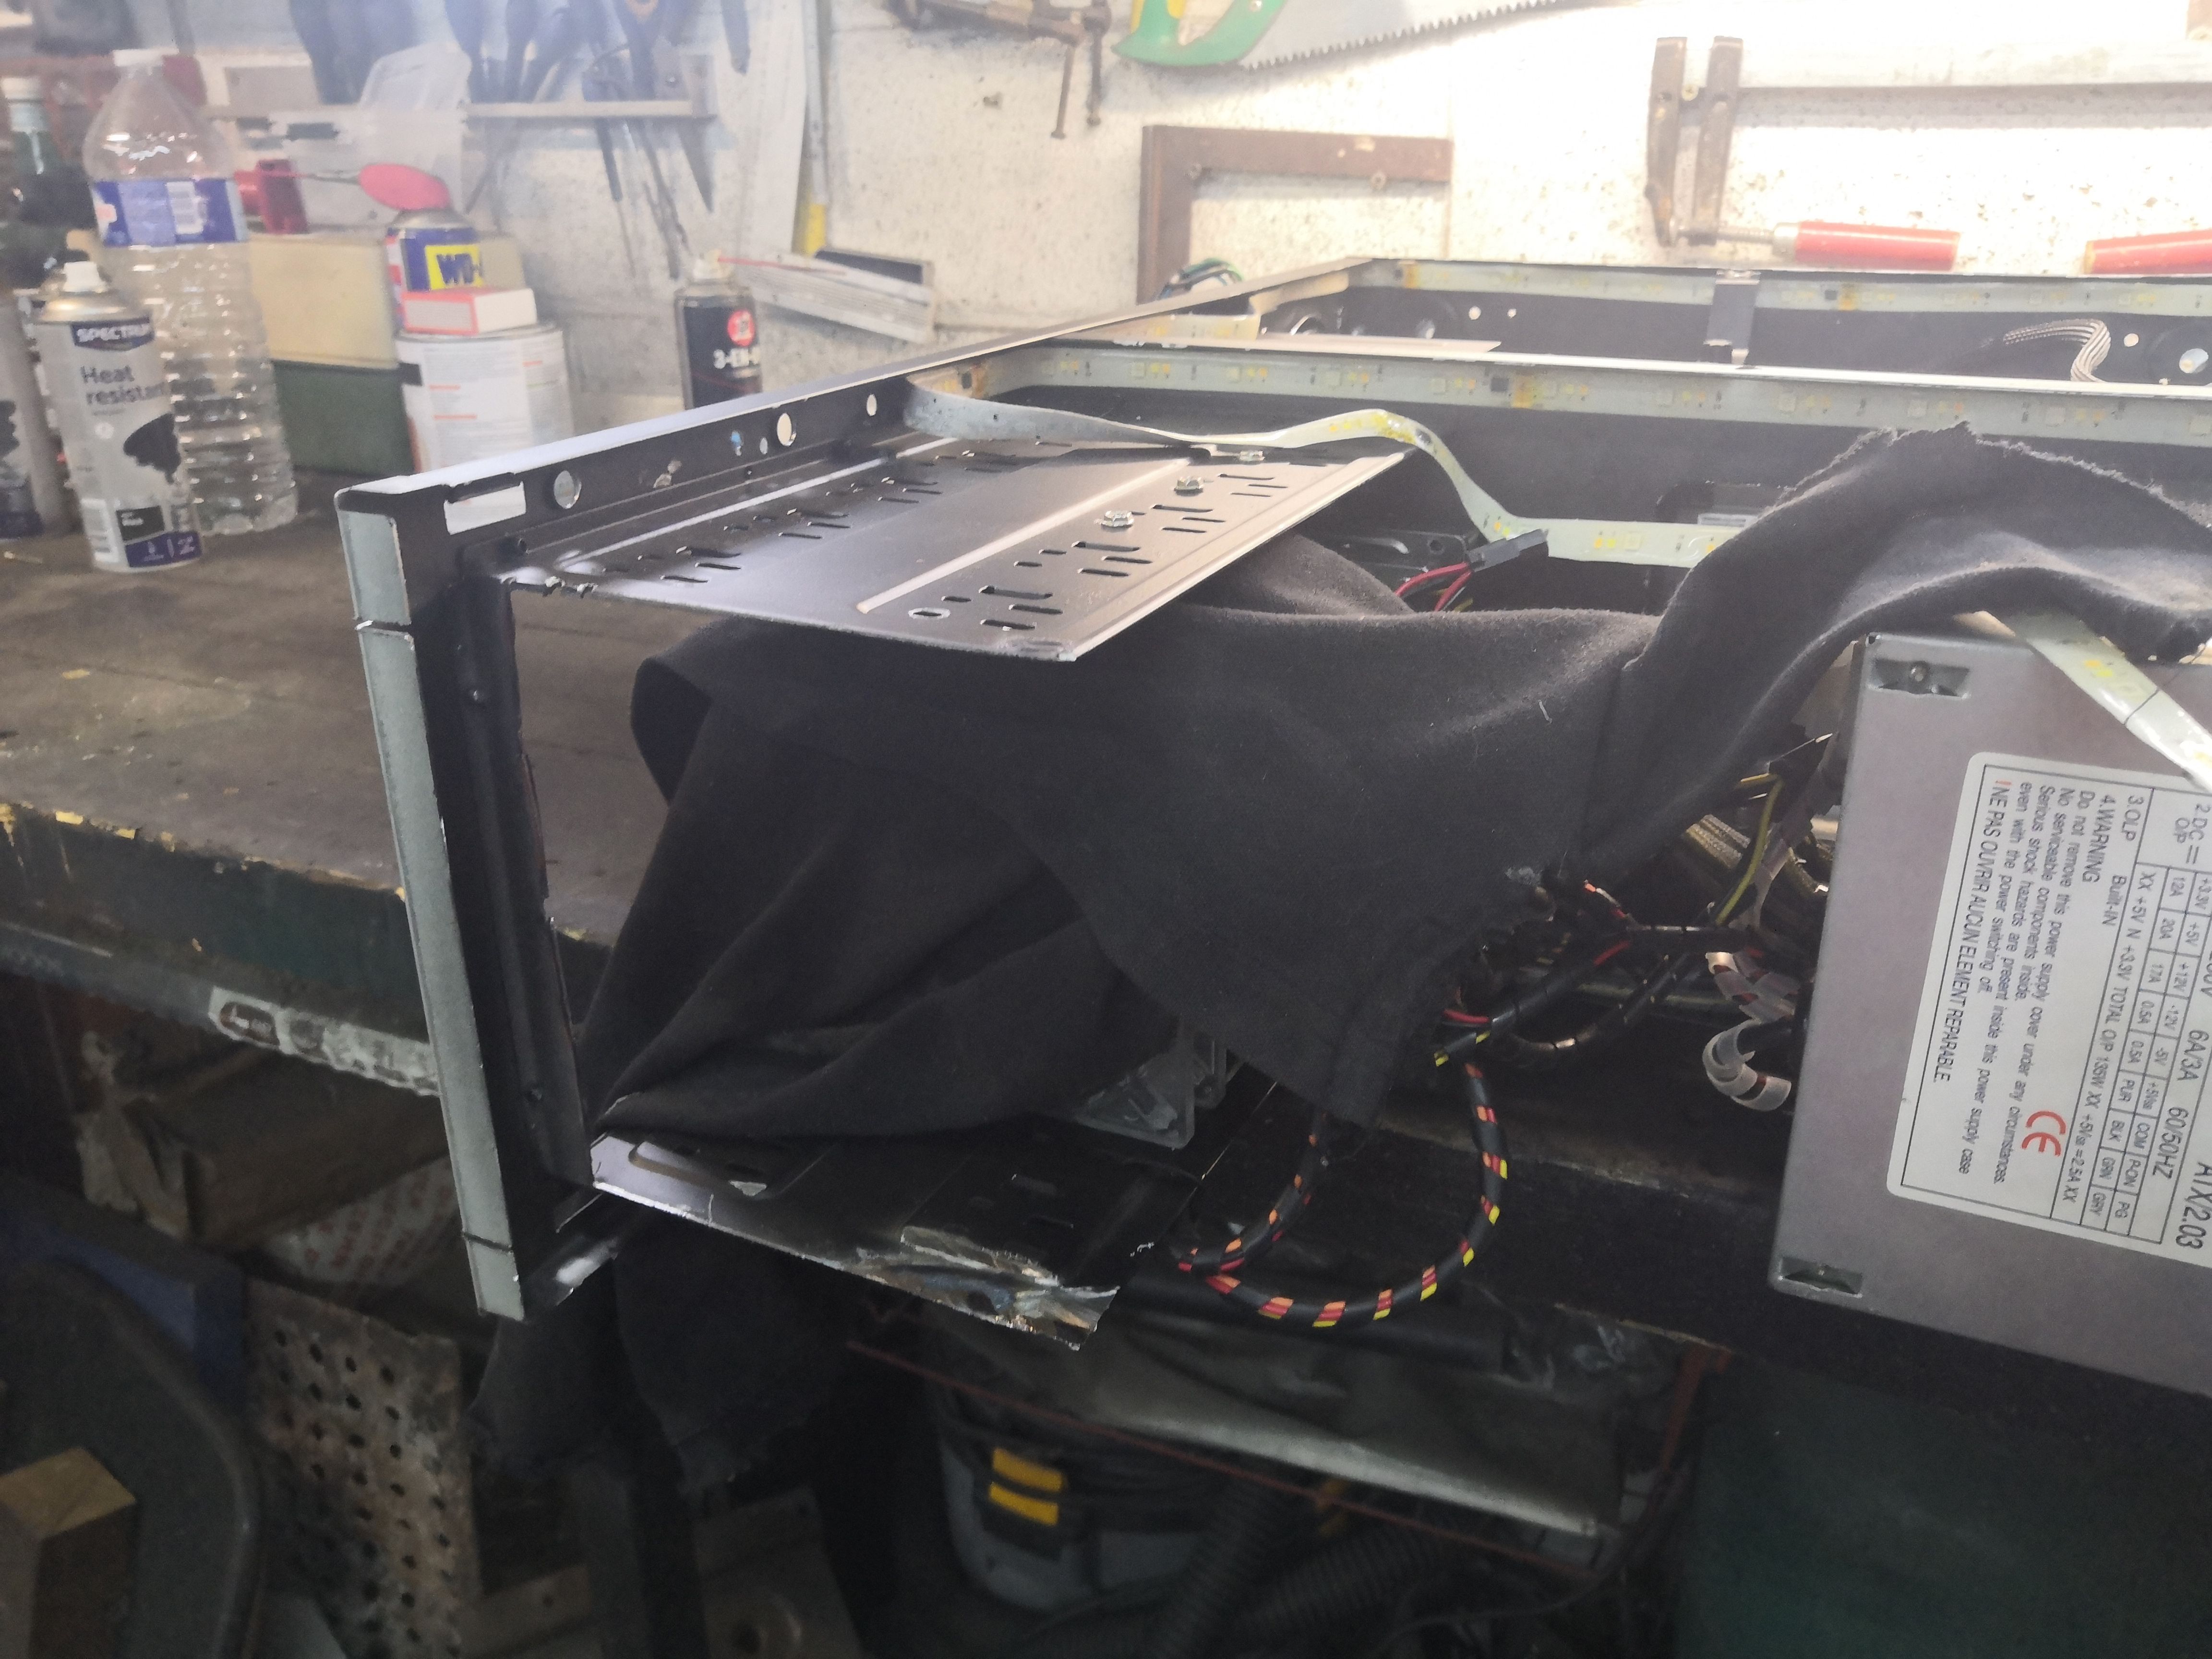
Without its blue trim, the case reveals its true nature: a steel frame with an impressive number of stacked 5.25" bays, 120mm fans mounted low and facing forward, and historic wiring that bears the scars of several past lives.
With the original top panel removed, it will be cut and reused.
The Work: Grinder and Custom Panel
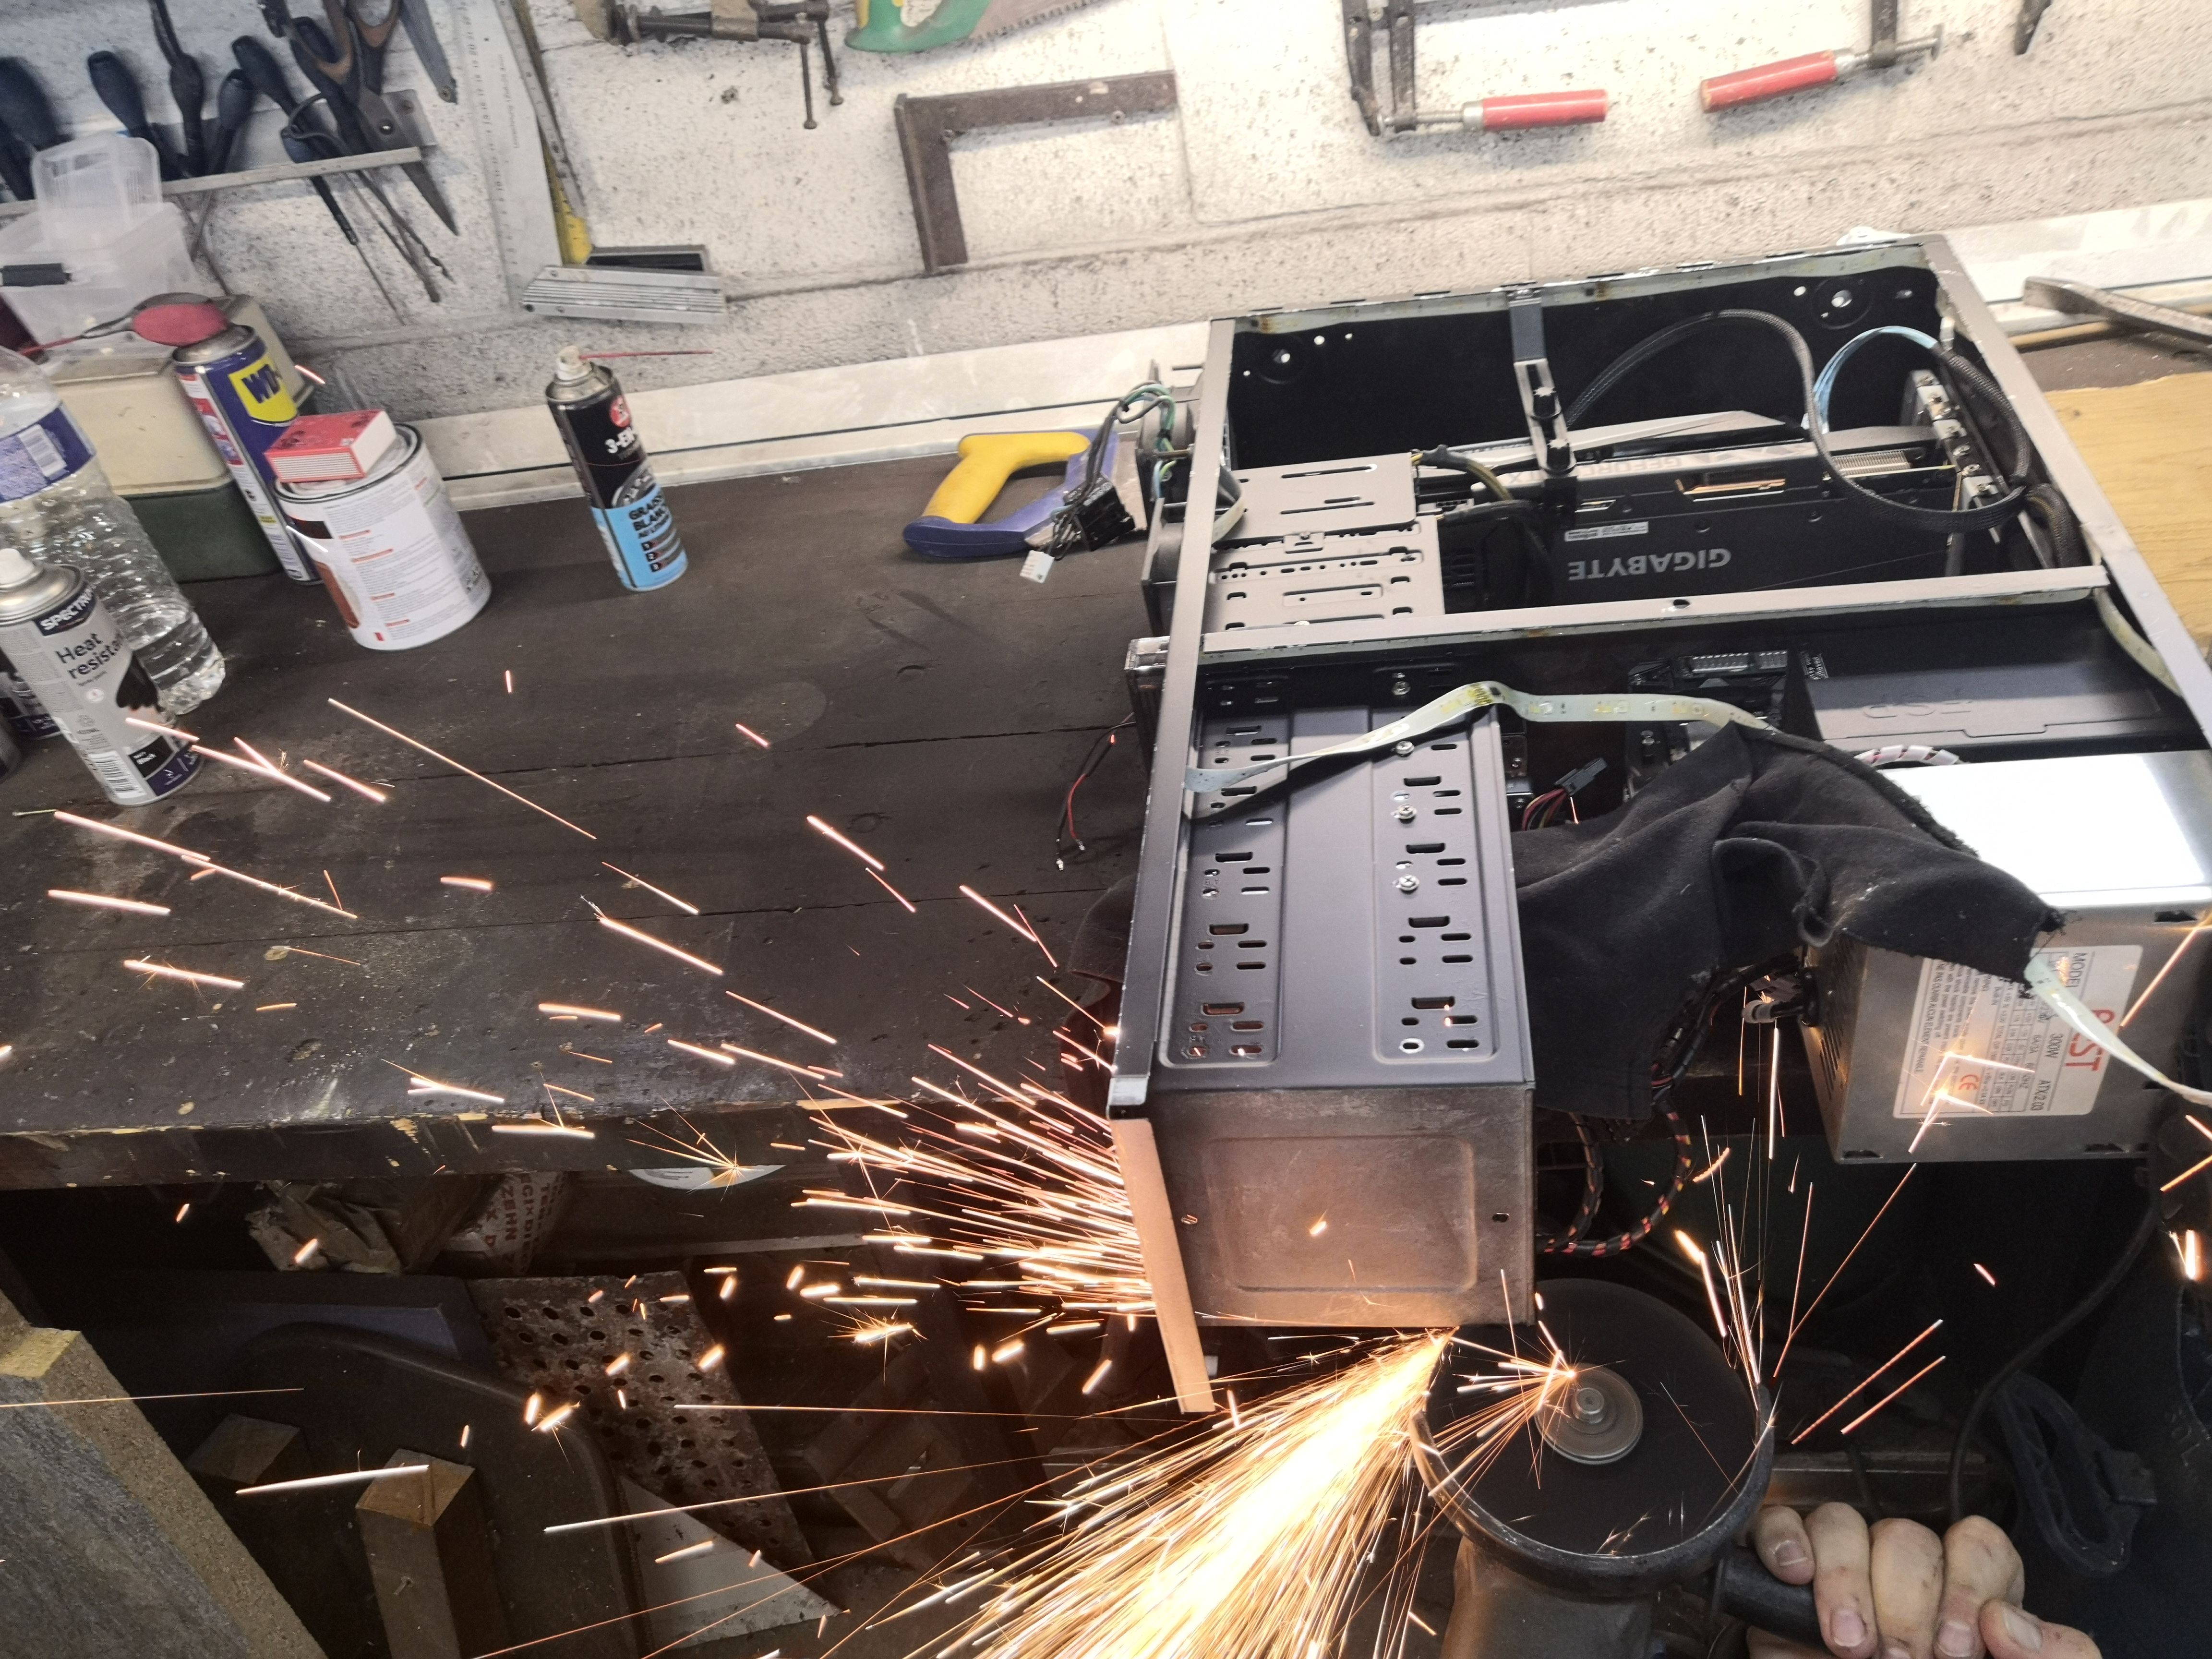
Using a grinder to make room for the H100i in the top position required cutting the top of the 6-bay 5.25" drive cage from the inside—a few extra centimeters of metal were preventing the radiator from fitting properly.
Cleaning with a 3-bar air compressor before reassembly — years of dust accumulated in the nooks and crannies of a Juno P6 call for a thorough blow-down. No clean reassembly without a clean clean-up.
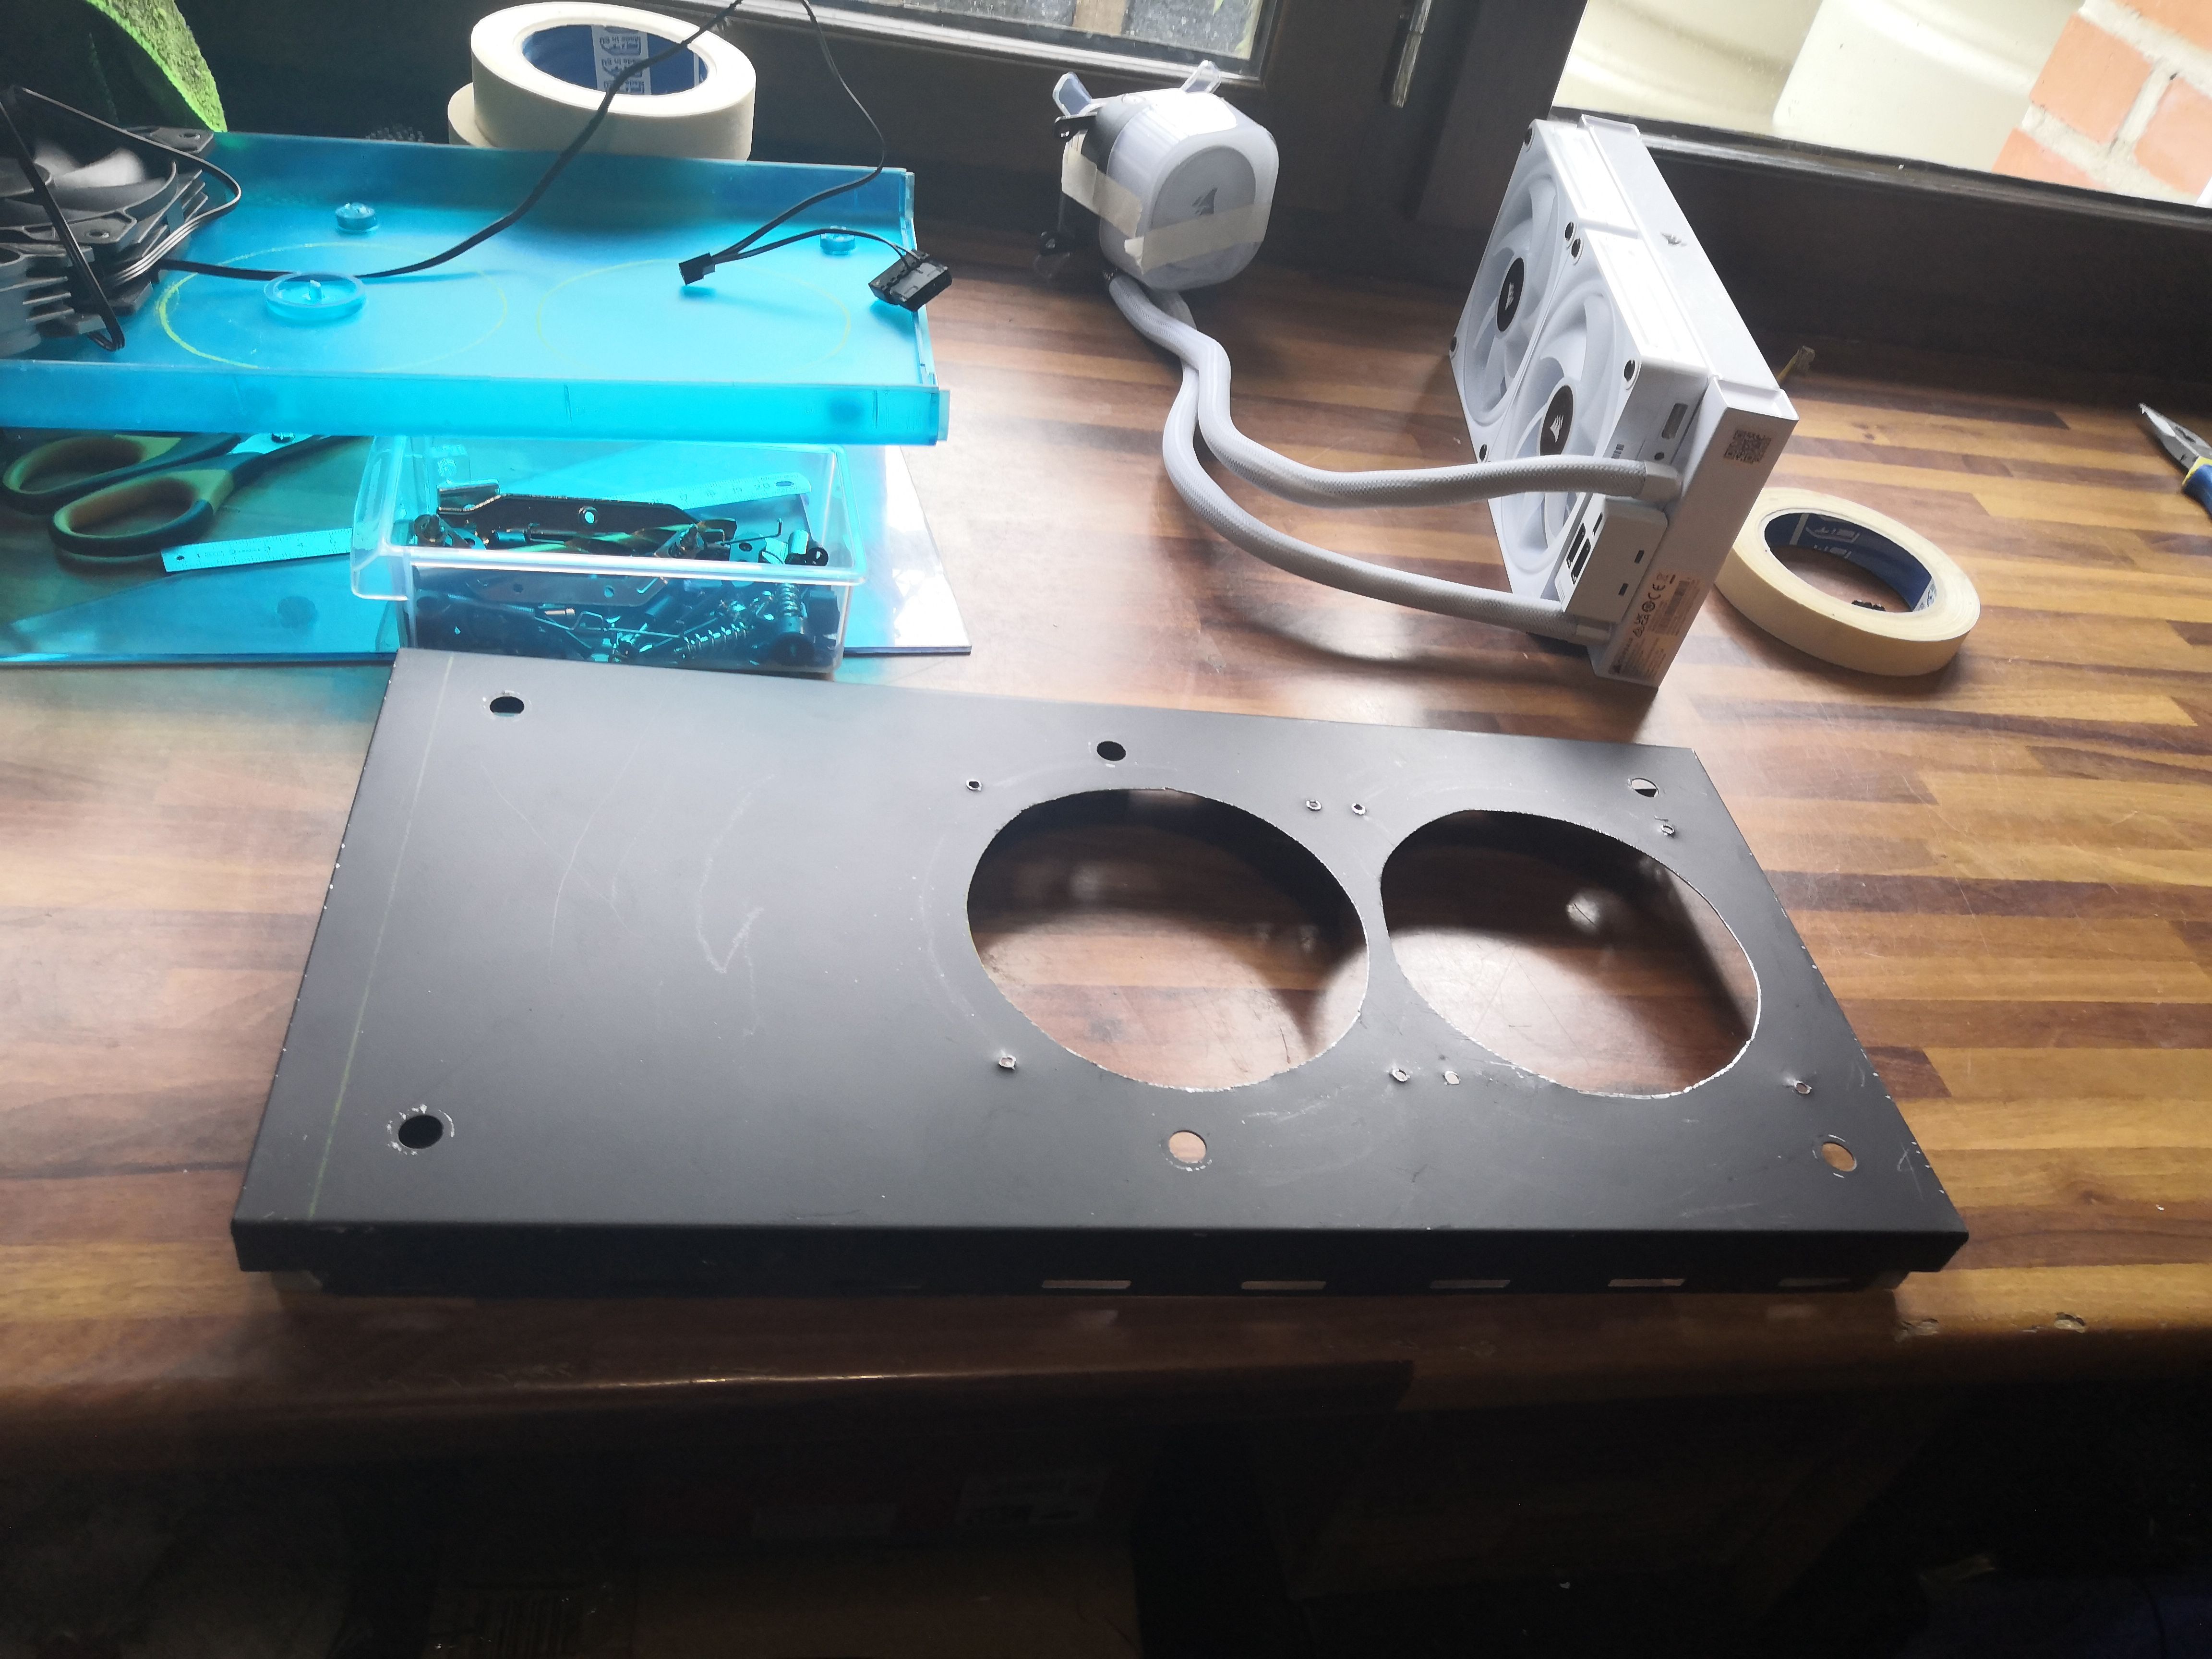
The custom roof panel with its two cutouts. Next to it, the kit with its white RGB pump head and gray/white braided tubing. Why white, you ask? Simply because the same one in black costs 50 euros more!
The Corsair iCUE H100i AIO: the pragmatic choice
For this build, the choice fell—as with the two previous setups in the WATER series—on the Corsair iCUE H100i, a proven 240mm AIO that needs no introduction.
Push-pull configuration, just like the other two builds: to the two 120mm RGB fans included with the H100i, we added two additional 120mm fans on the opposite side. The four fans are mounted and wired in a sandwich configuration before the assembly is secured to the custom plate. The result: significantly higher airflow than a single-sided setup, with noise kept in check thanks to iCUE PWM curves.
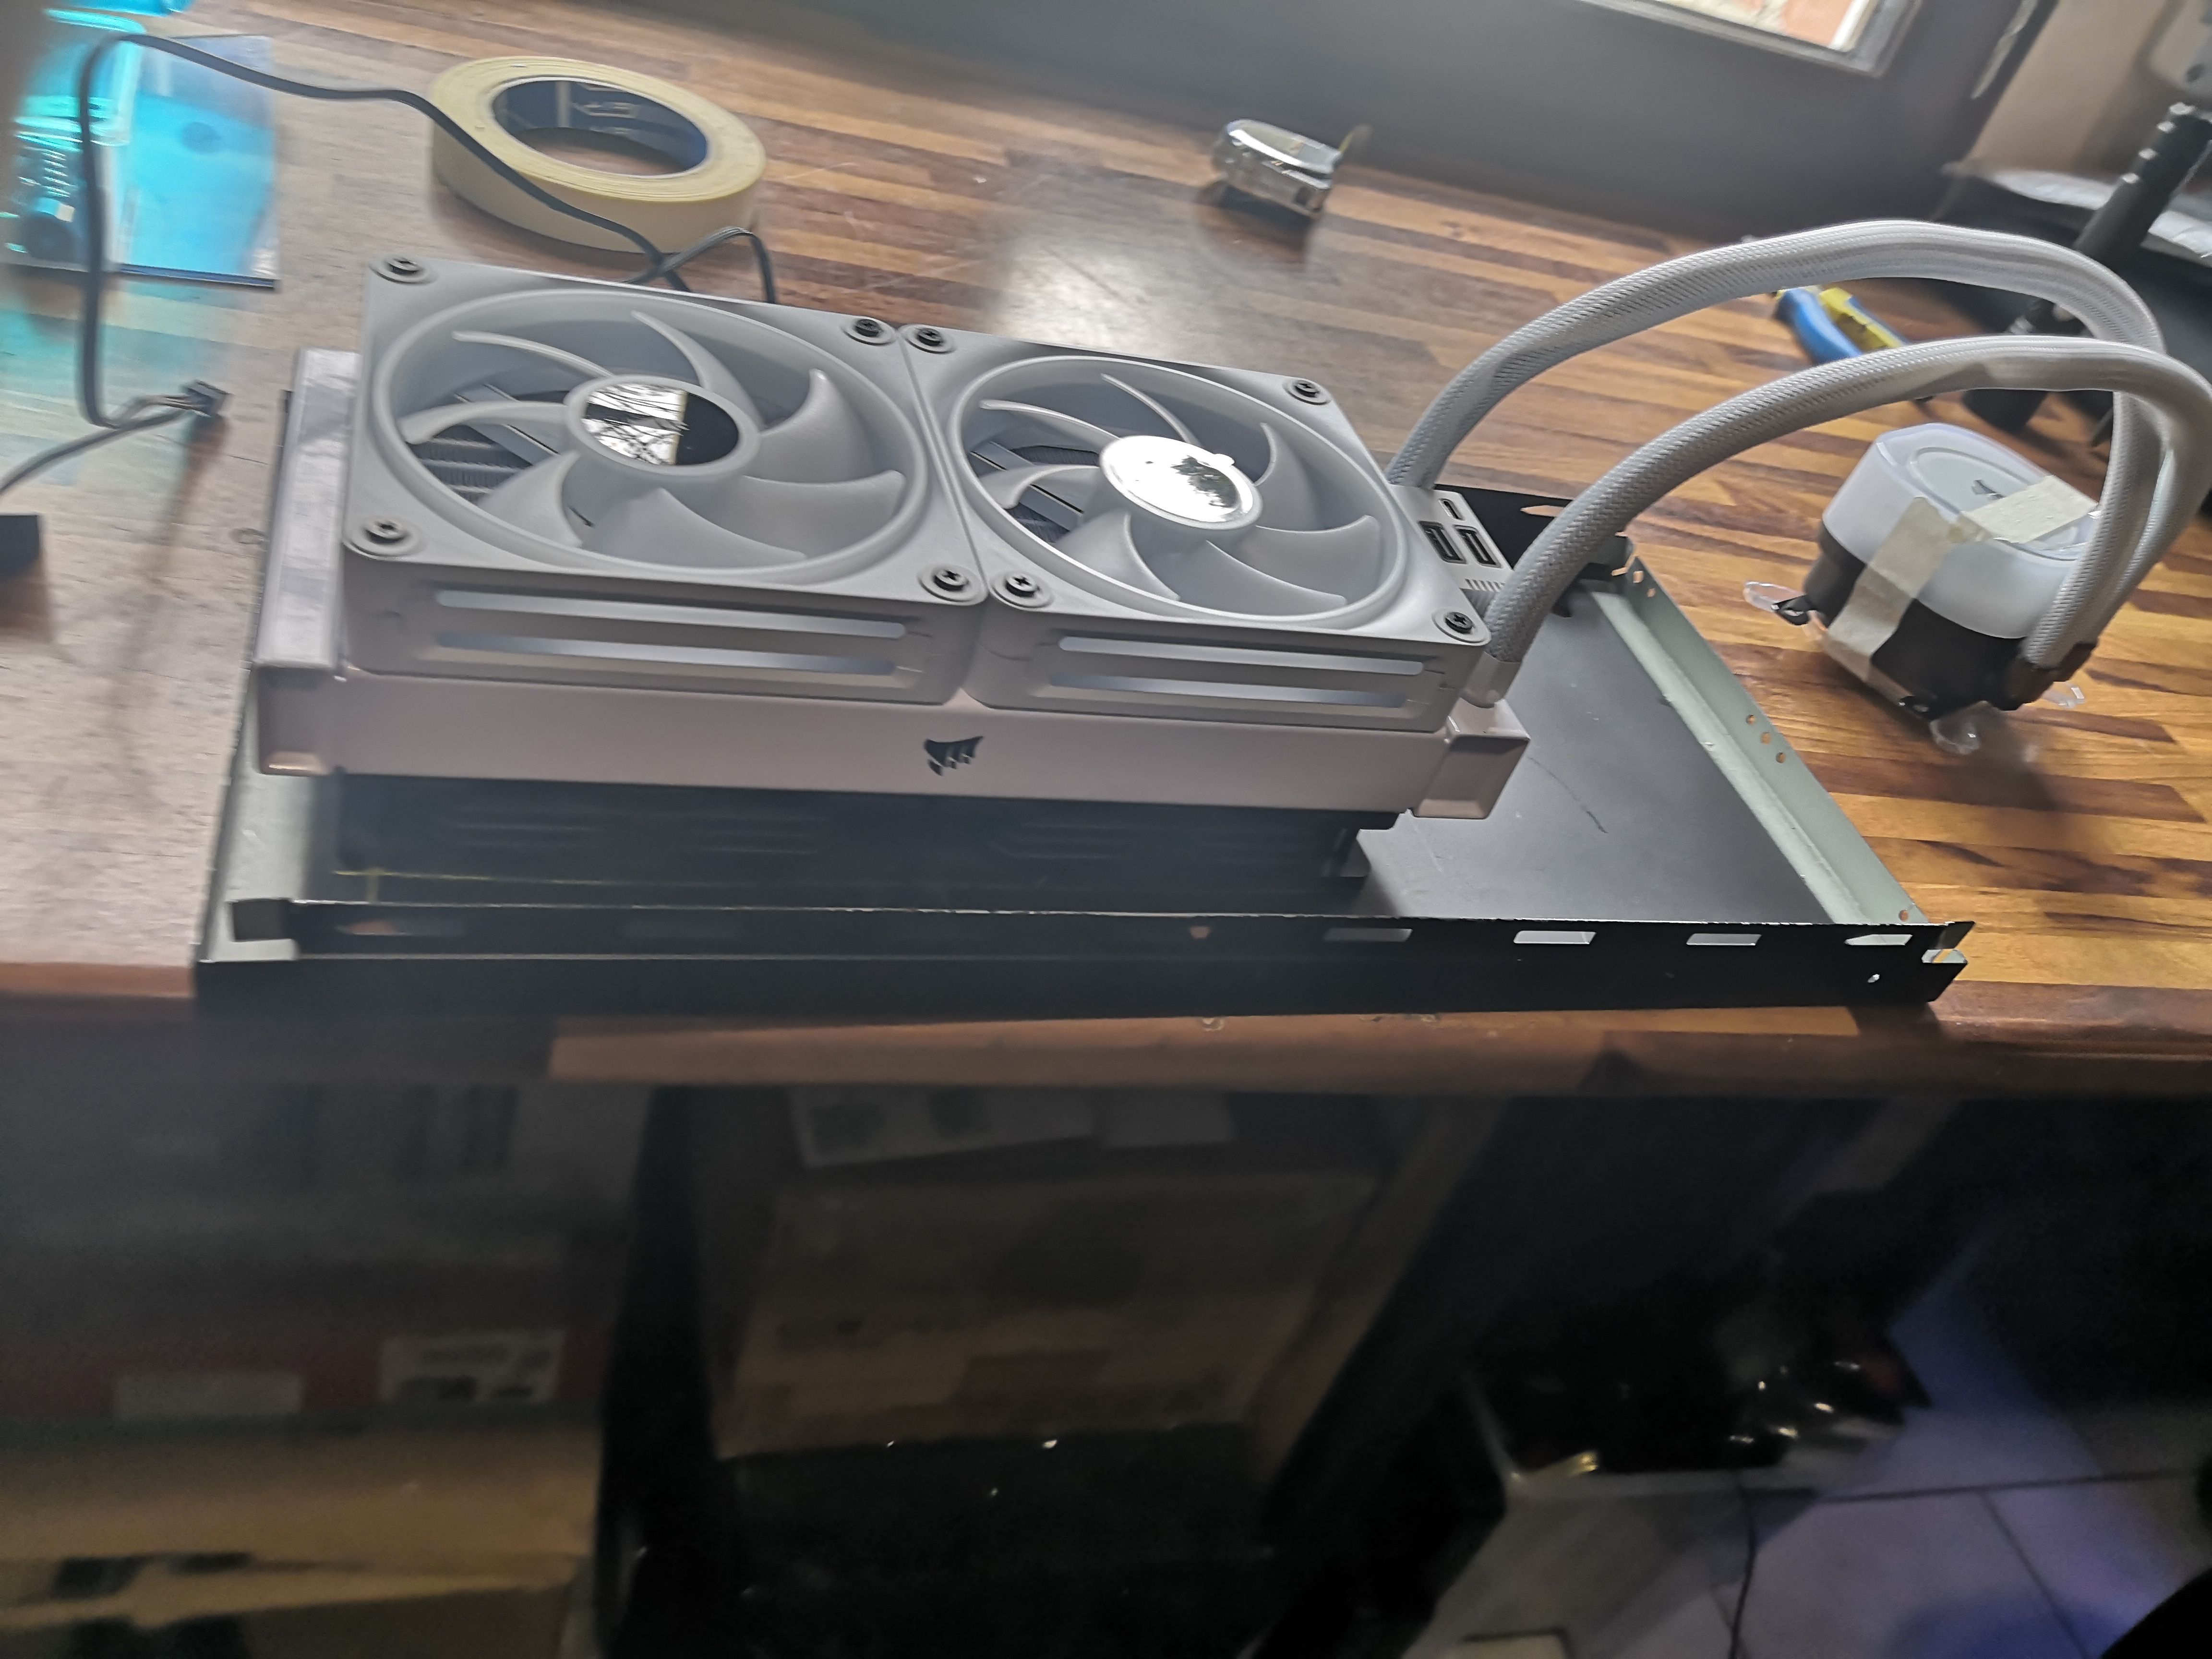
Testing the radiator positioning. The two Corsair 120mm fans are sandwiched between the radiator and the panel. The fit is good—a few millimeters of play on each side, but nothing that can’t be adjusted with the right screws and washers if necessary.
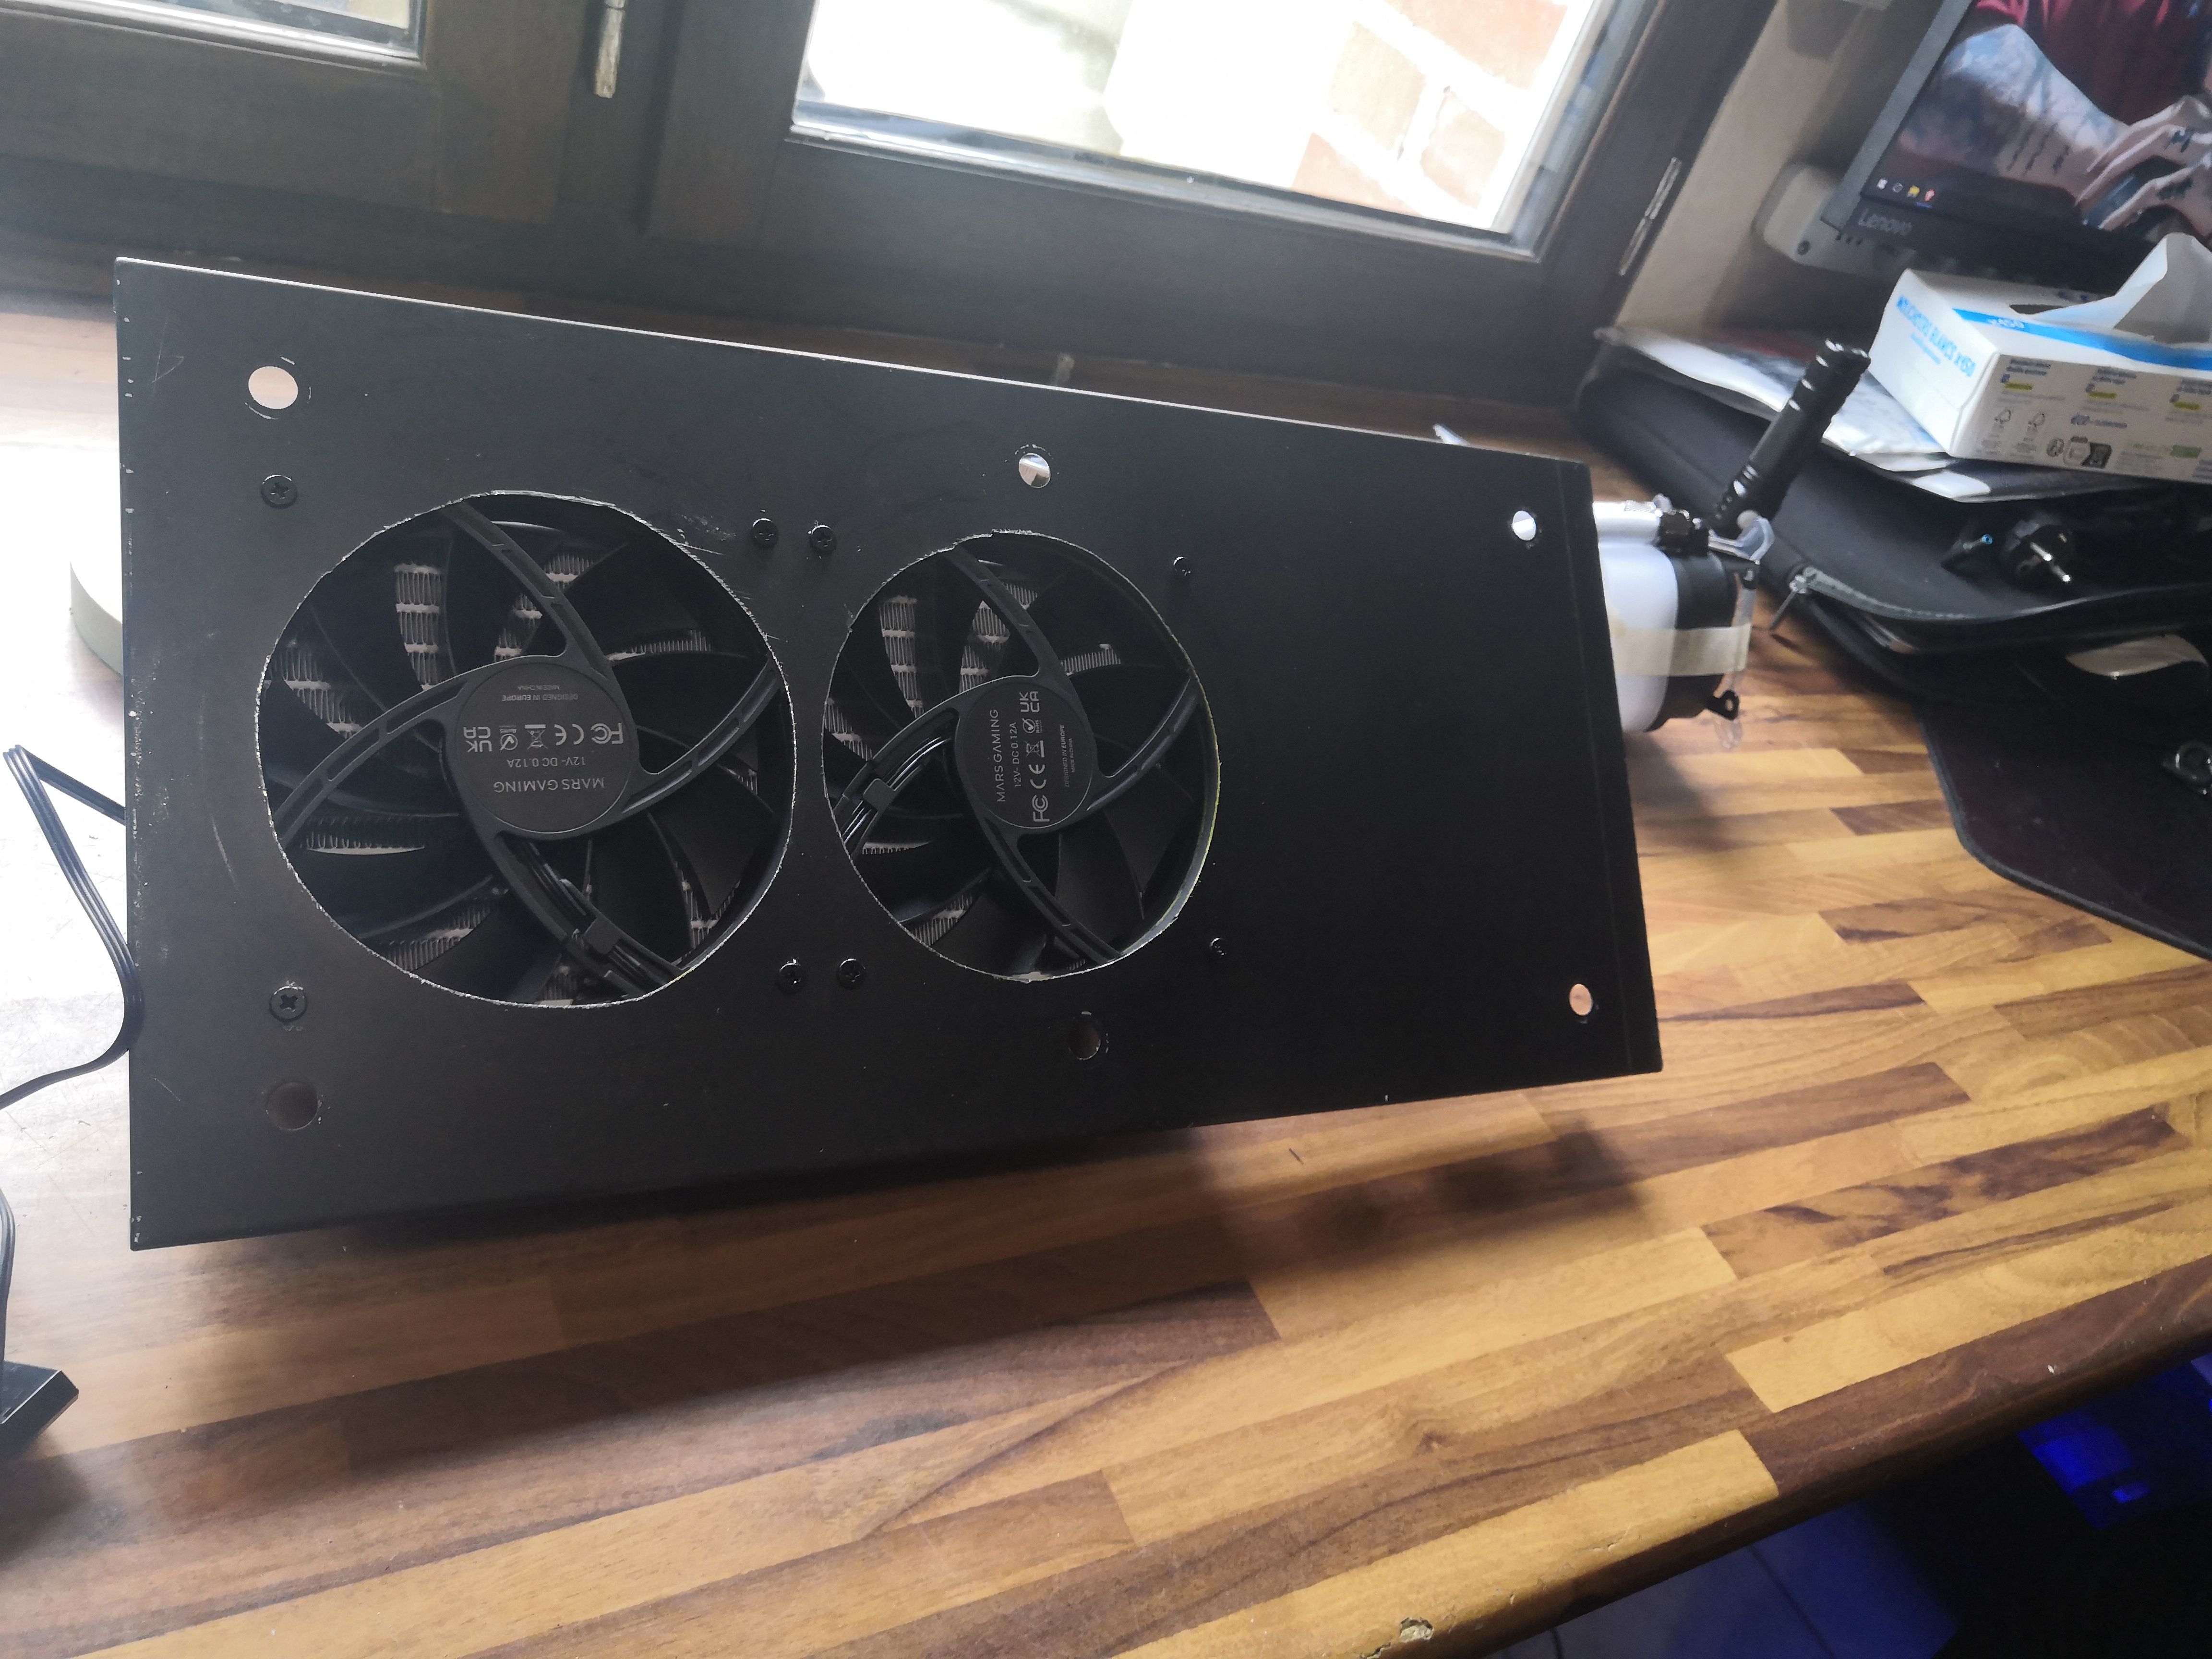
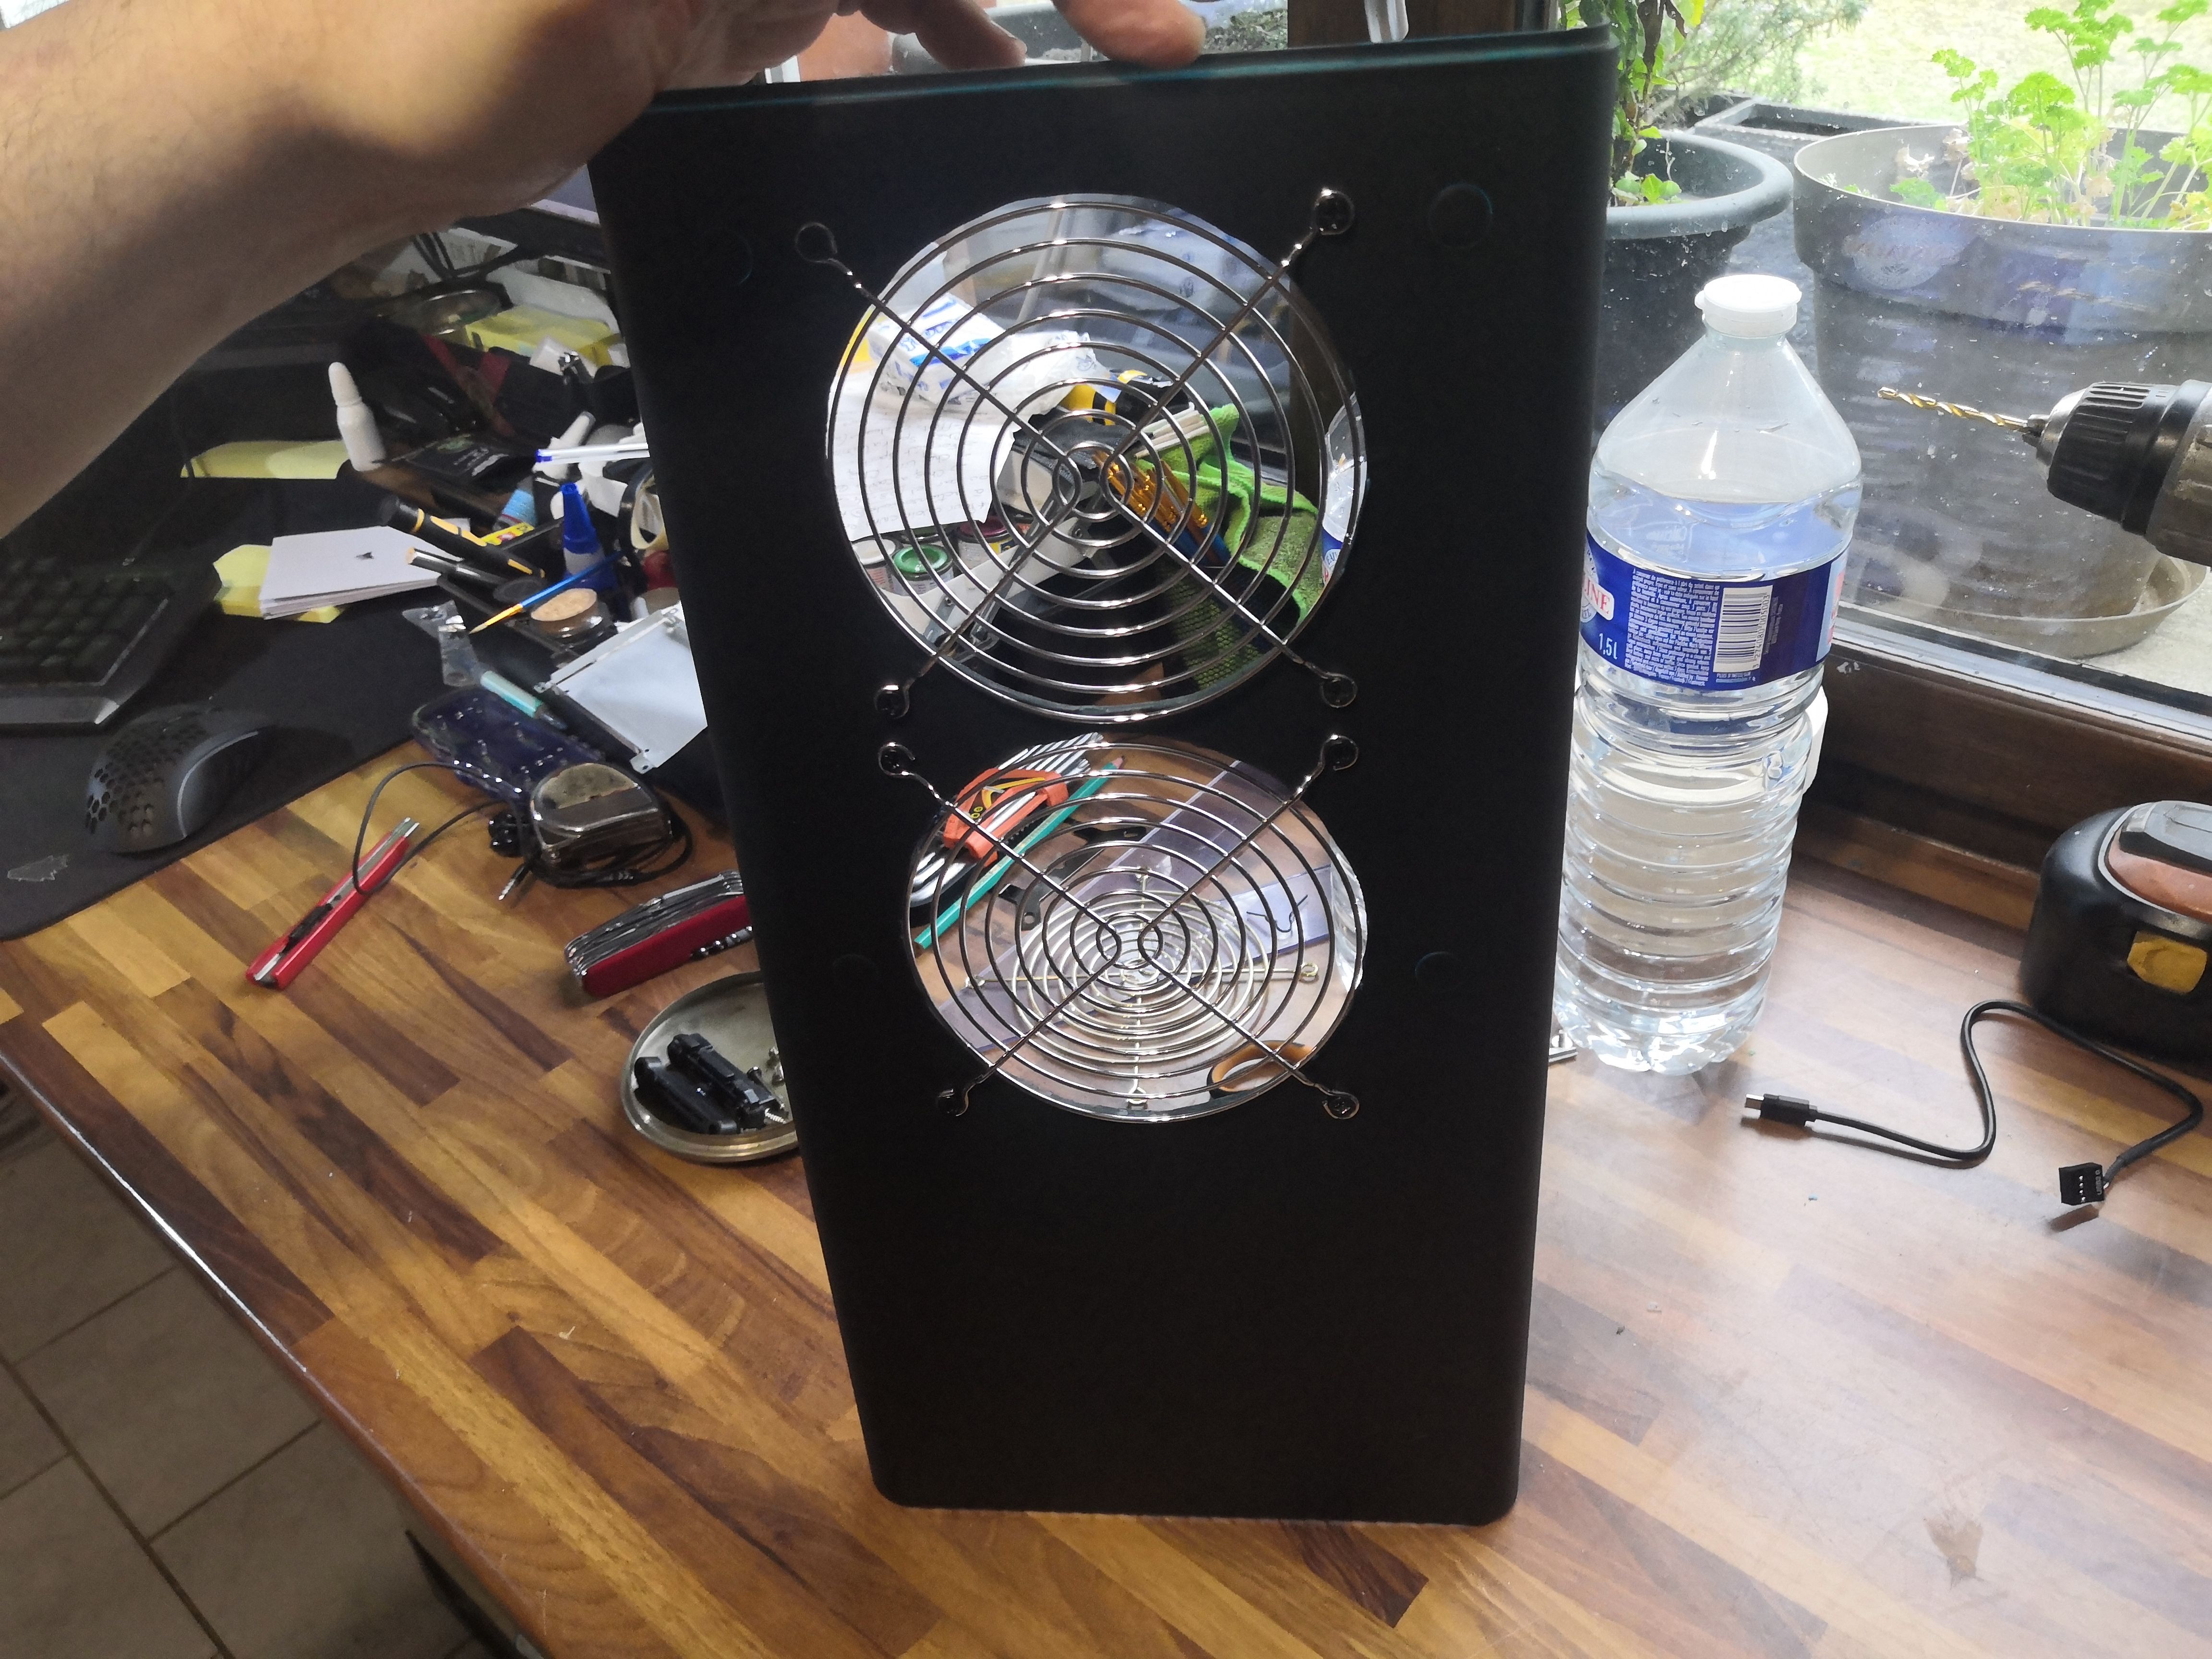
The black sheet metal panel cut and drilled for two Mars Gaming 120mm fans. View from the motor side—these fans offer unbeatable value for money for applications where airflow takes precedence over aesthetics.
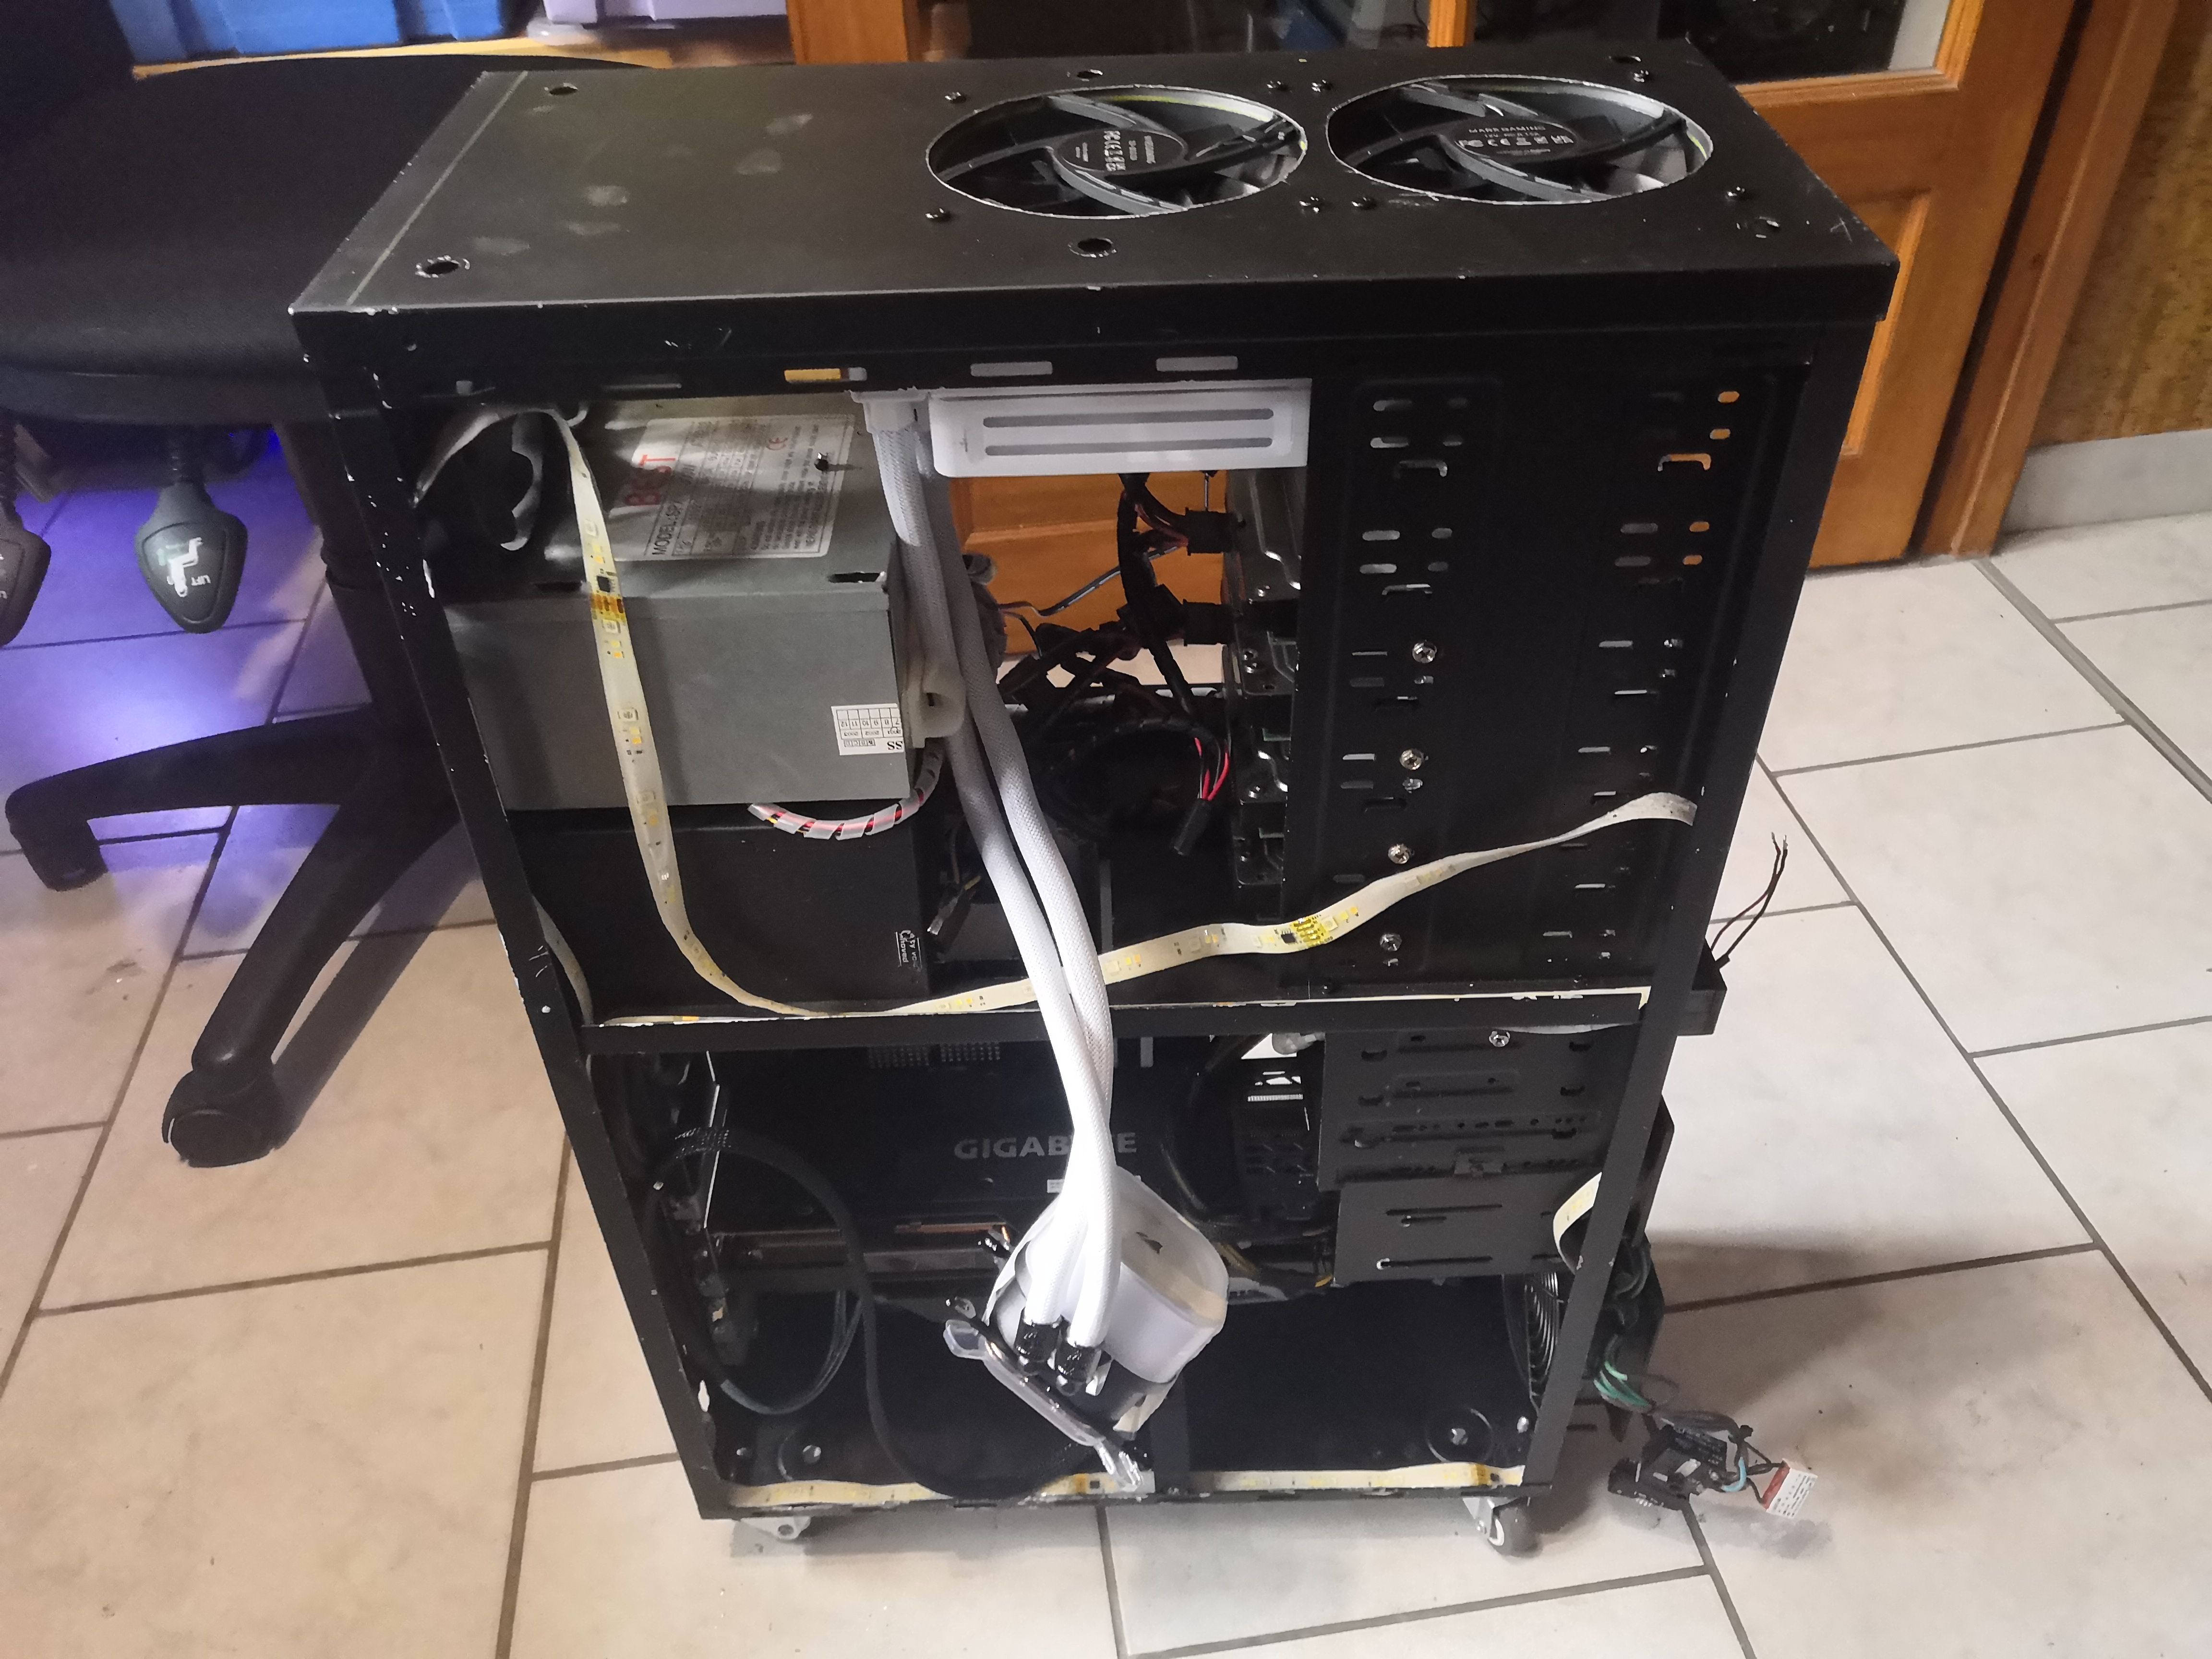
Side view after reassembling the custom top panel with its two Mars Gaming fans, the Gigabyte card at the bottom. The cabling hasn’t been routed yet.
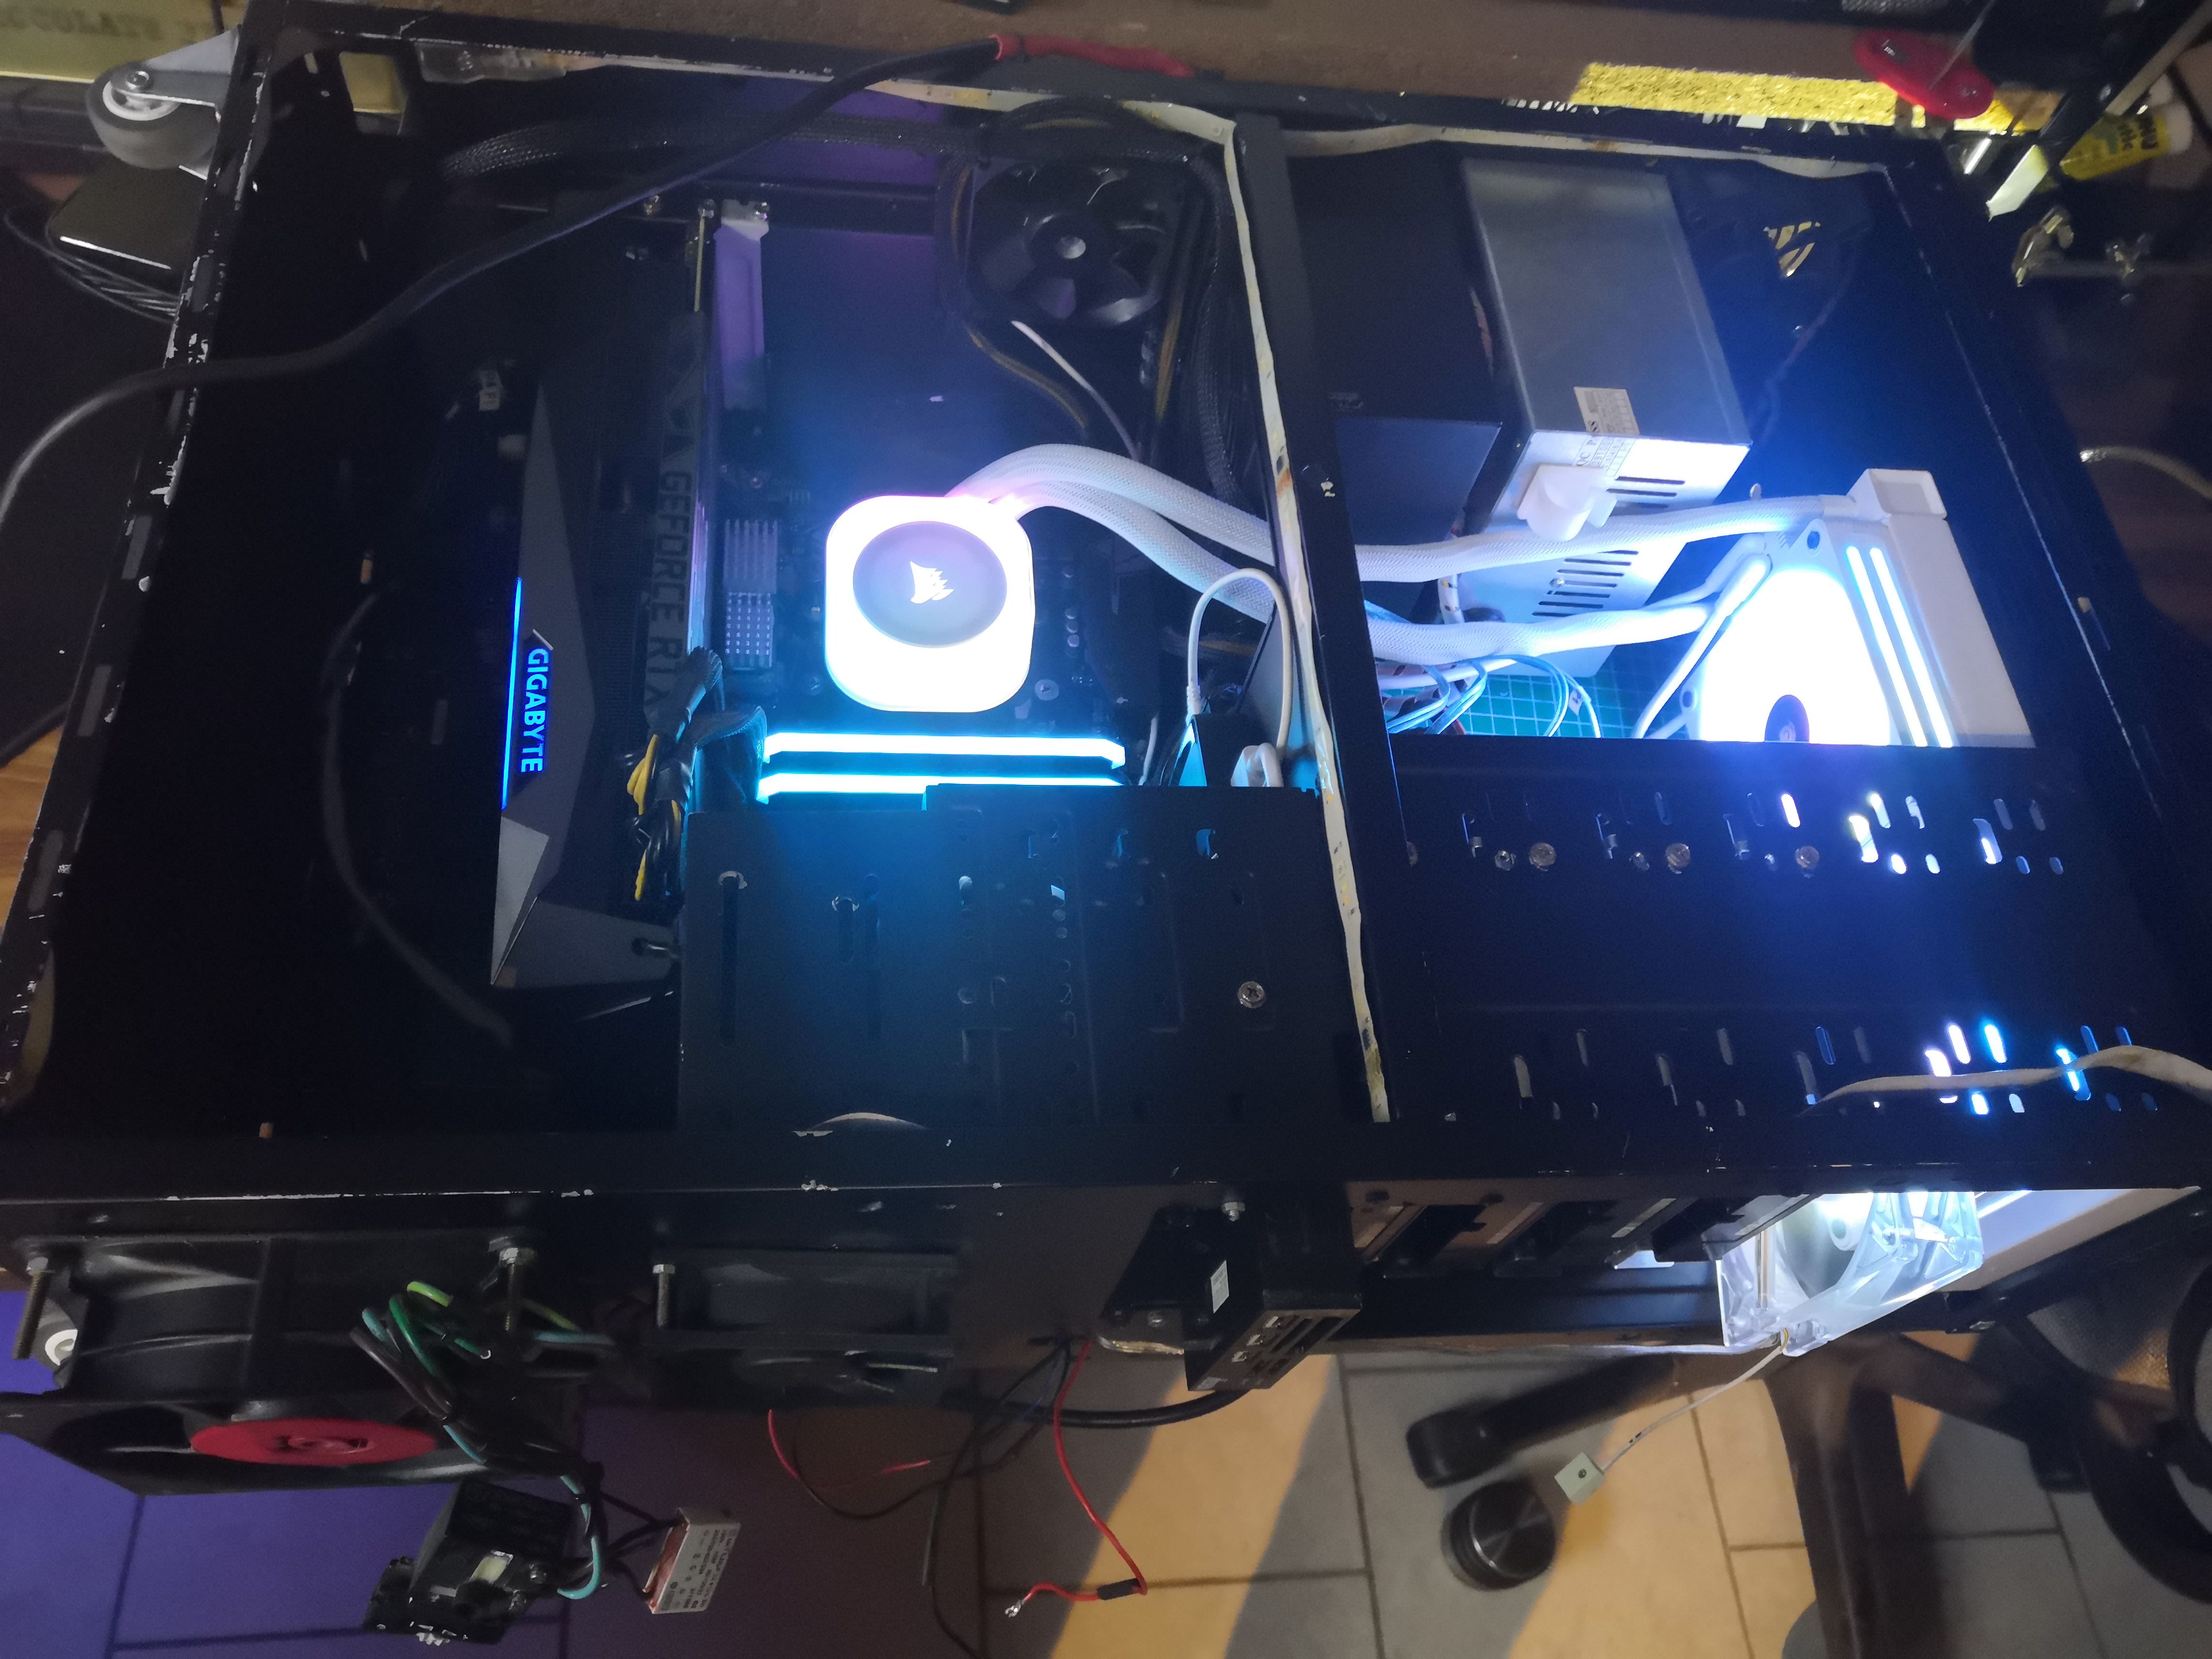
First power-on. The white Corsair AIO pump, the blue RAM, the green Gigabyte RTX. Aesthetically, it’s a bit of a color mess, but it works. Temperatures are already dropping compared to the old setup.
The front panel also has a blue plate that needs to be modified.
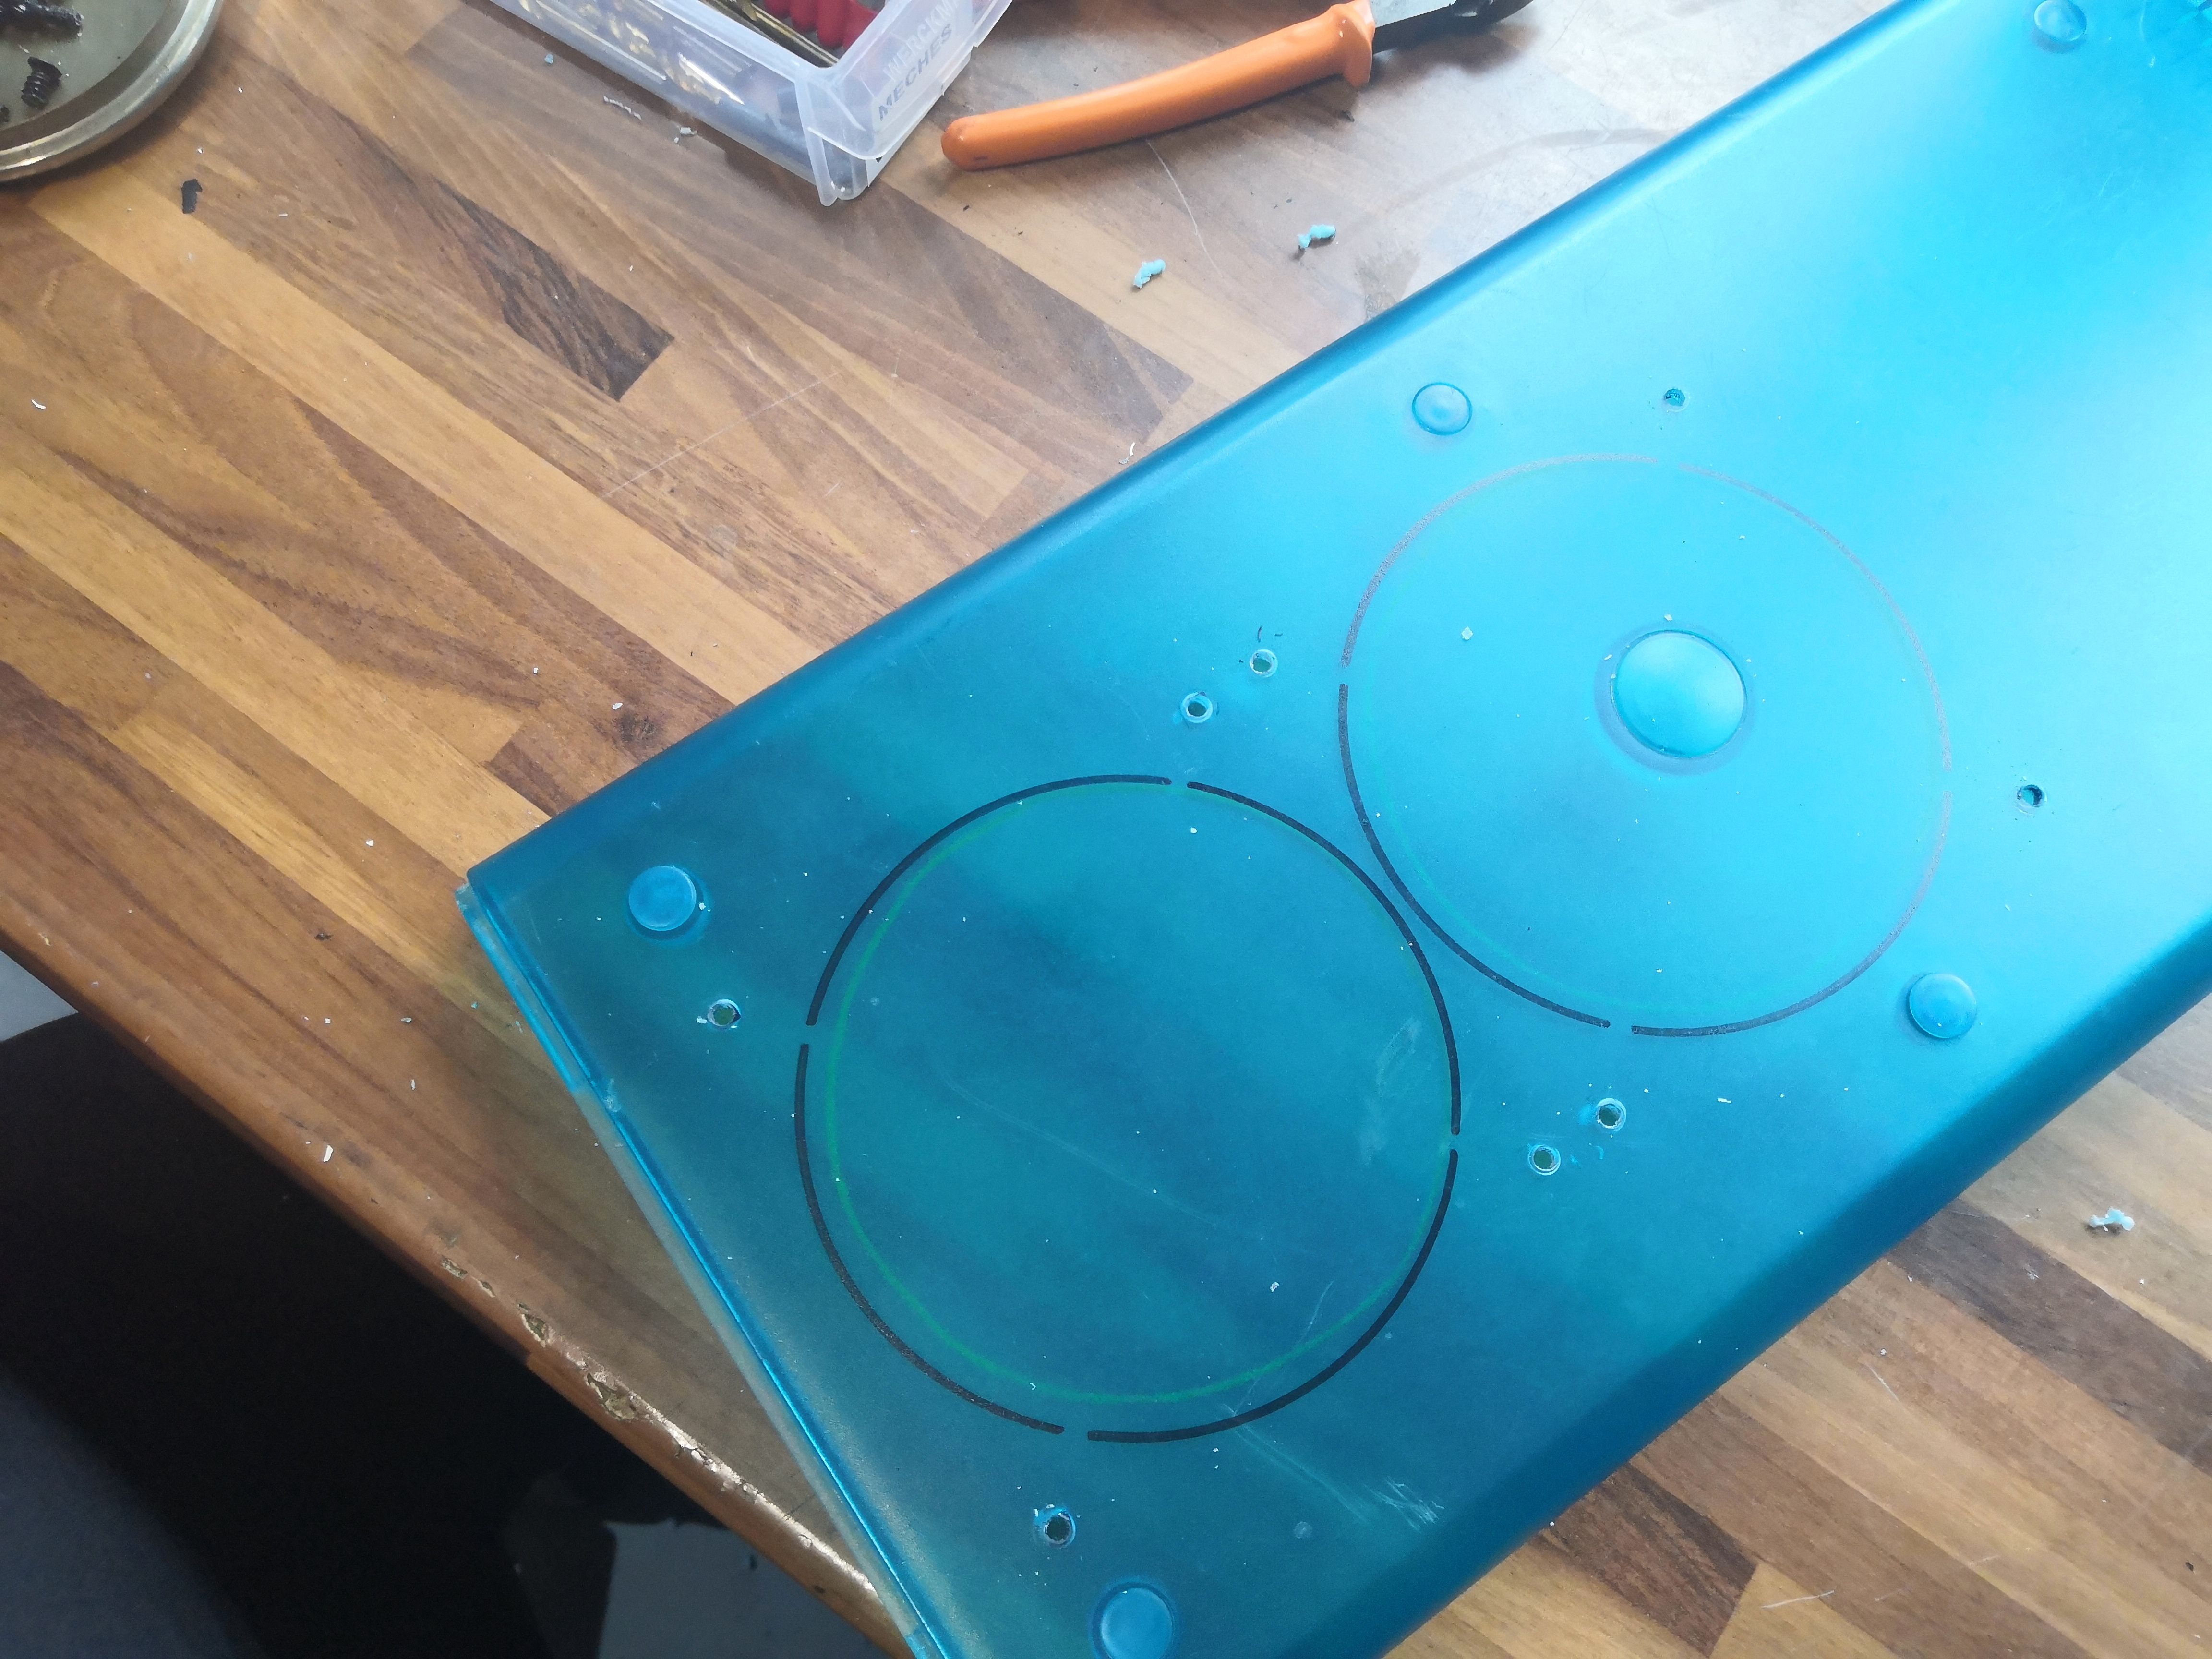
Two circles drawn with a marker on the Plexiglas. The material is thick—about 4mm—and dyed throughout. The turquoise-blue Plexiglas on this case is the kind that puts up a fight. A compass, a fine-tip pen, and let’s get to it.
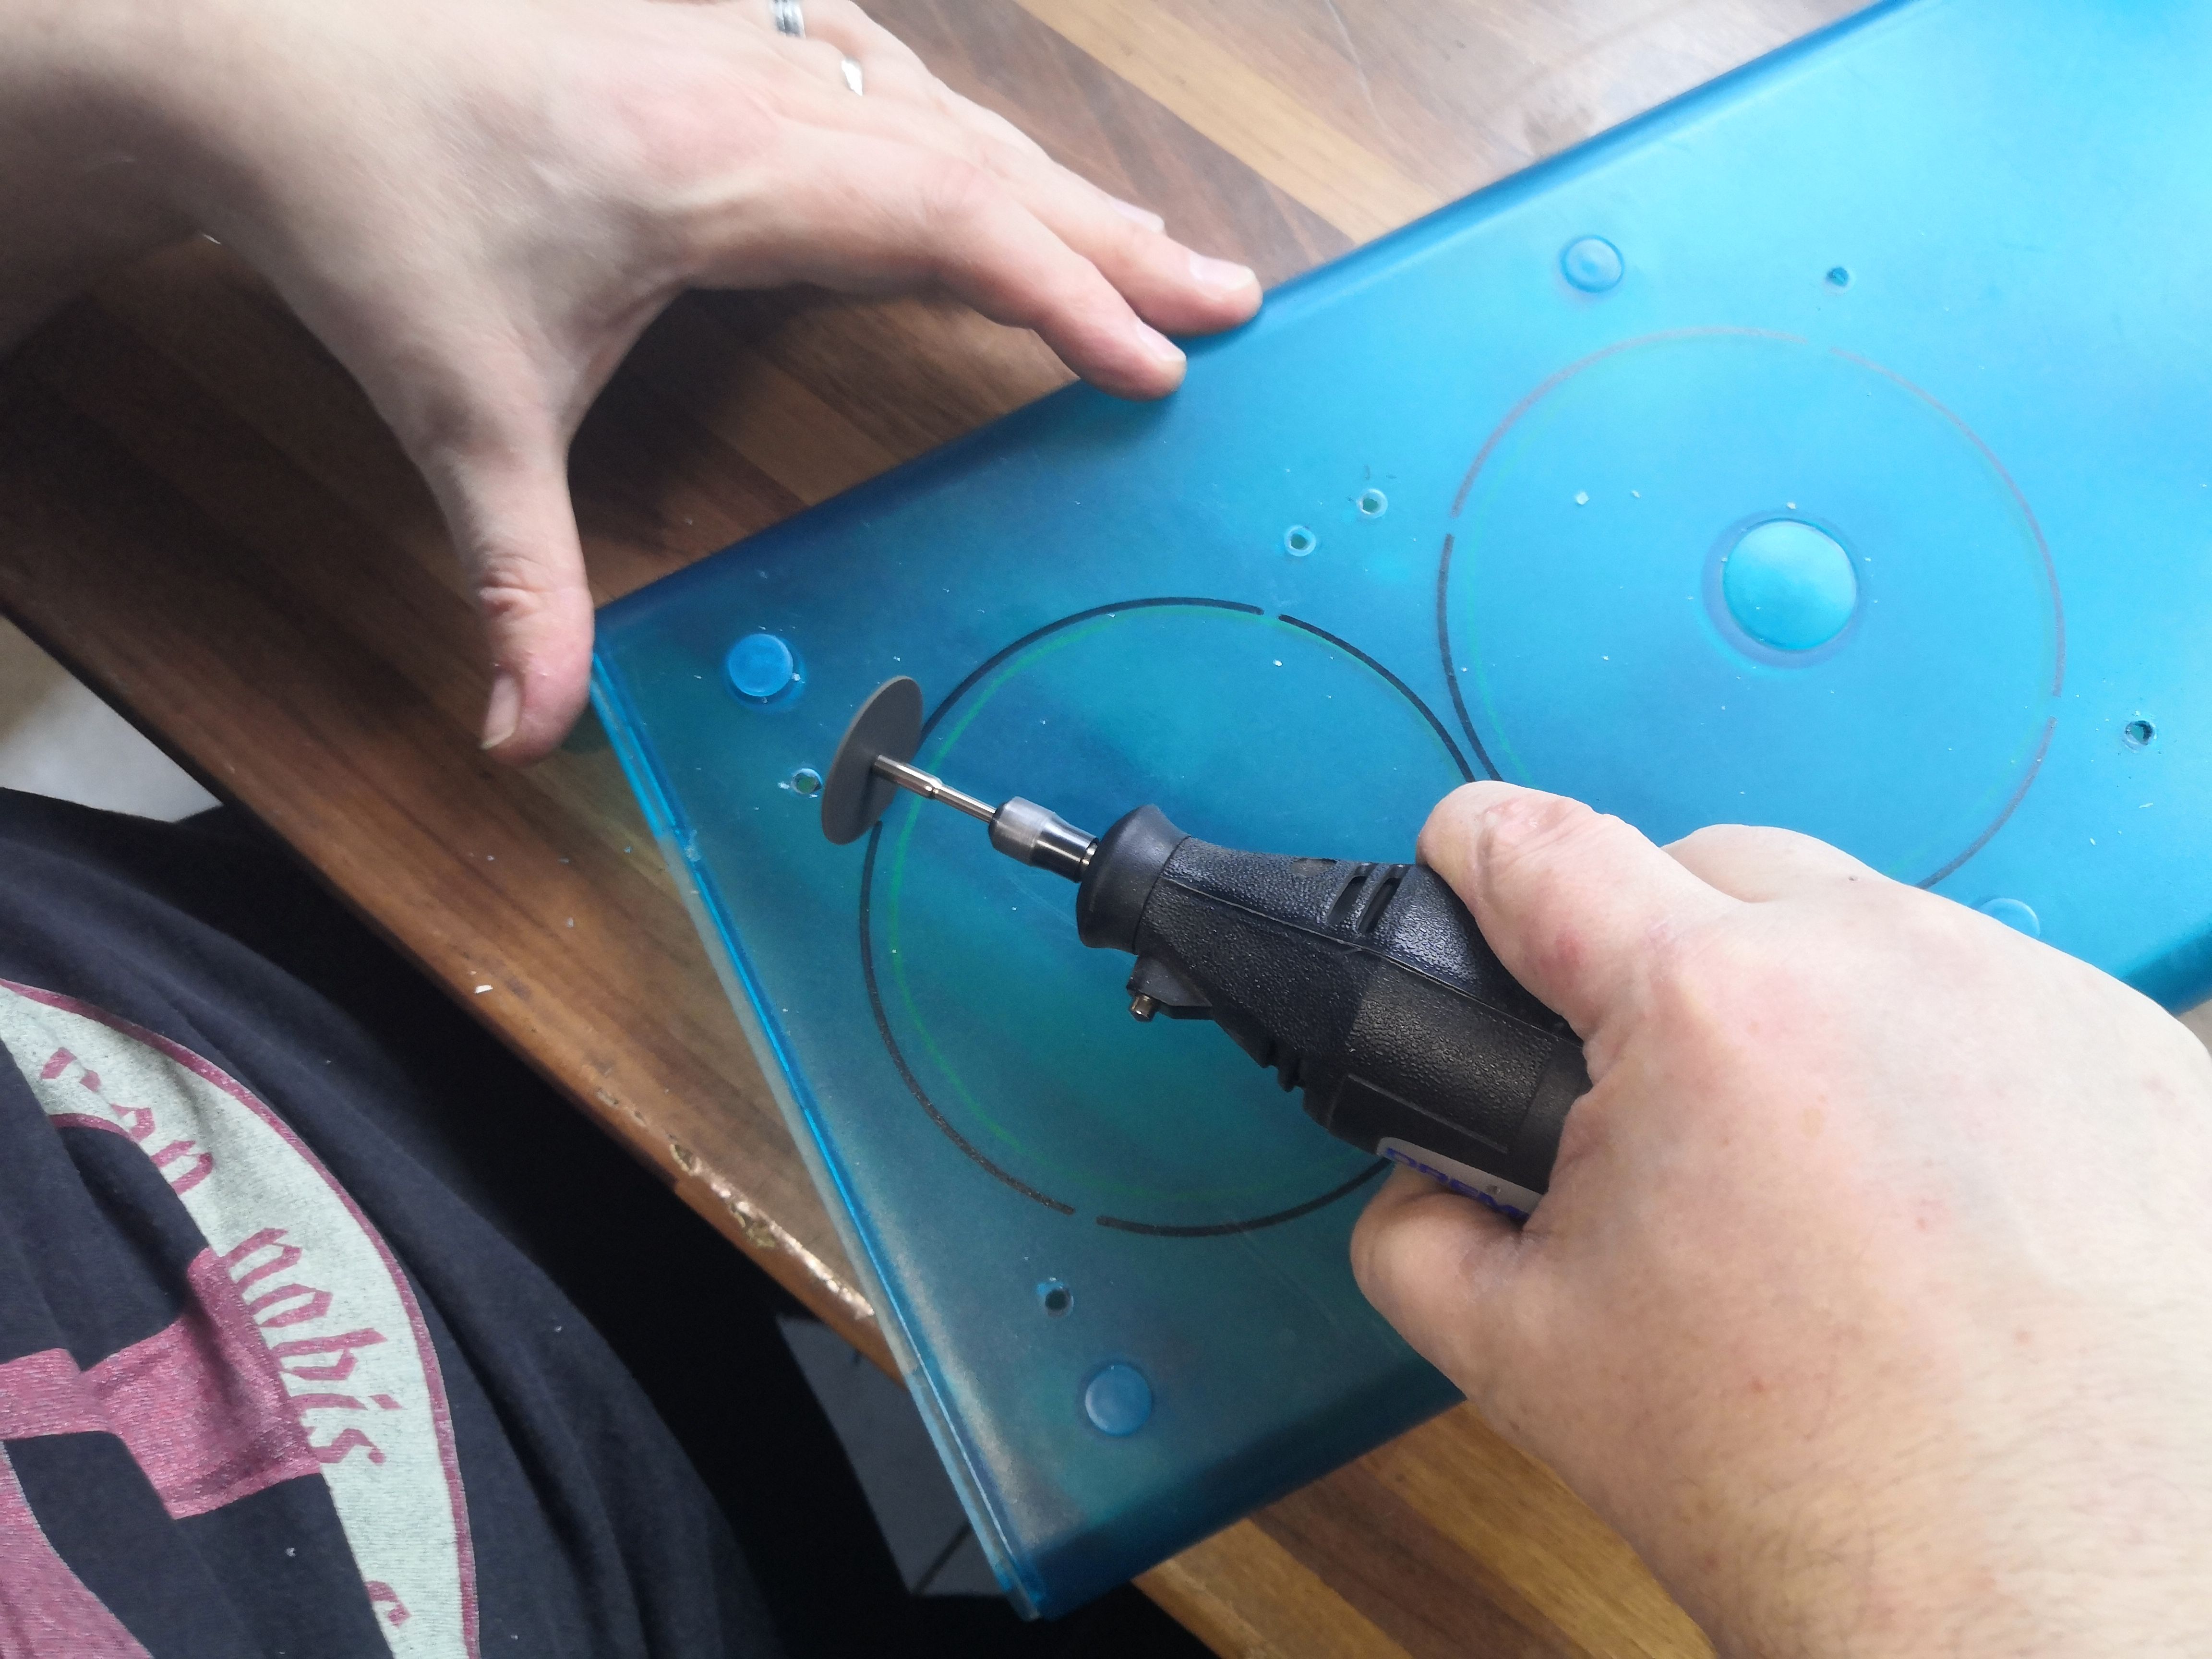
It’s Dremel time. Caution: Plexiglas heats up quickly and melts at the cutting edge if you apply too much force. The technique is to work in light, quick passes, letting it cool between each one. It takes time, but the result is clean.
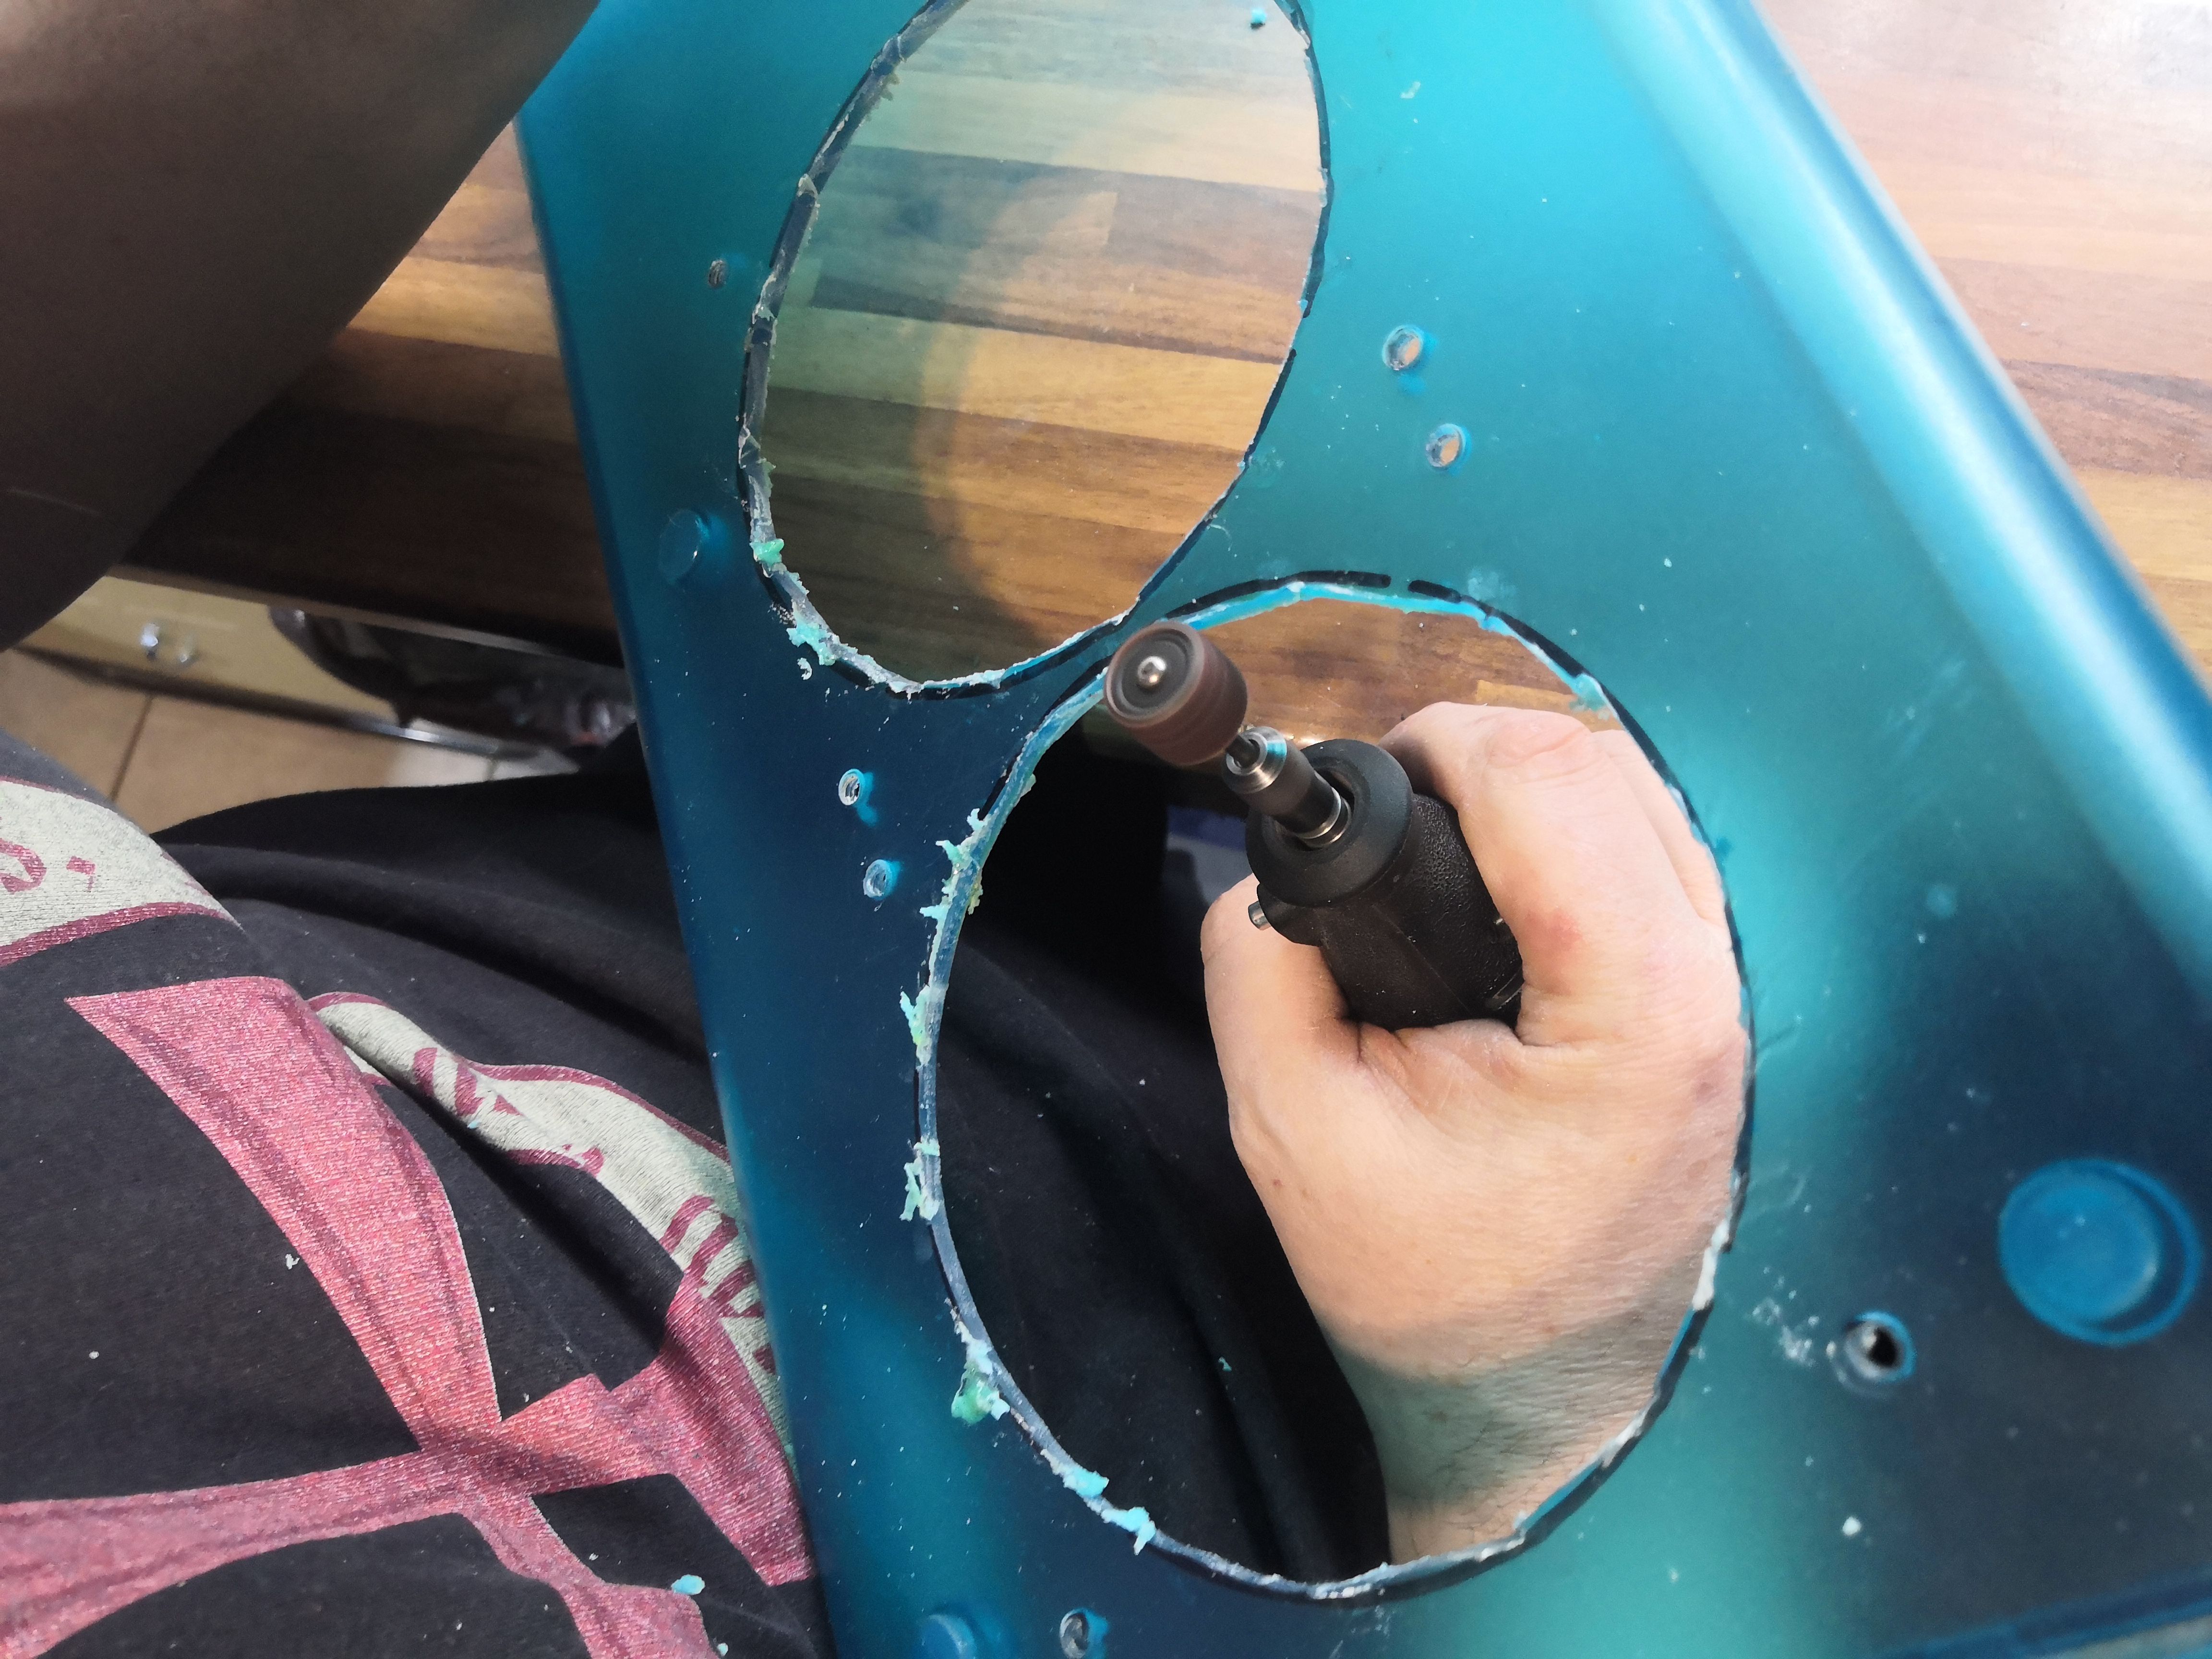
The two holes we’ve made. The edge isn’t perfect—there are a few rough spots of melted Plexiglas that we quickly sand down with a sanding wheel. Ouch, it reminds me of the dentist.
The final result, viewed from the outside, looks decent.
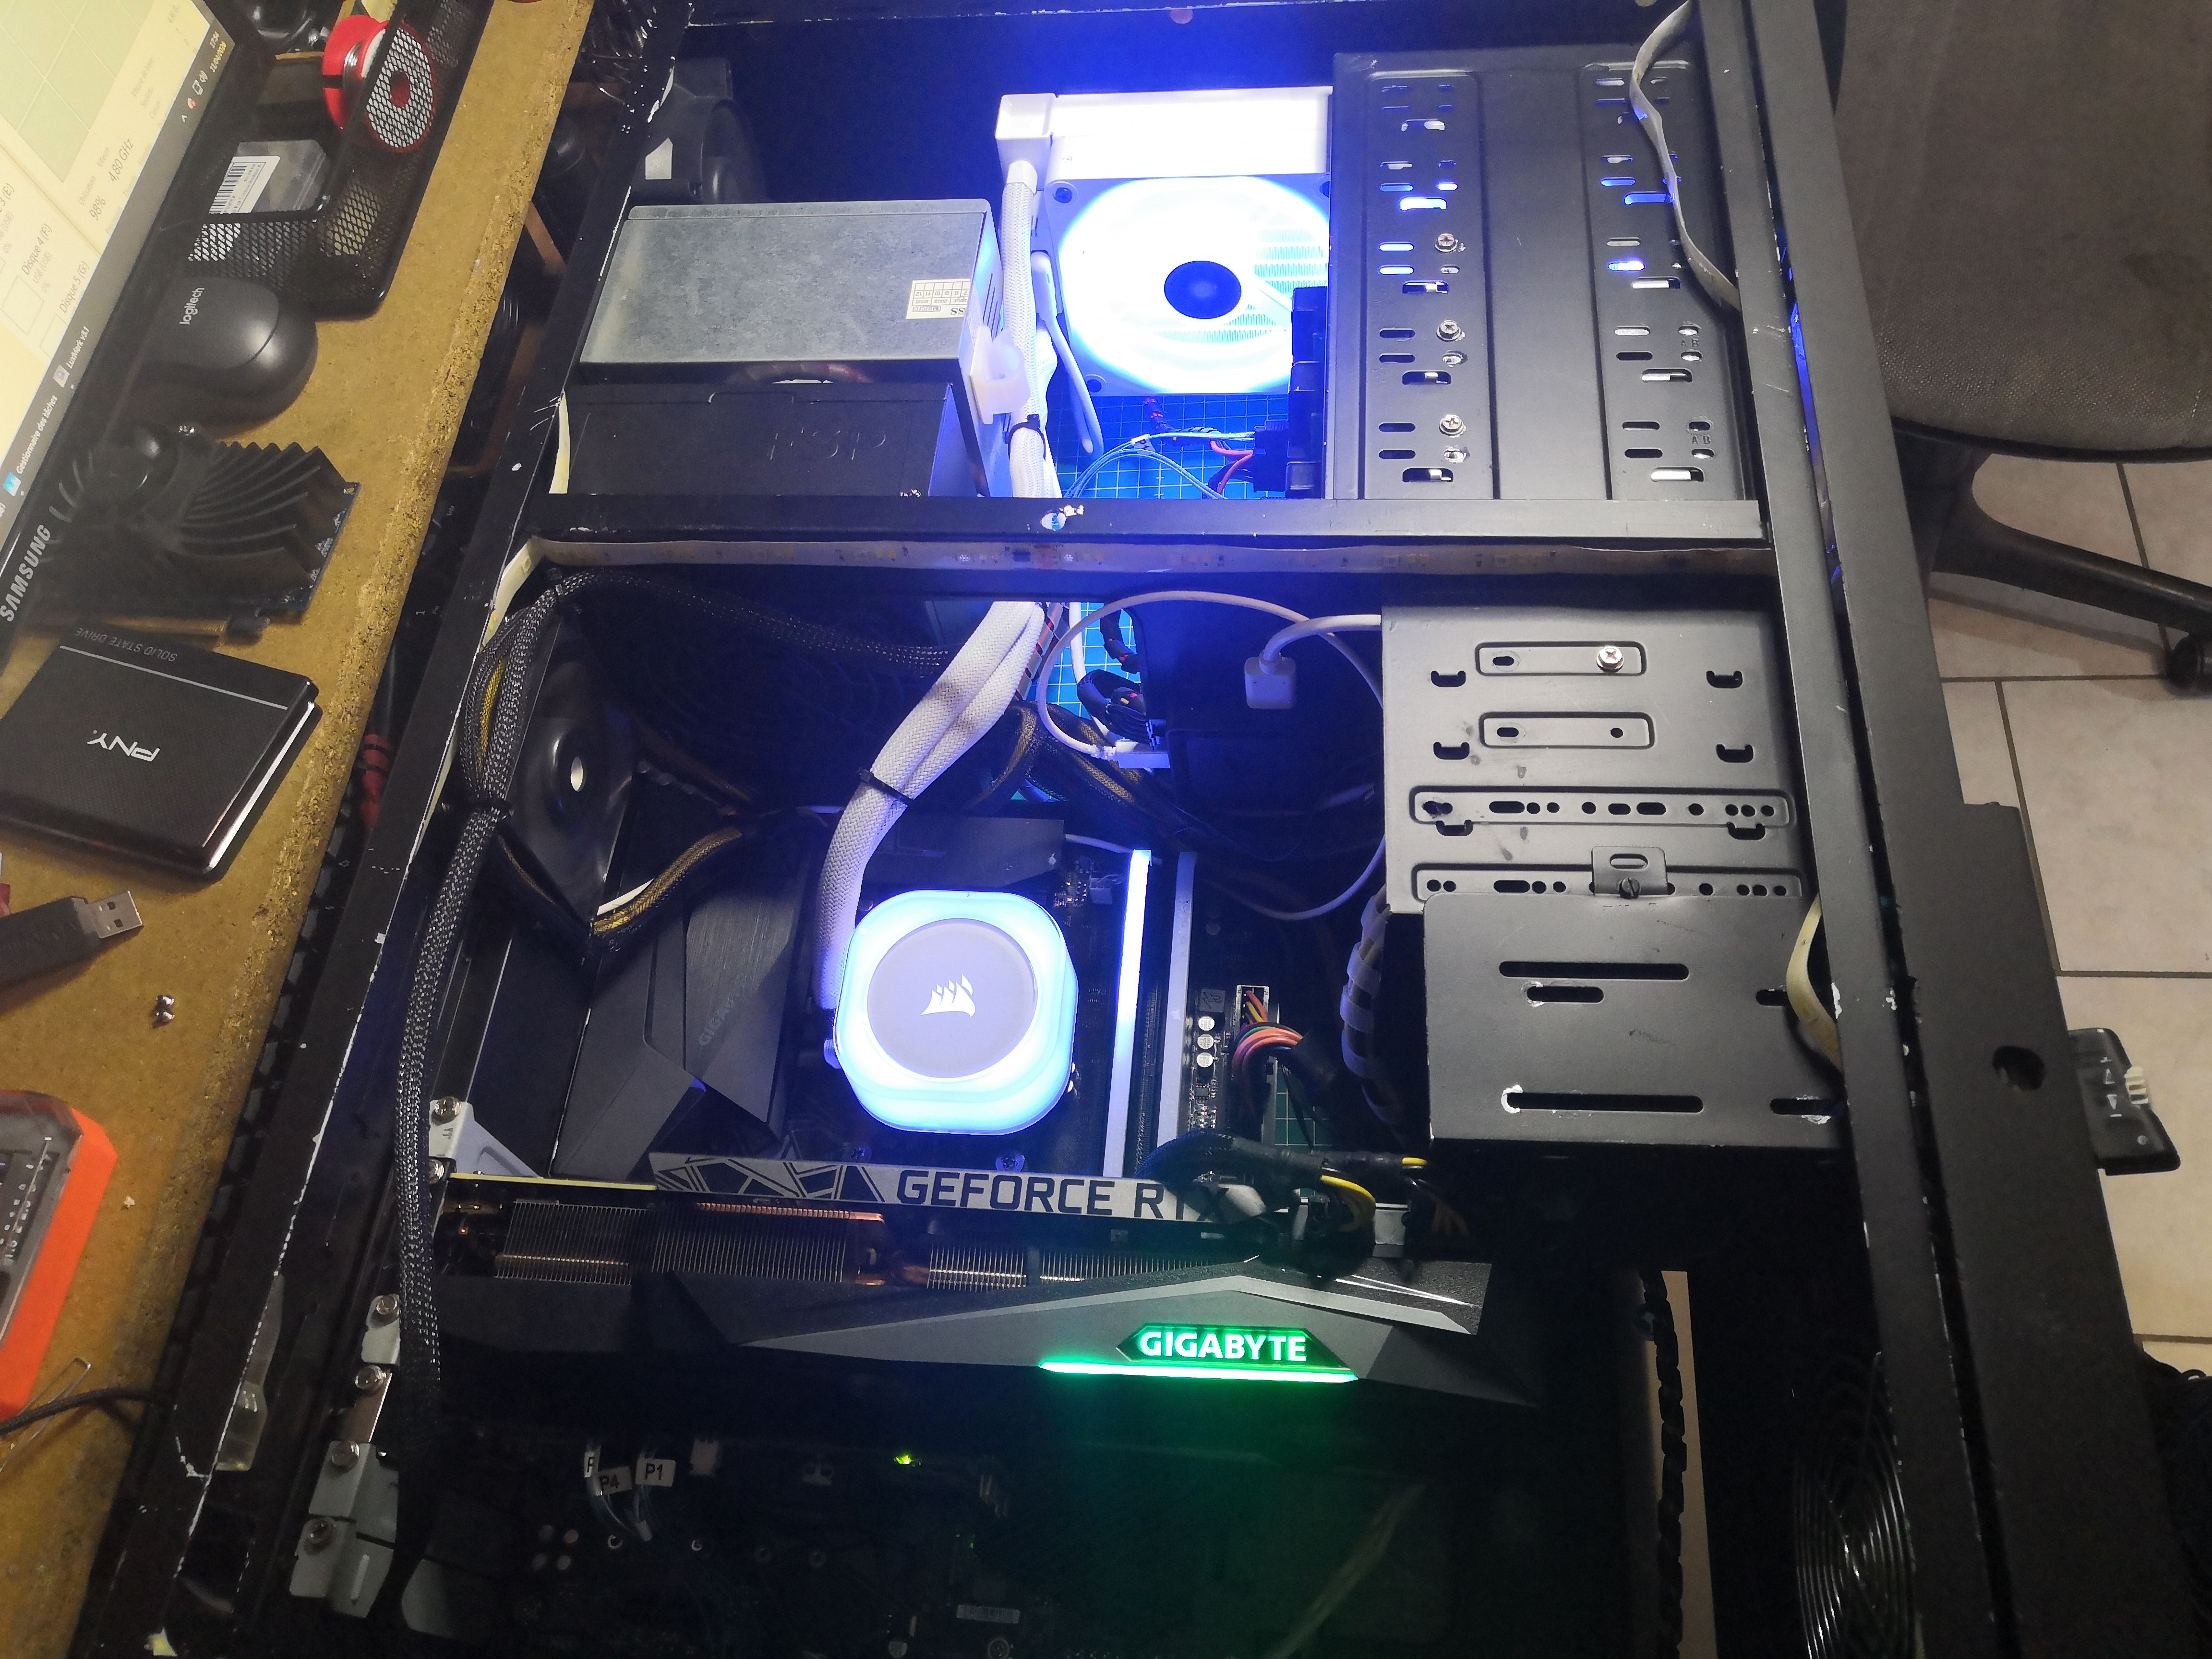
Interior view. The Gigabyte GeForce RTX 3080 occupies its two slots at the bottom, the Corsair pump sits in the center, and the cabling looks much cleaner this way.
Load Test Results
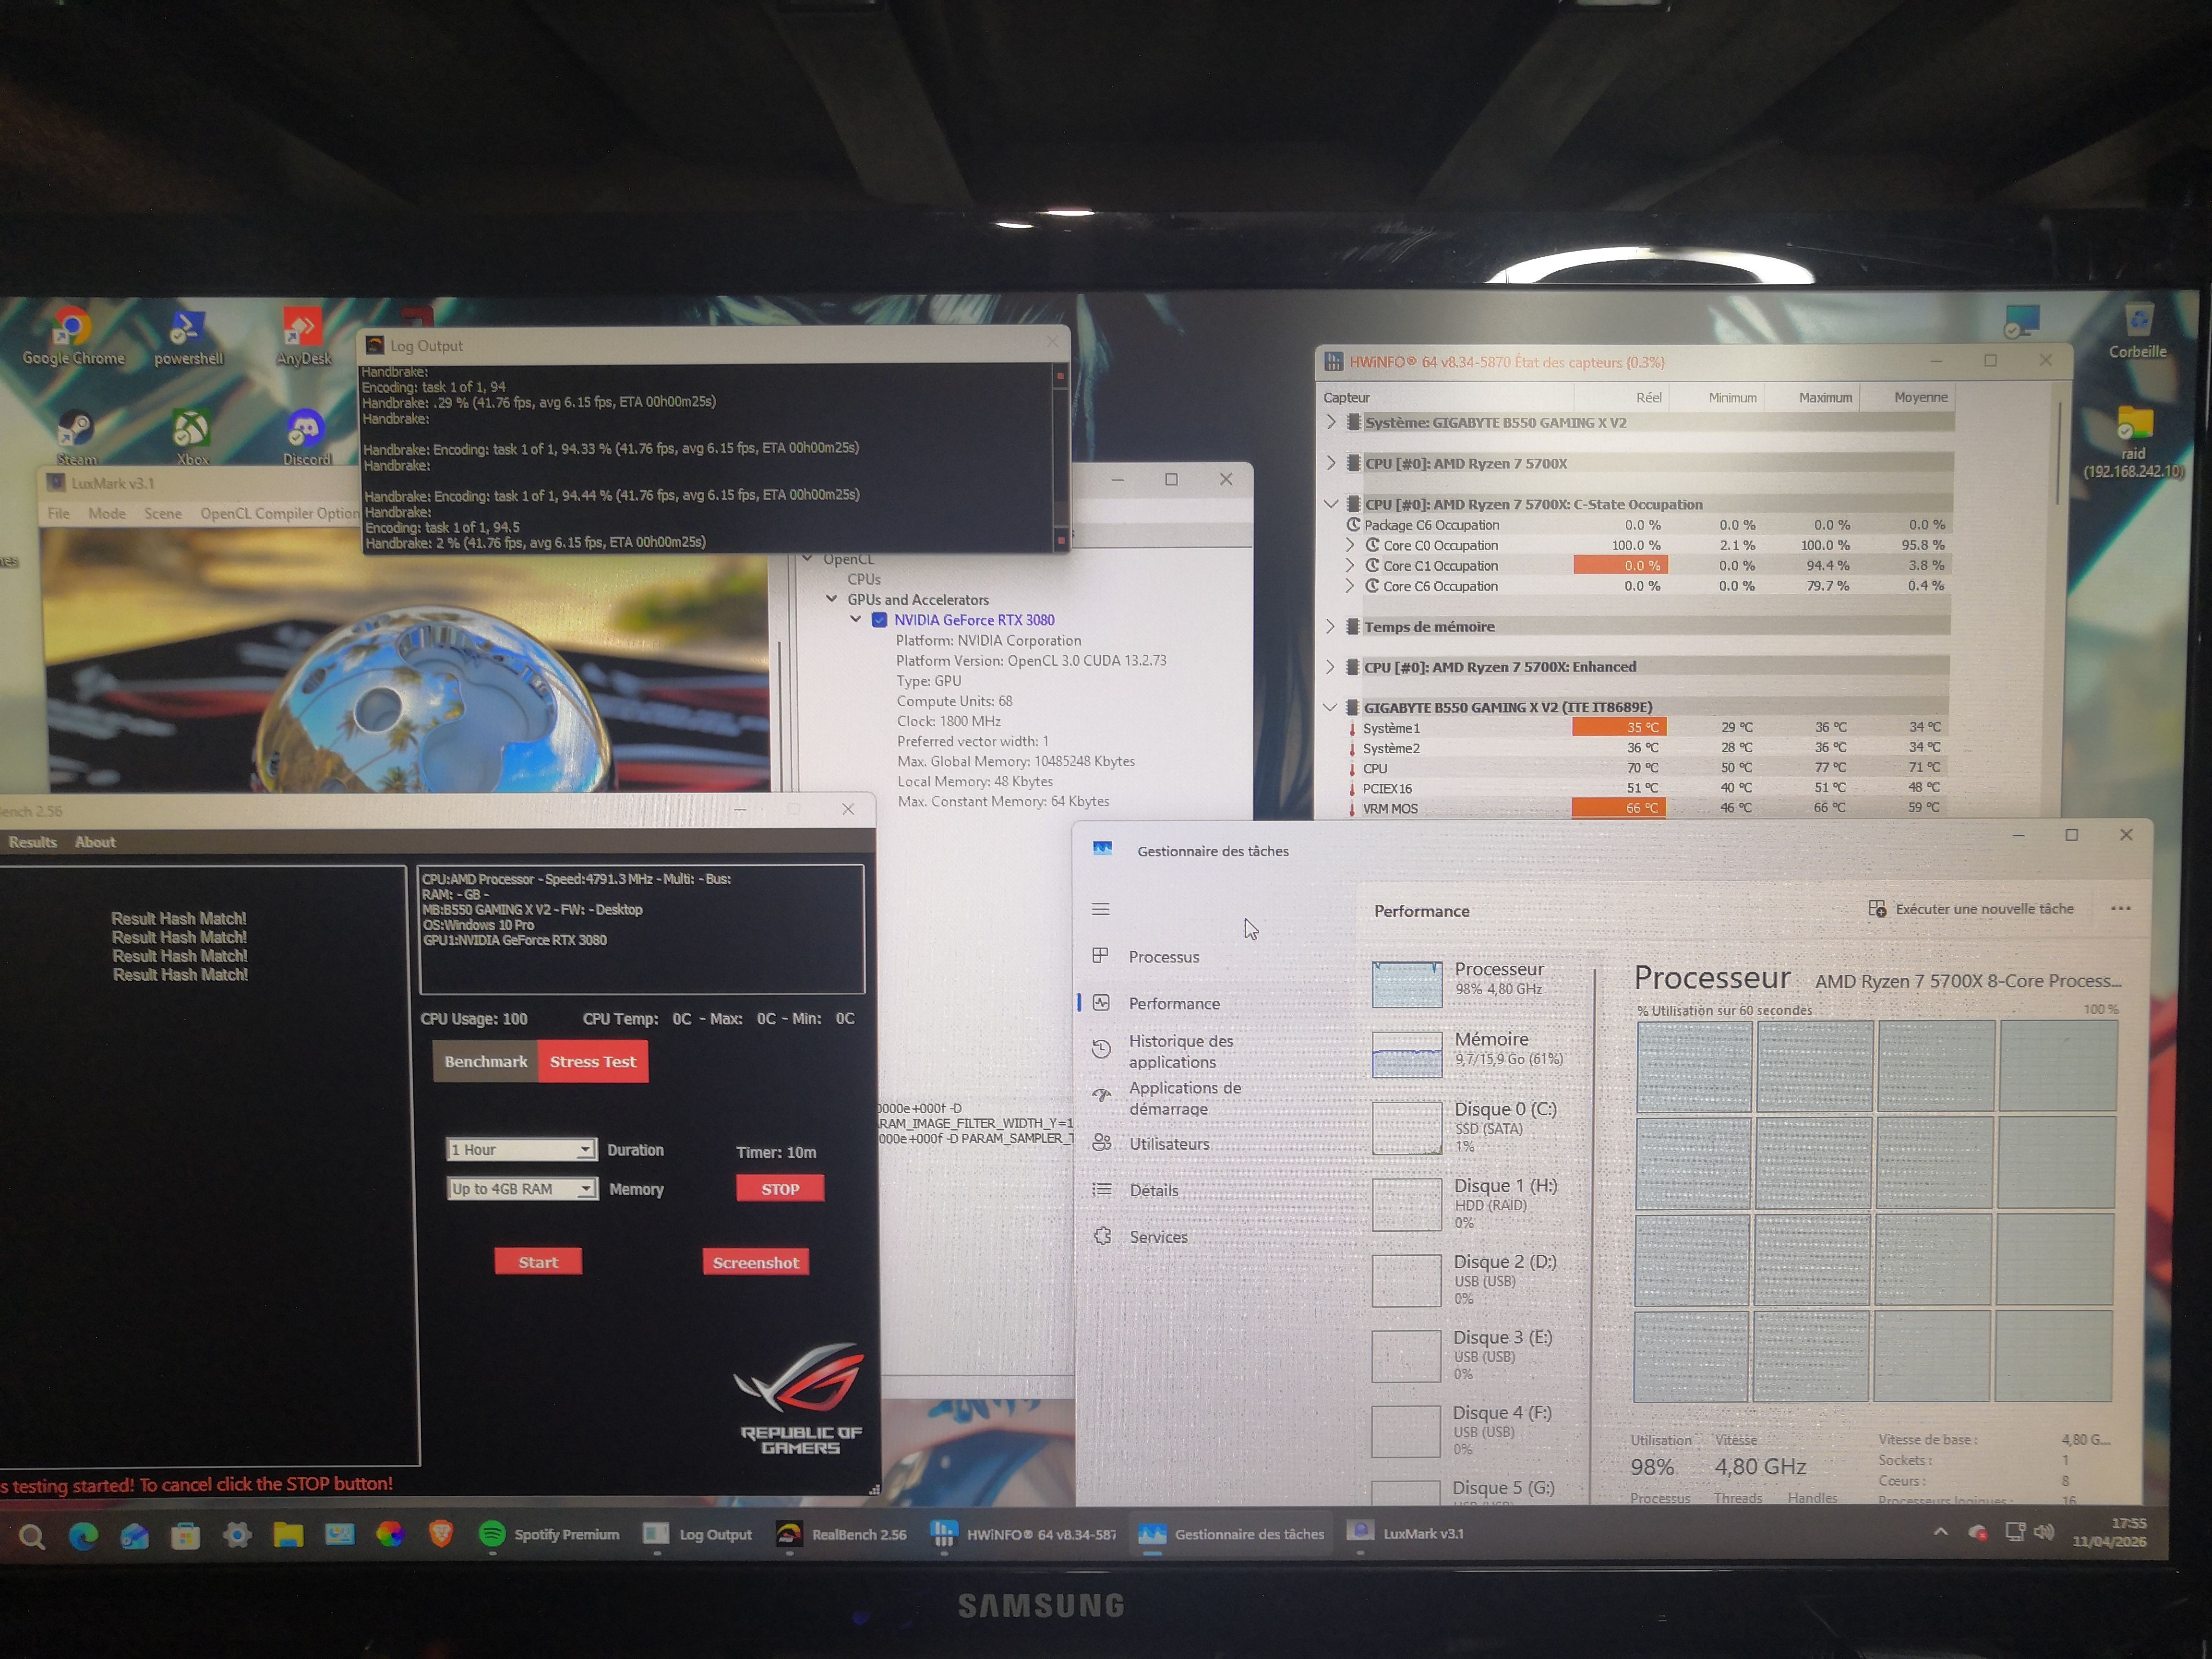
The torture test dashboard: Handbrake encoding H.264 at 41 fps continuously, LuxMark v3.1 running OpenCL on the RTX 3080 (68 compute units, 1800 MHz, 10 GB VRAM), and RealBench 2.56 in 1-hour stress test mode. All running simultaneously.
HWiNFO readings after 10 minutes of sustained load:
| Sensor | Temperature |
|---|---|
| CPU (Ryzen 7 5700X) | 77°C max |
The VRM at 95°C is the point of concern: this is the upper limit of the orange zone on this B550, but it remains within the manufacturer’s specifications. The most observant will have noticed that the CPU is now at 4.8 GHz and no longer at 4.5.
Final Result
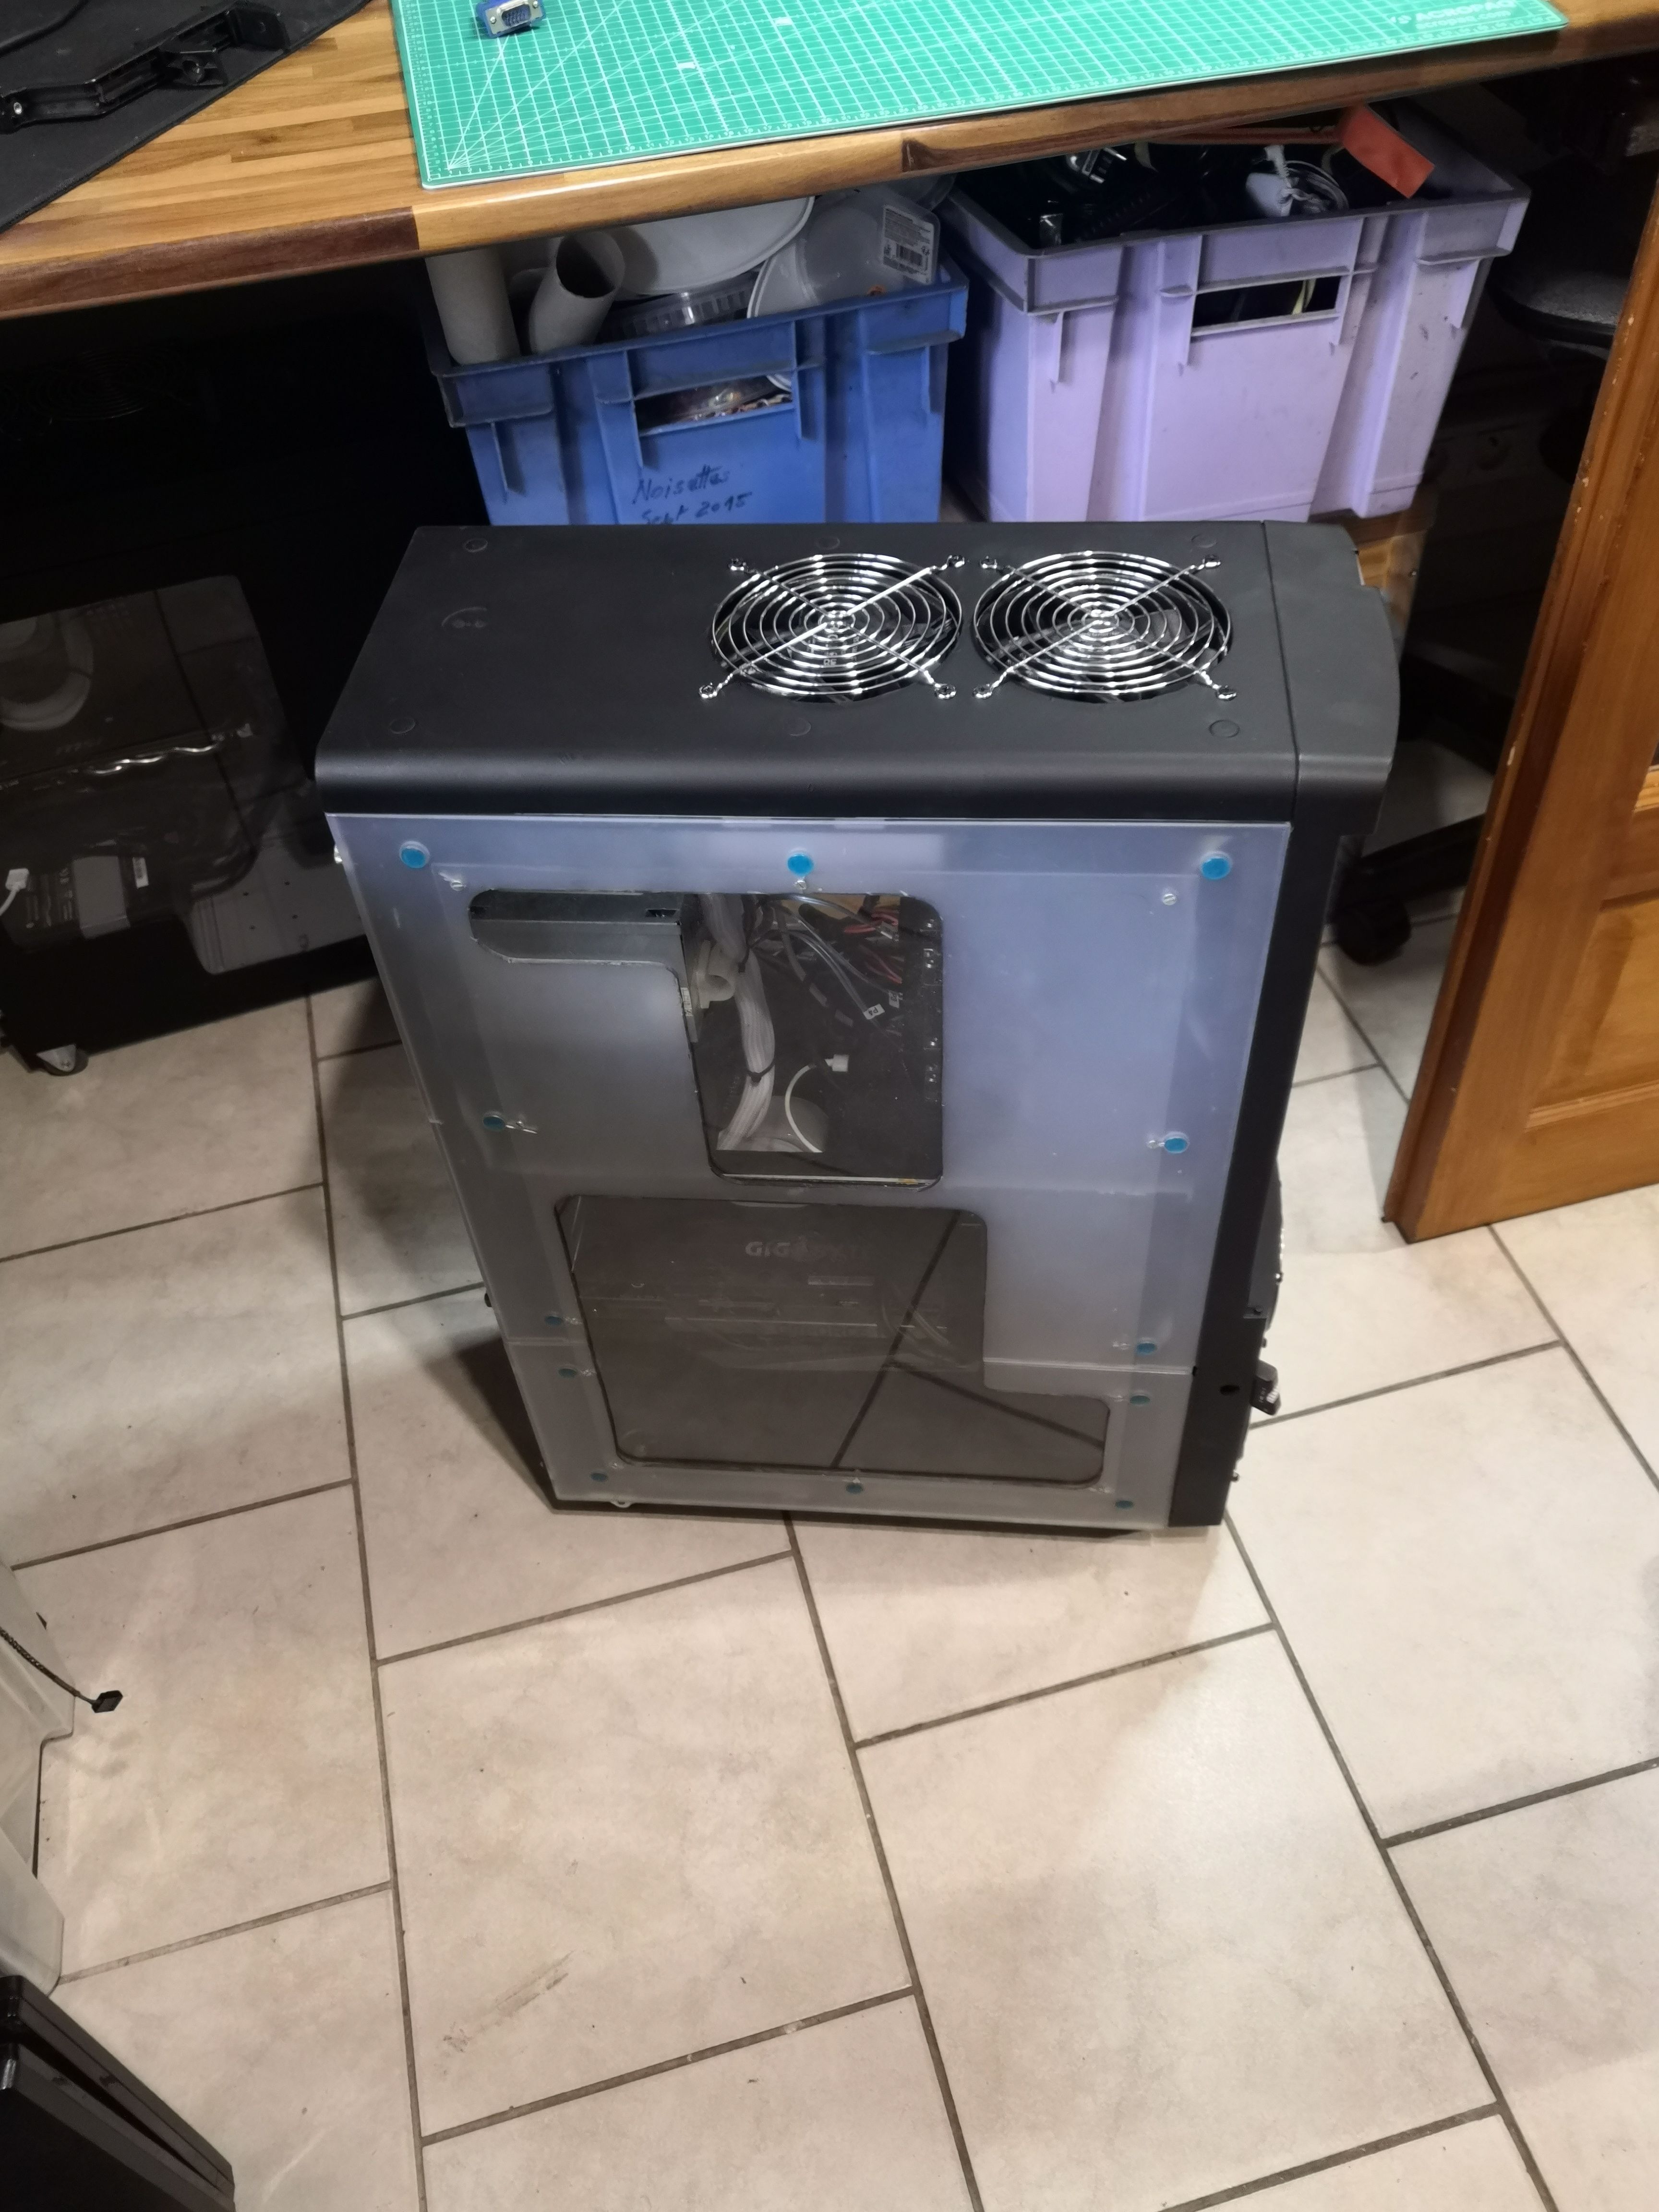
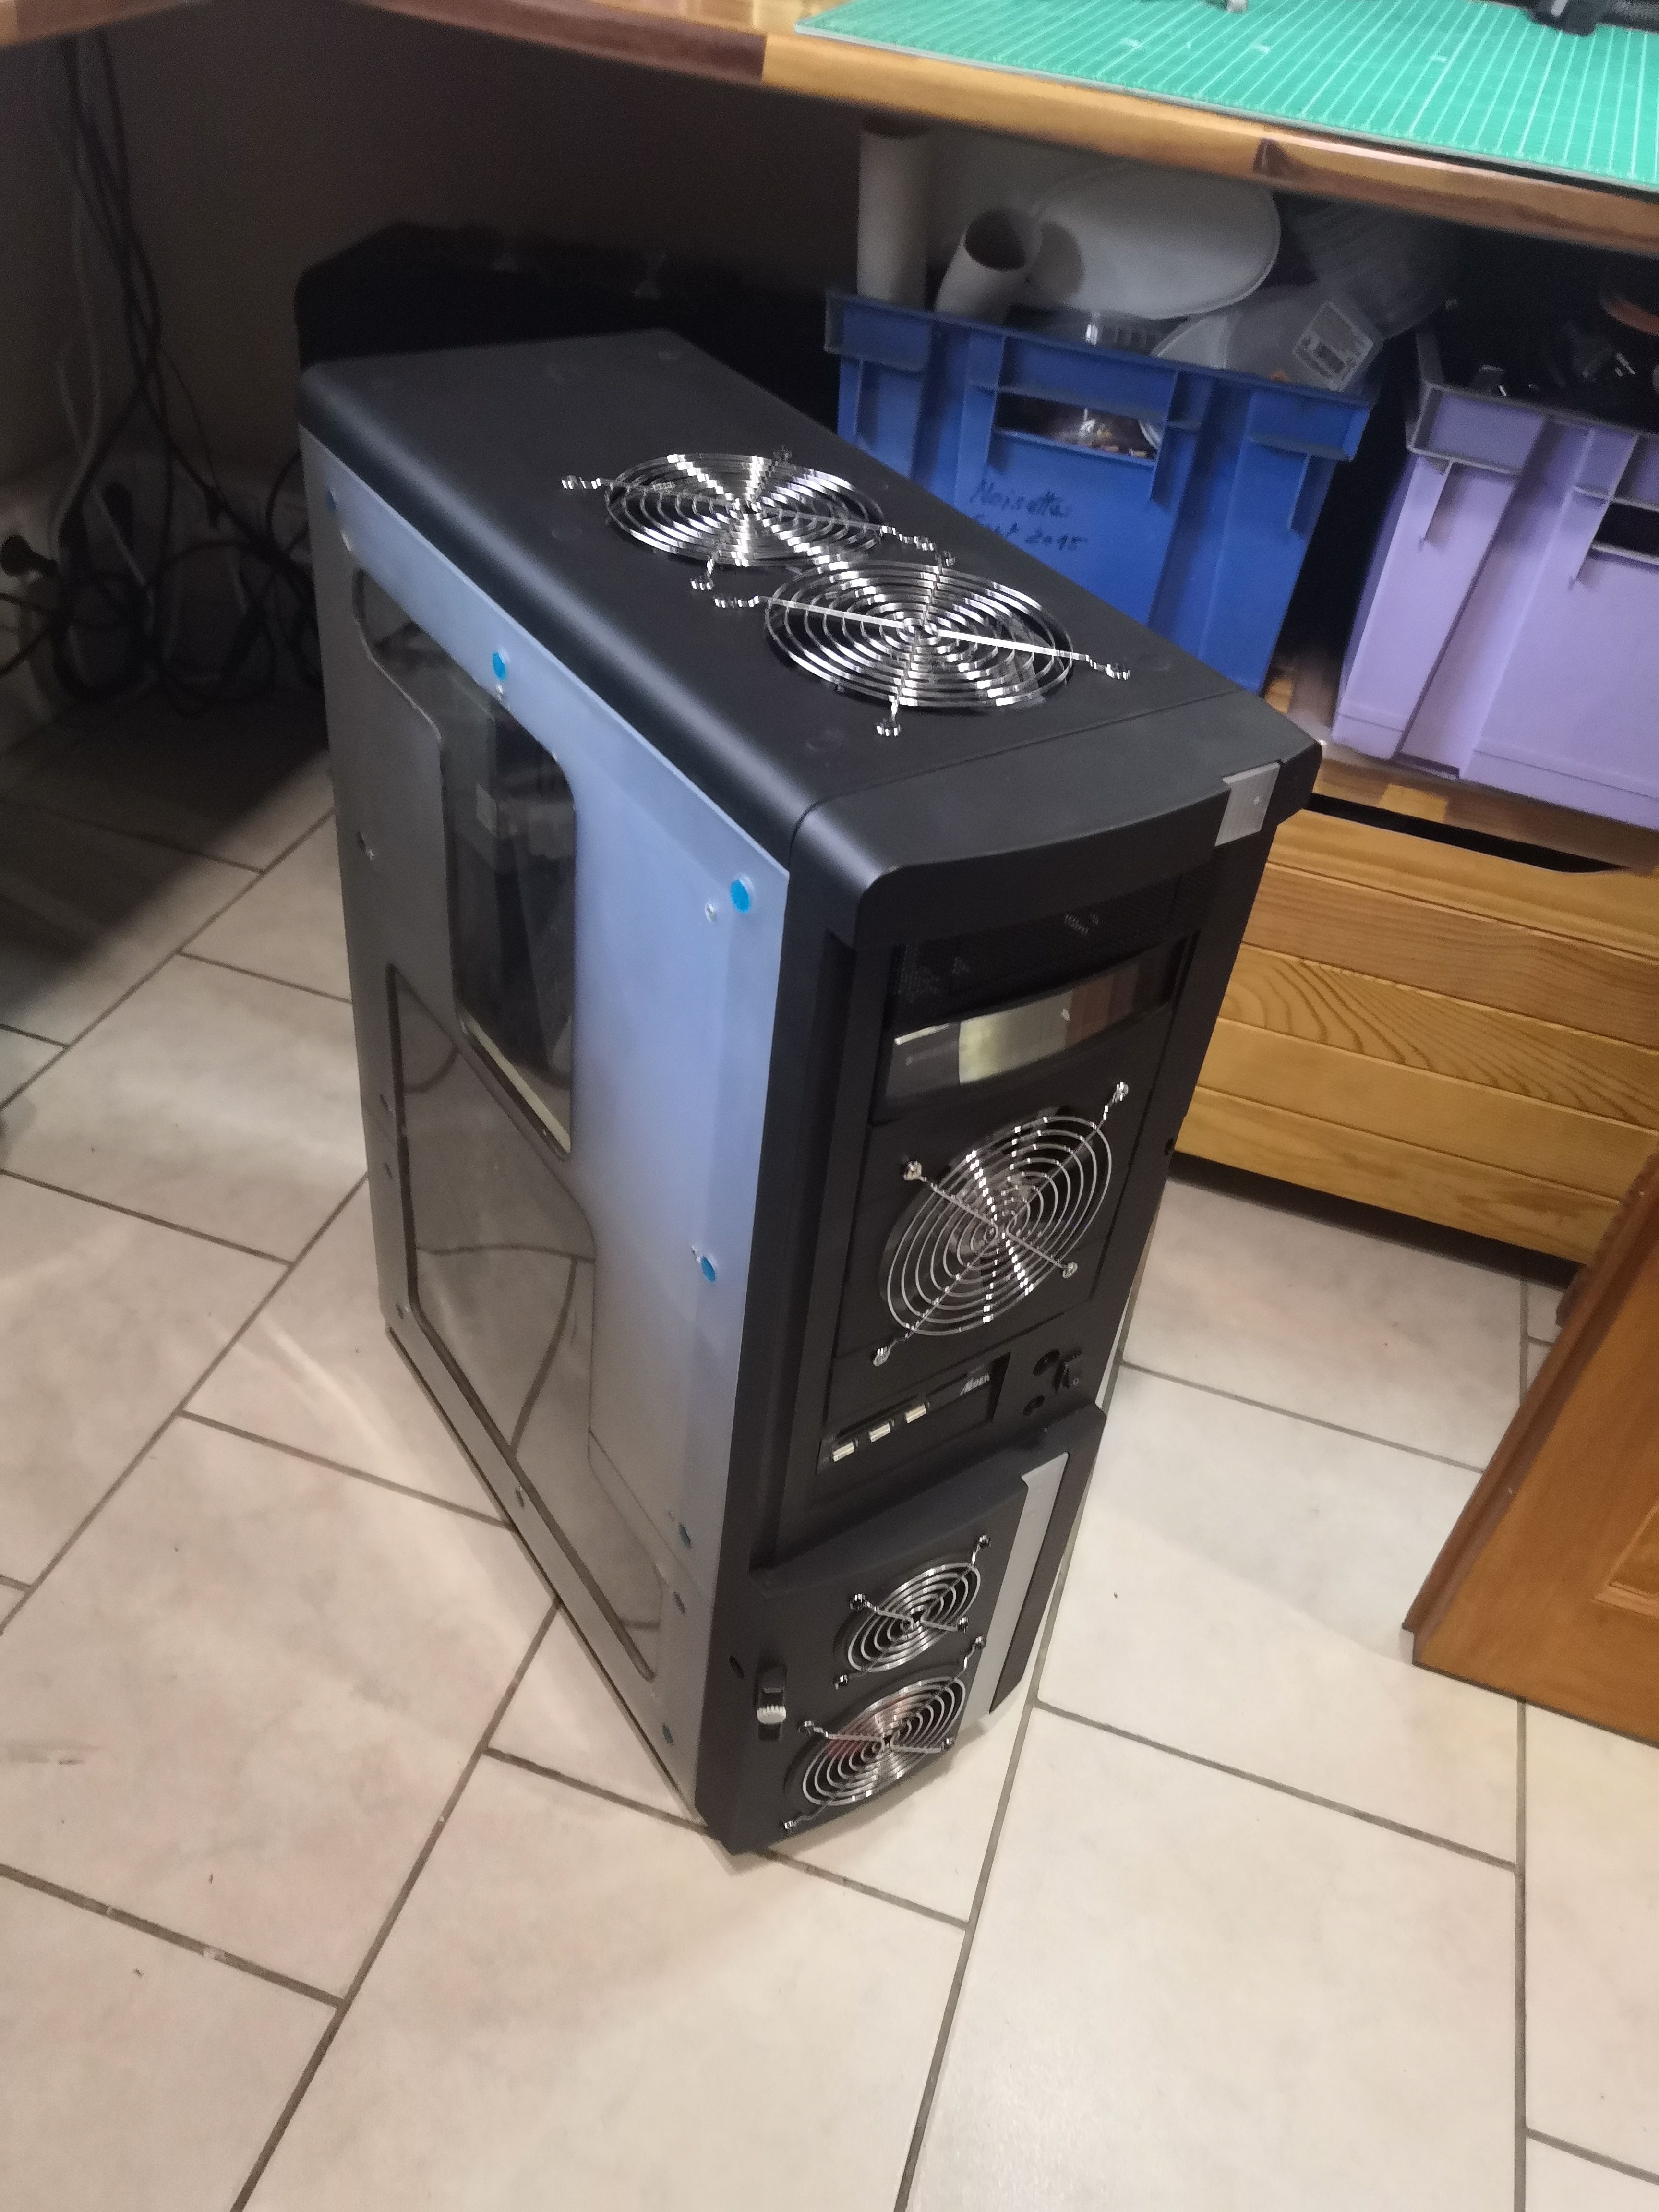
The result. The Grand Tour has gotten a makeover while retaining its essence. The custom top panel with its two 120mm fans and chrome grilles gives it a bold industrial look. The front panel, repainted in black, retains its identity but with a slightly more modern look.
Functionally: a well-integrated AIO, consistent thermal management.
My brother-in-law has picked up his transformed tower. The Ryzen 7 5700X runs at a maximum of 77°C under full load at a sustained 4.8 GHz — compared to over 80°C with the previous air cooling setup. The RTX 3080 has plenty of breathing room, and the case has entered a new decade.
